
I guess I’m using this winter to blog about all the projects I’ve gotten behind on writing about.
The garden and greenhouse took up so much of our extra time, I haven’t posted about one of the most awesome and most fun projects of all…THE PIRATE SHIP!
It all goes back to the giant cardboard pirate ship we made for Liam’s 1st Birthday. If you forgot about that beauty, you can read about it here. As Ryan and I were planning for that project, we both thought, someday we should build a real pirate ship. Because that would be the normal next step, right? Everyone thinks this way, right? Right? Well regardless, Ryan and I were thinking it and like so many other things that became possible when we moved to the Lost Wood, this was now possible.
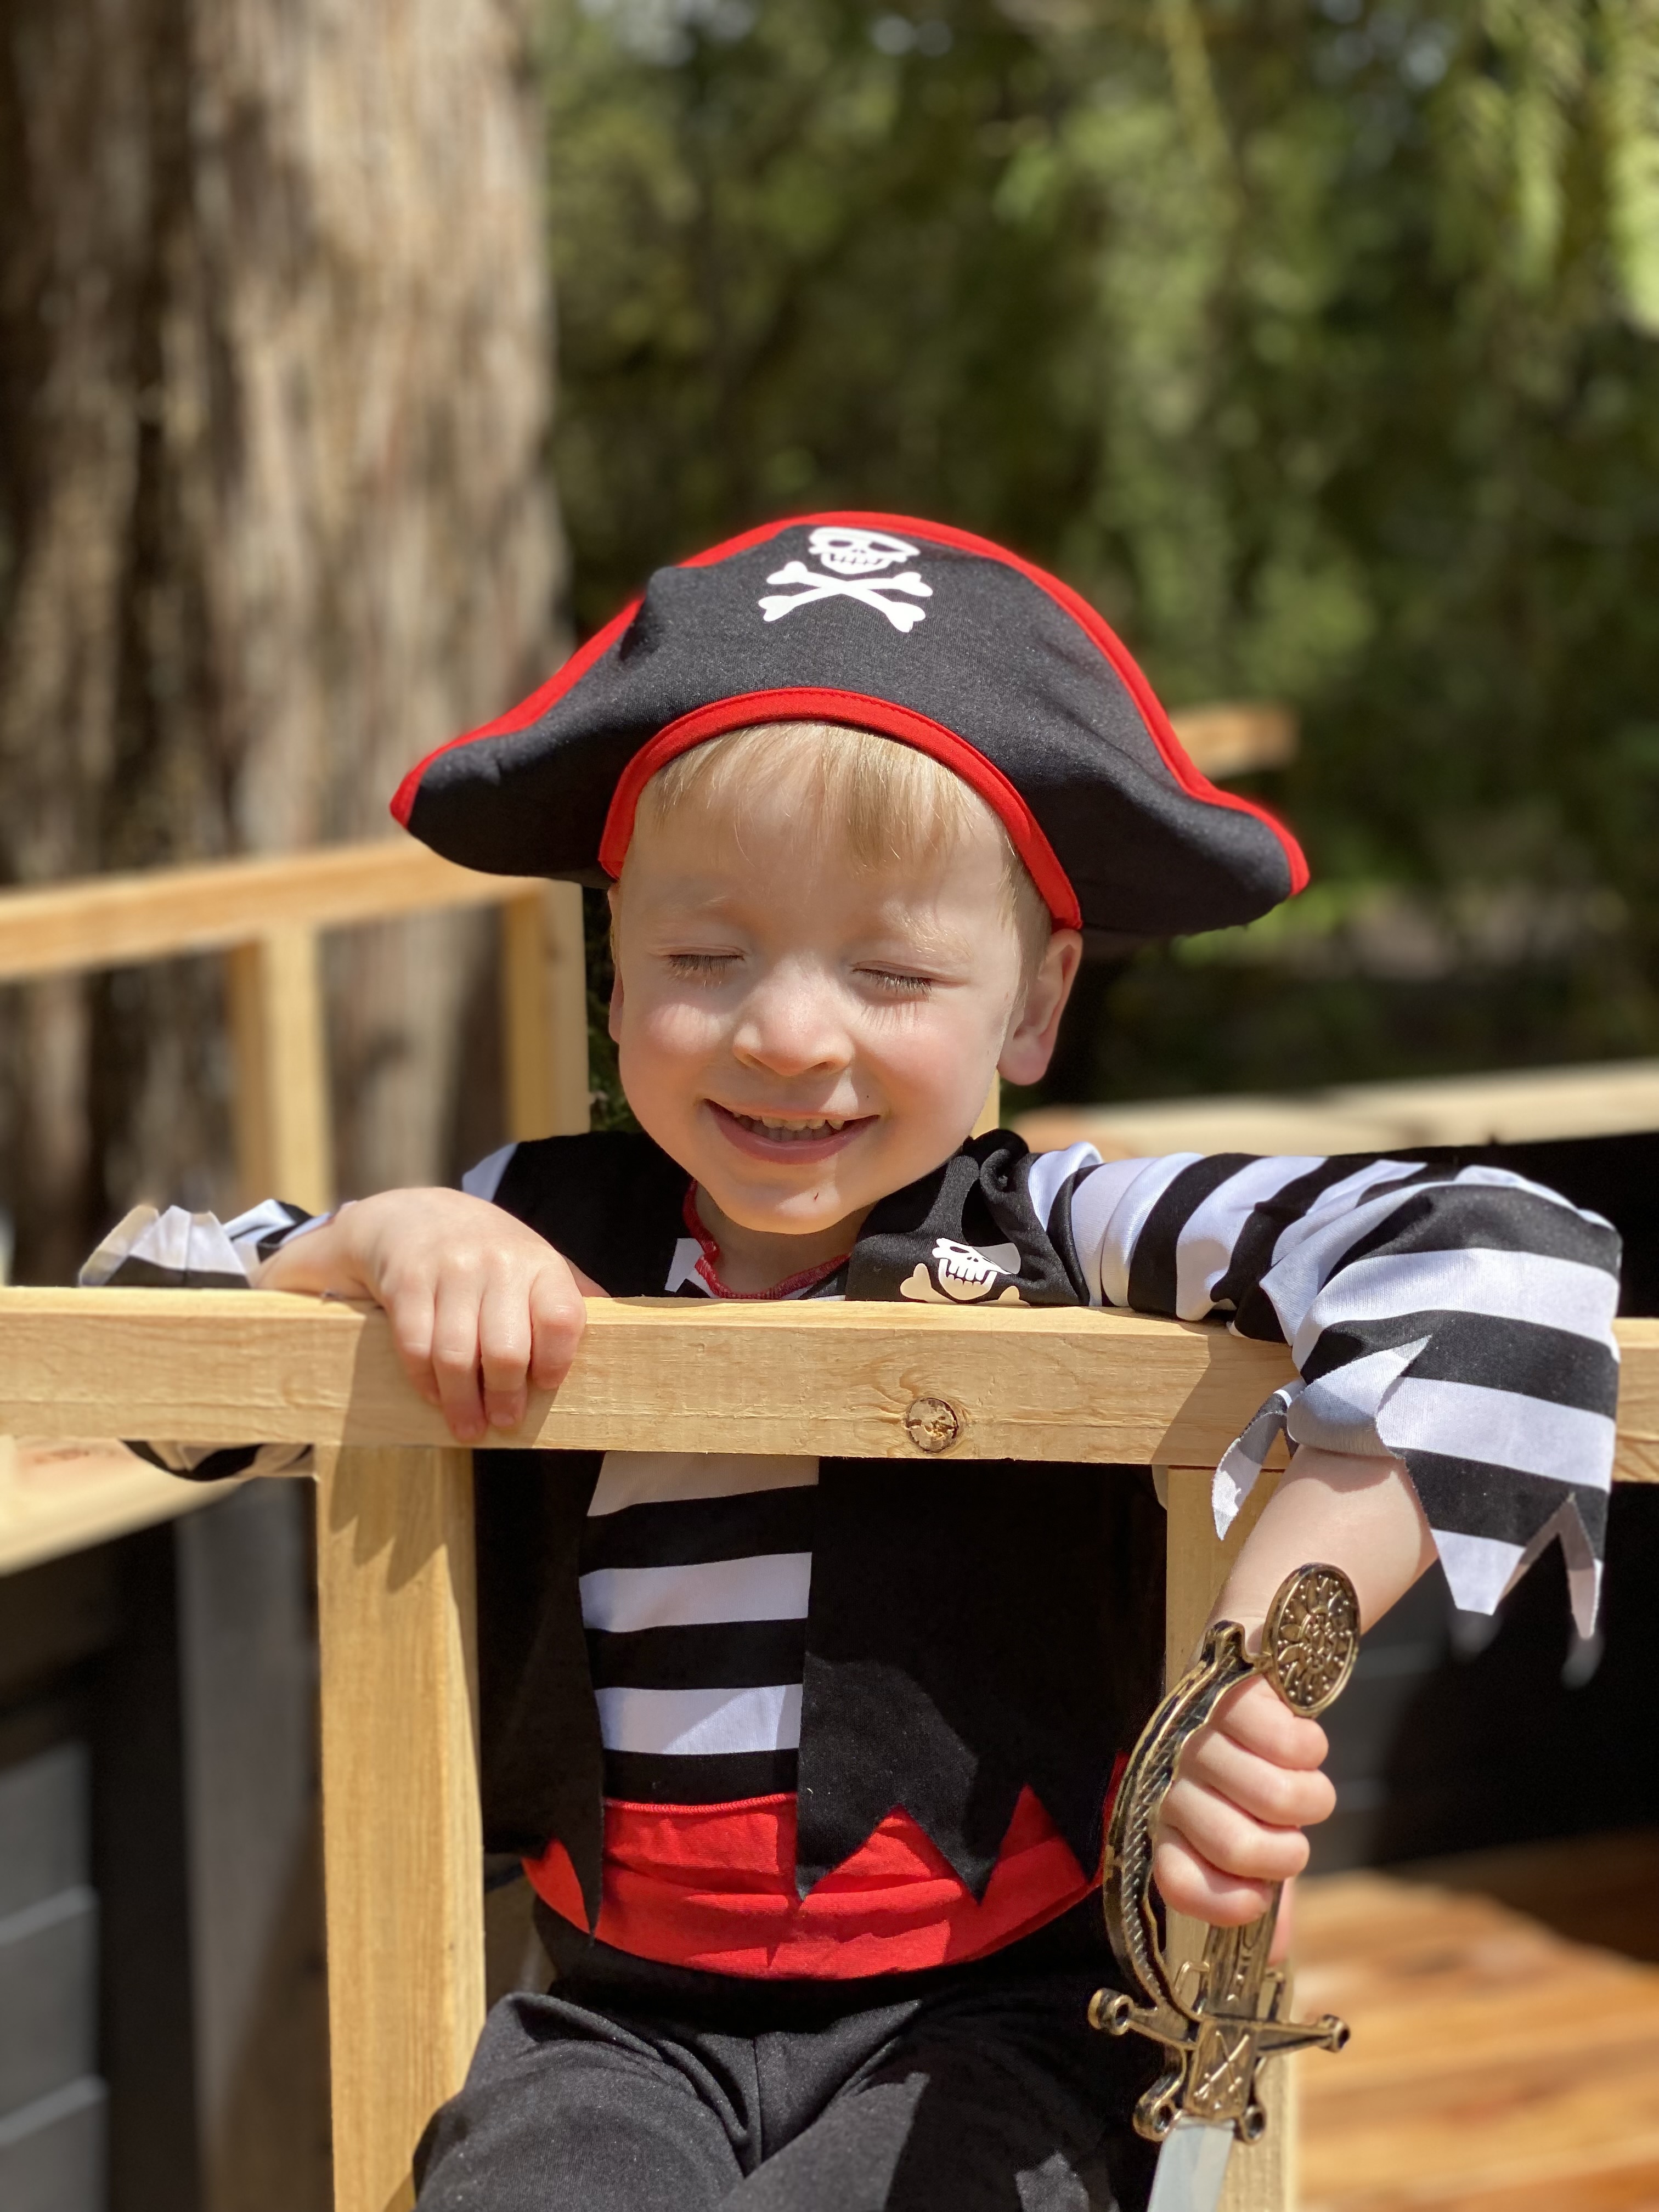
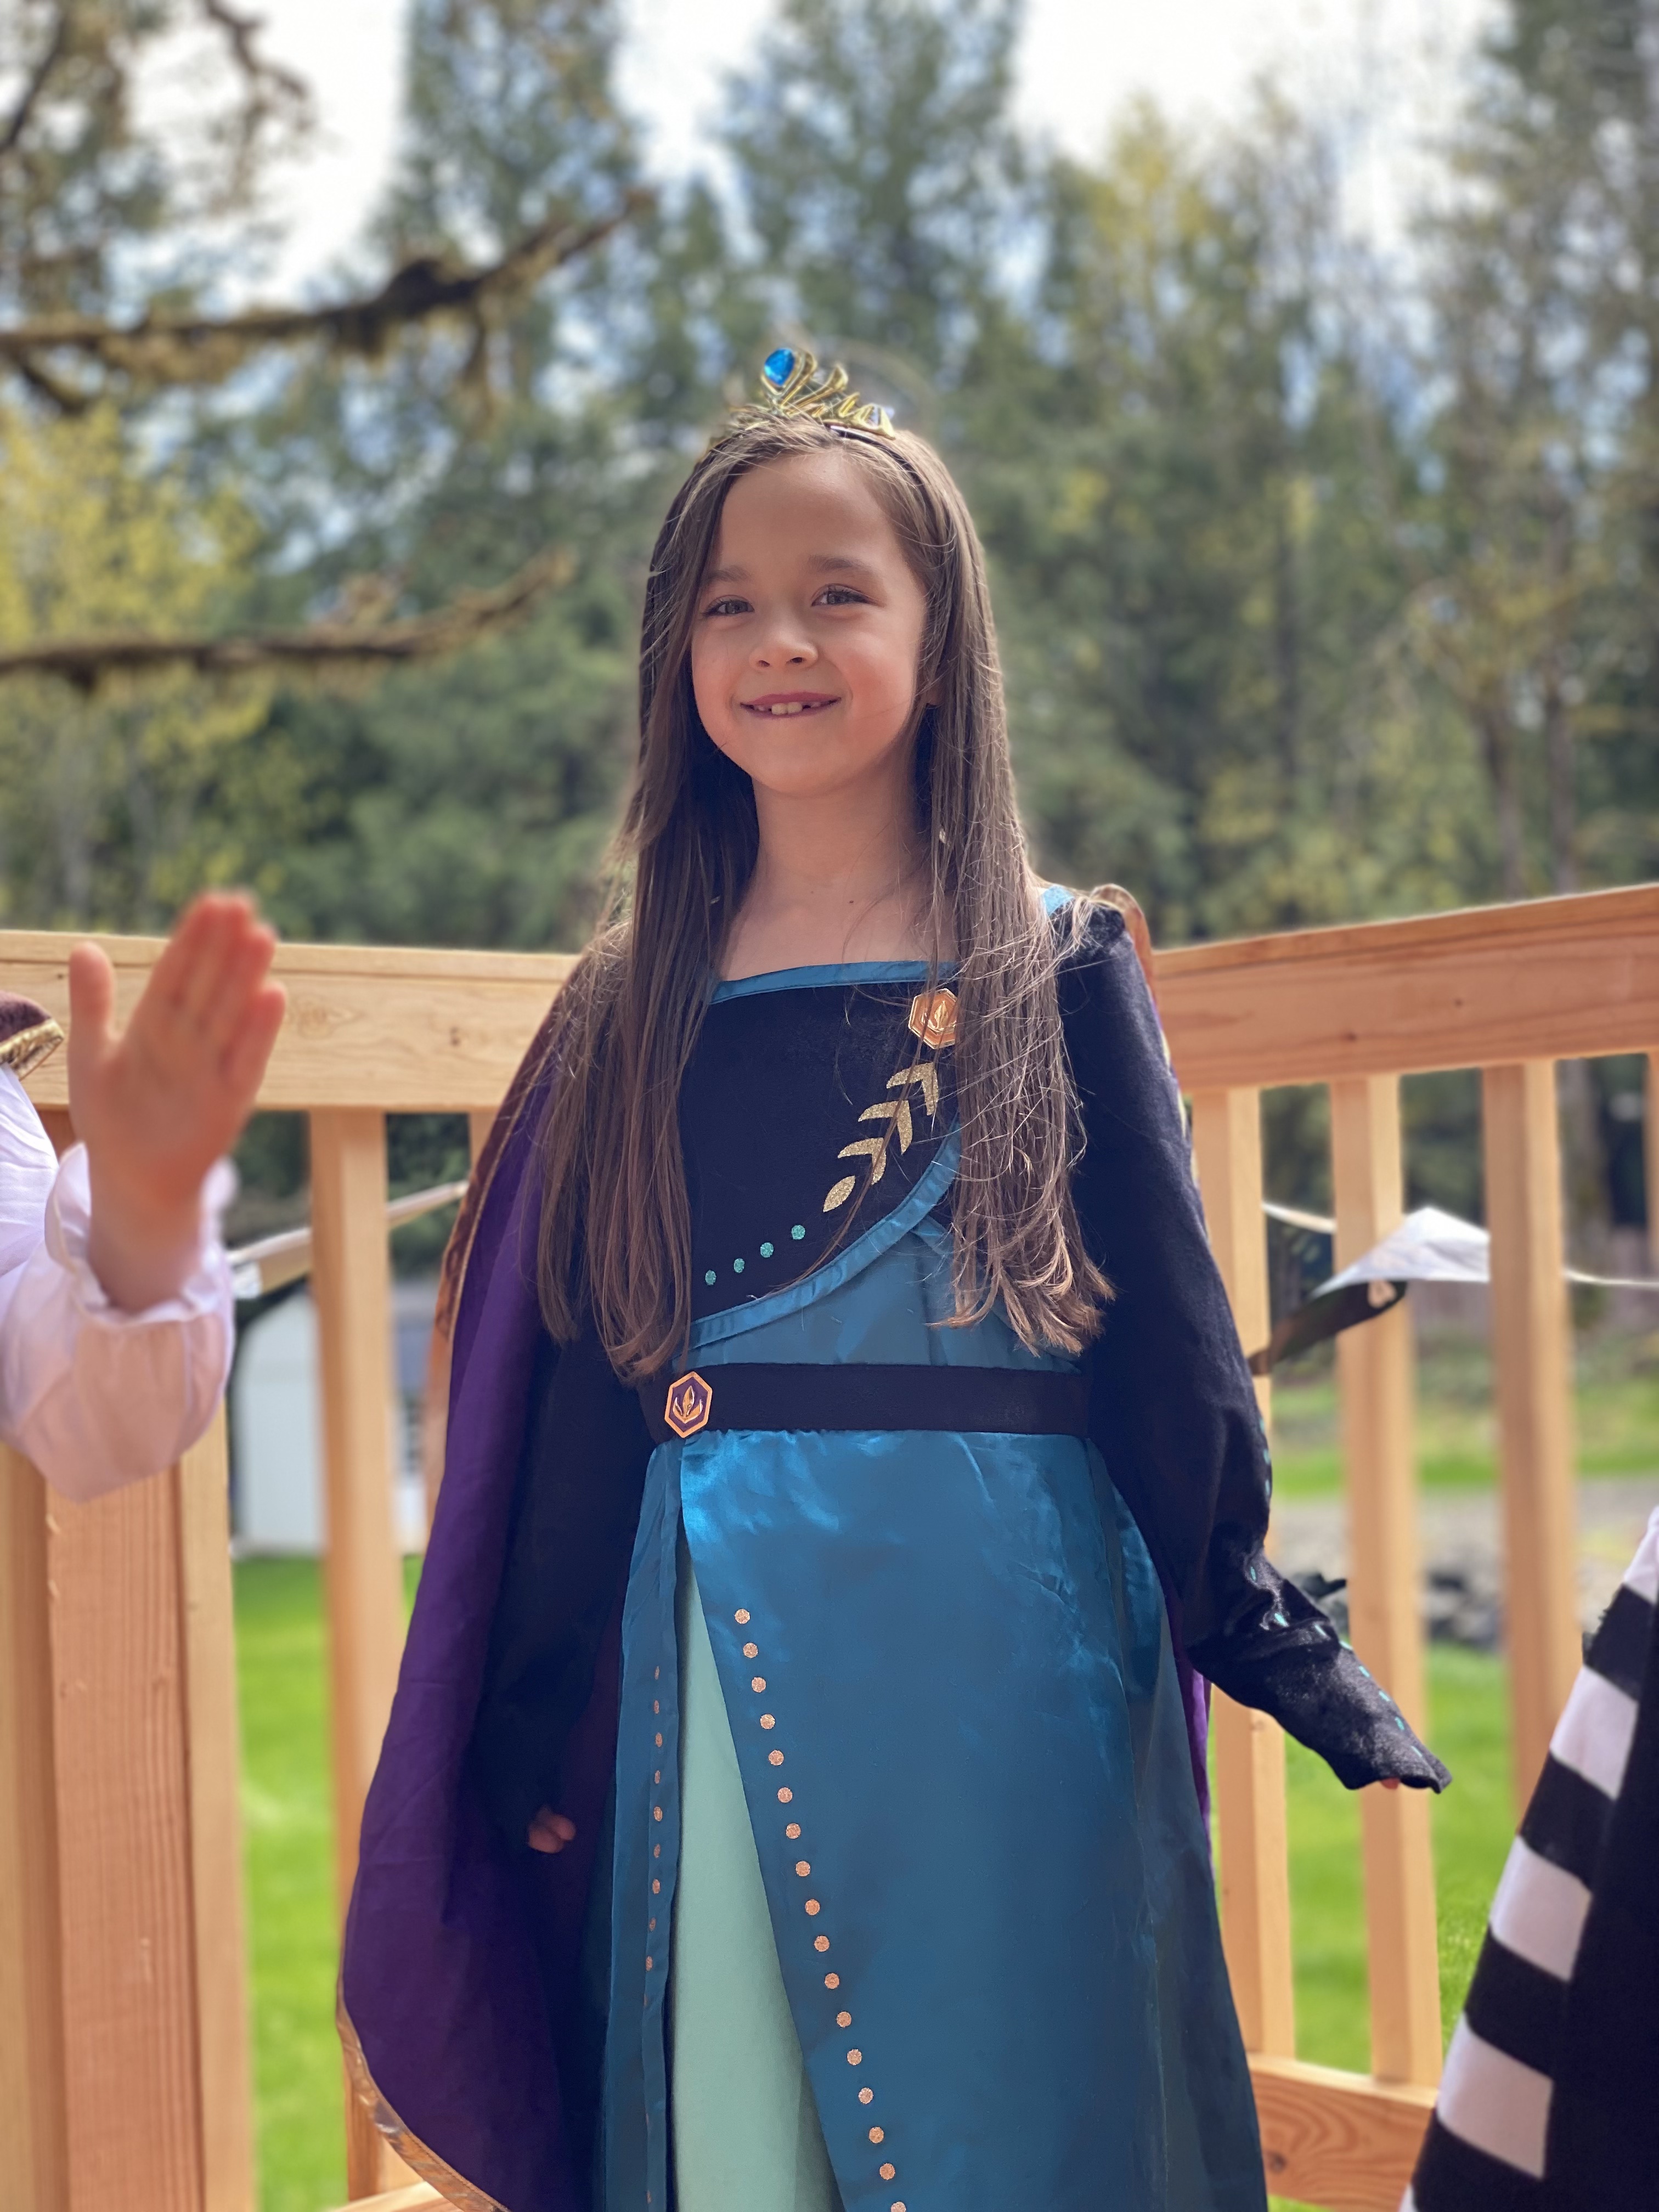
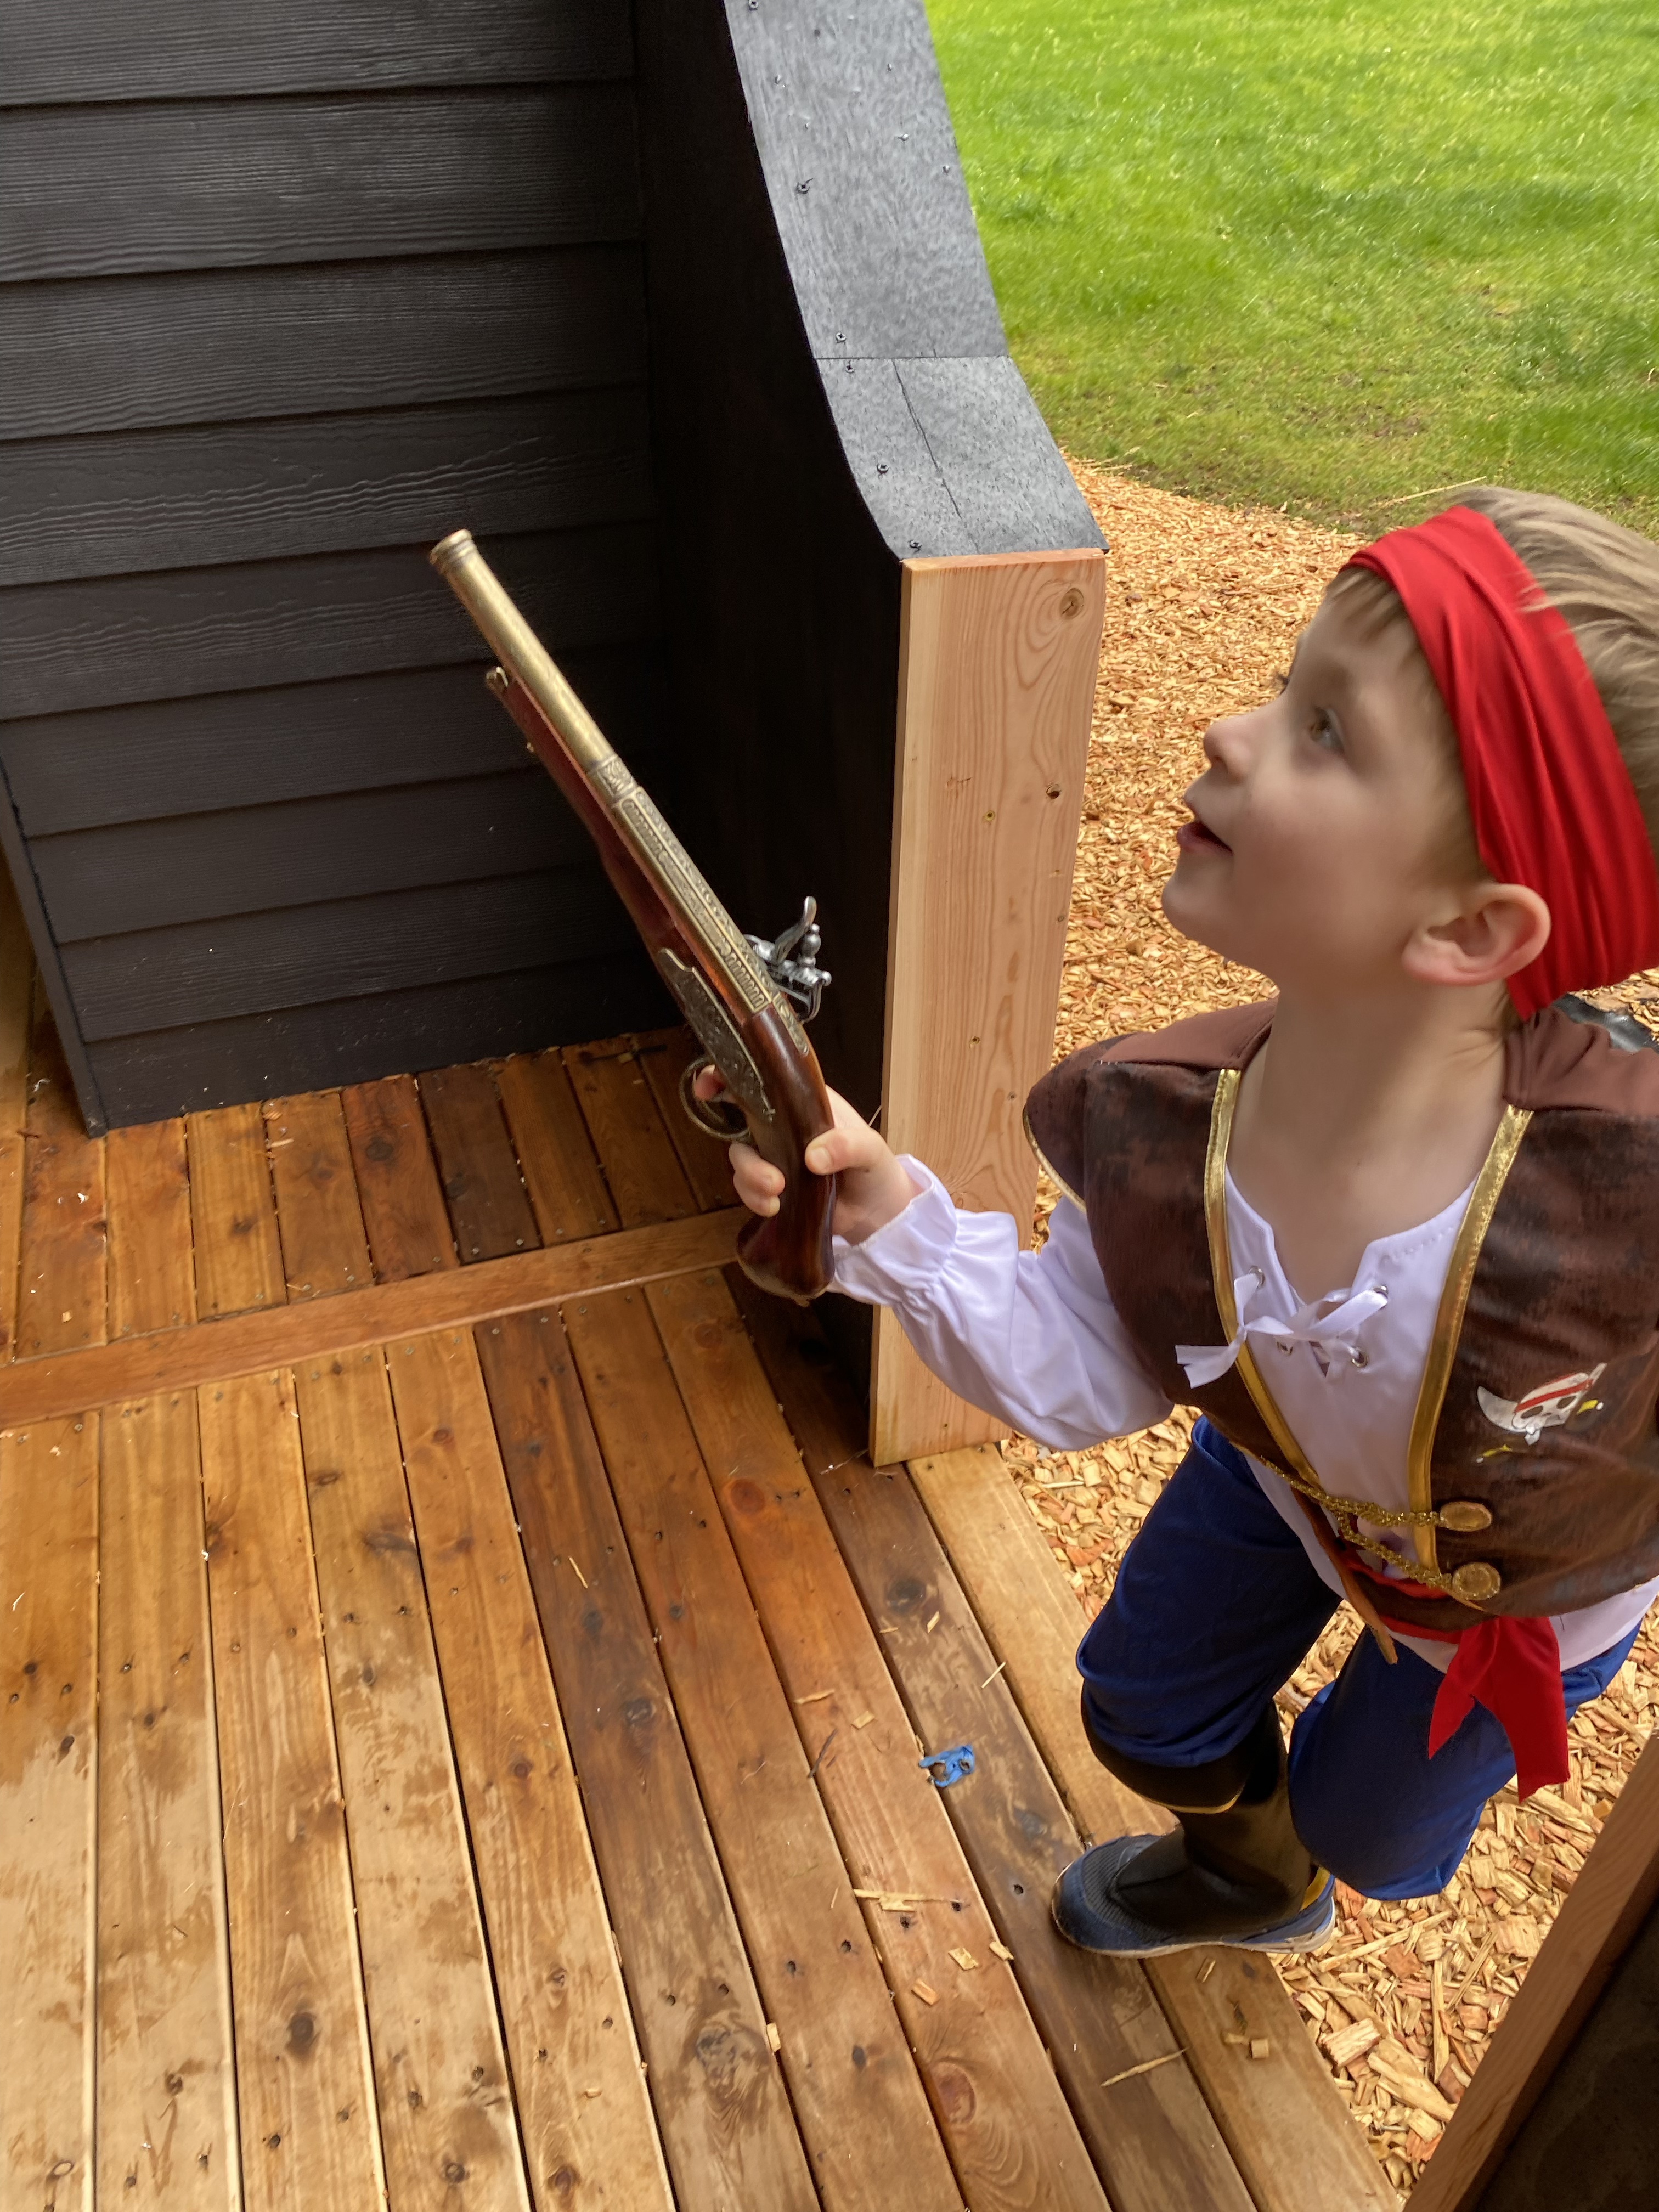
Also, our sweet kiddos have really gotten into the idea that every birthday needs an elaborate theme. I’m sure that is in no way my fault, like not even a little bit (wait, actually, don’t read about Liam’s 1st Birthday above). Anyway, Jackson announced that his 6th Birthday would be Pirates vs. Princesses and he needed us to make another cardboard pirate ship to make the theme work. Ryan and I were both 100% sure we didn’t want to make another cardboard edition, it was time to make THE pirate ship.
I would say many of the steps were similar…
1. We made our own plan to fit a few specific goals:
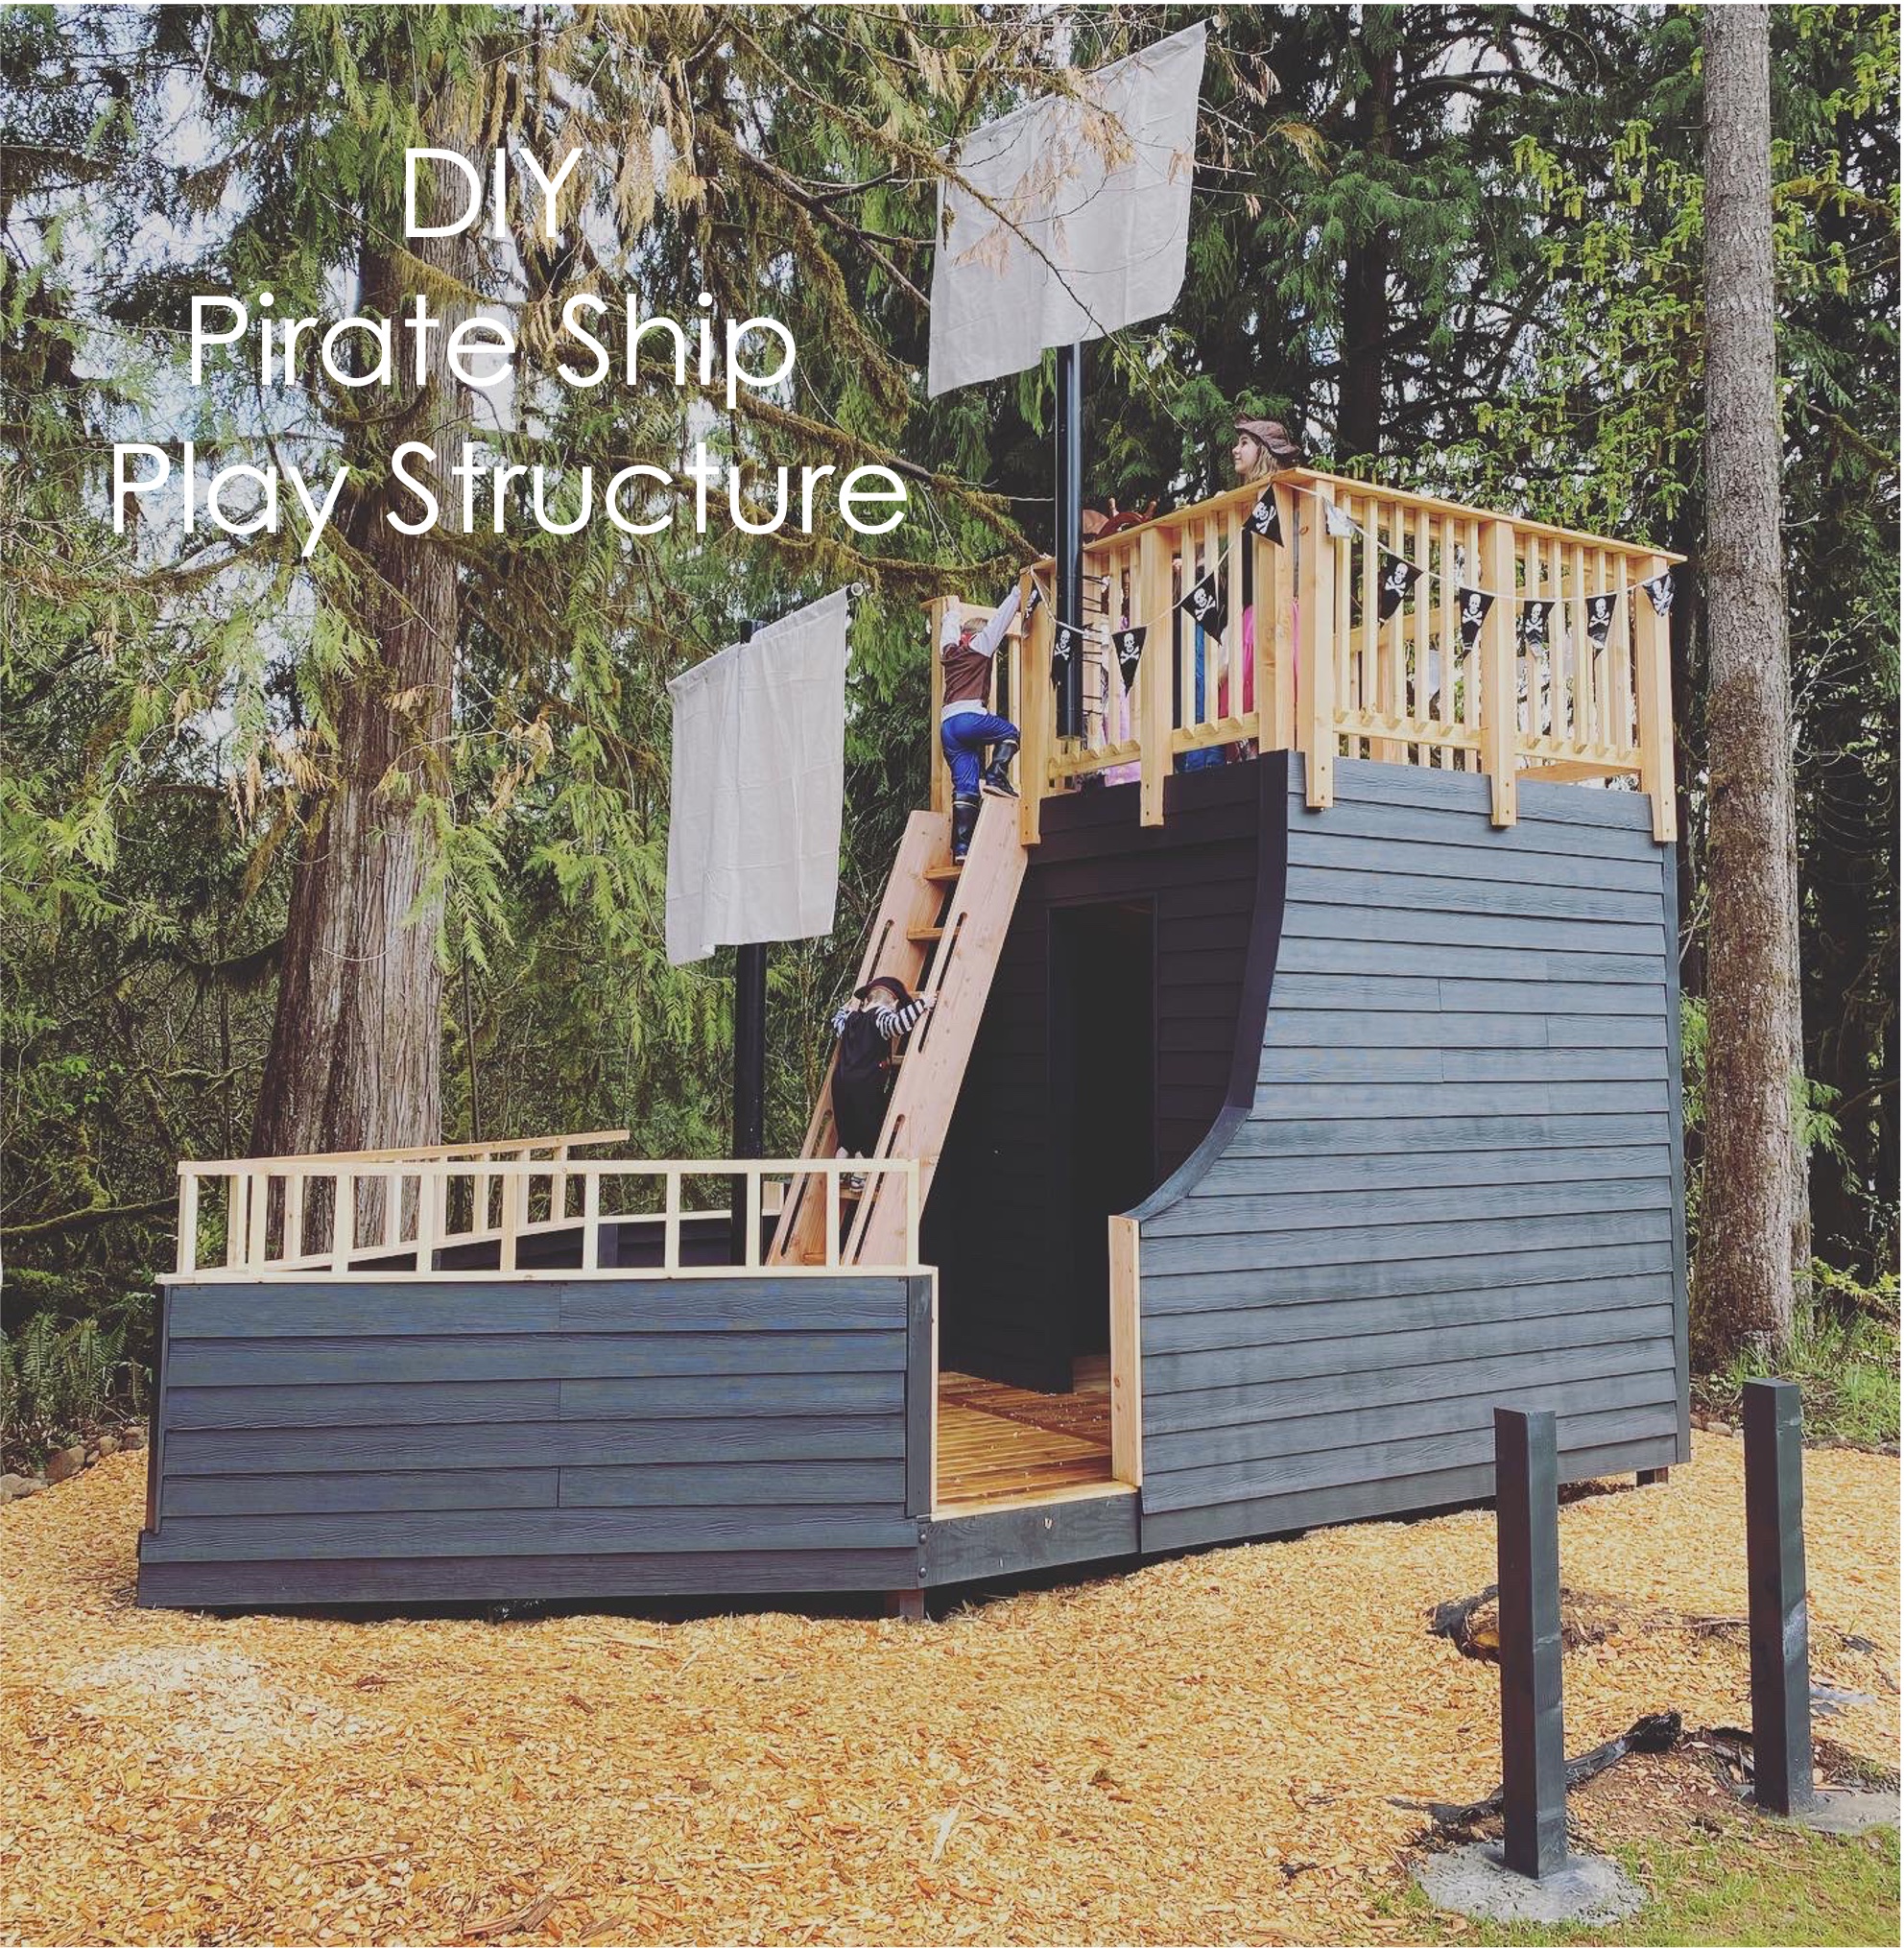
- We wanted it to be two stories tall, with an upper deck and lower deck.
- We needed it to be big enough for our kids and cousins and friends and any adults feeling the need for piracy.
- We wanted to create a cabin so the kids could camp out when they are a little older, and have a door to close (cougars in the woods, friends). And said cabin needed to be big enough to fit an air mattress or hammocks or bunks or something.
- We also wanted to be able to add onto the ship as the kids get older and more adventurous (zip line to a crow’s nest, anyone?).
2. We made a couple of small, scaled cardboard models to see how our dimensions would work full size. We ended up with an overall size of 18′ long x 8′ wide. The finished cabin being about 8′ x 8′. Big enough for a queen-sized air mattress.
3. We bought supplies one step at a time. Because we weren’t using a set of plans, we wanted to be able to be flexible as we went. And we figured we would need to pivot at some point and didn’t want to buy materials we wouldn’t end up using. This ended up being a smart strategy, although we went to the local home improvement store a LOT!
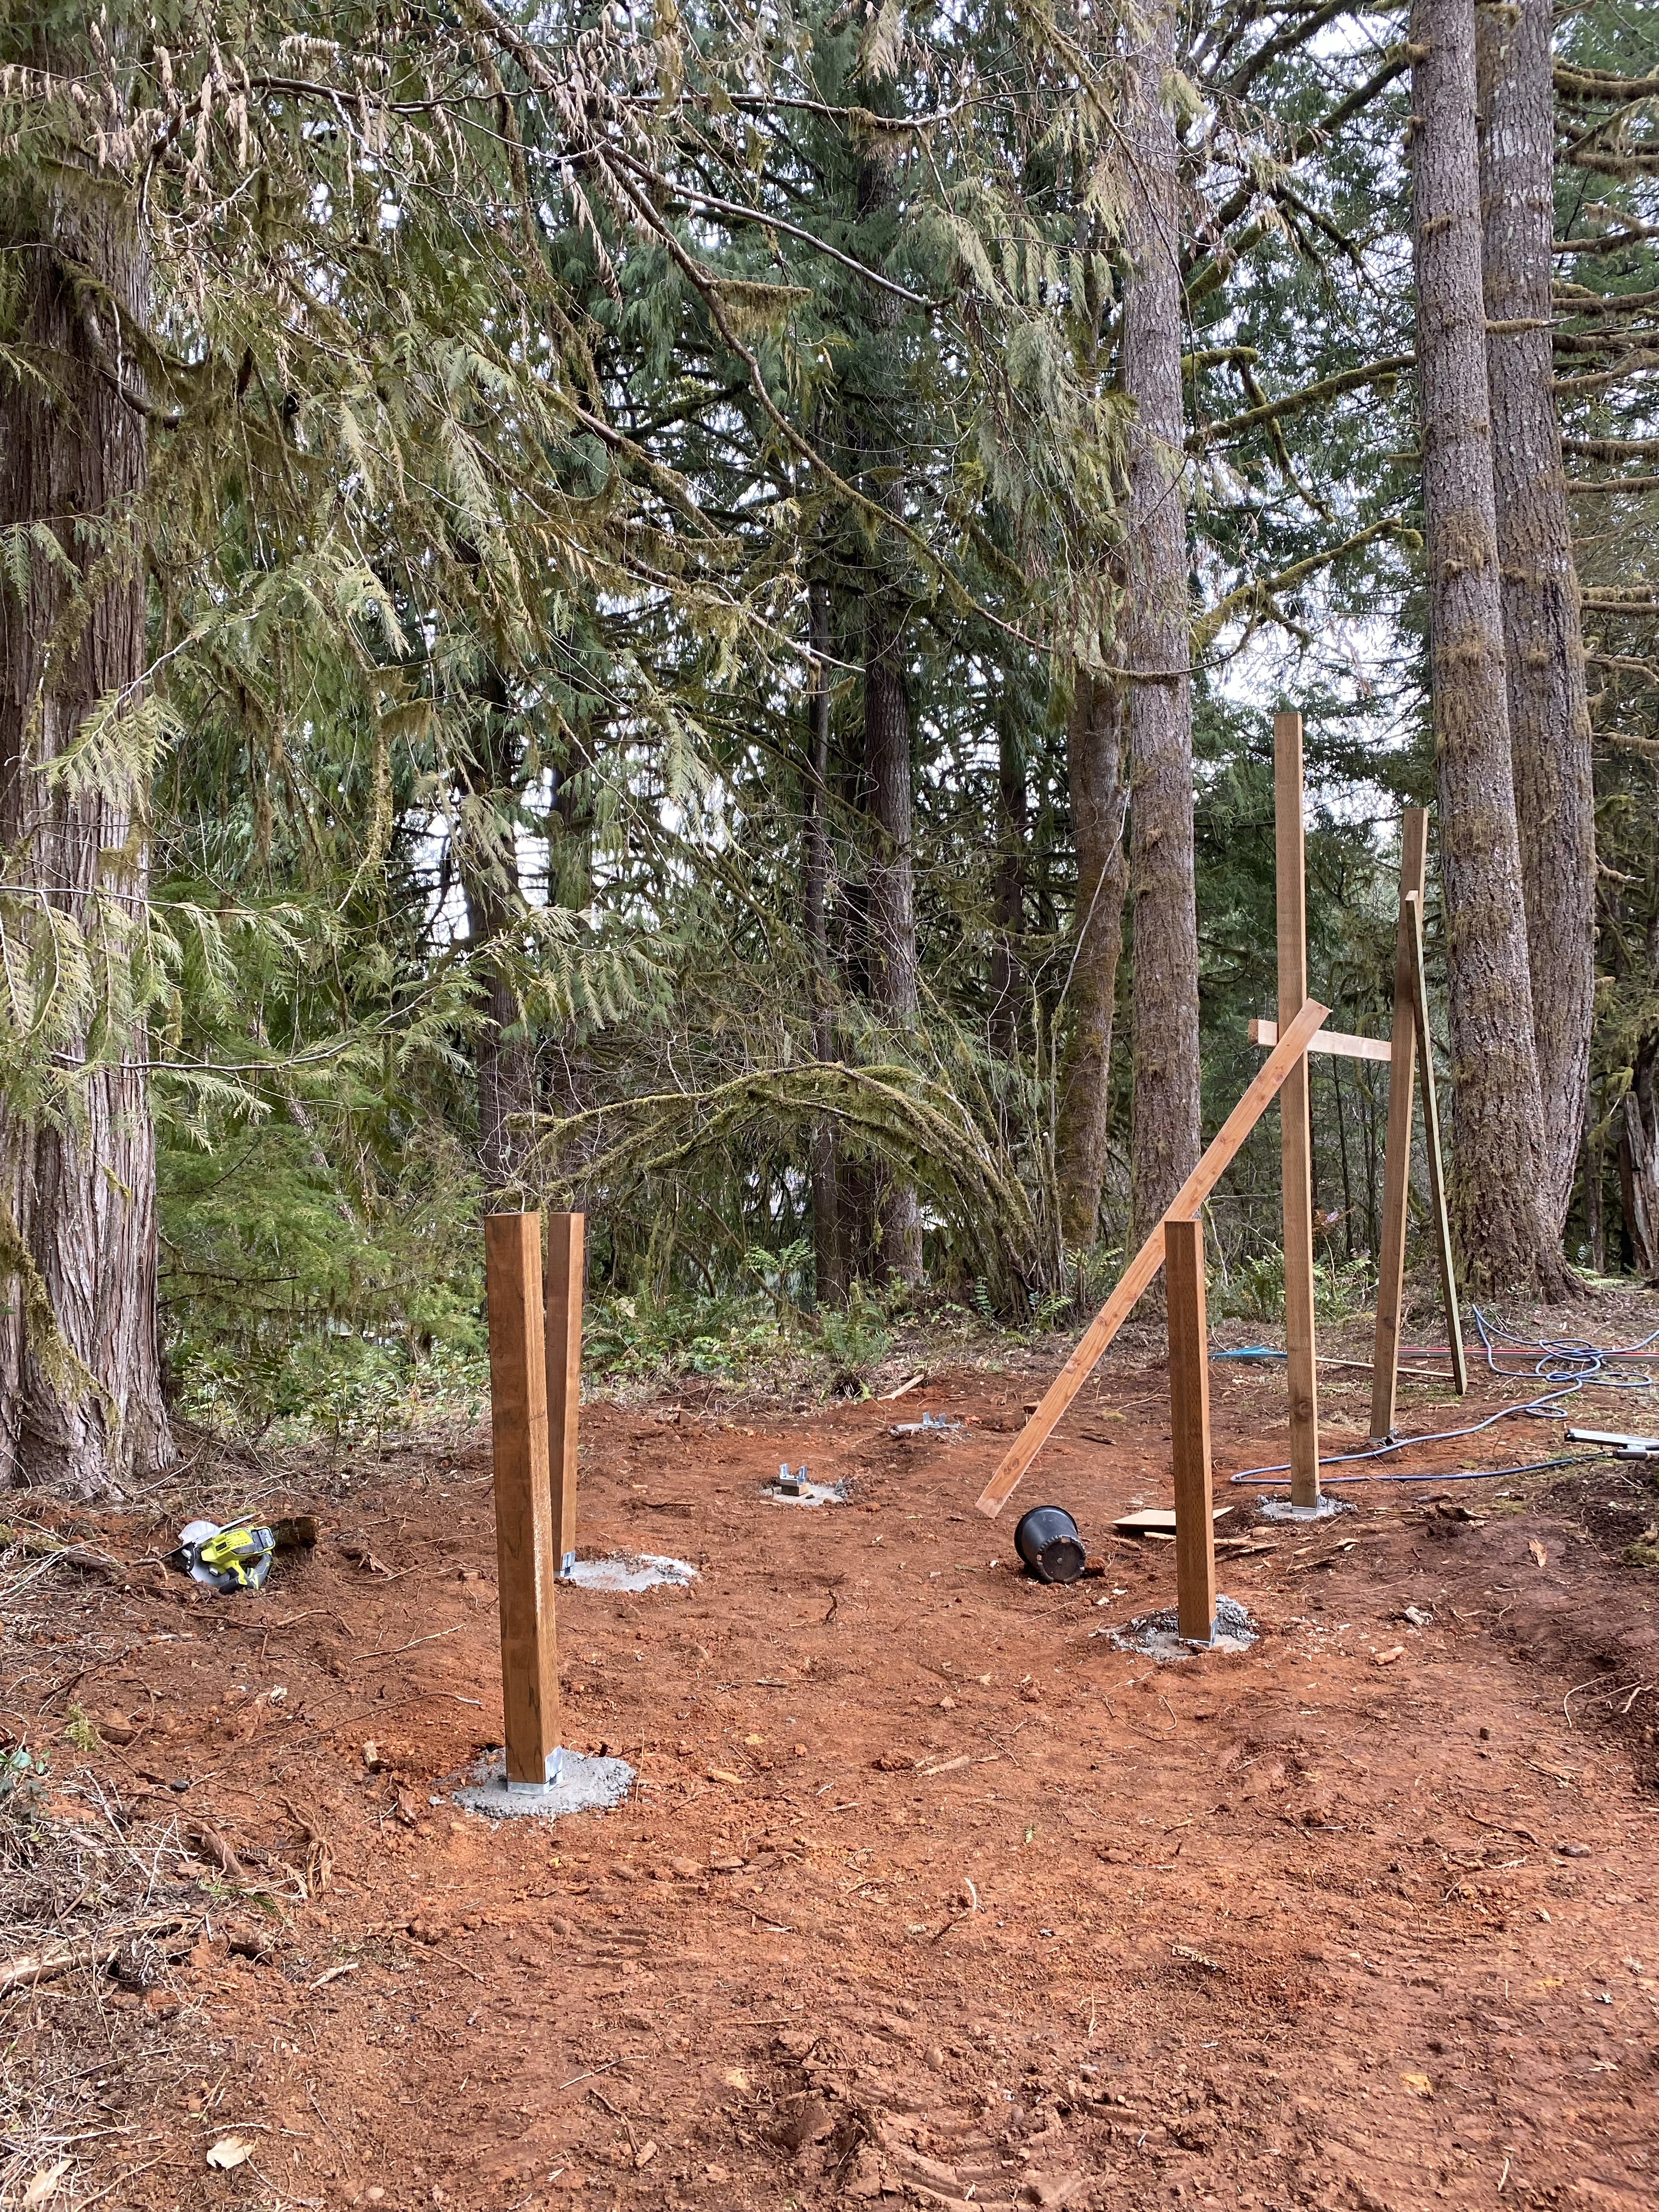
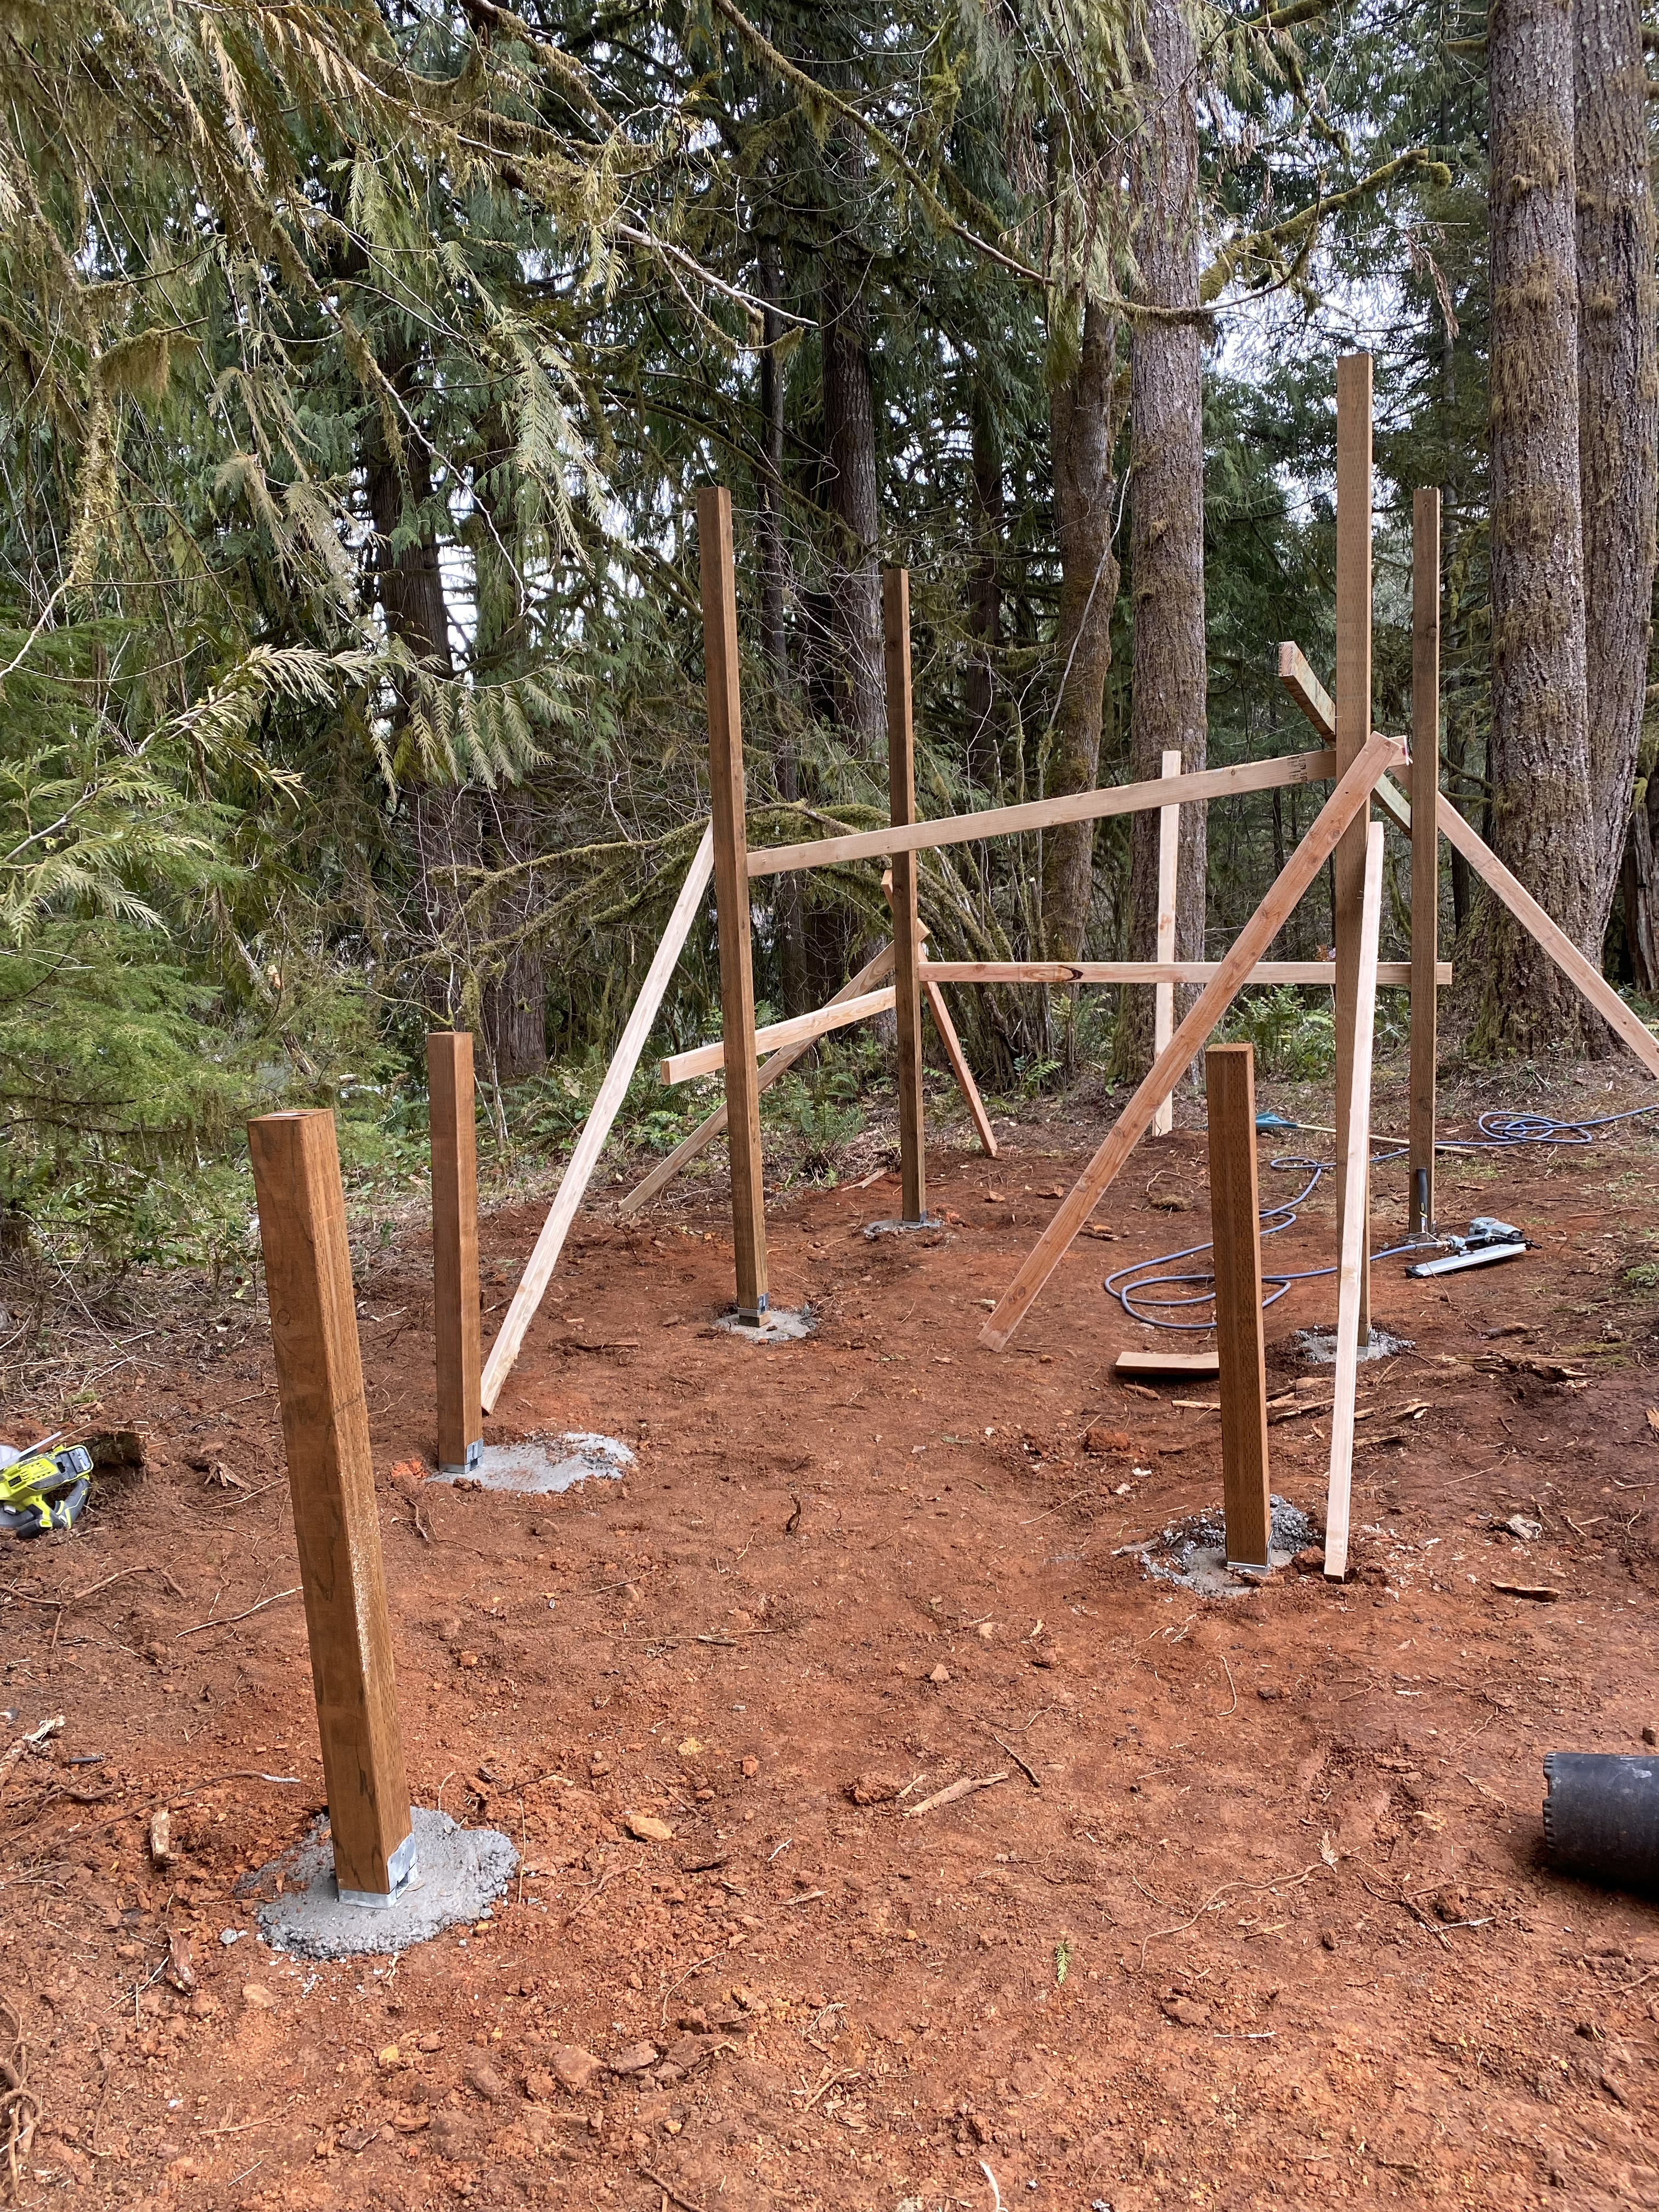
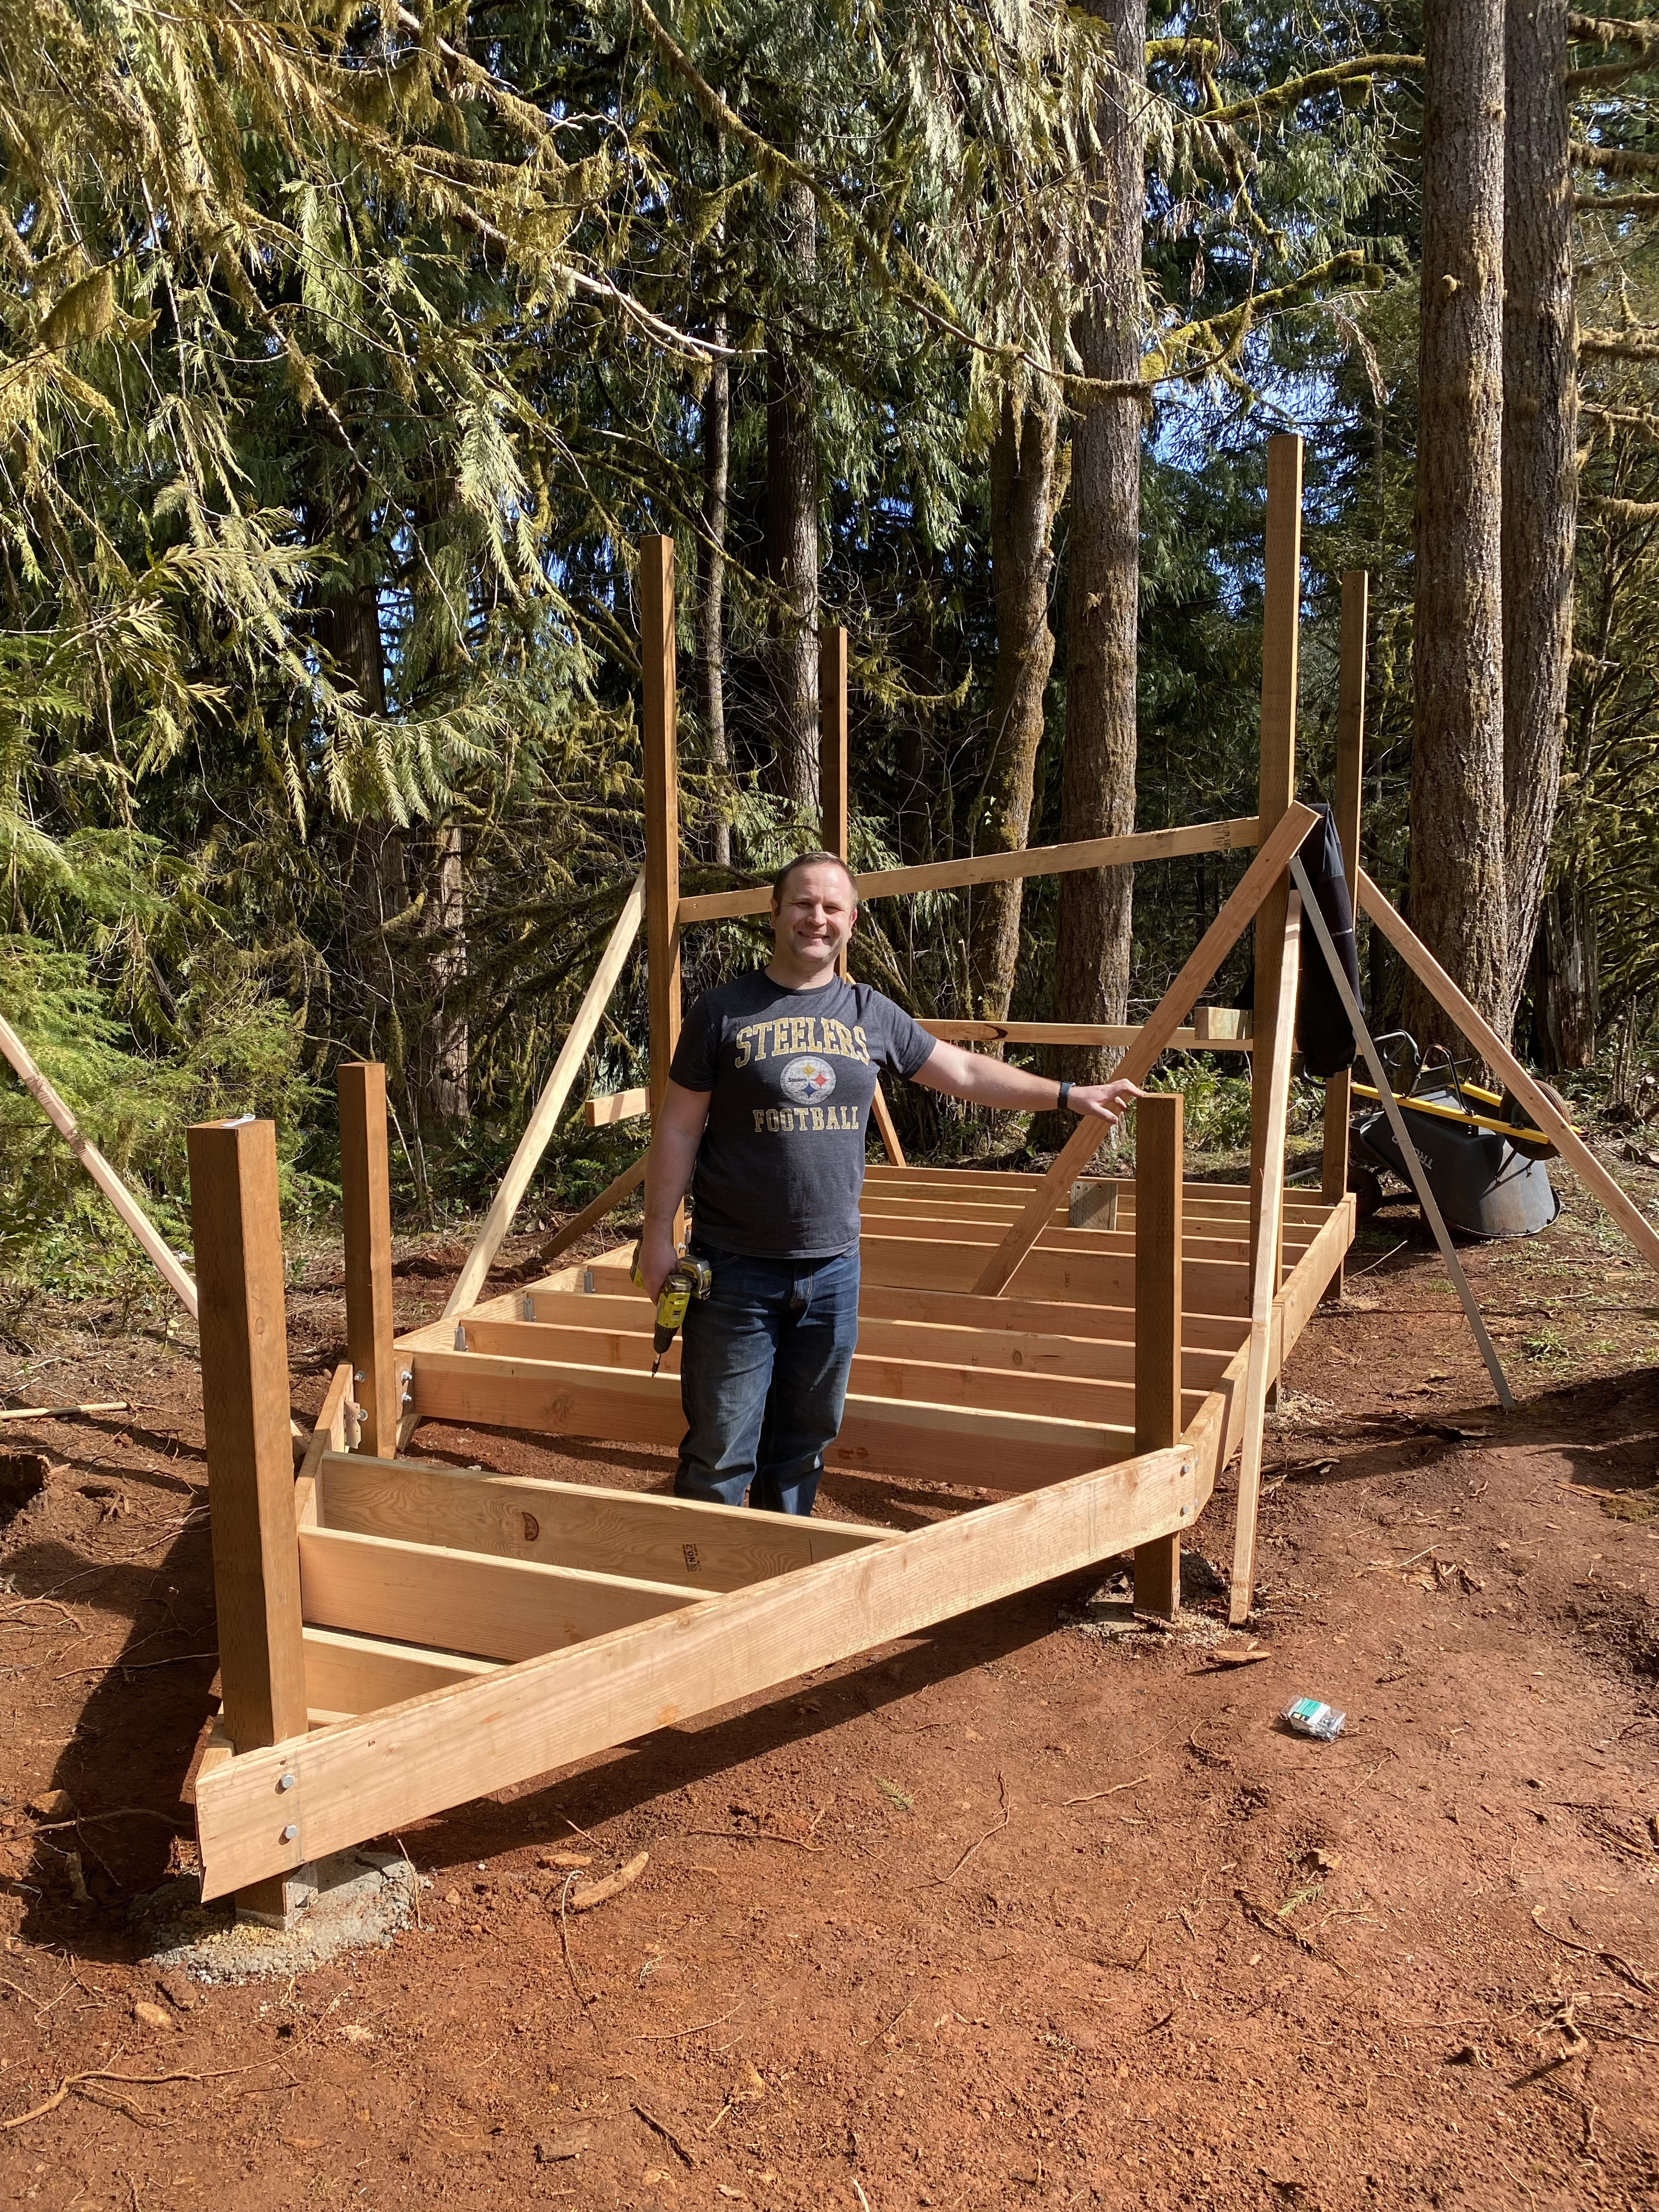
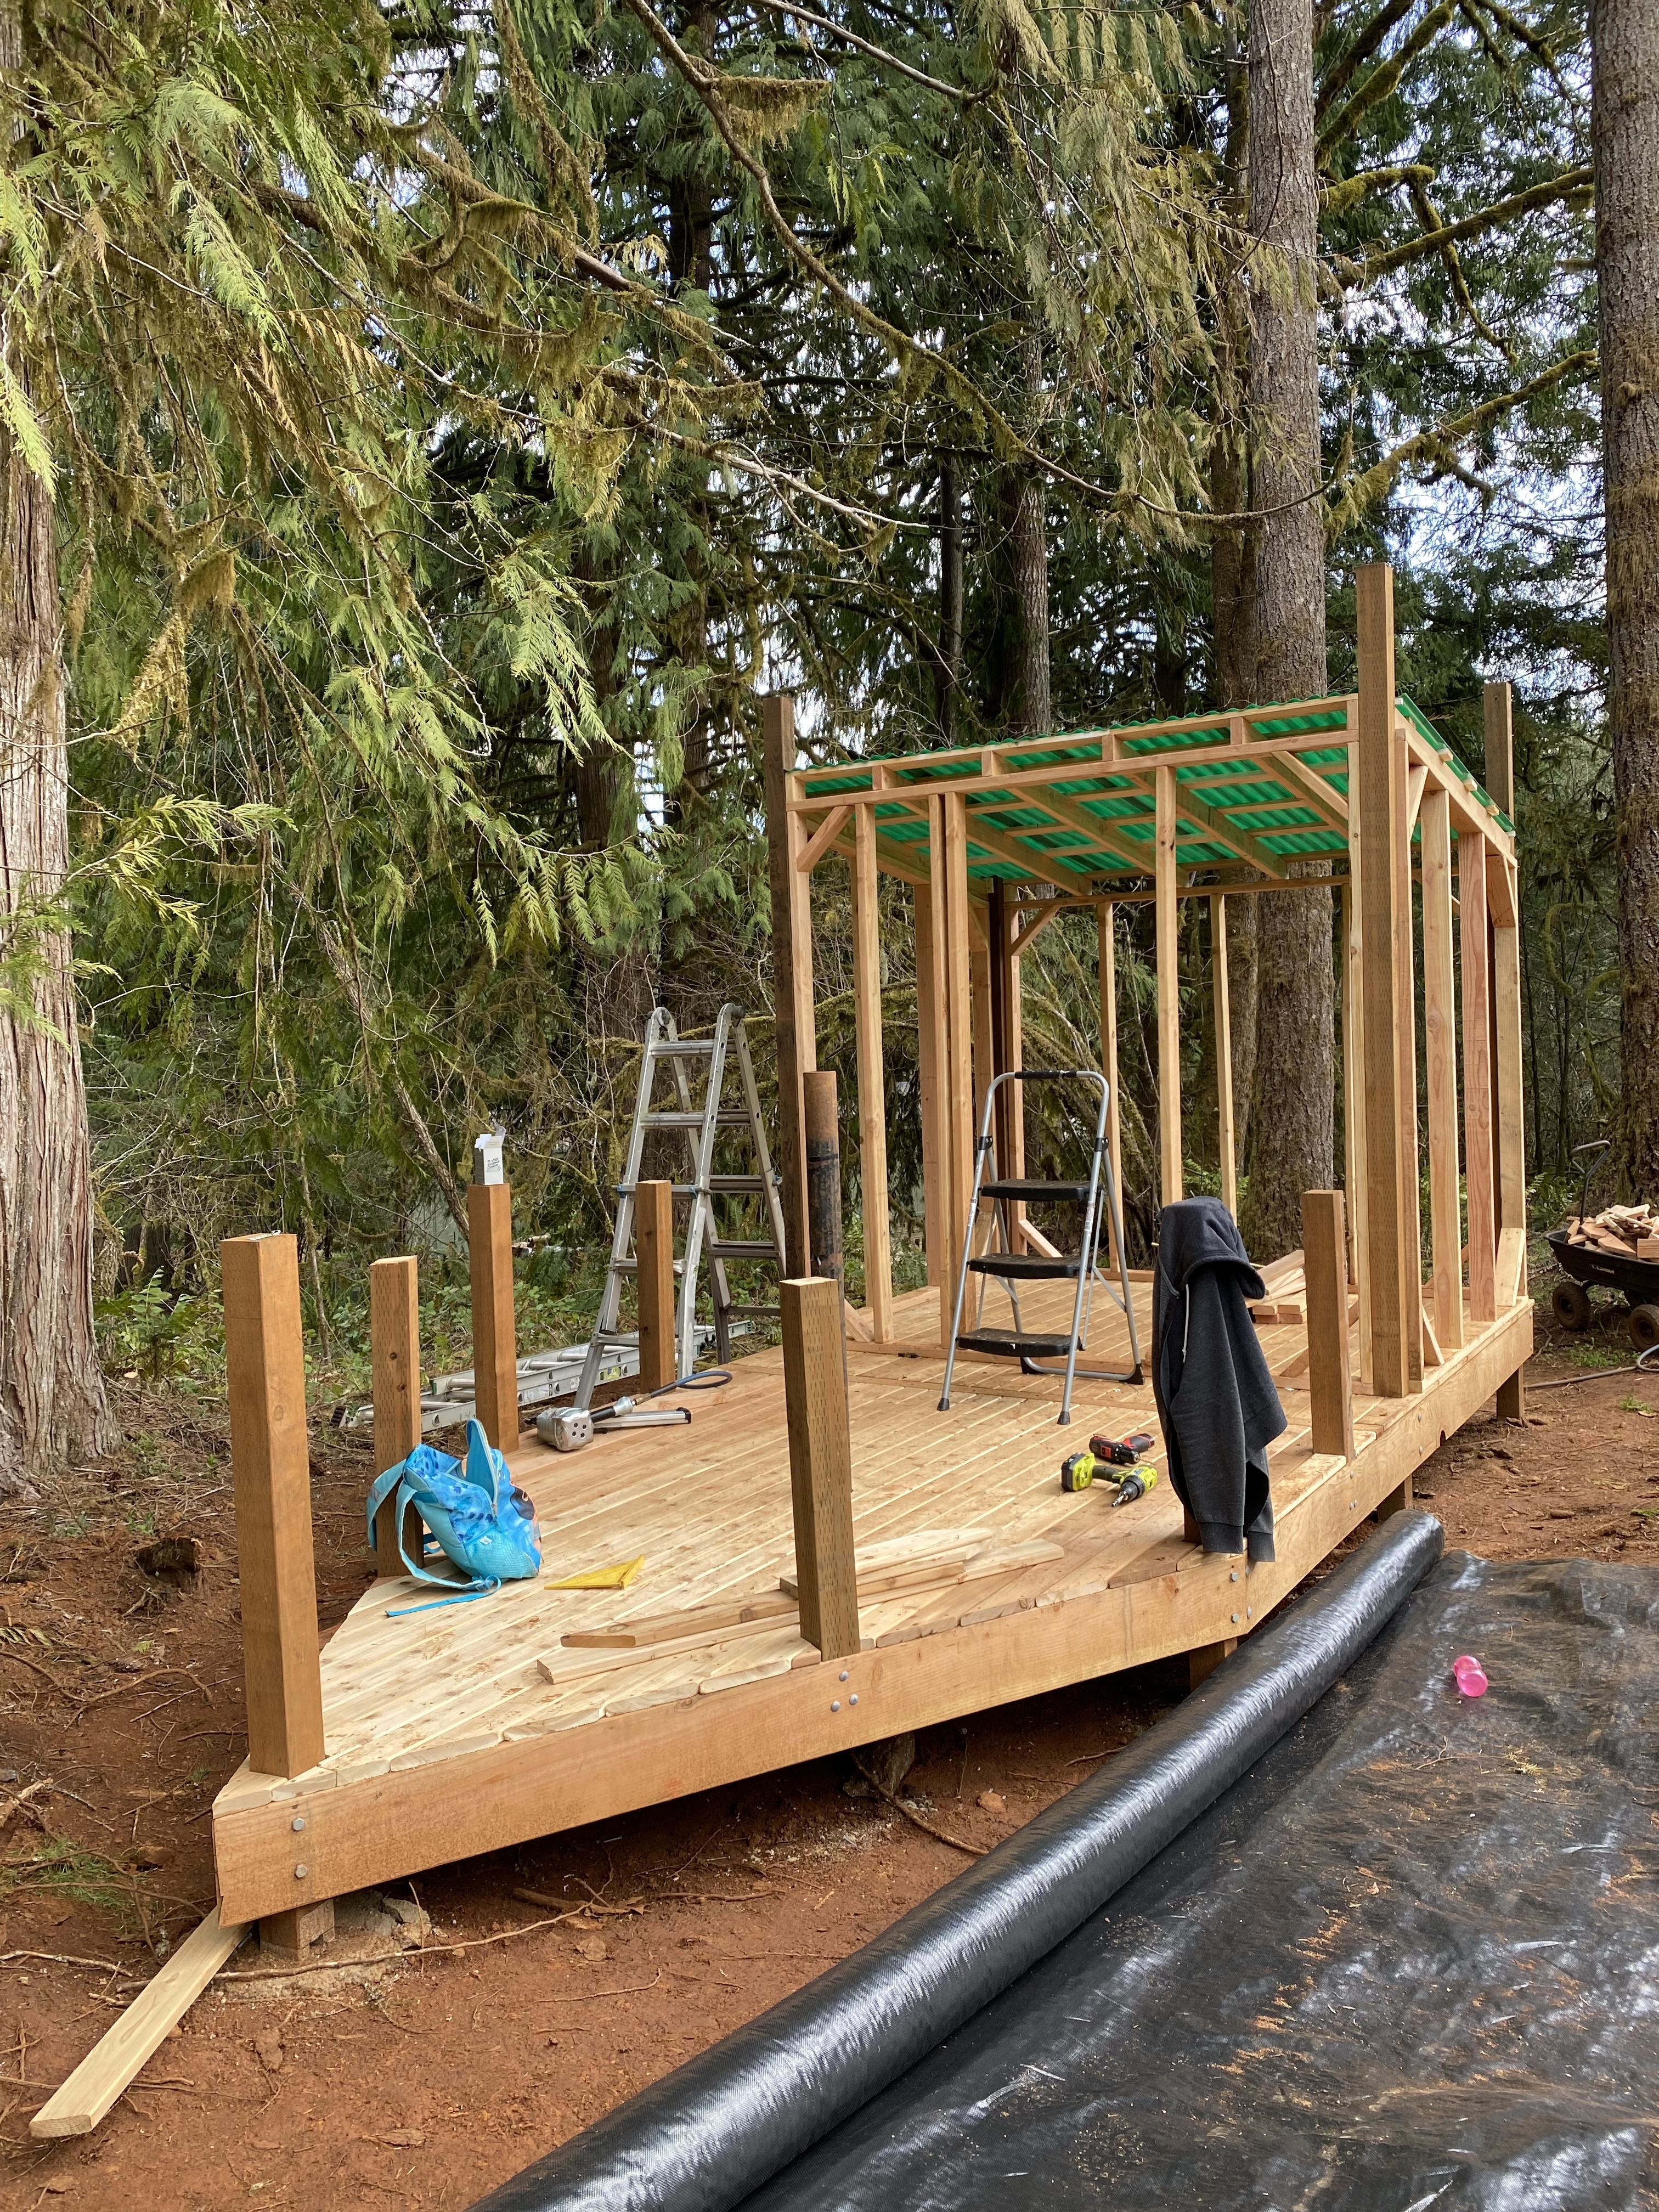
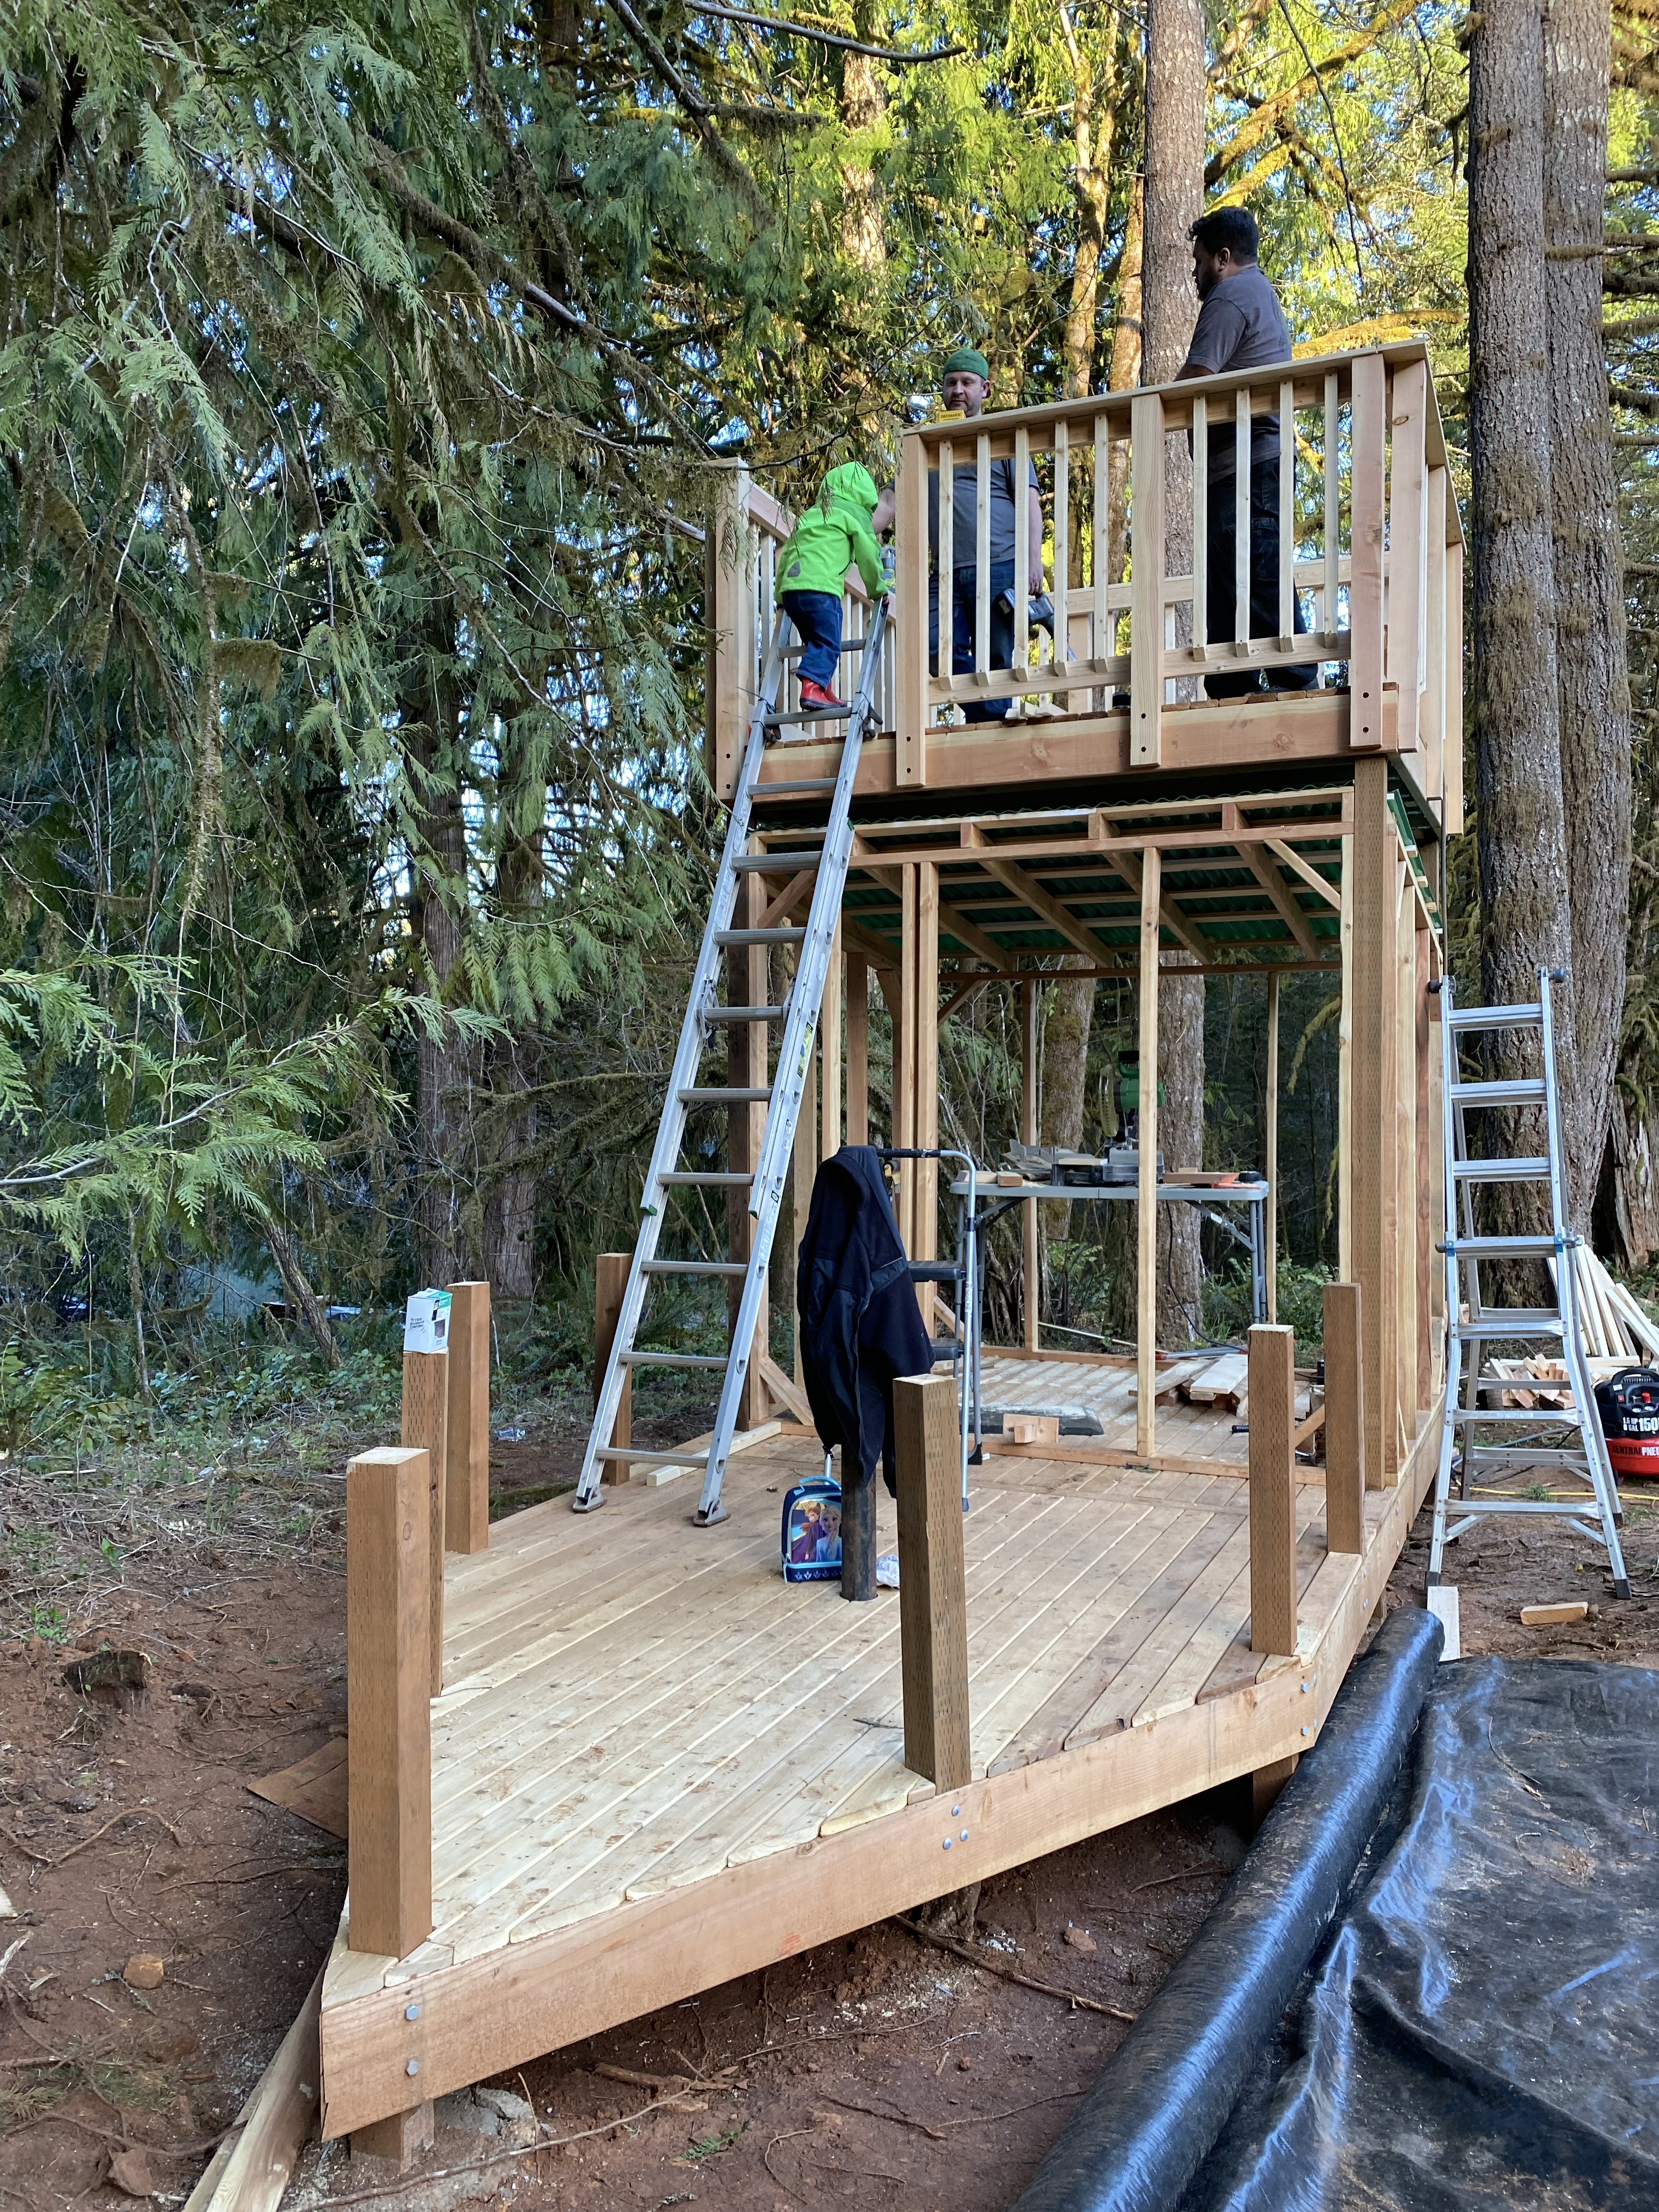
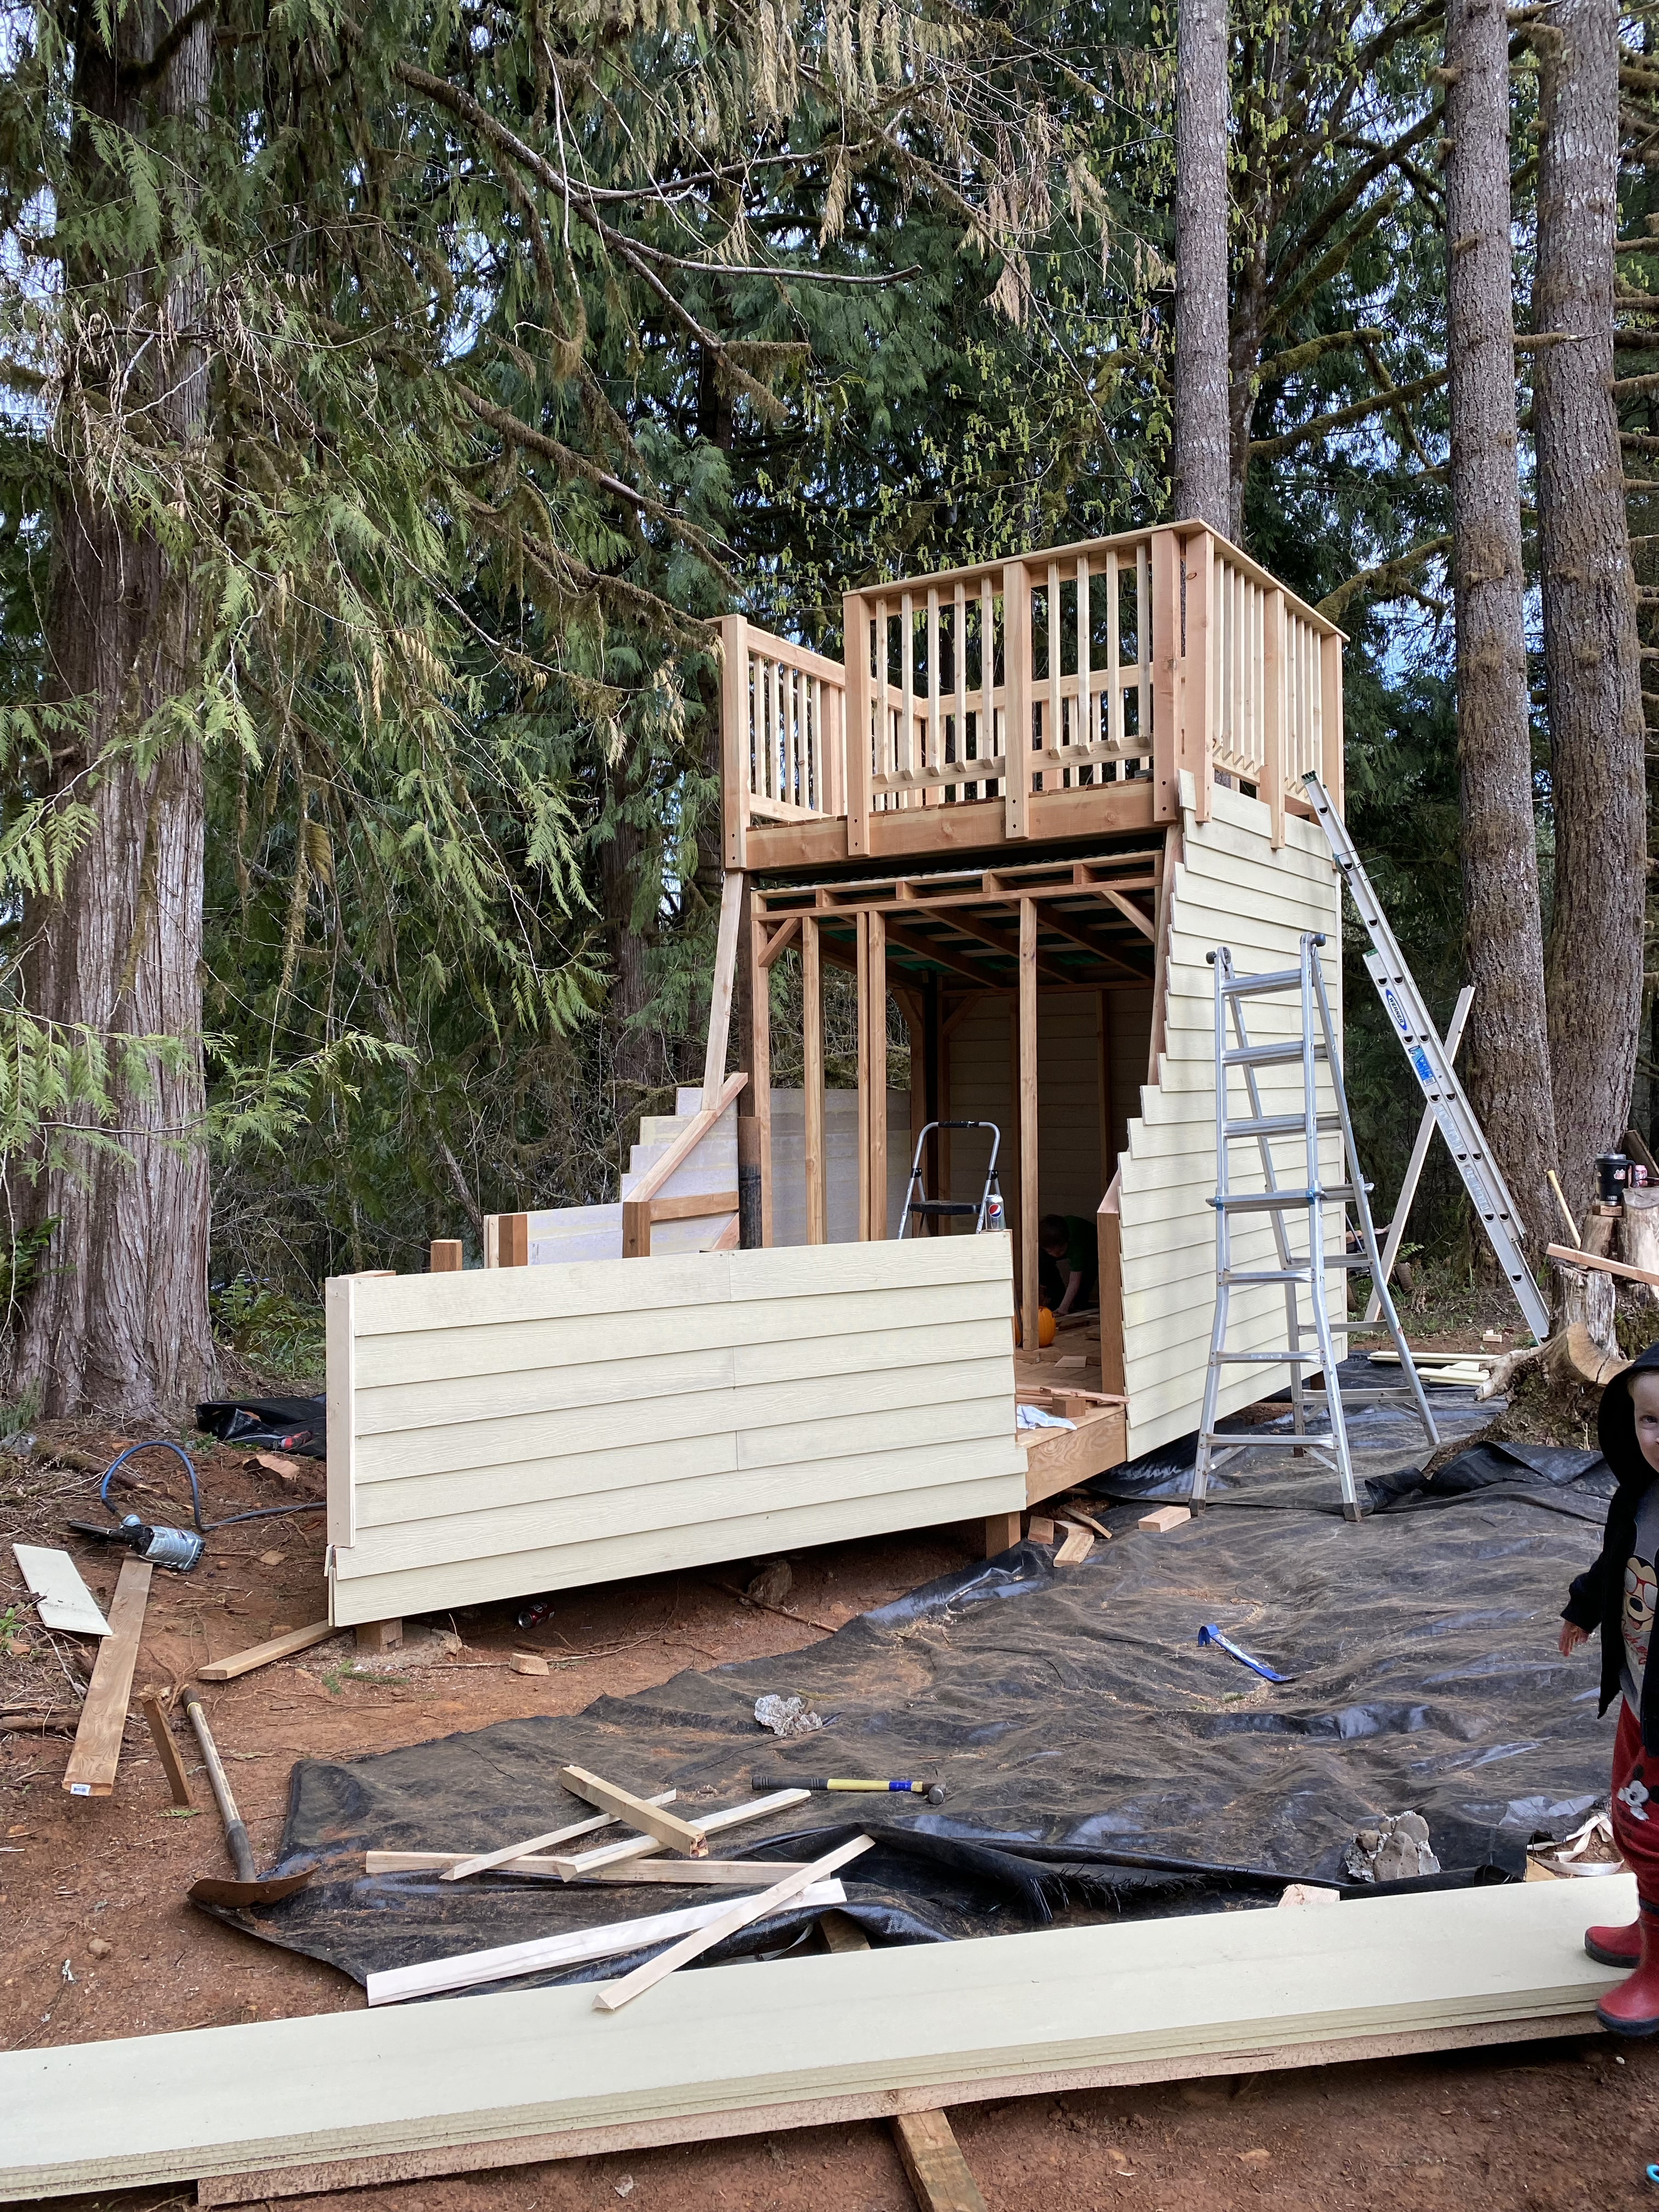
4. After so much measuring and plotting, we dug some post holes. (This was the global “we”, I did not dig the holes.) We used 4 x 4 posts and filled the holes with concrete. Then we framed up the outline of the ship and basically built a floating deck.
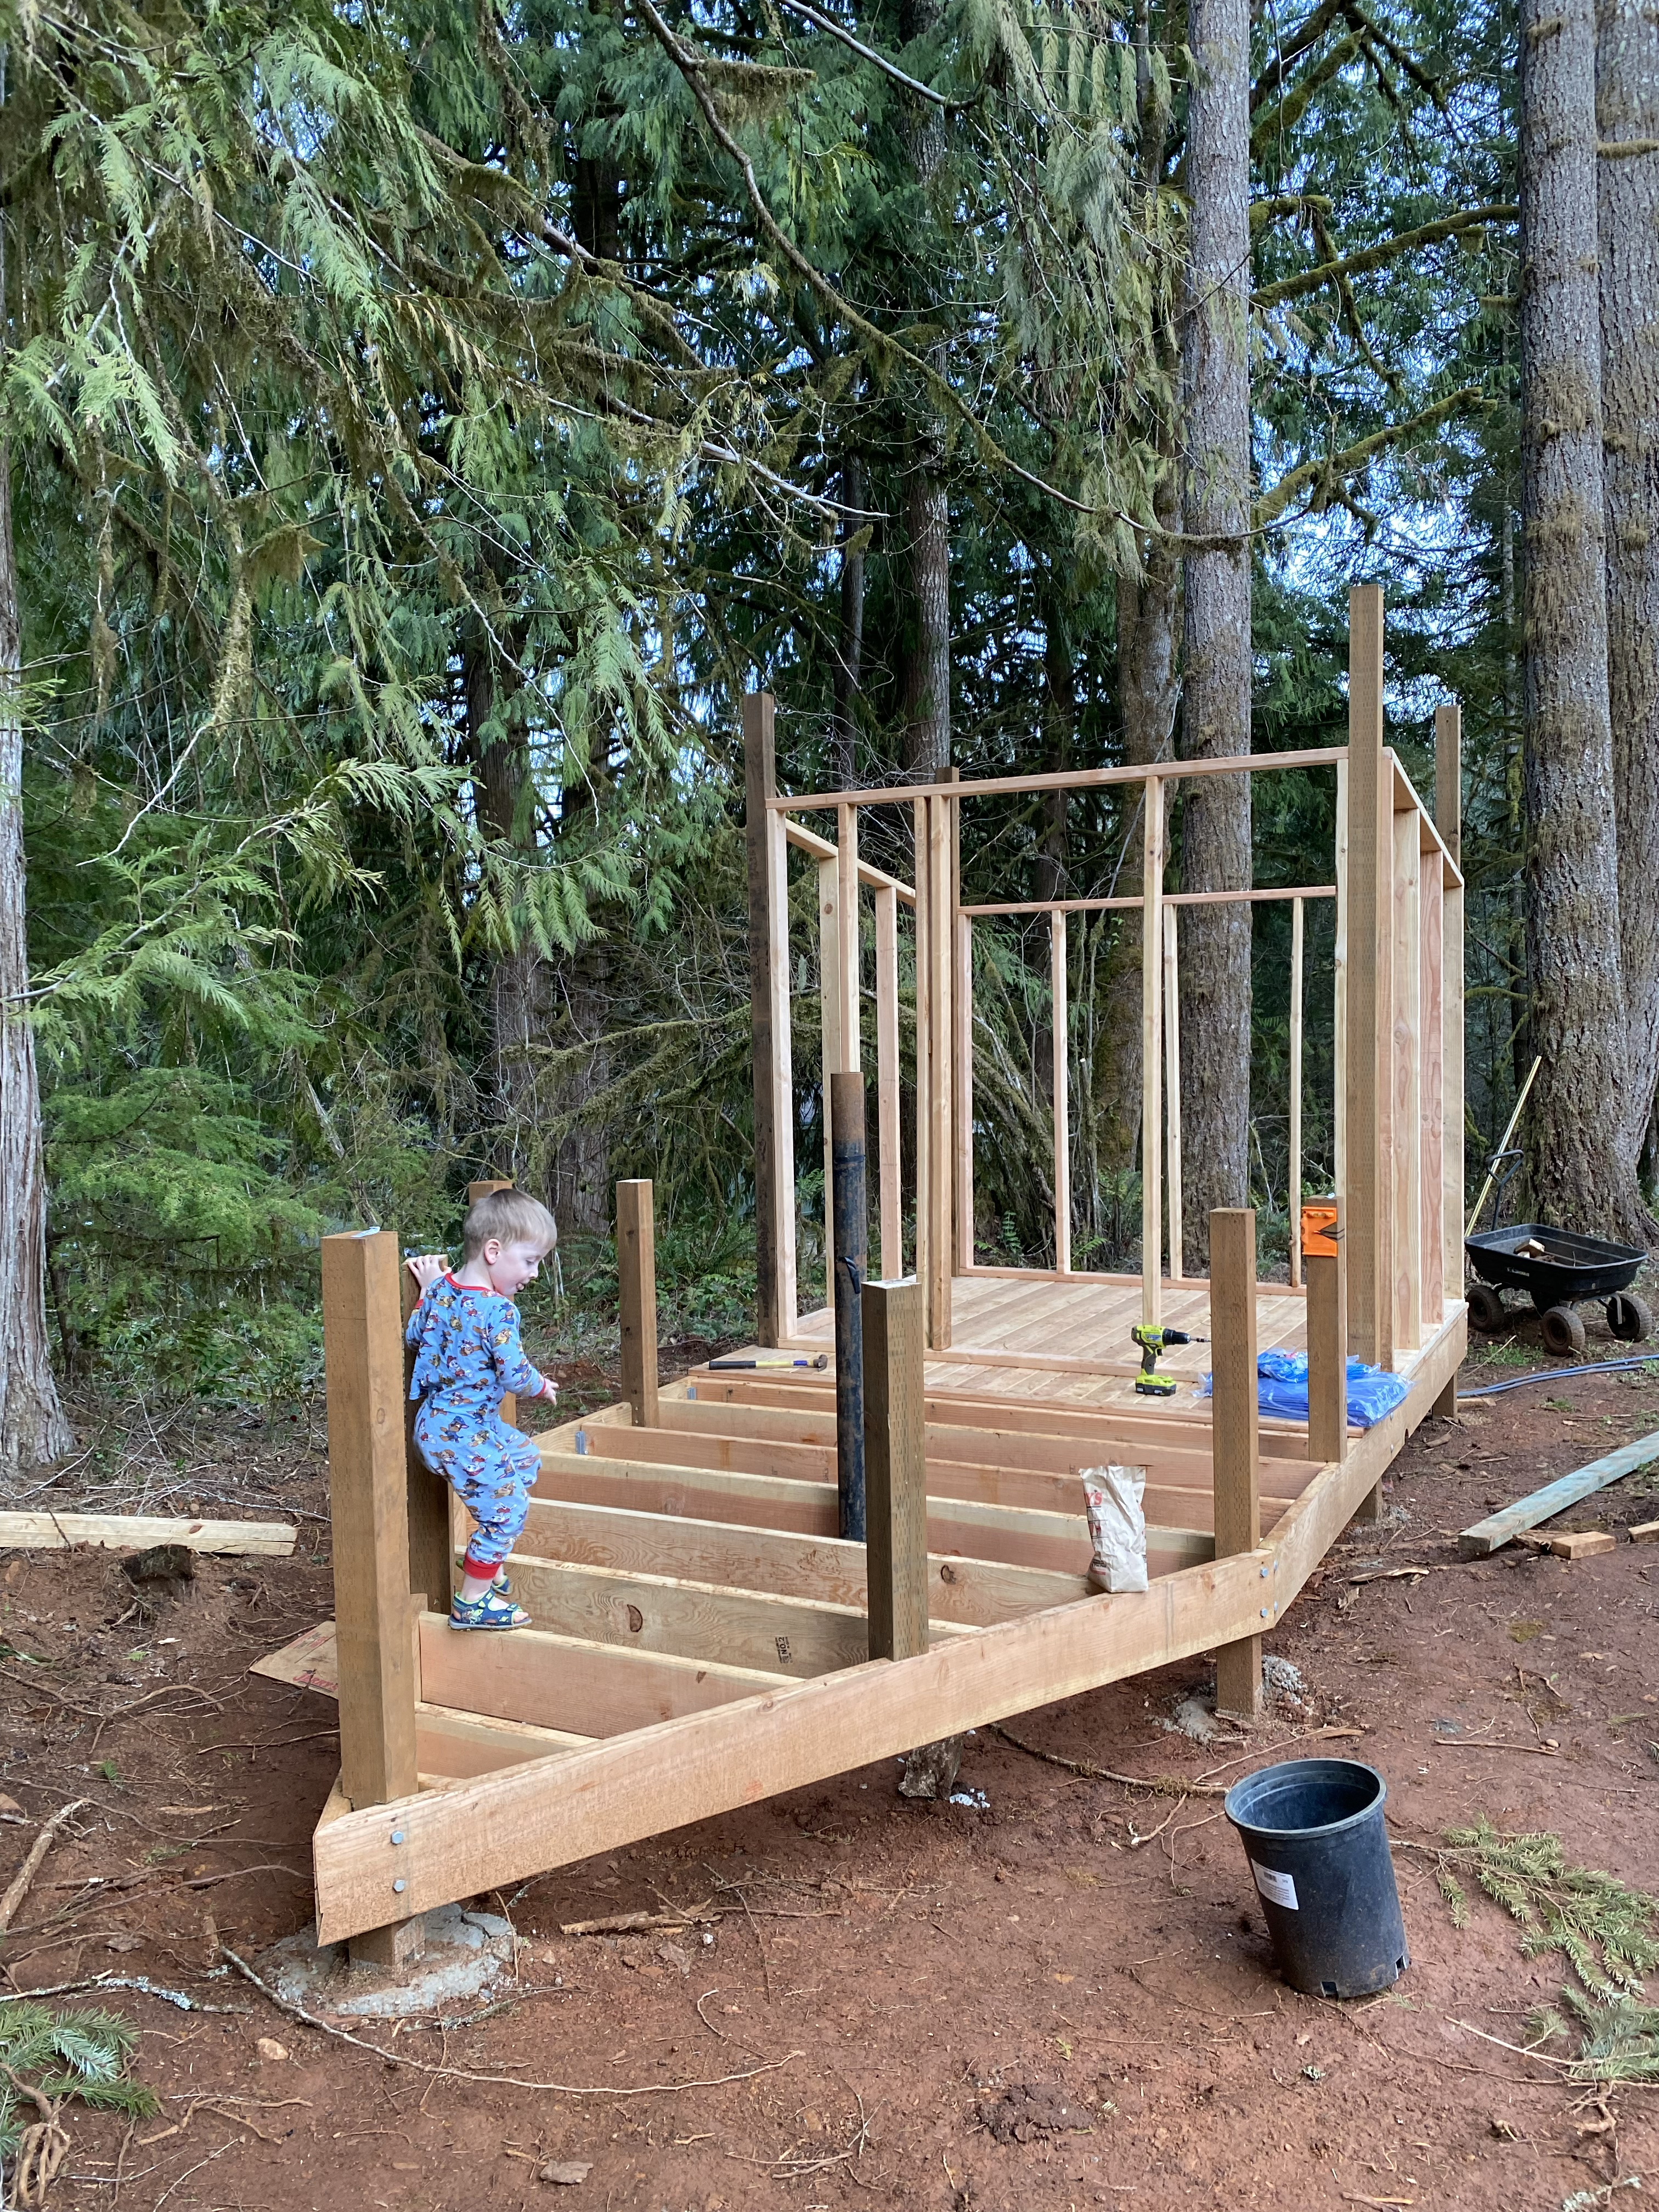
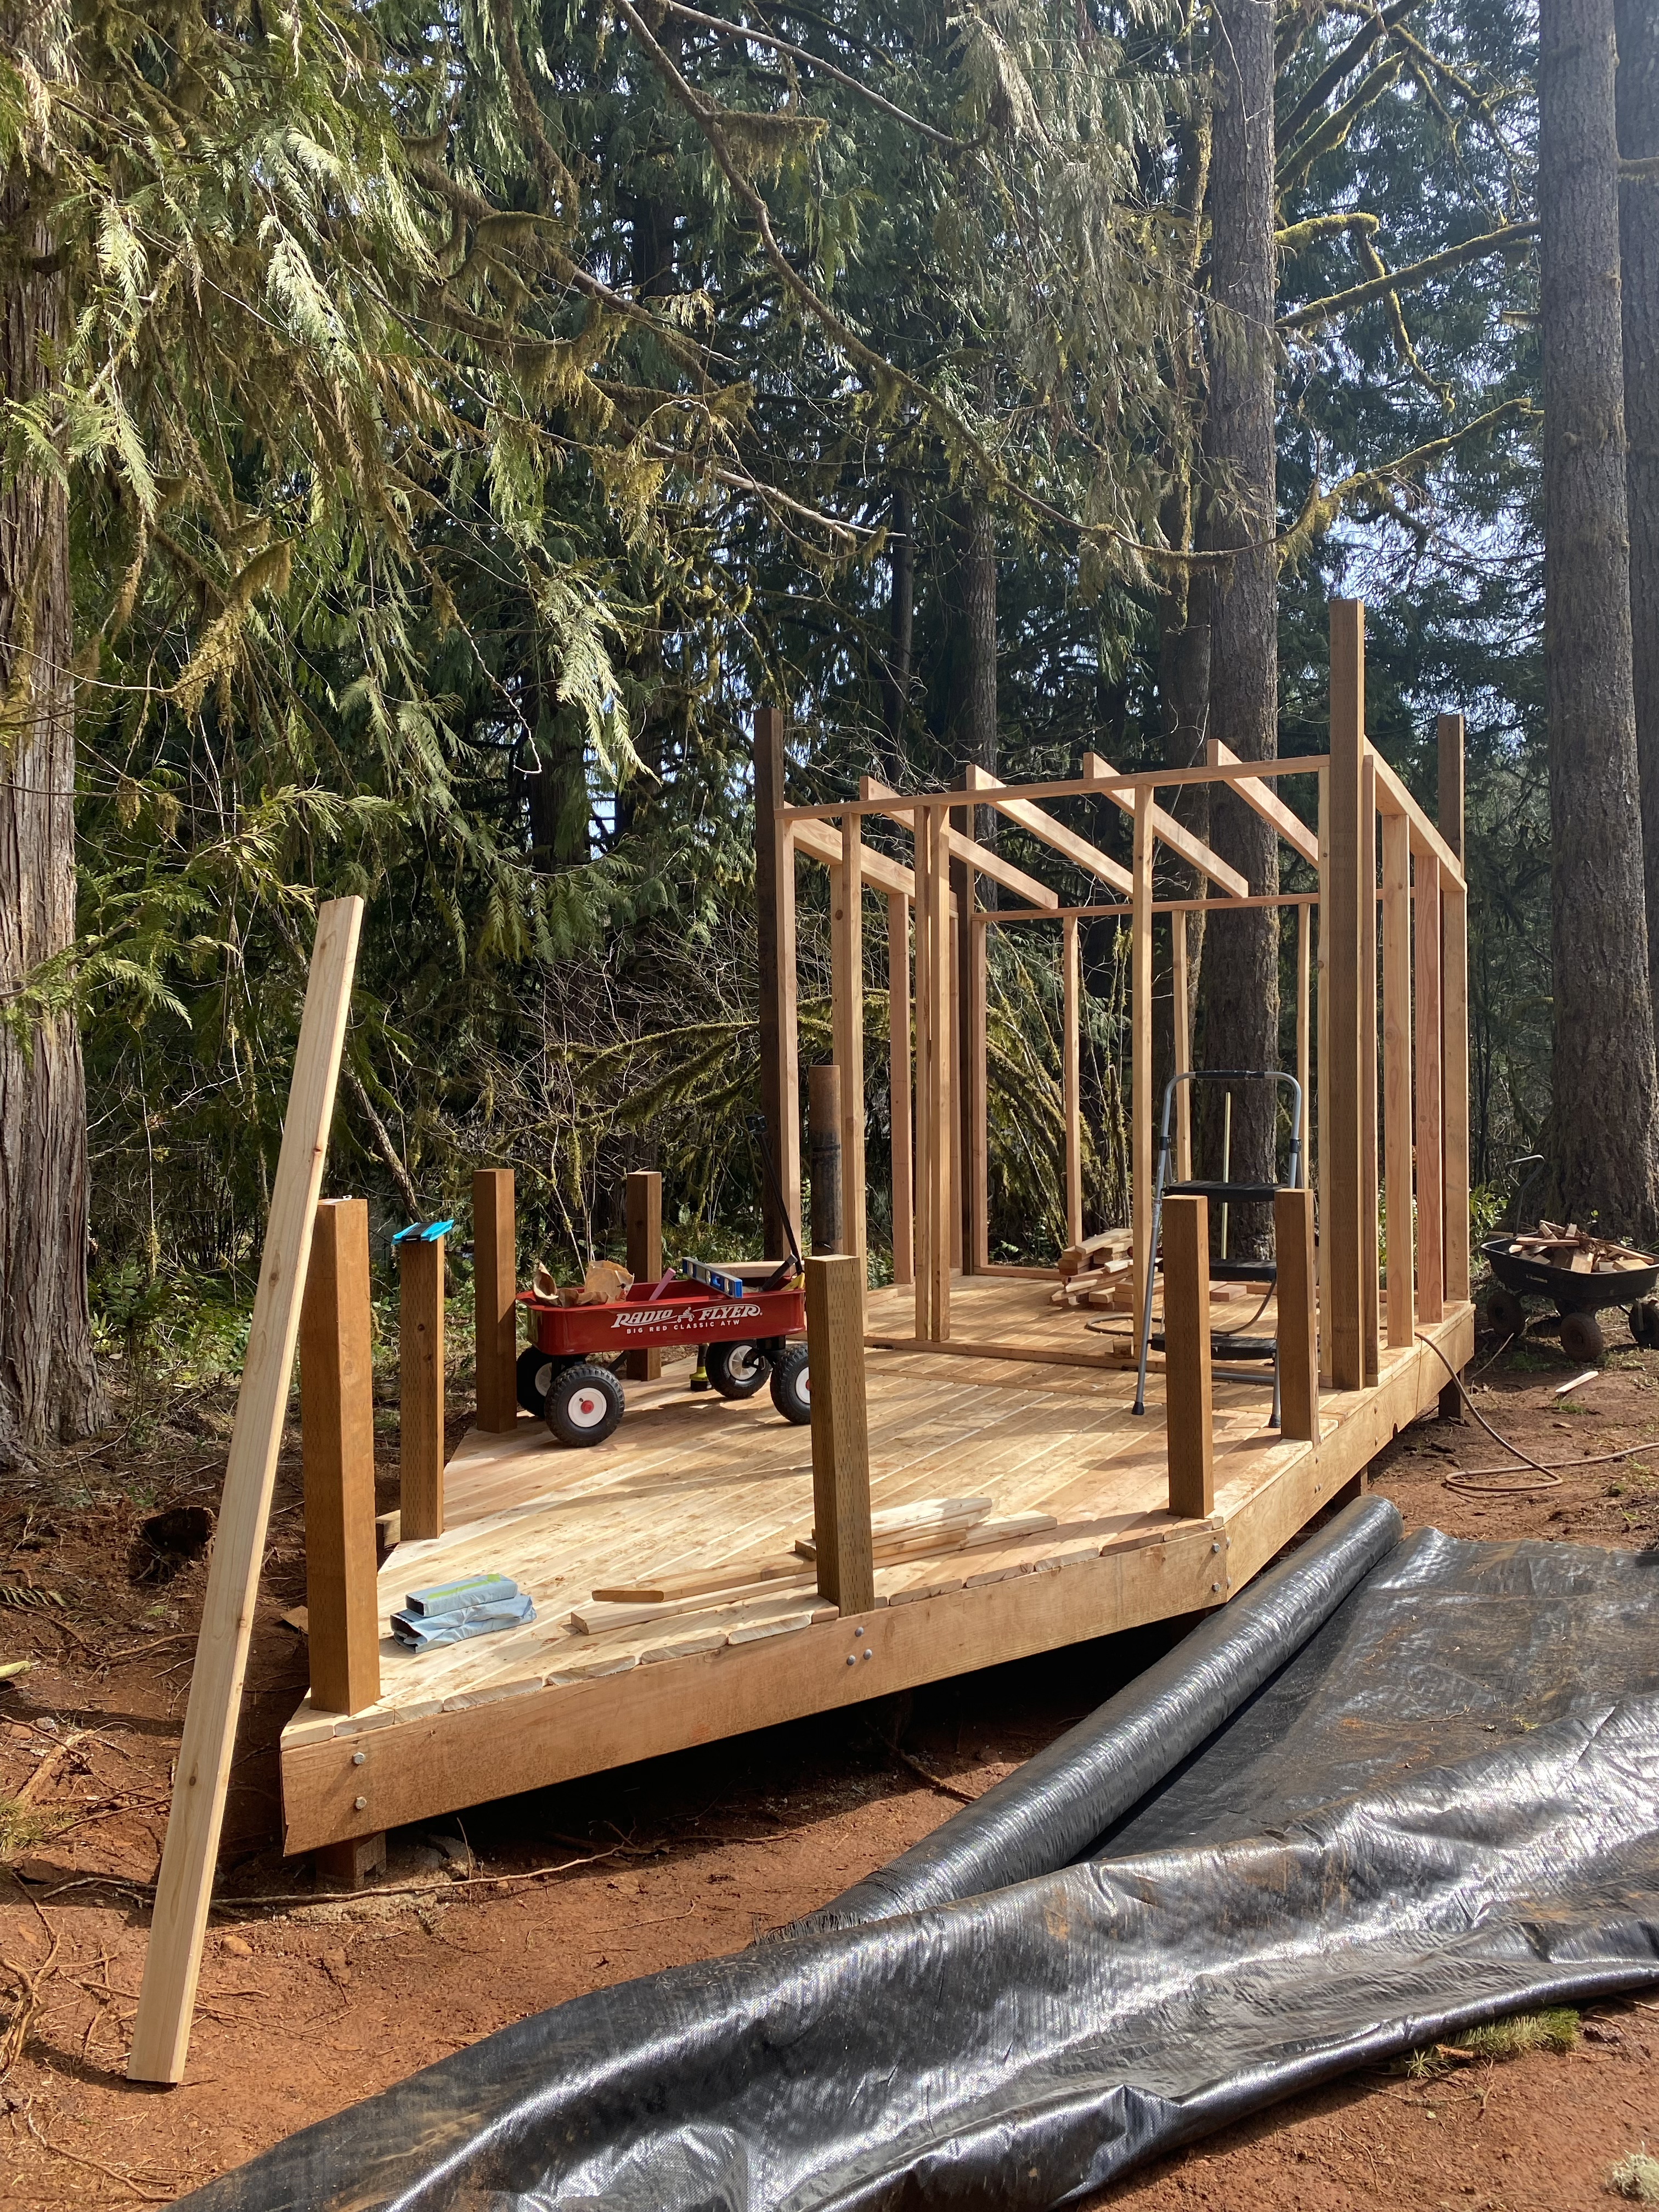
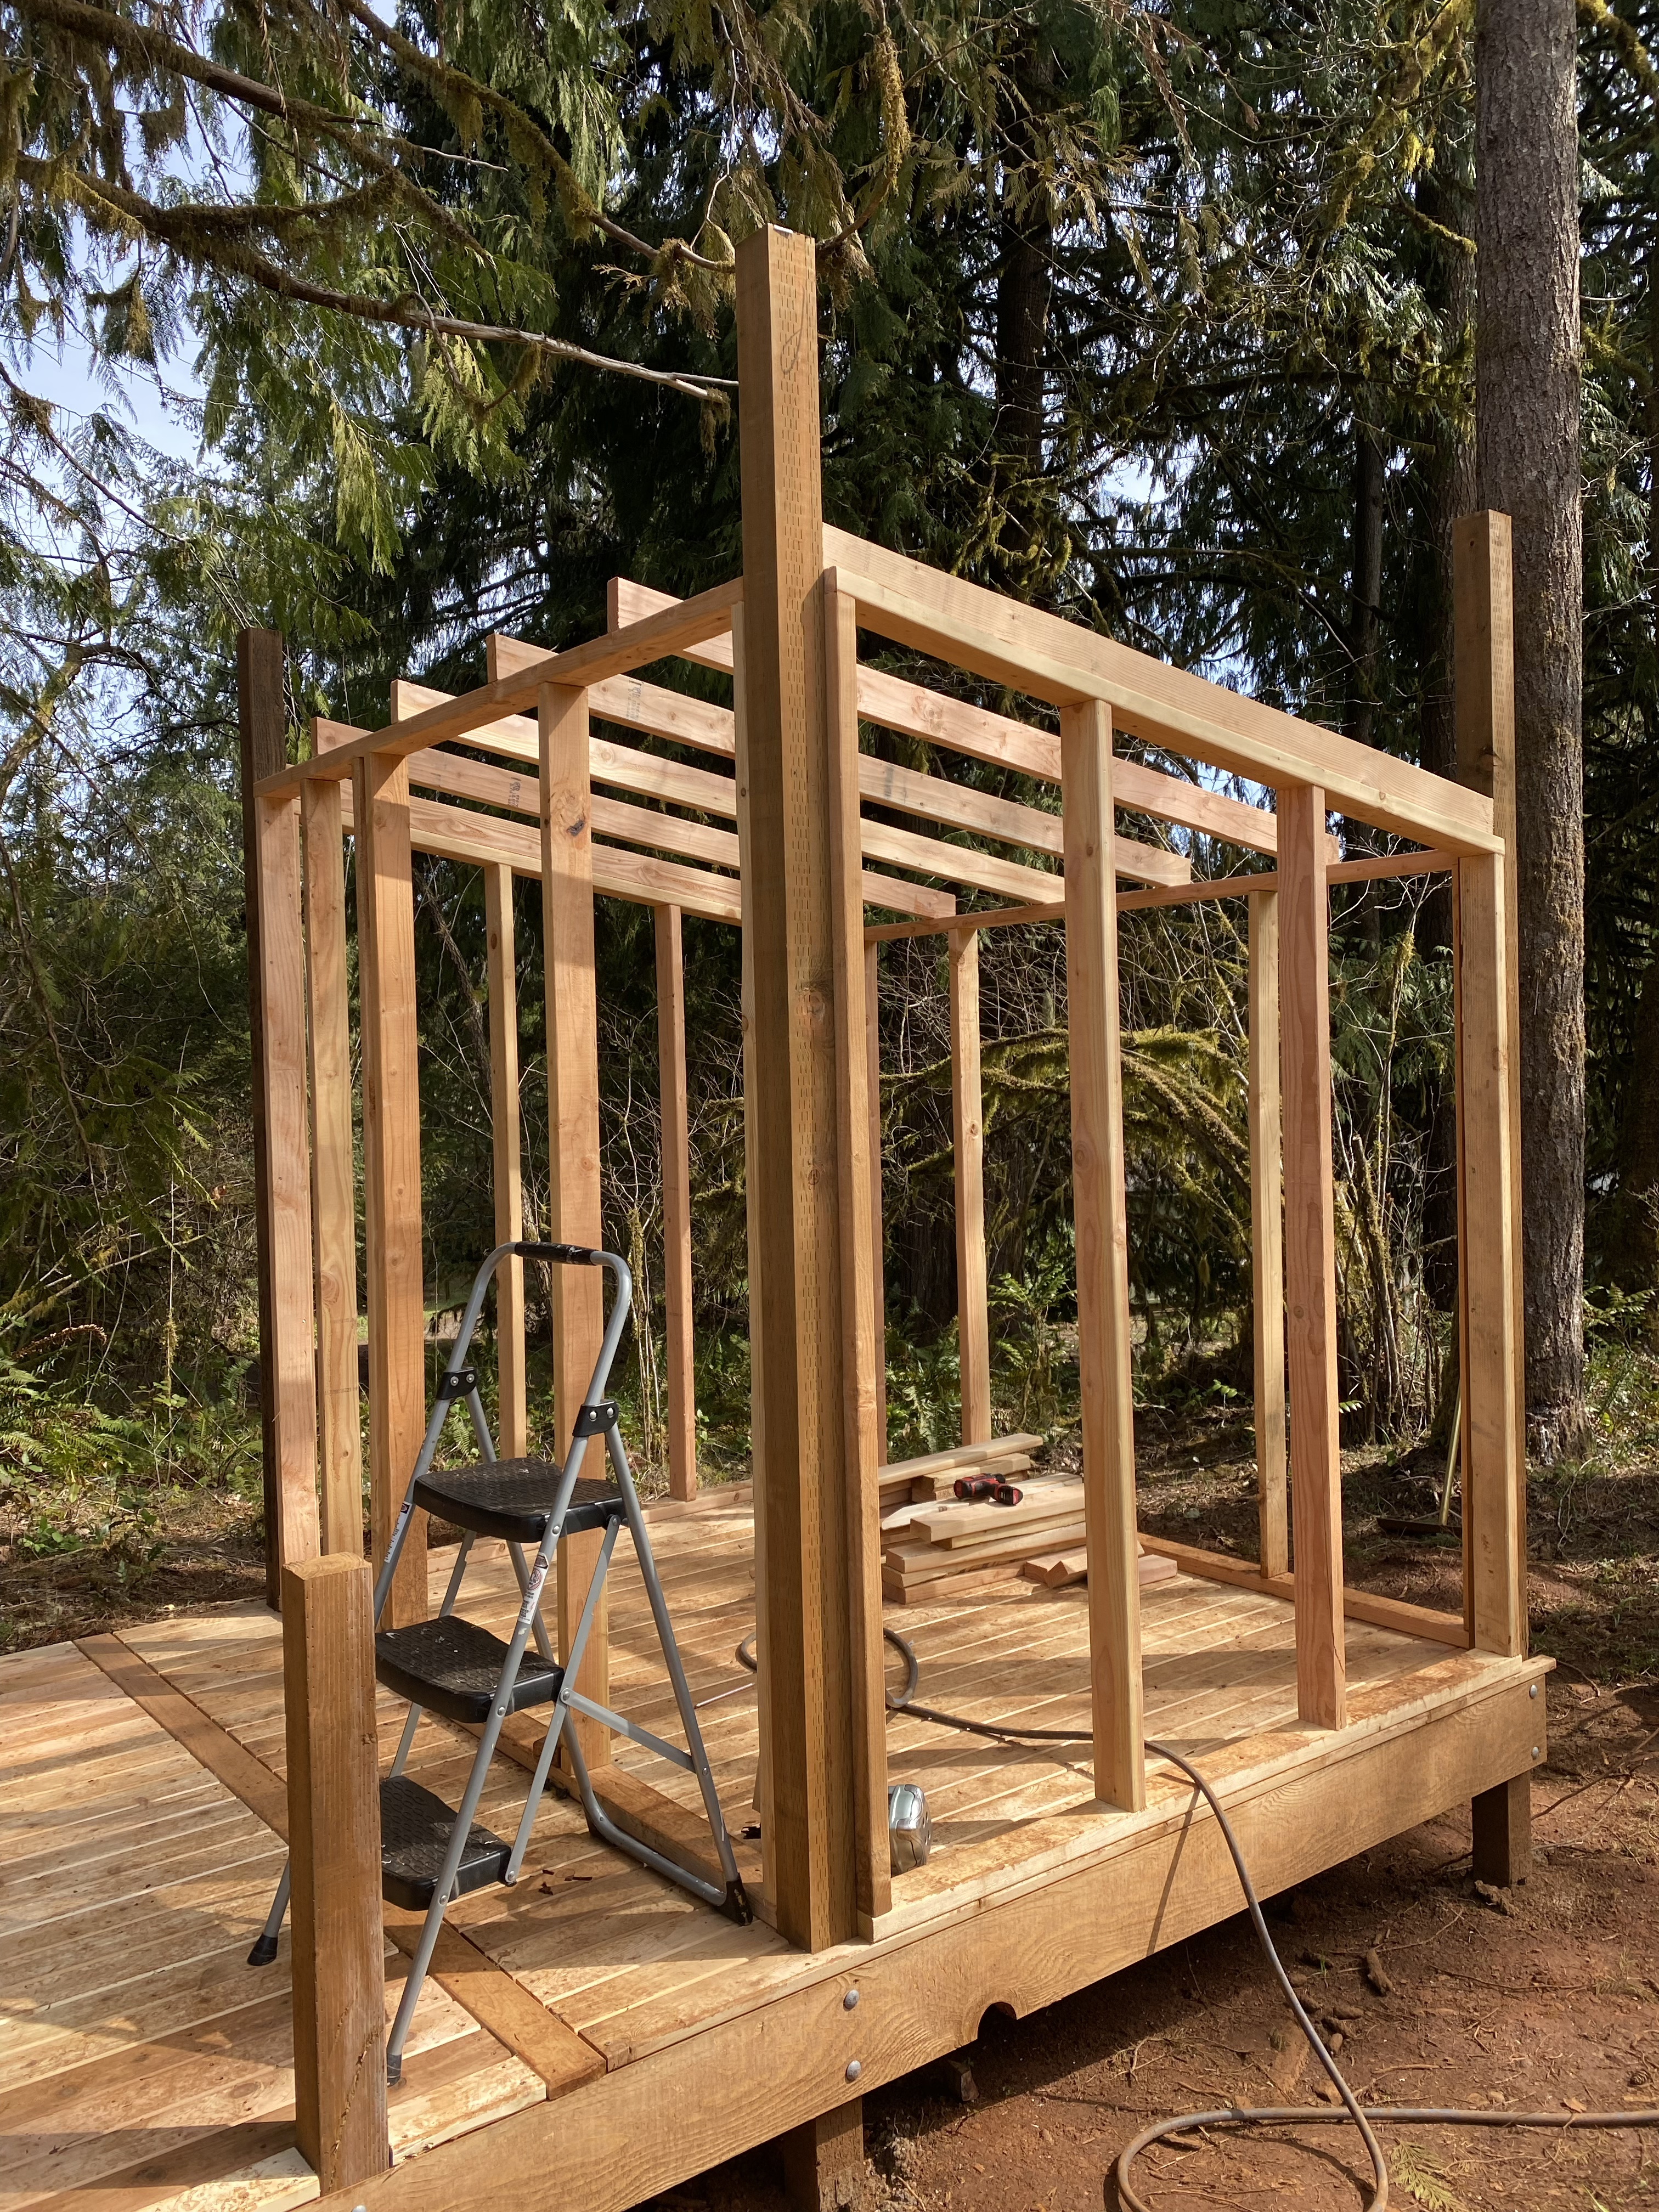
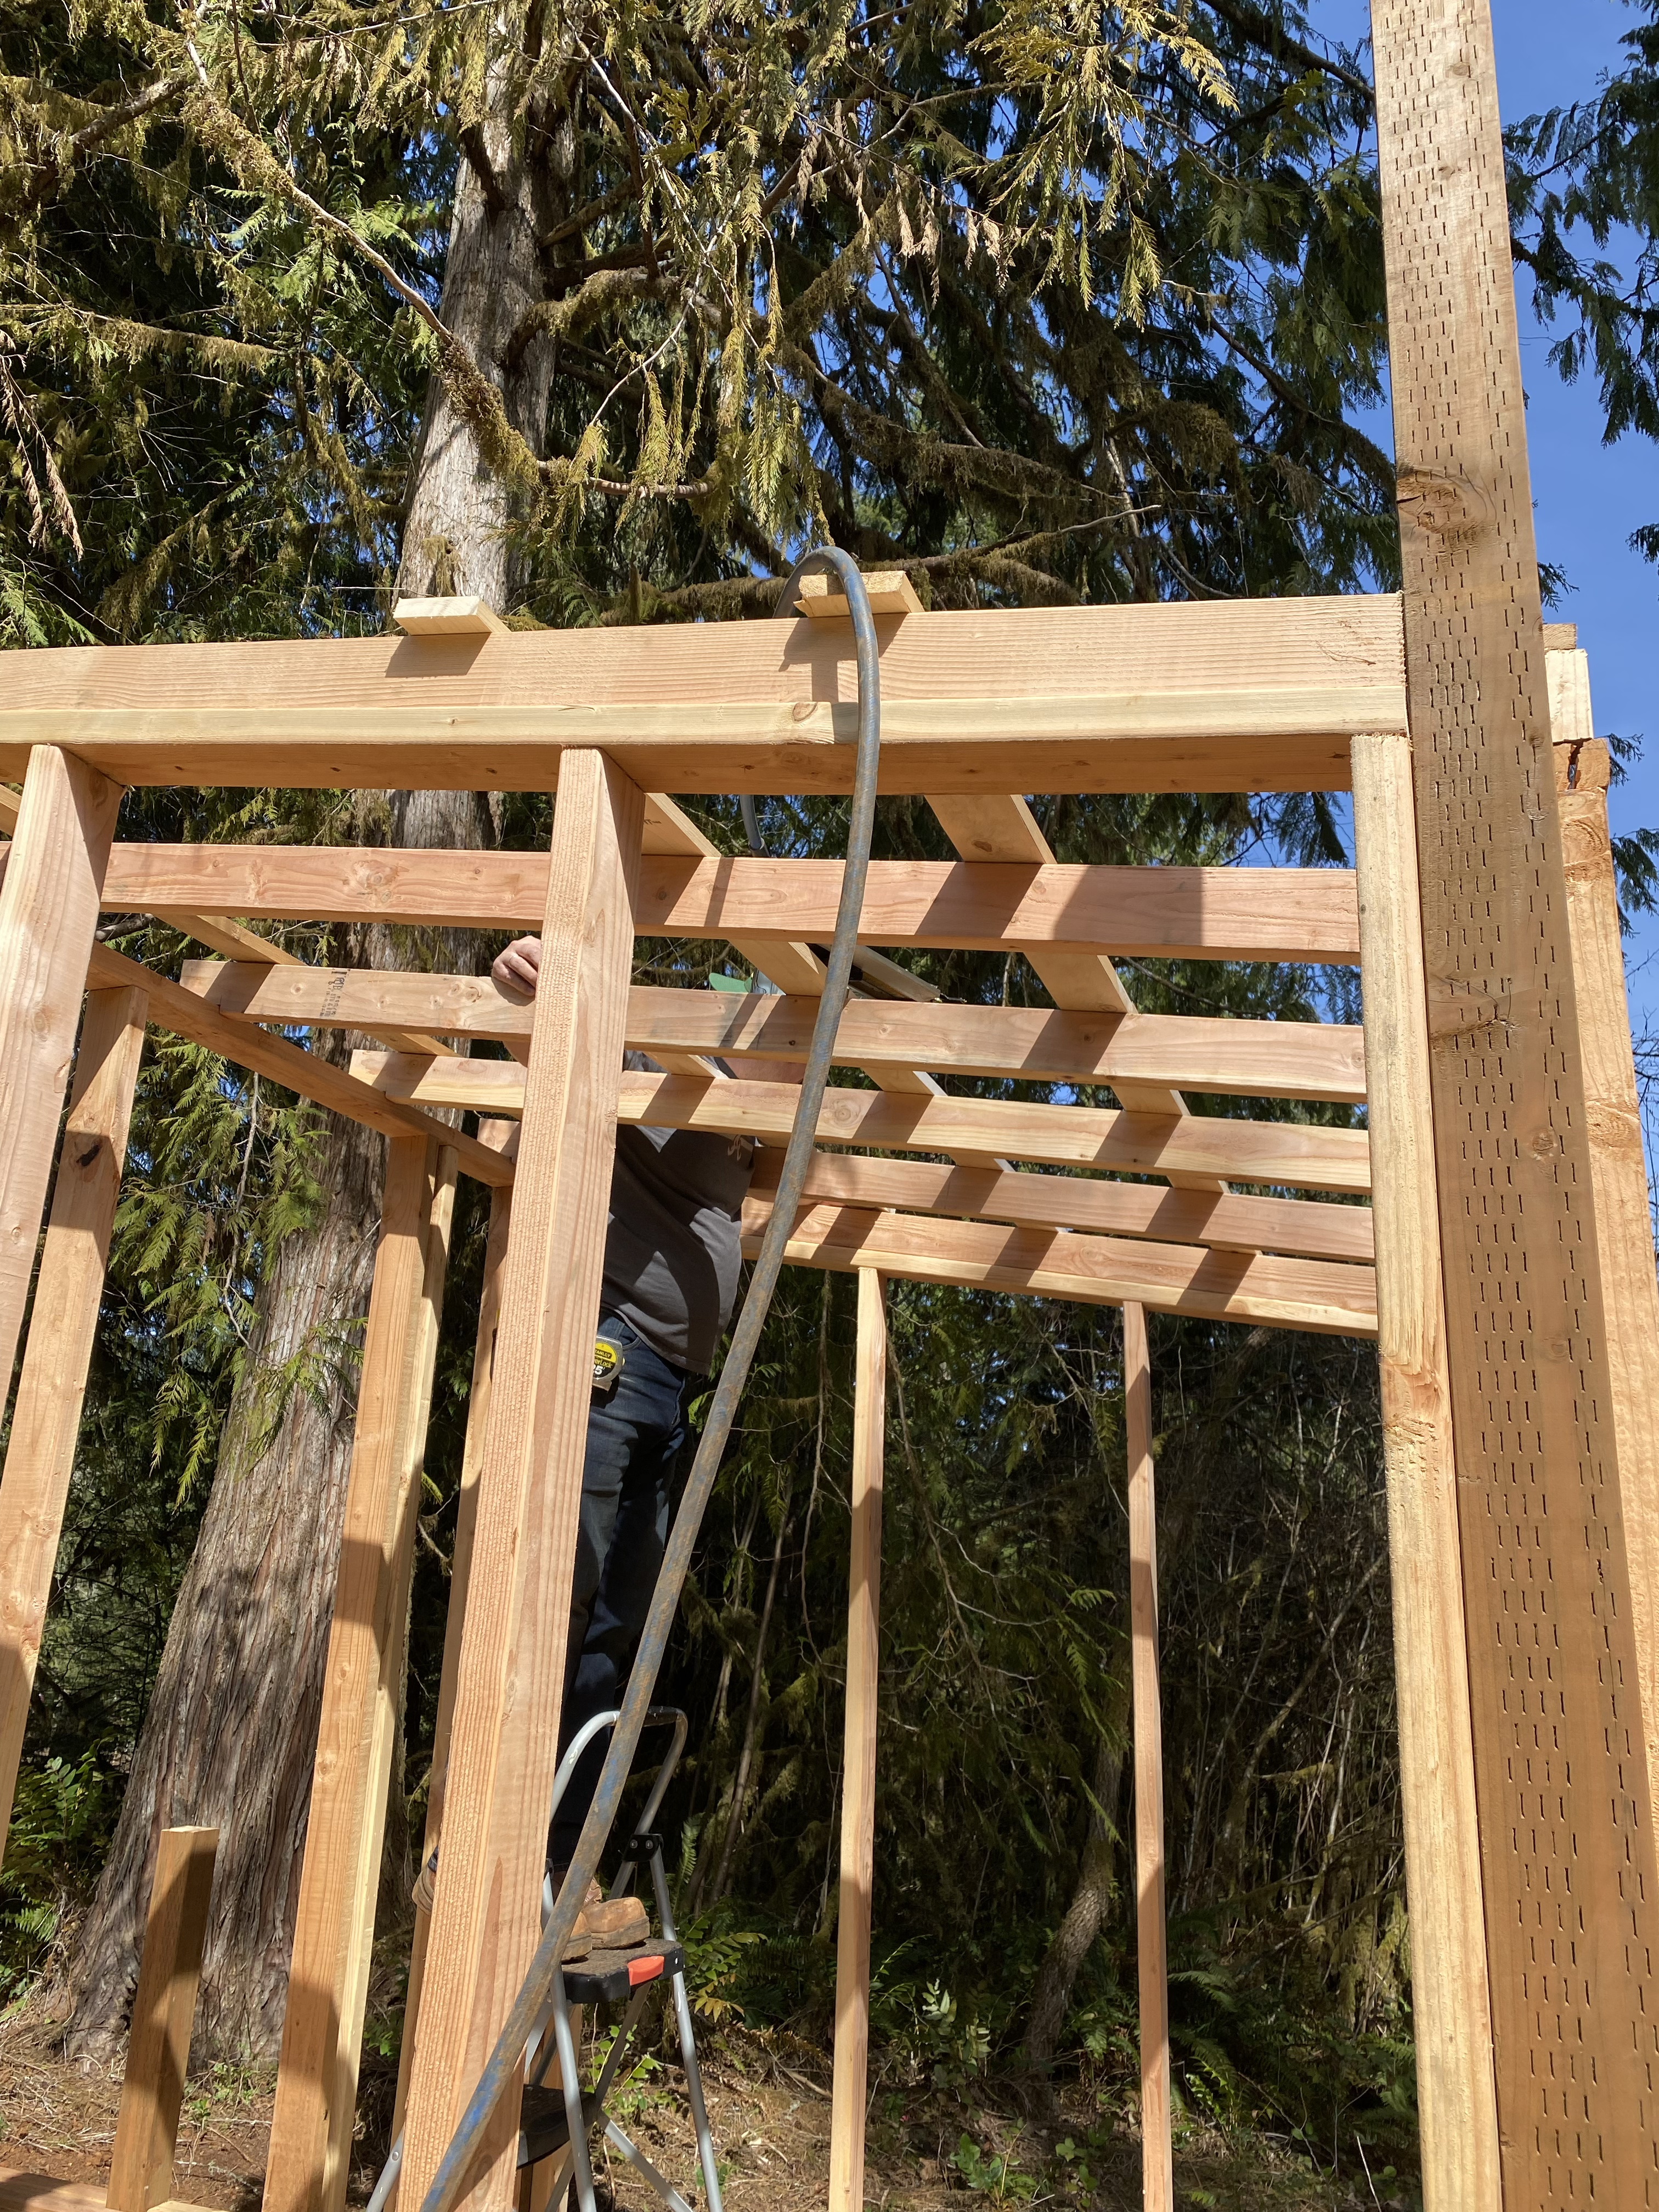
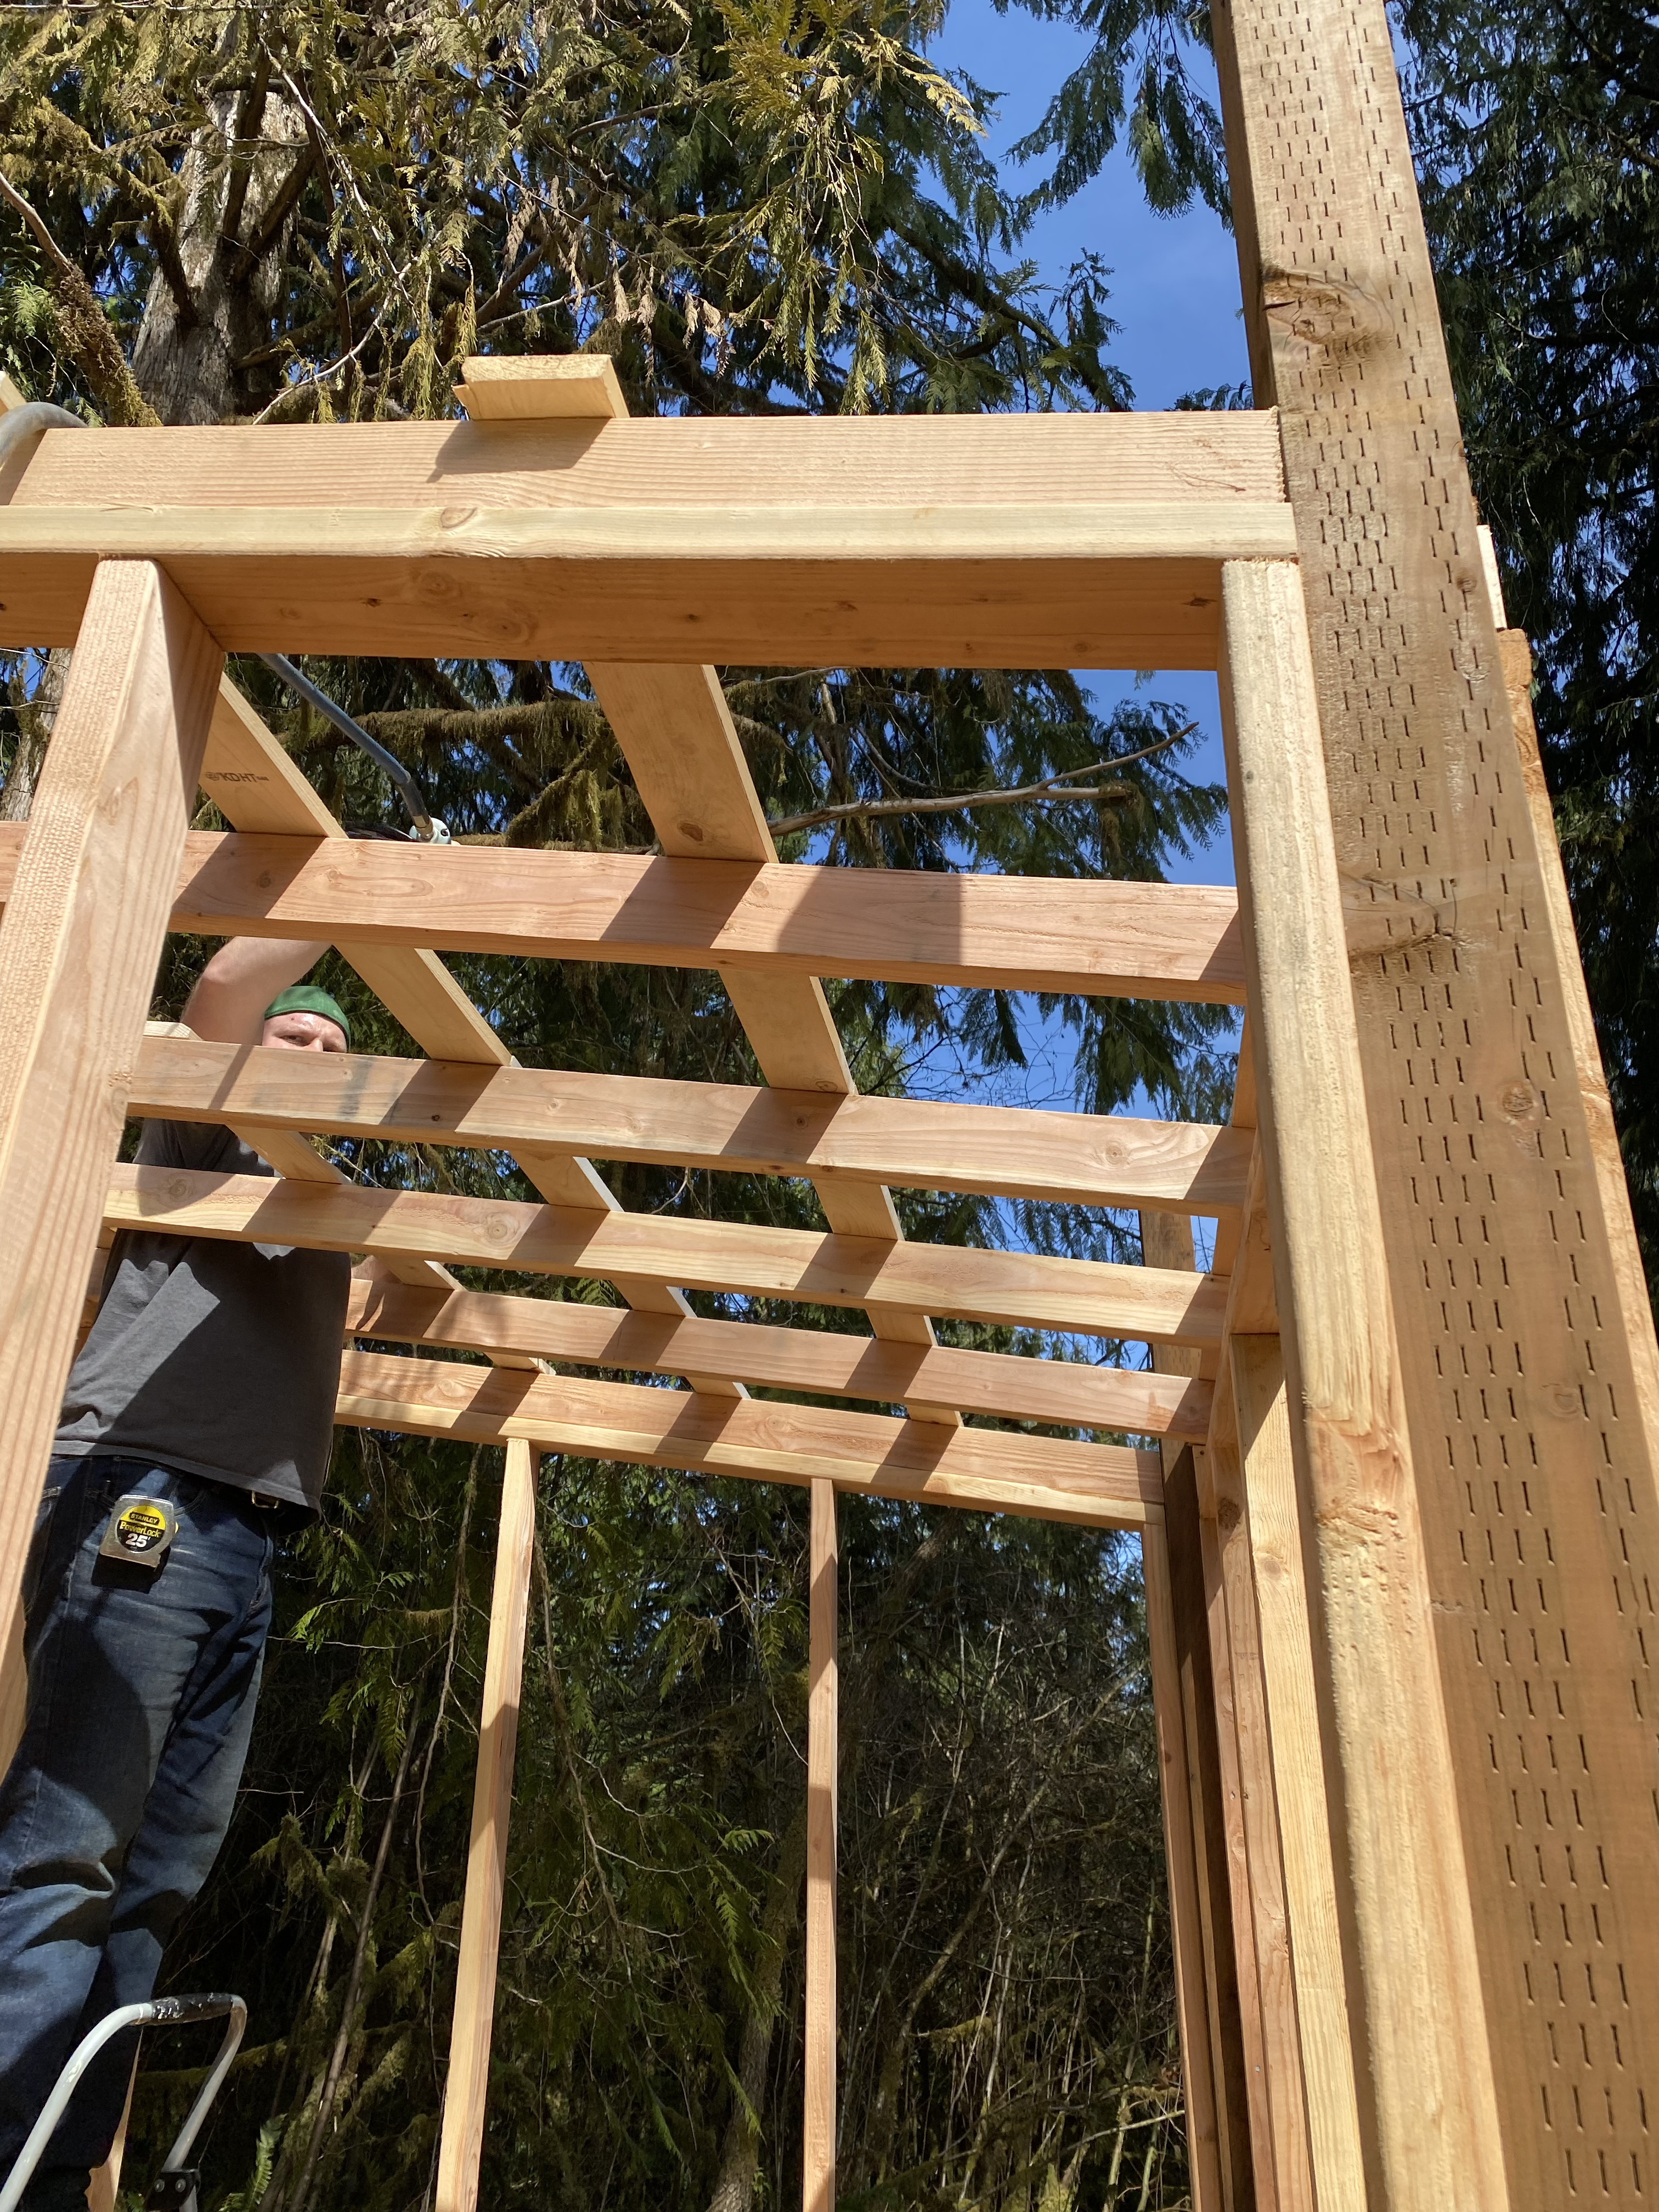
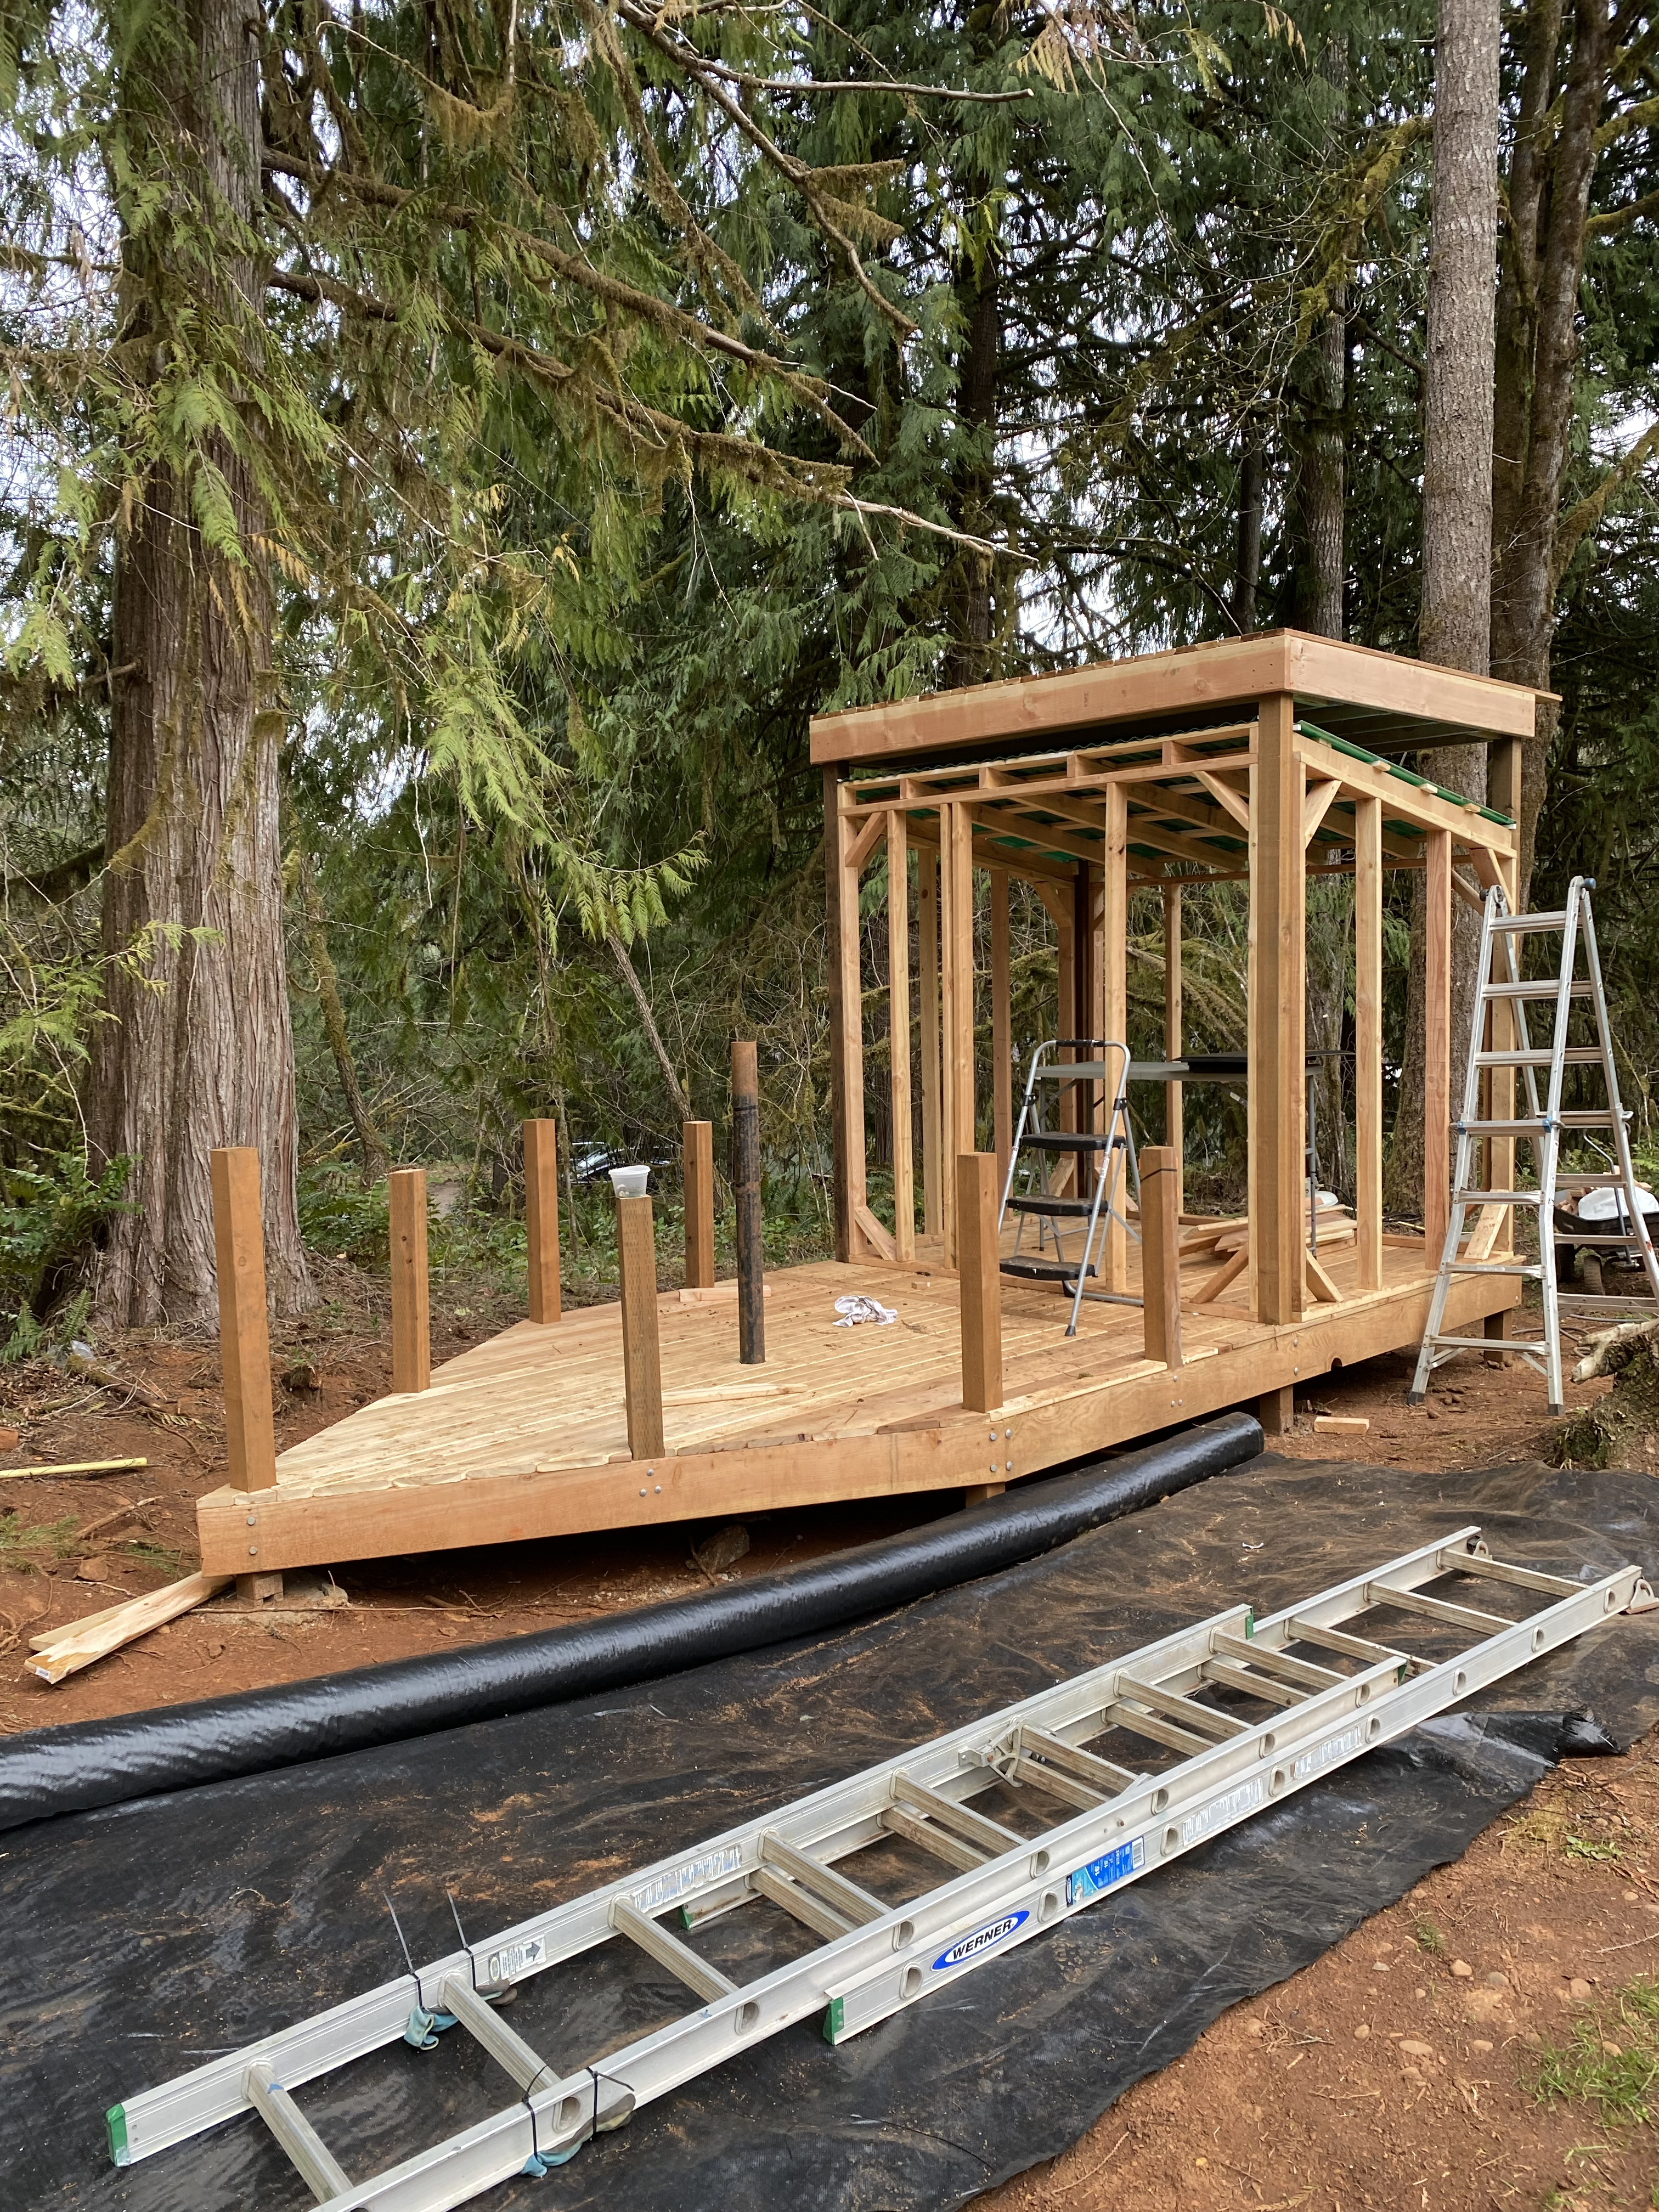
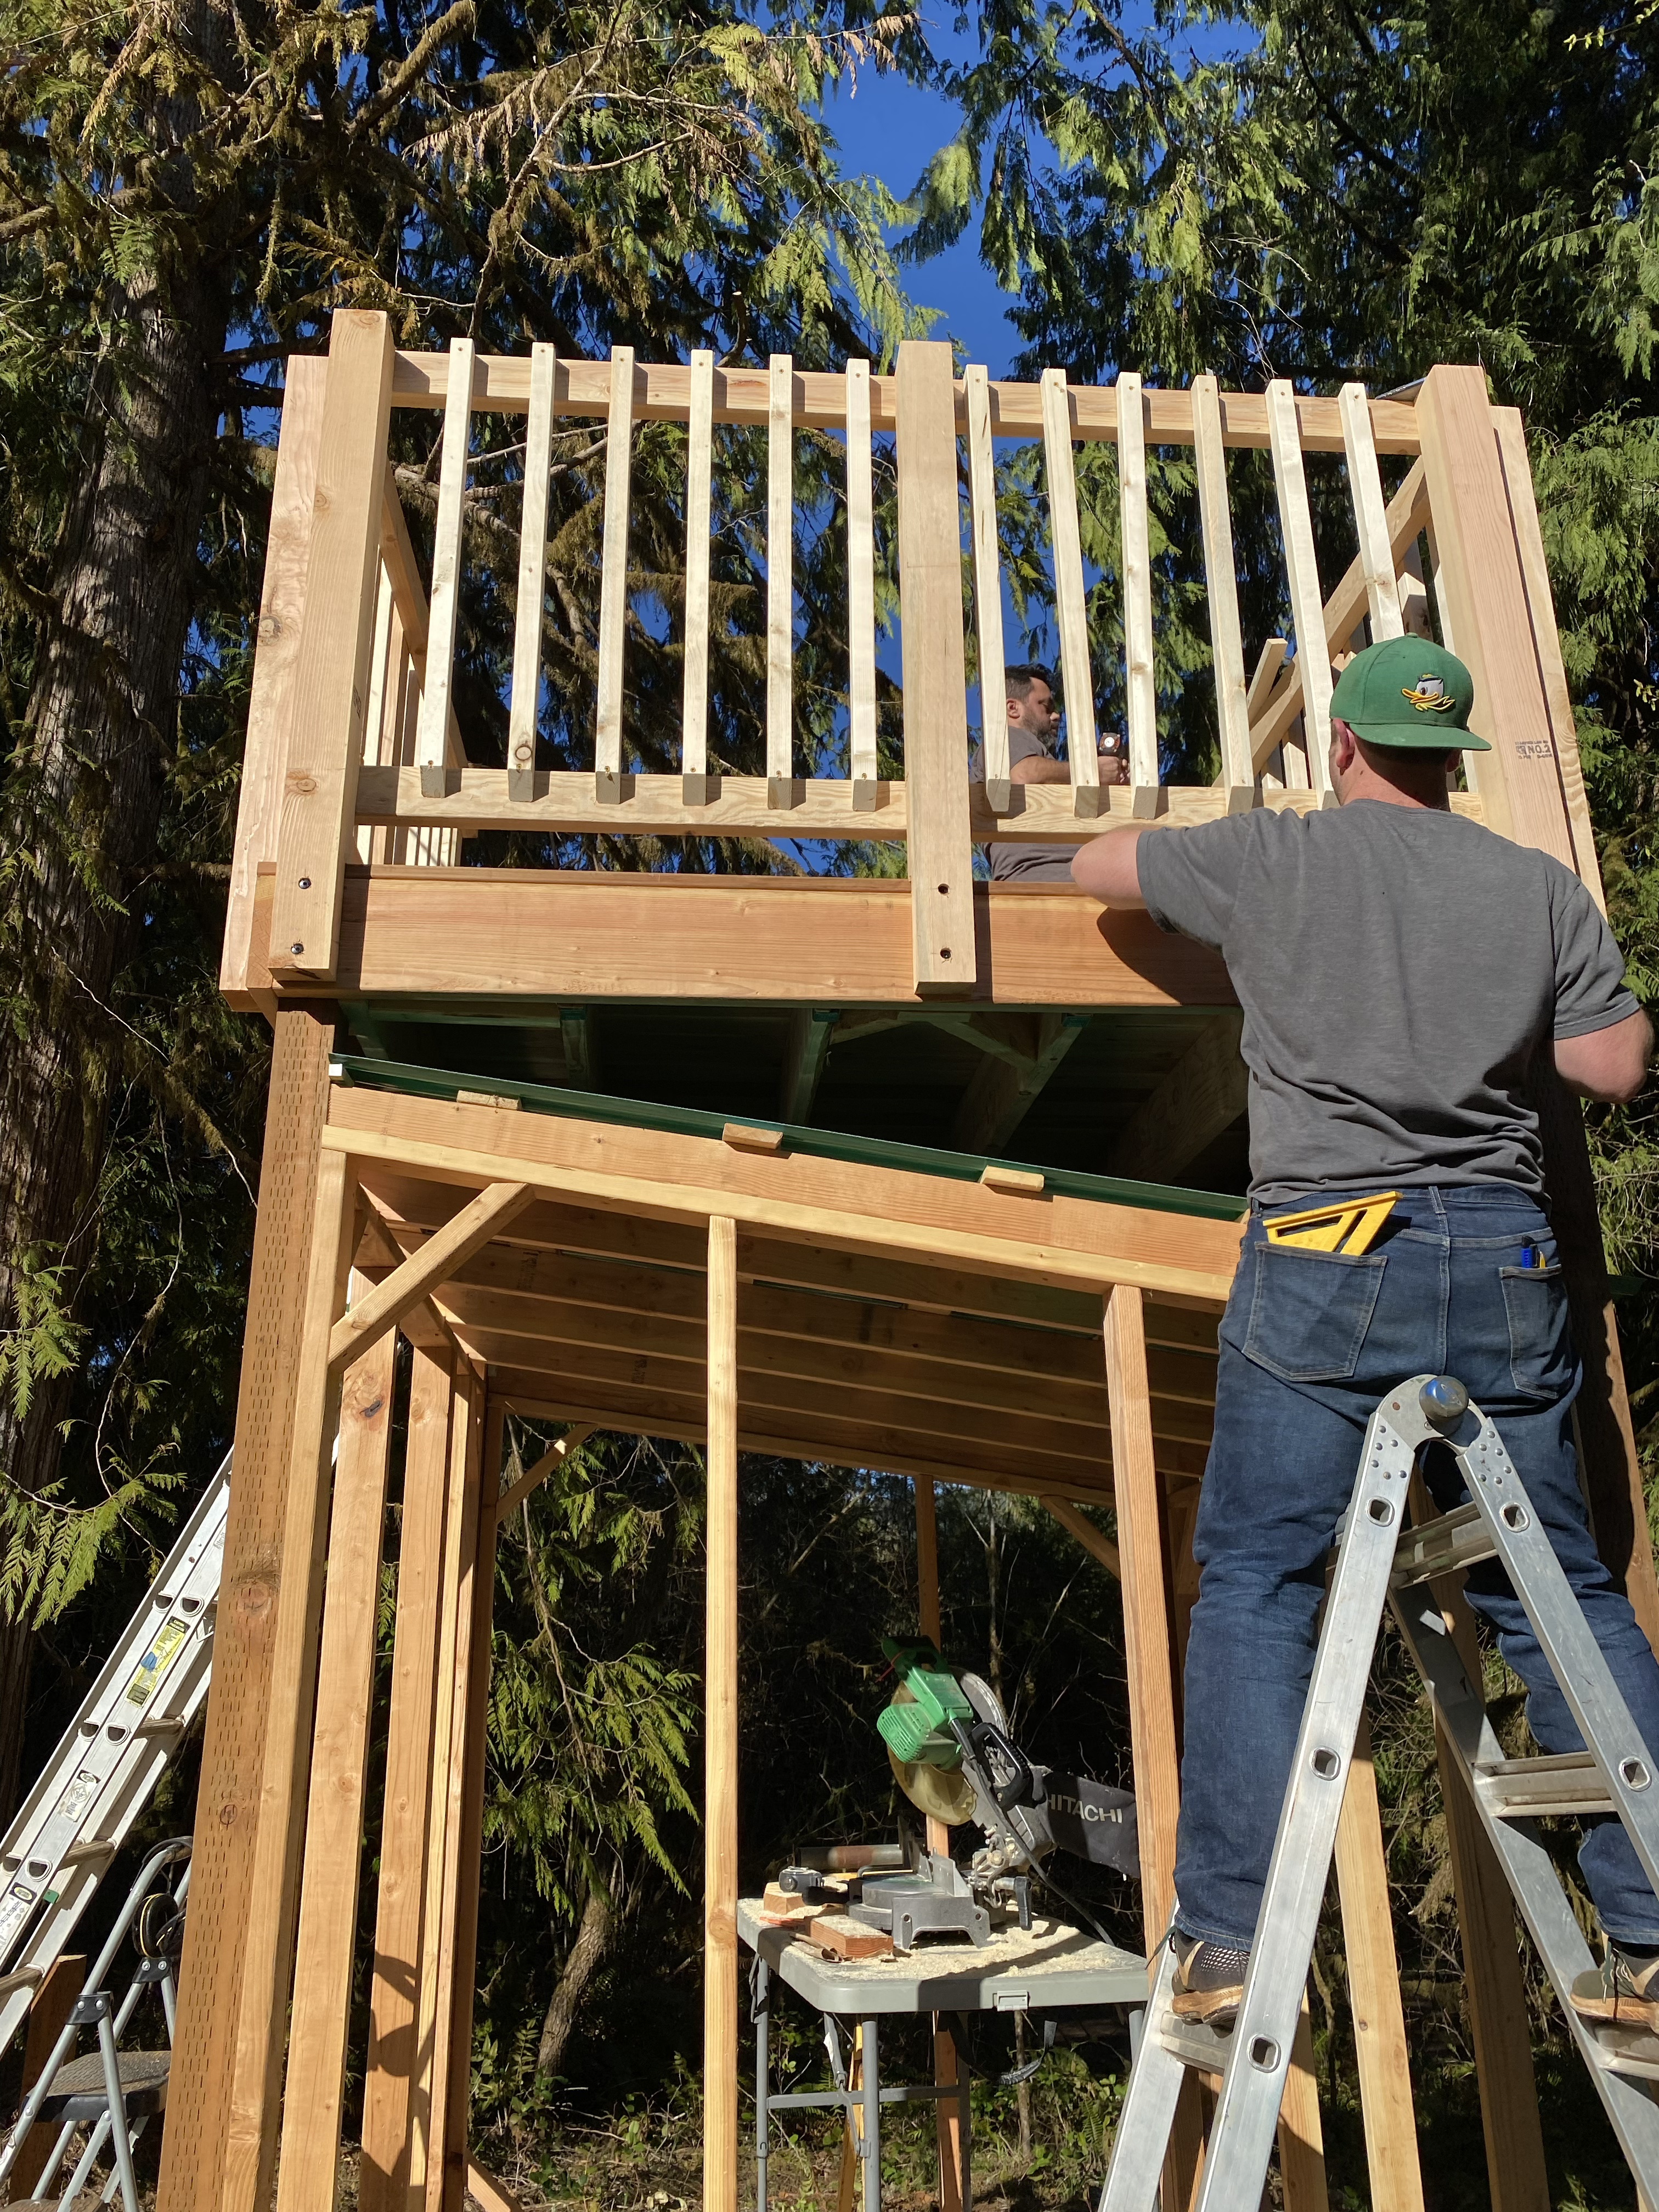
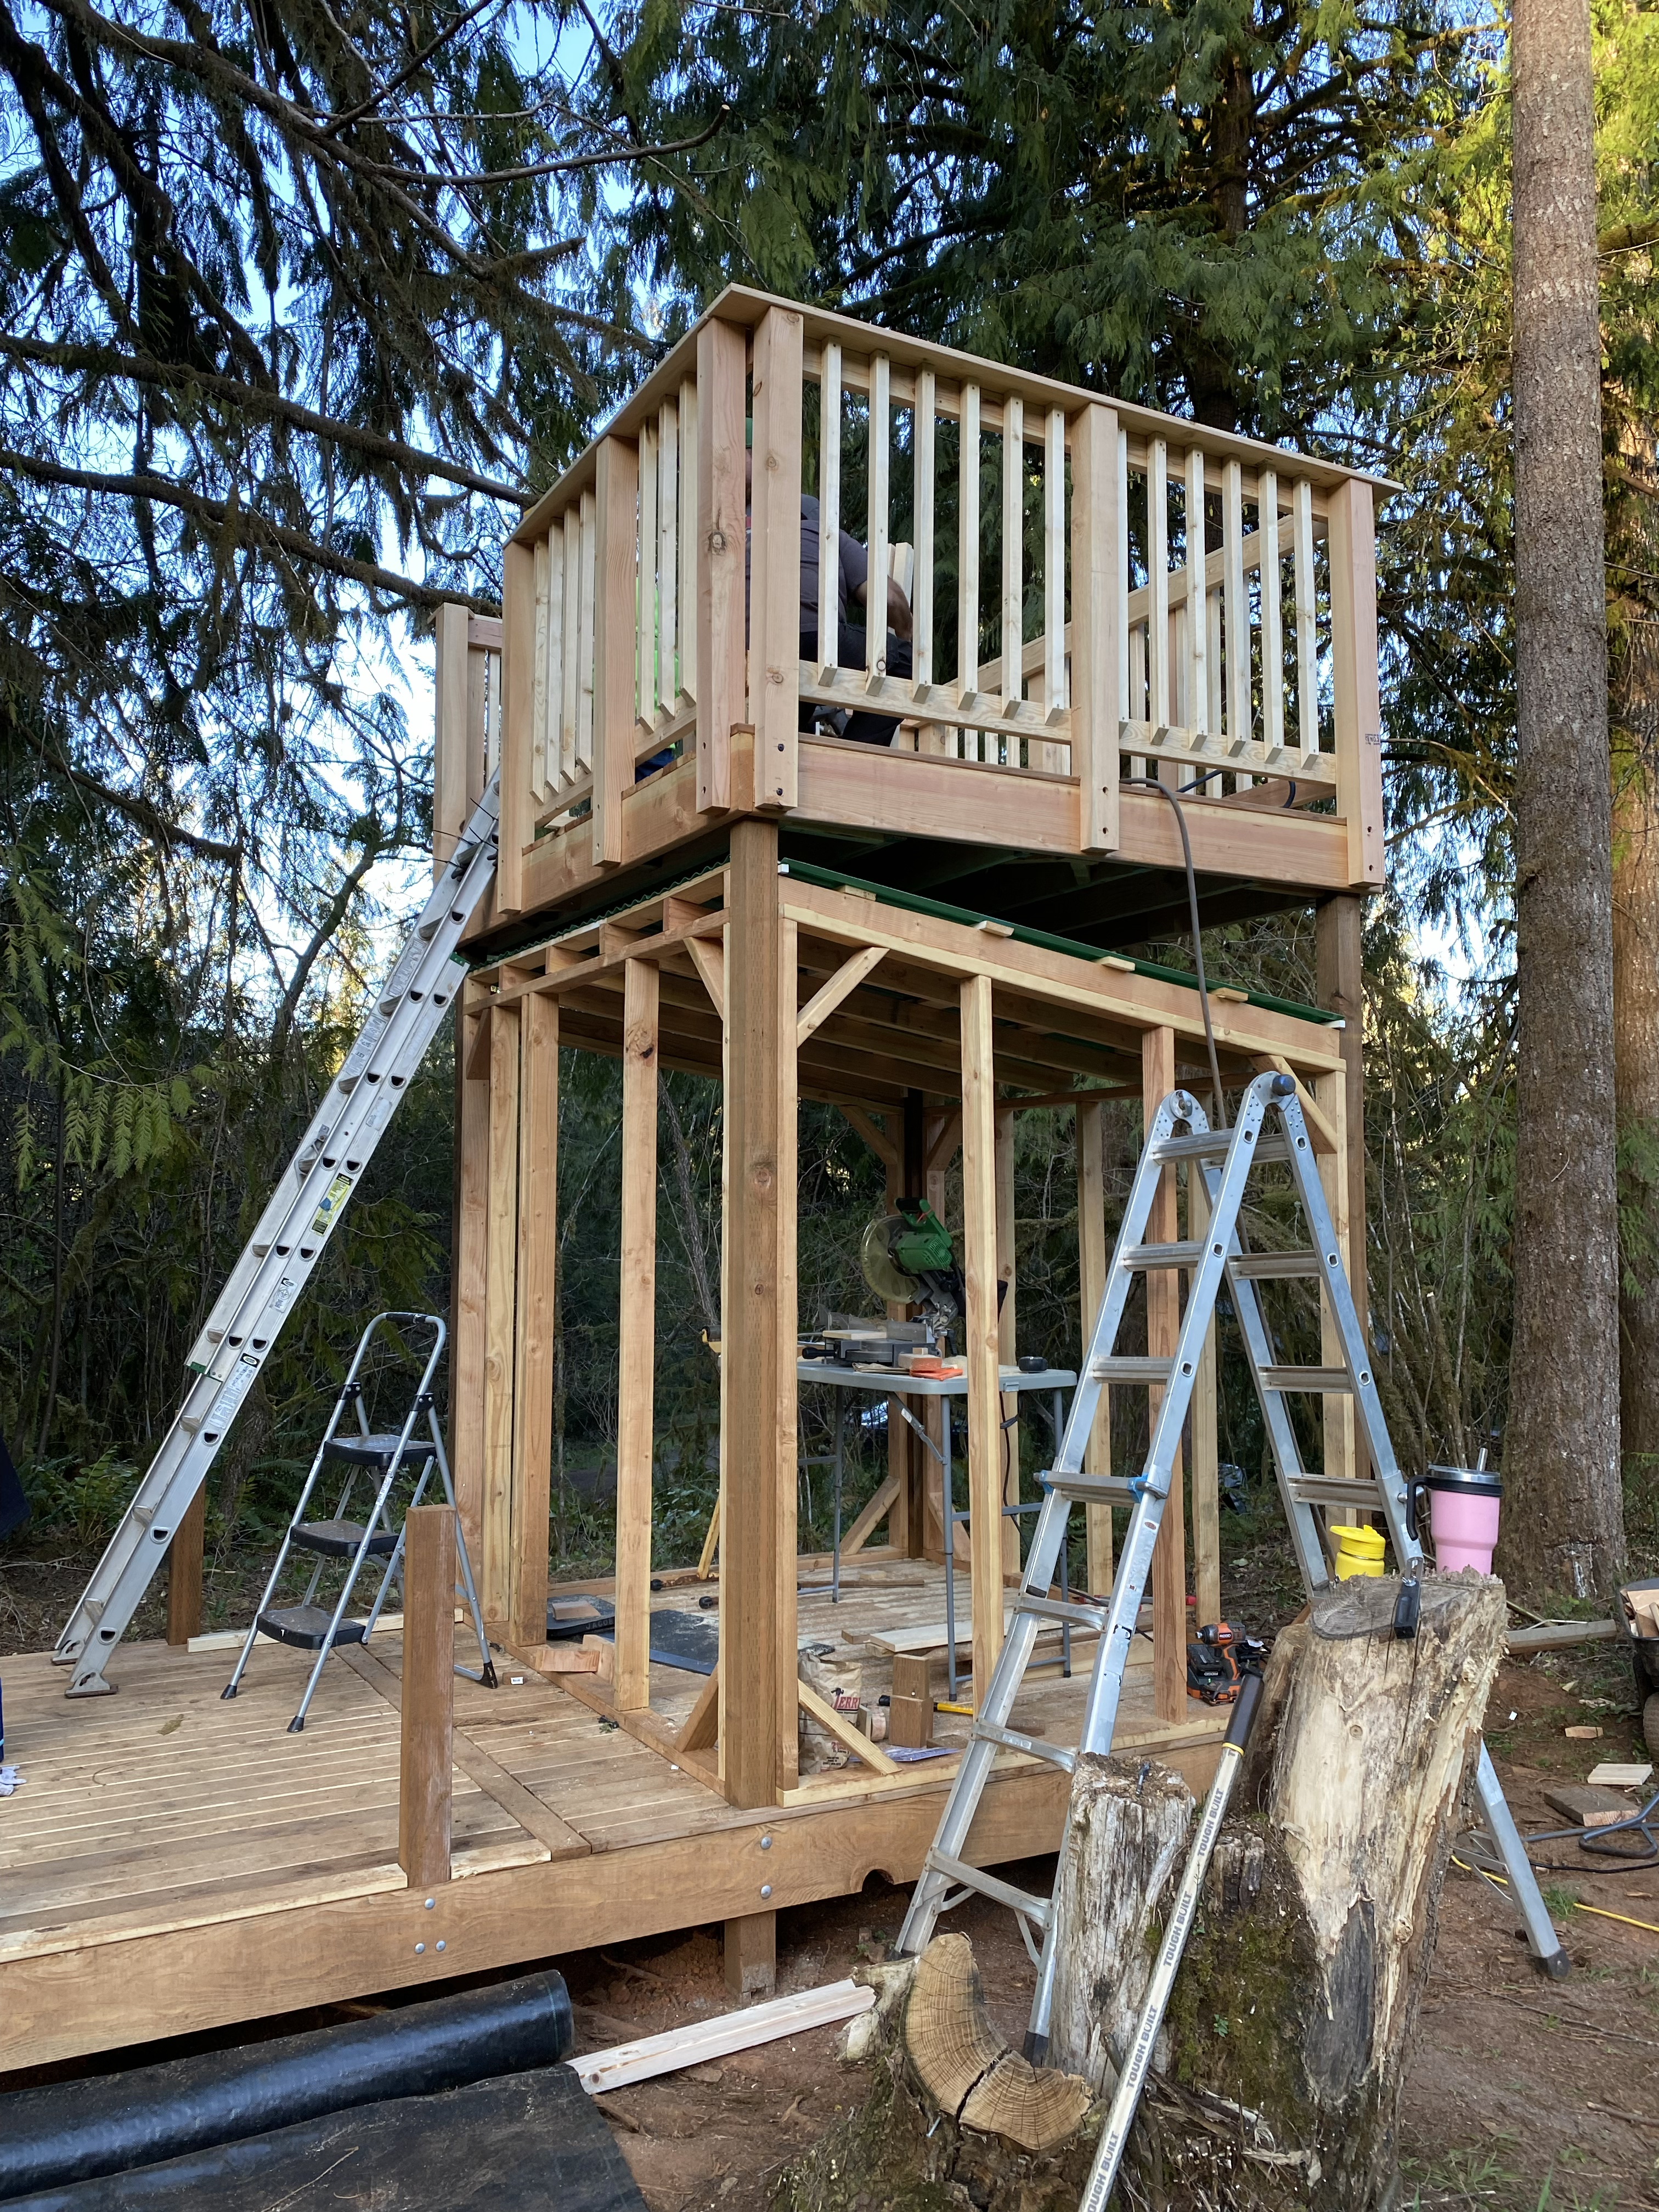
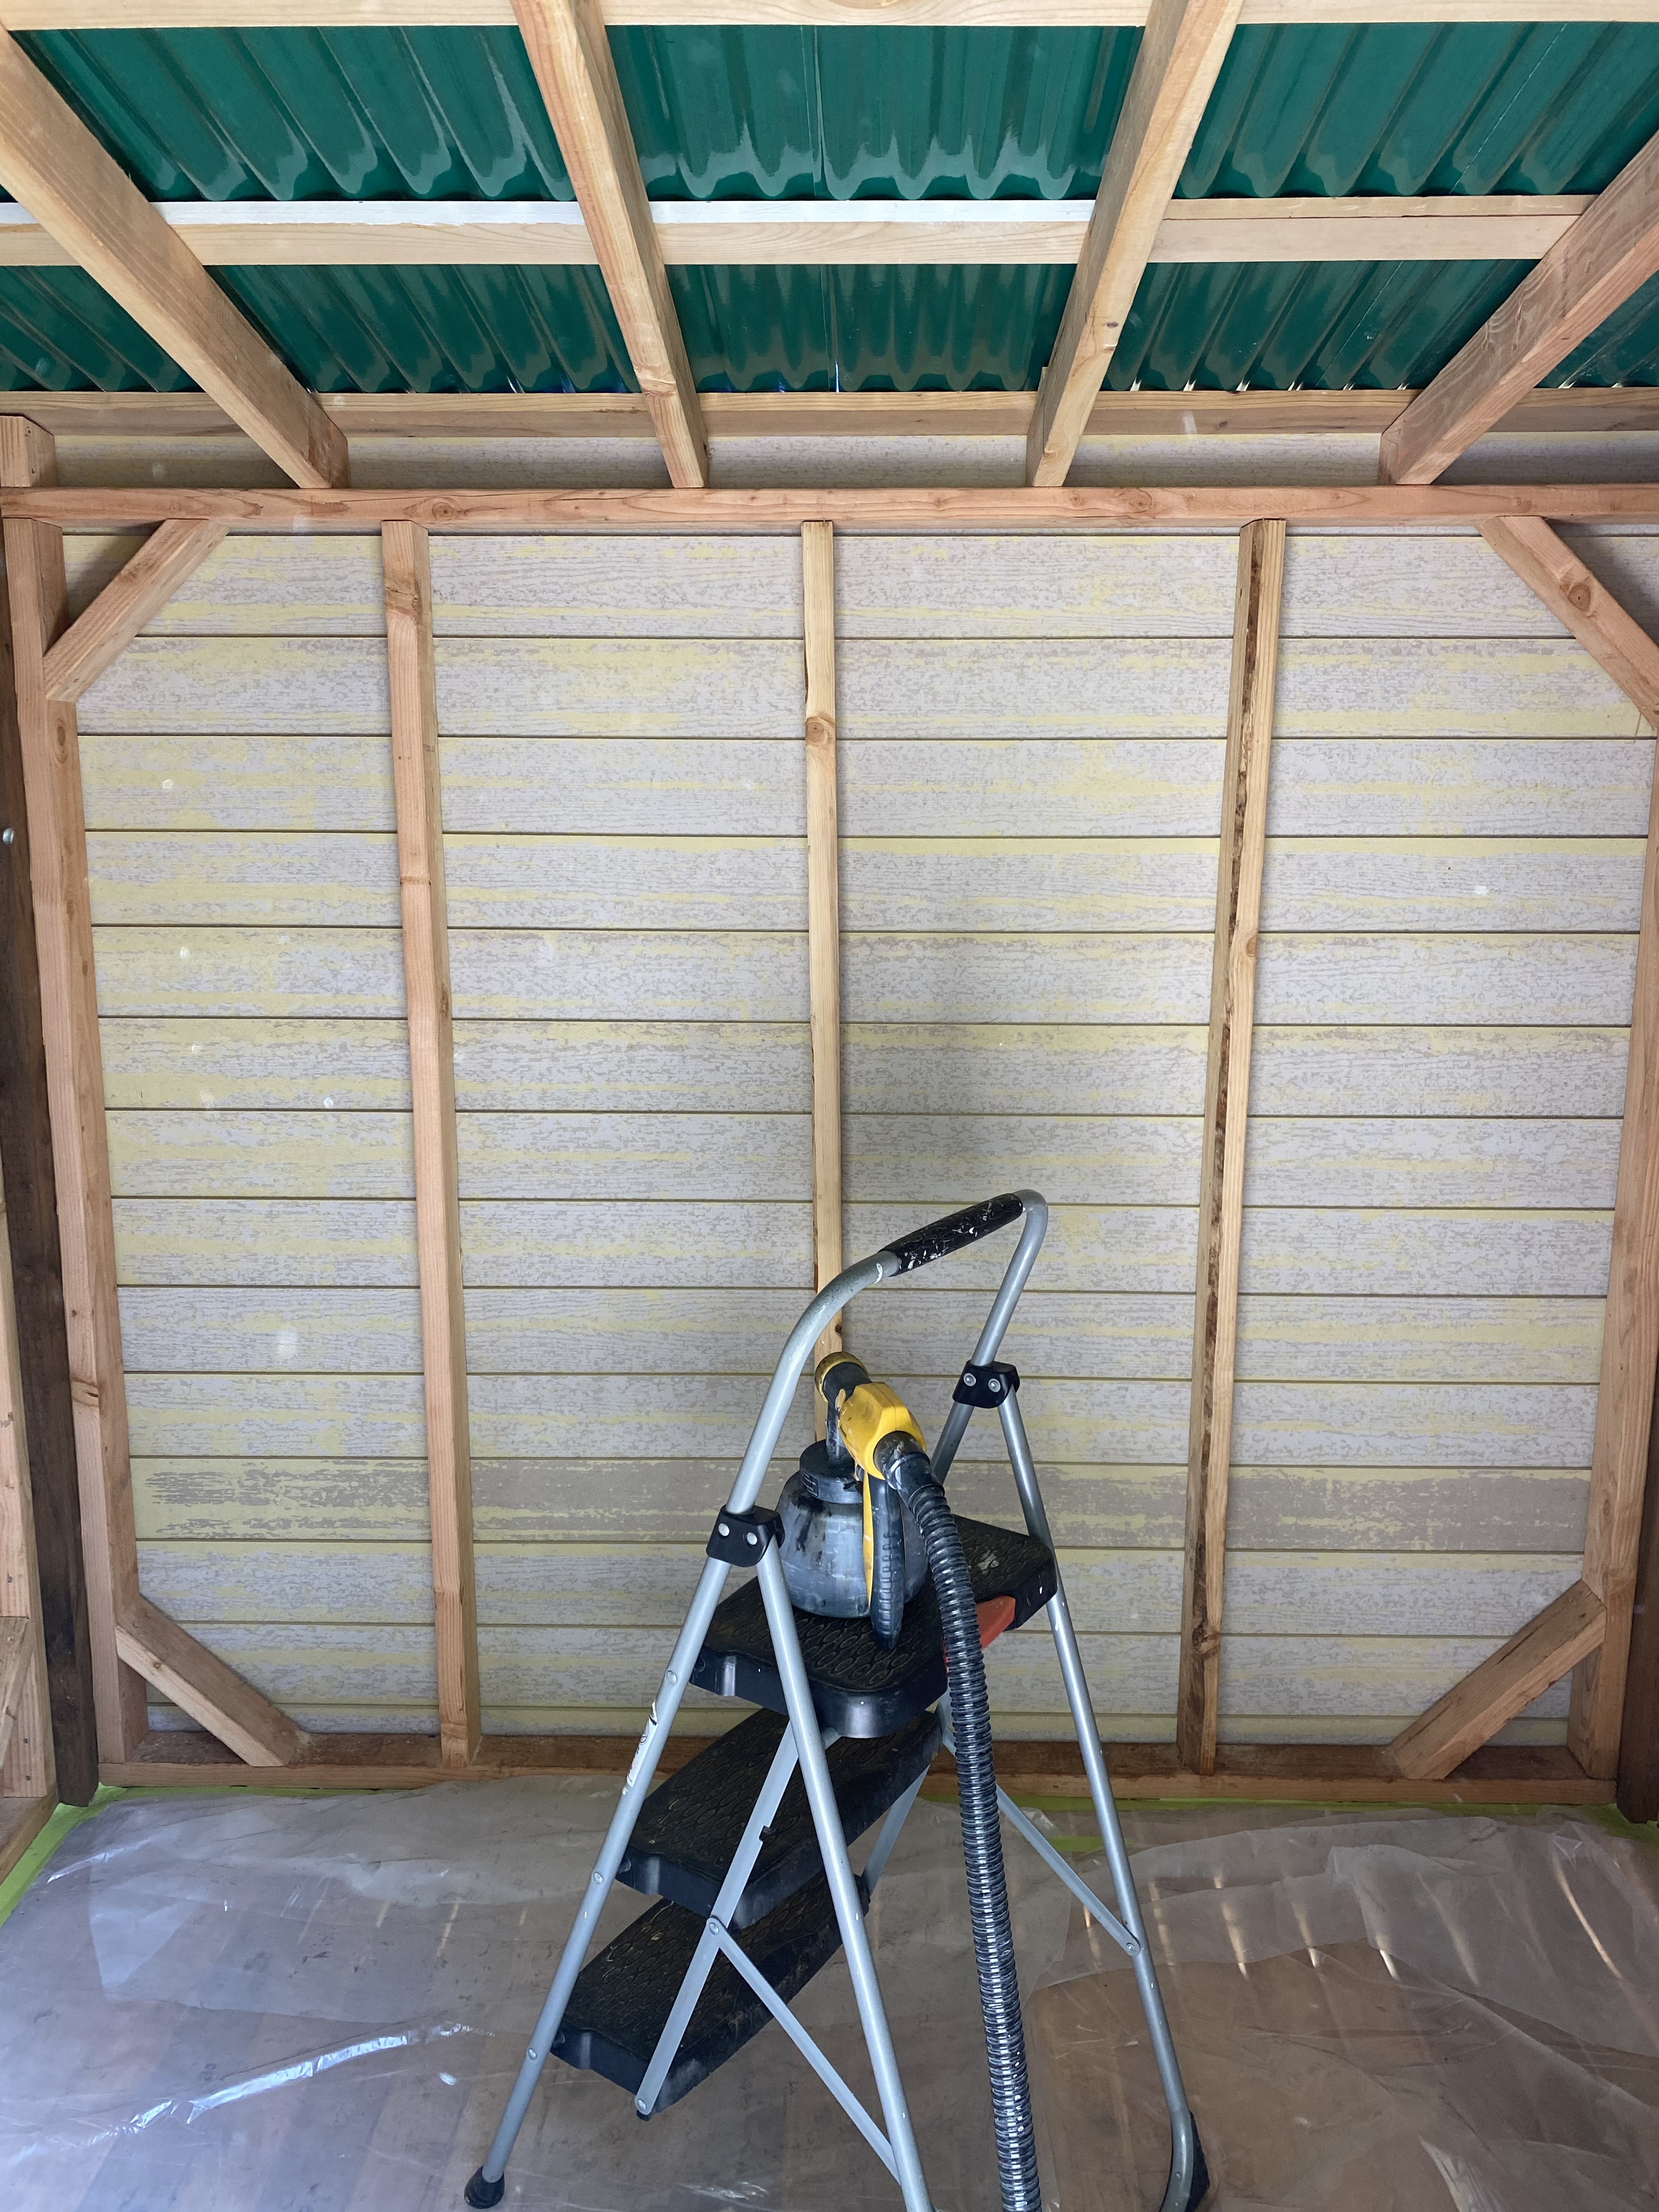
5. We then focused on framing the walls of the cabin. Ryan also opted to make an “invisible” slanted roof so that water could drain off the cabin roof. Goal here was to keep it nice and dry inside the cabin.
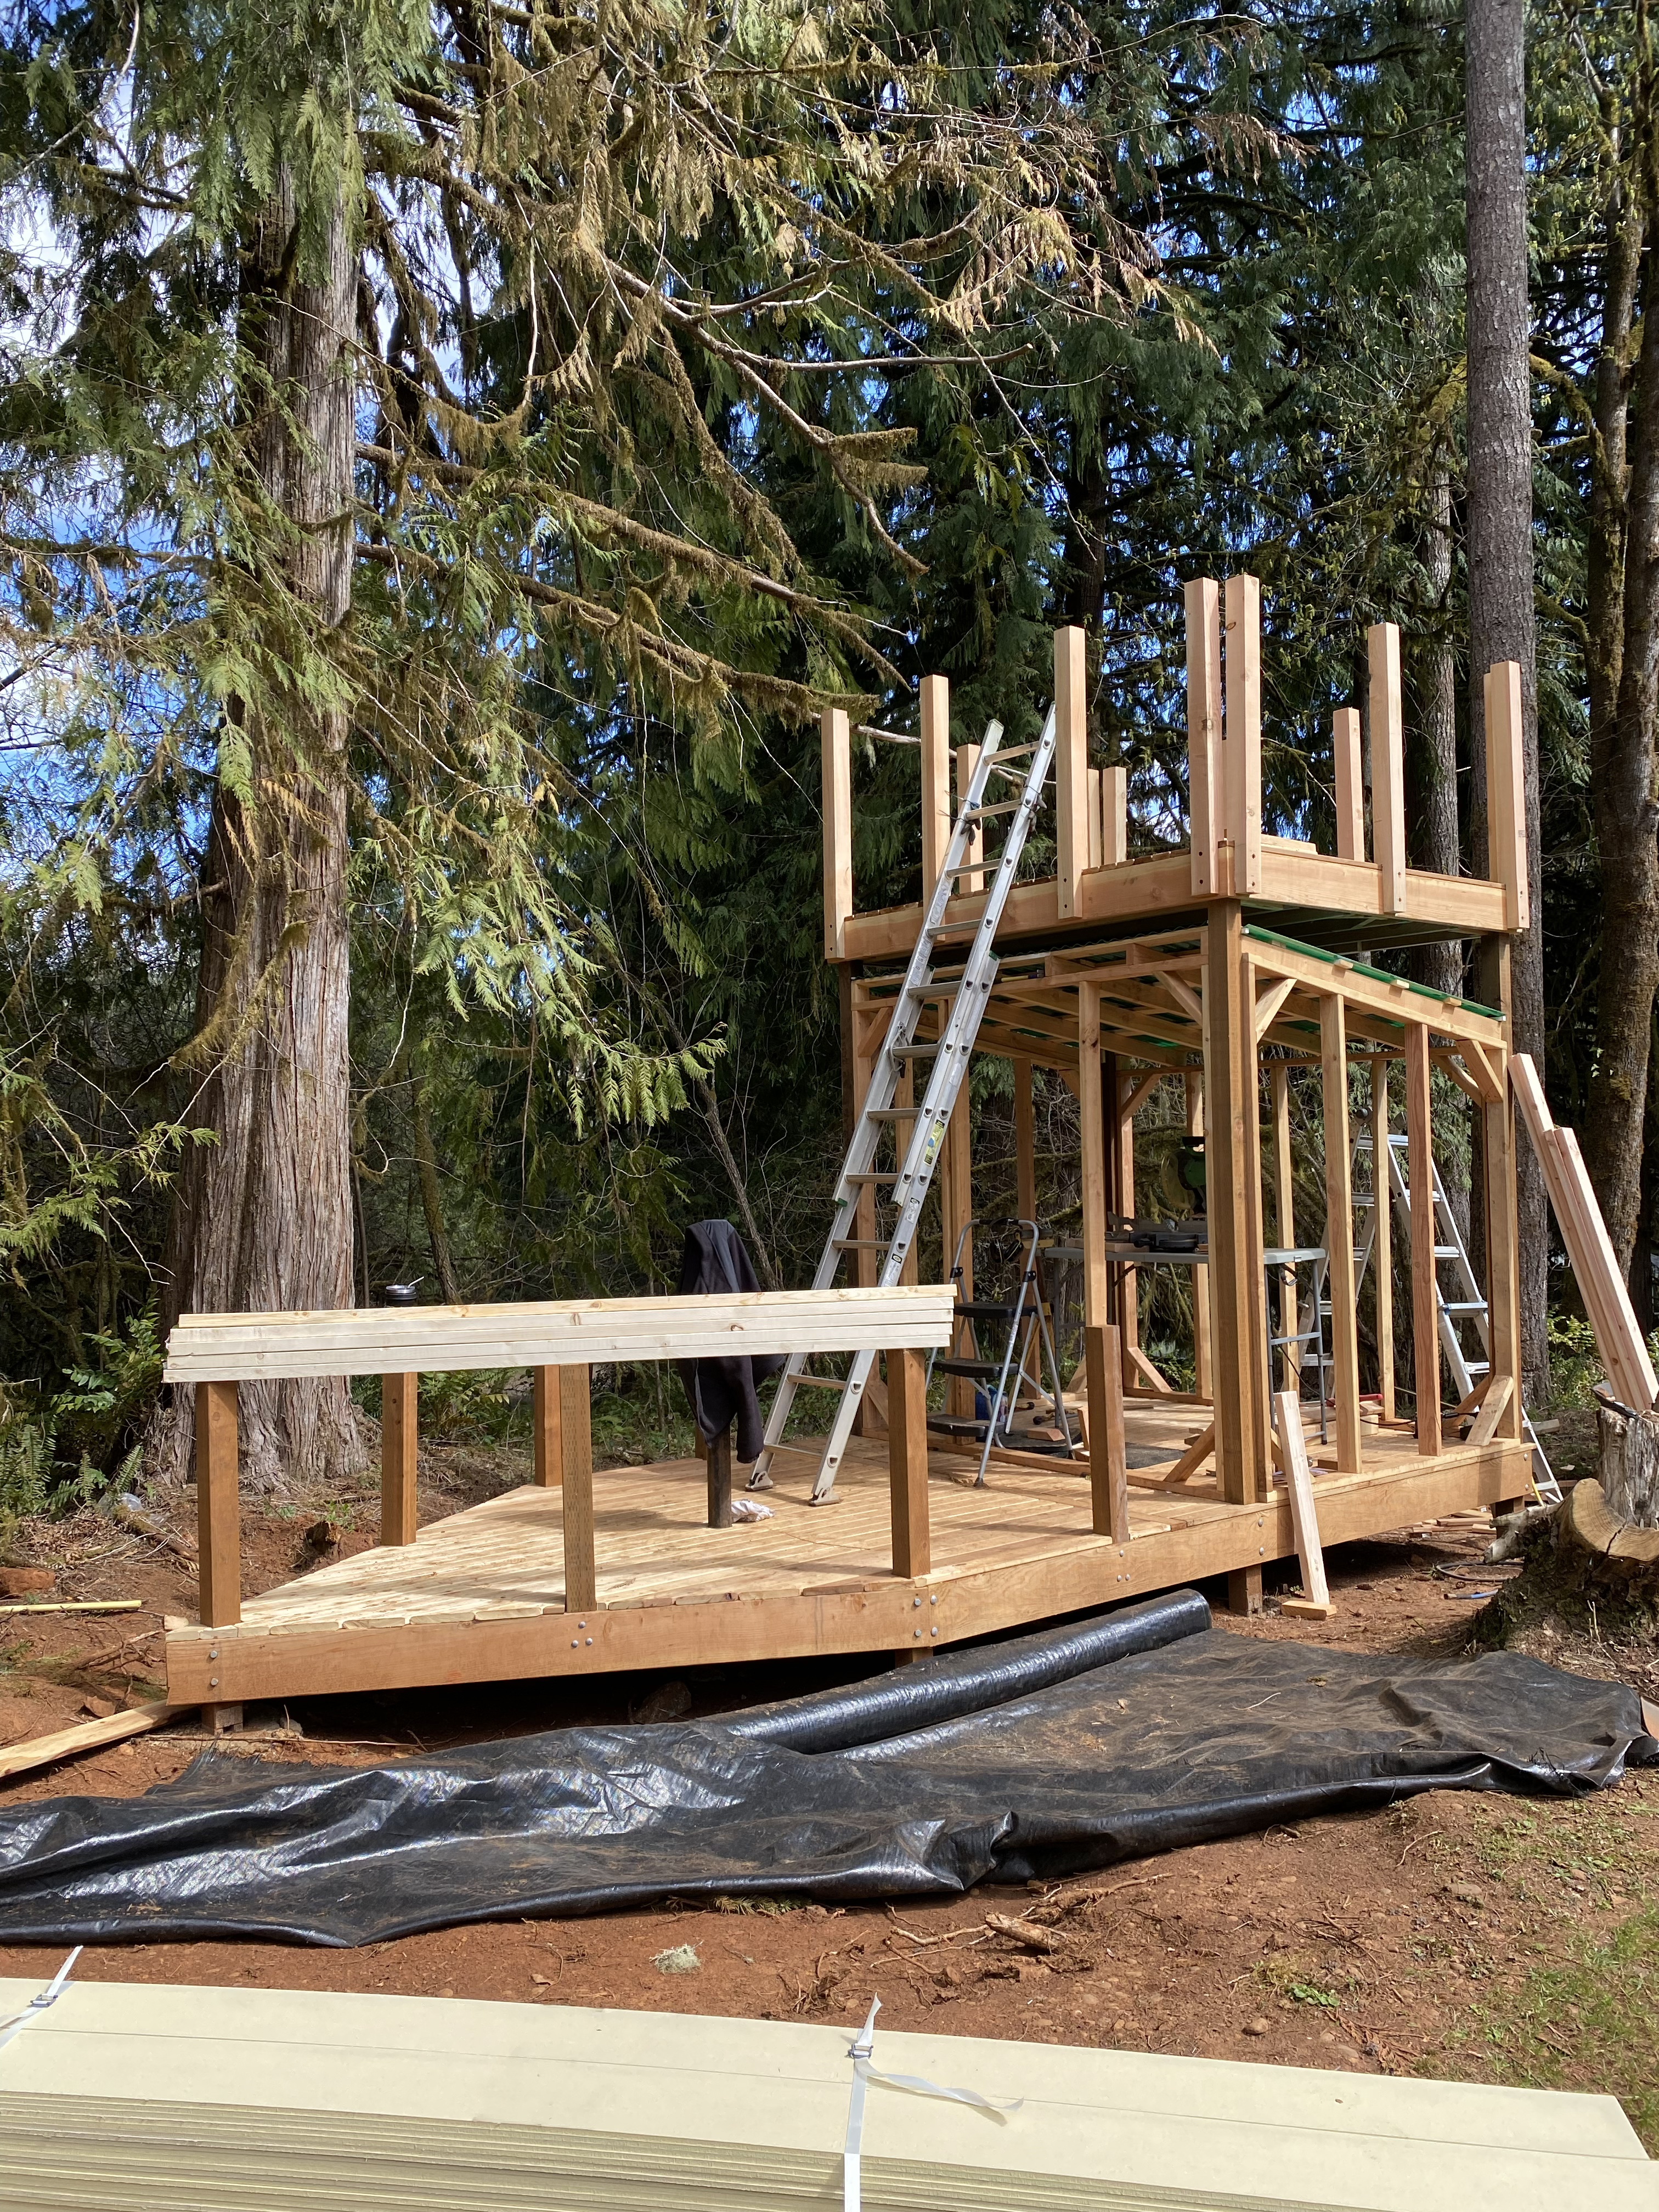
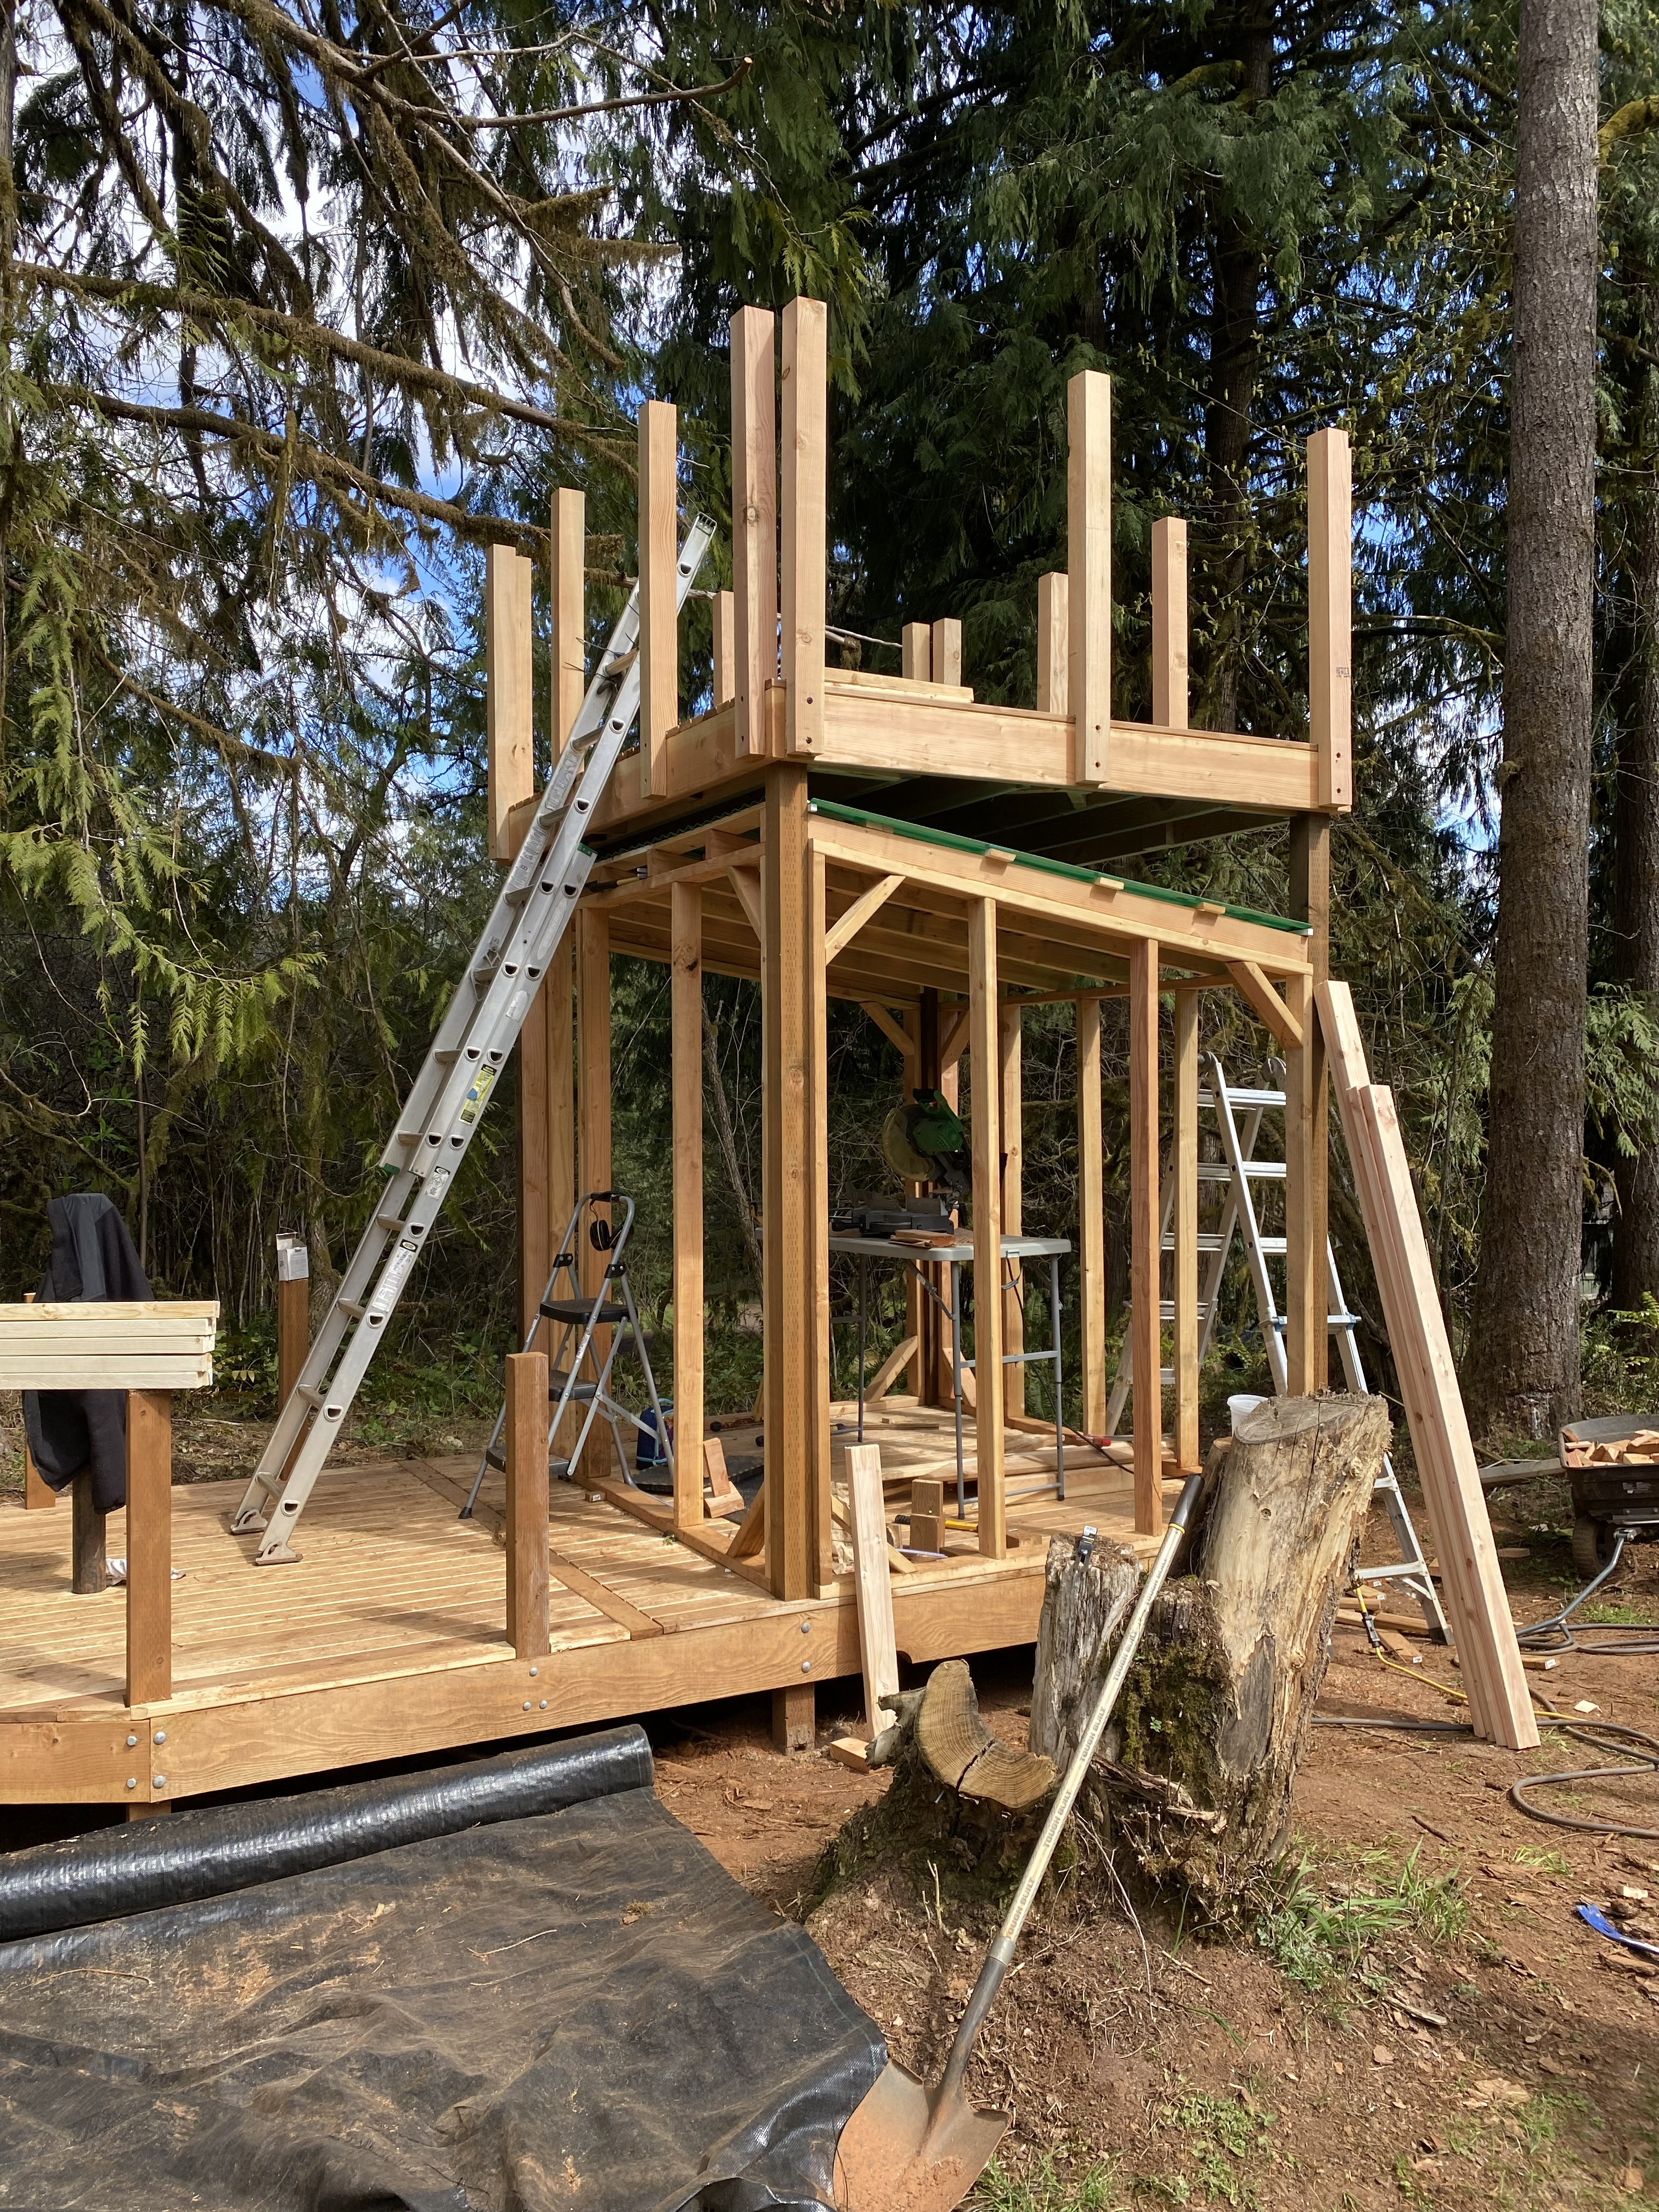
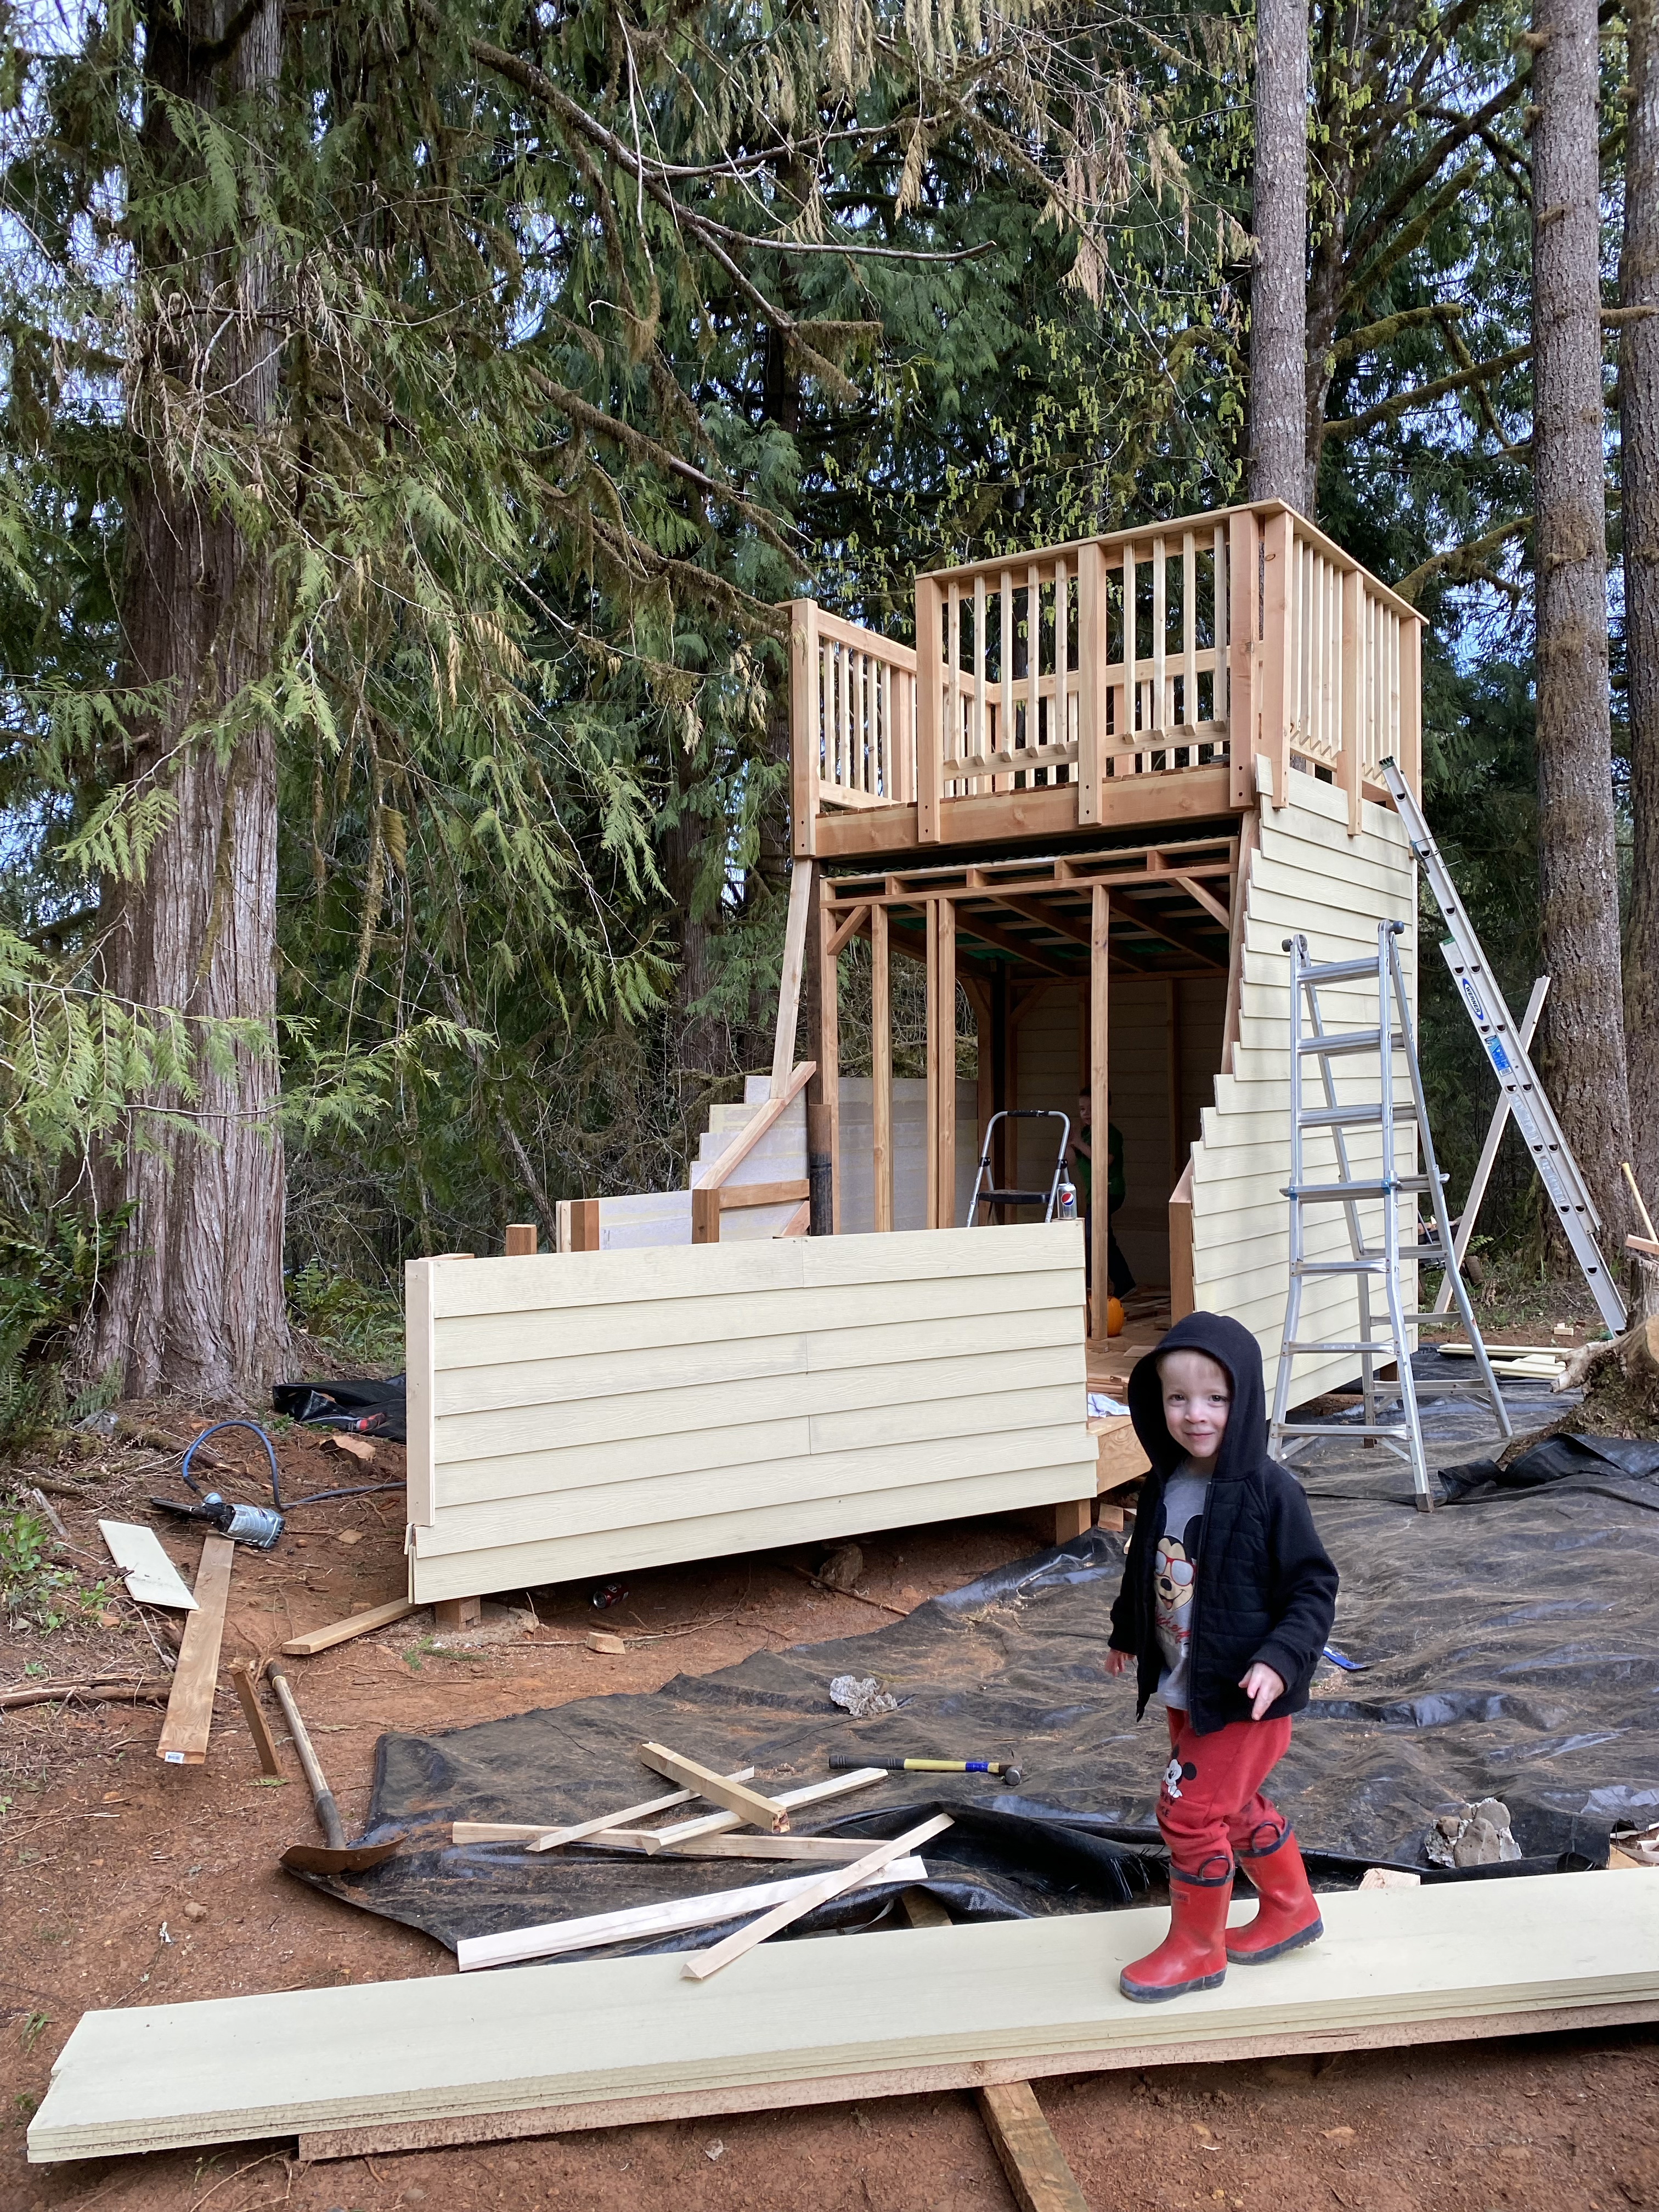
6. After adding the corrugated roofing to the cabin, we essentially built a second deck on top of the cabin for the upper deck. We then added posts for railing, and then, you guessed it, railing.


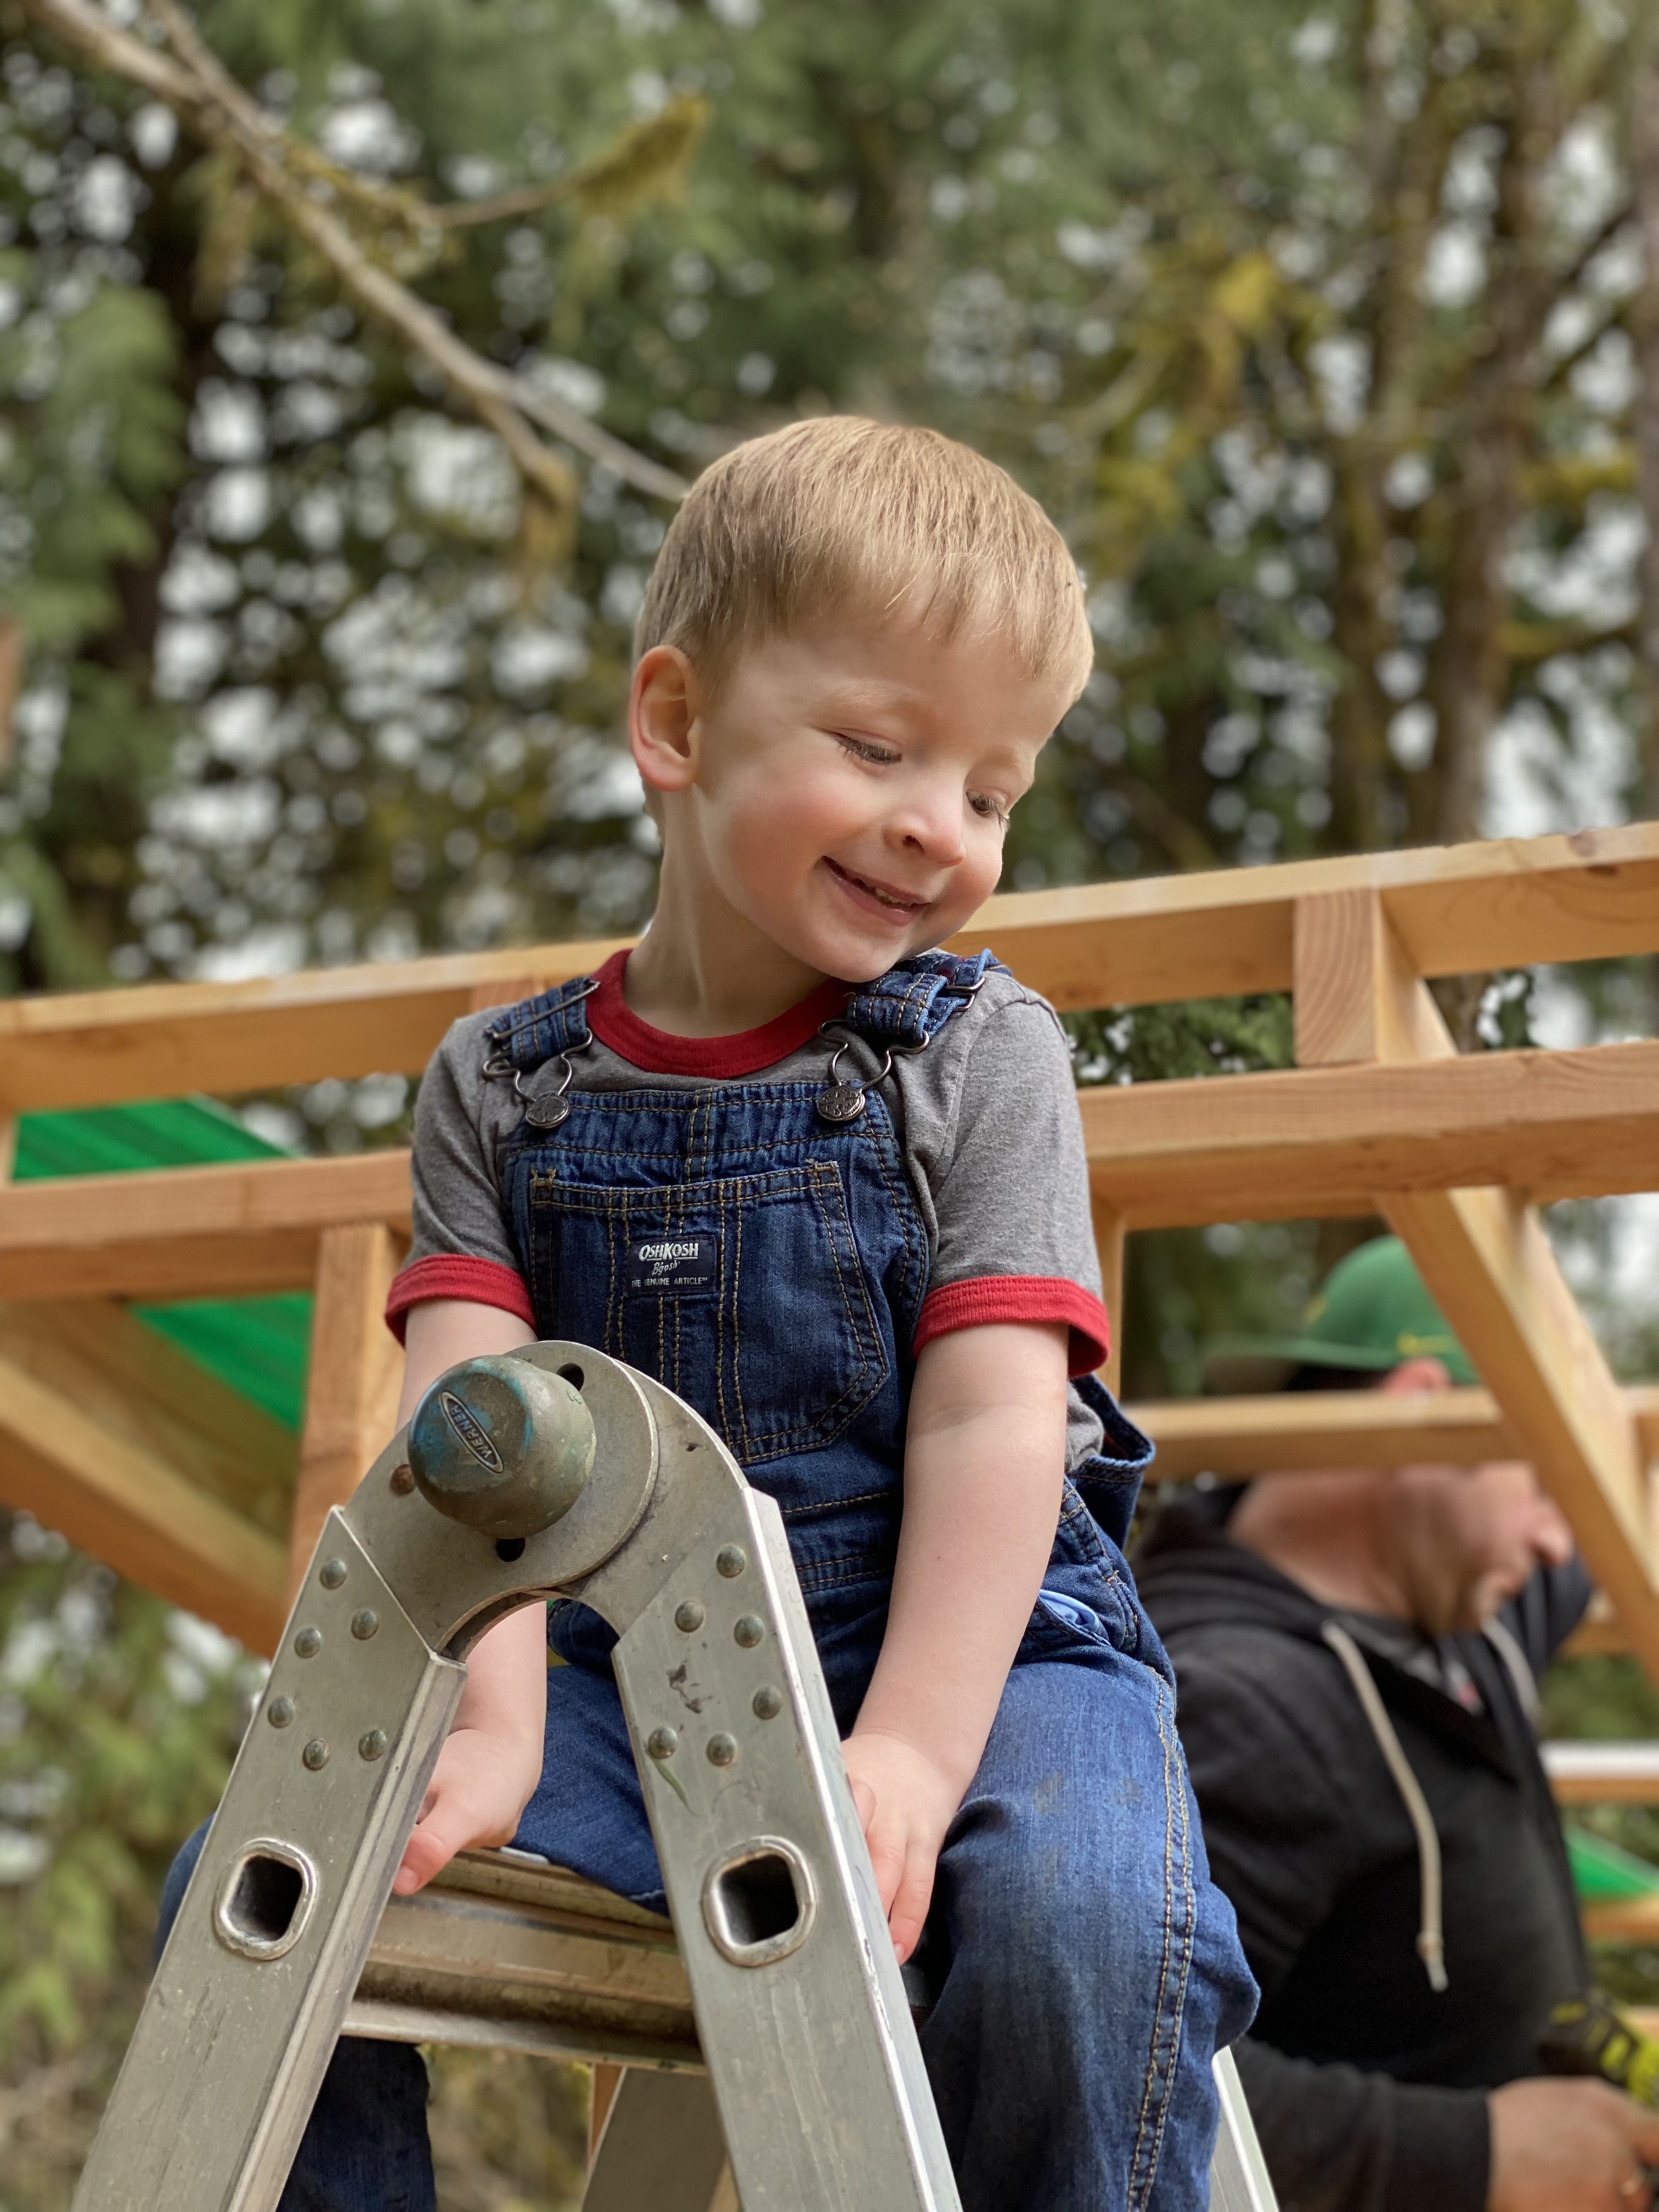
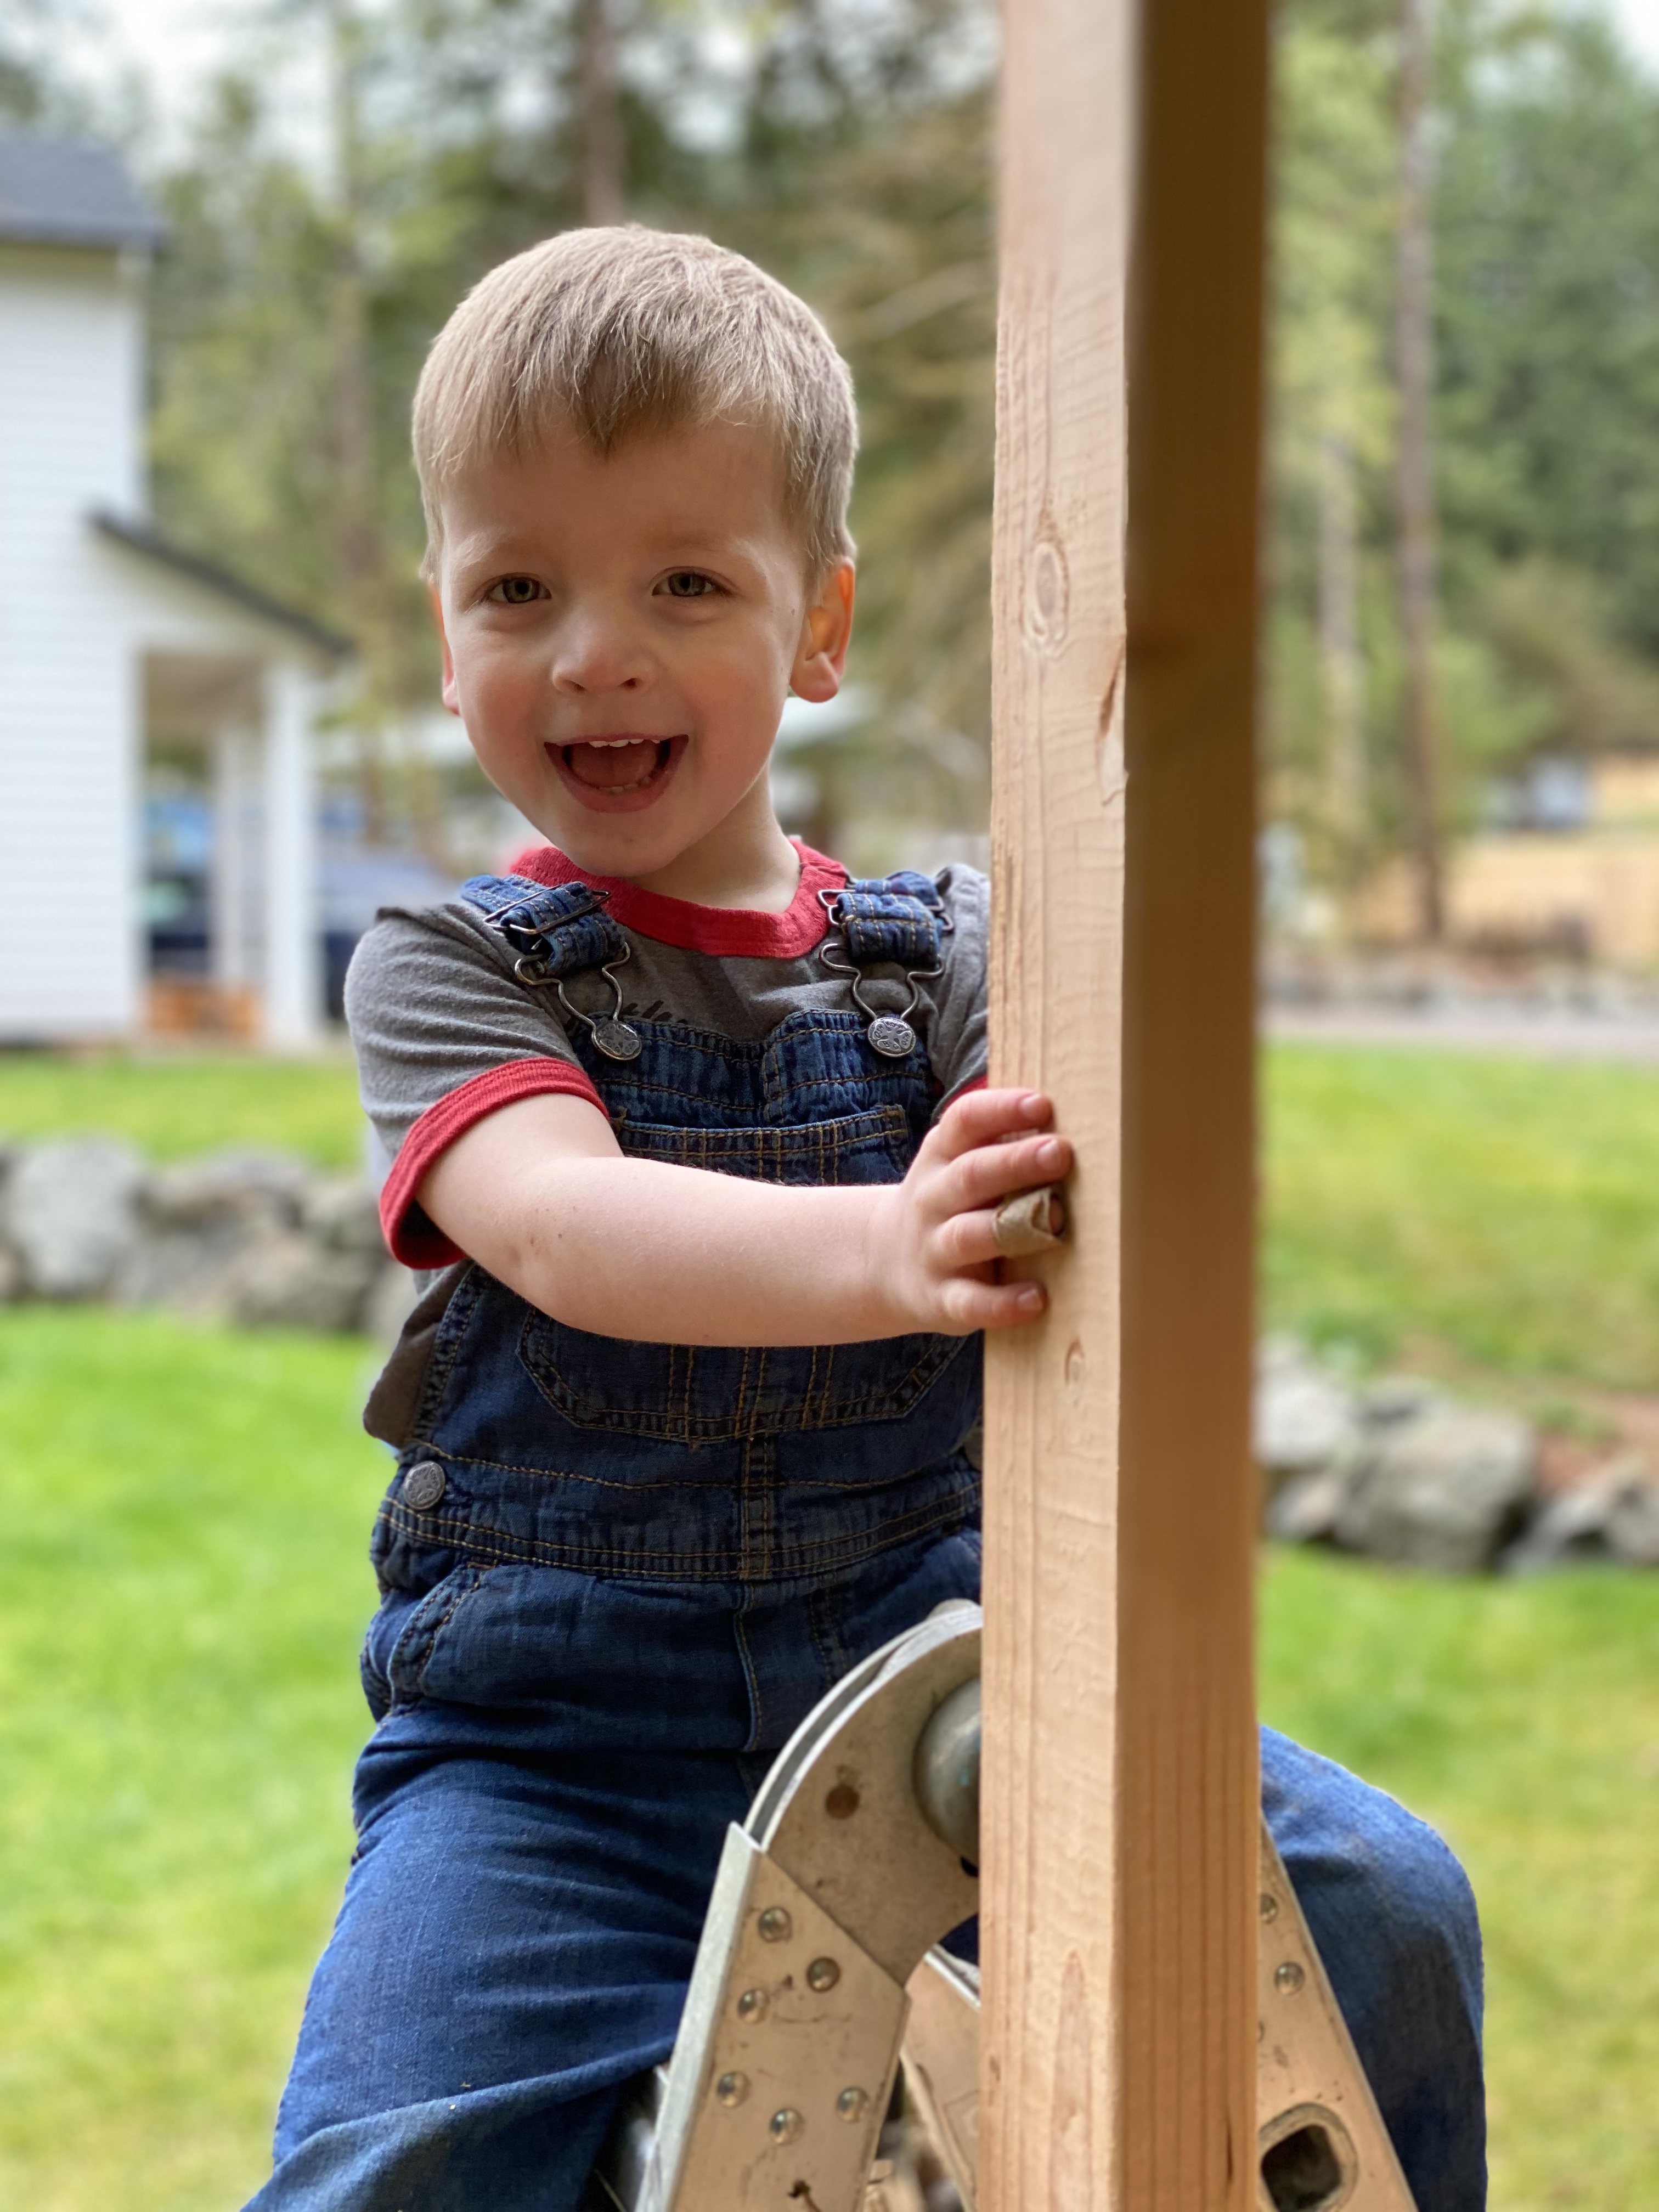
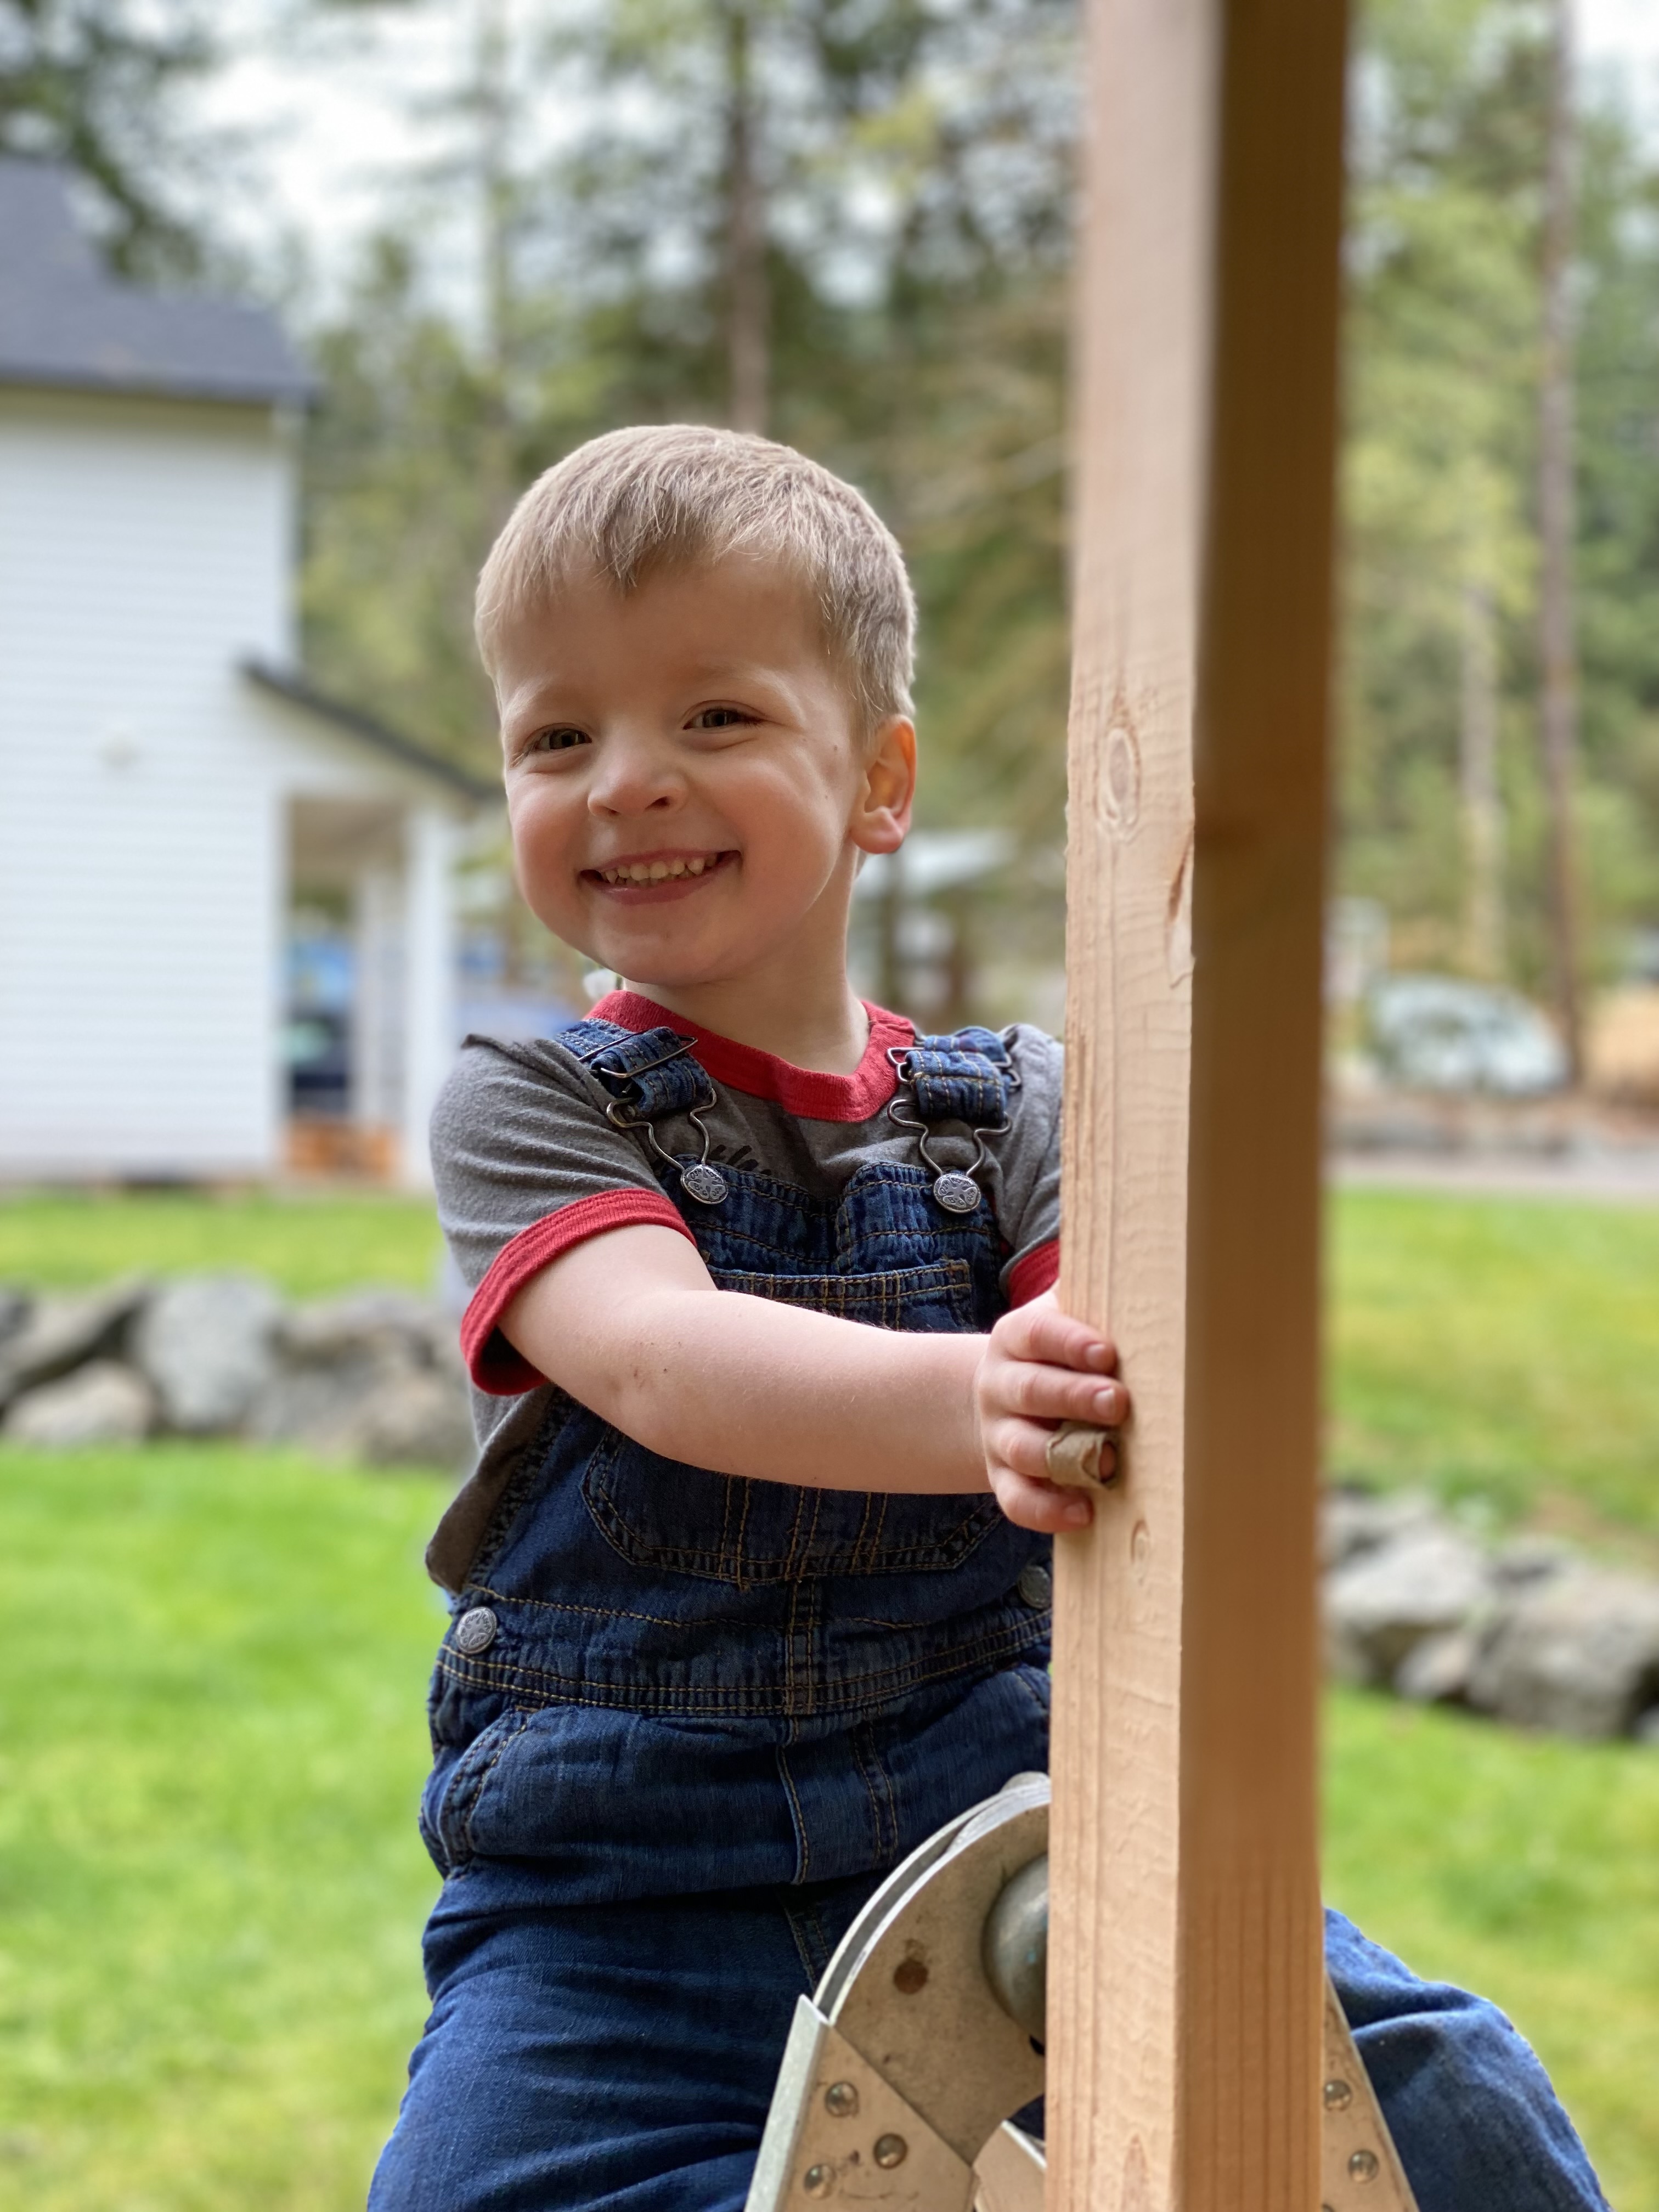
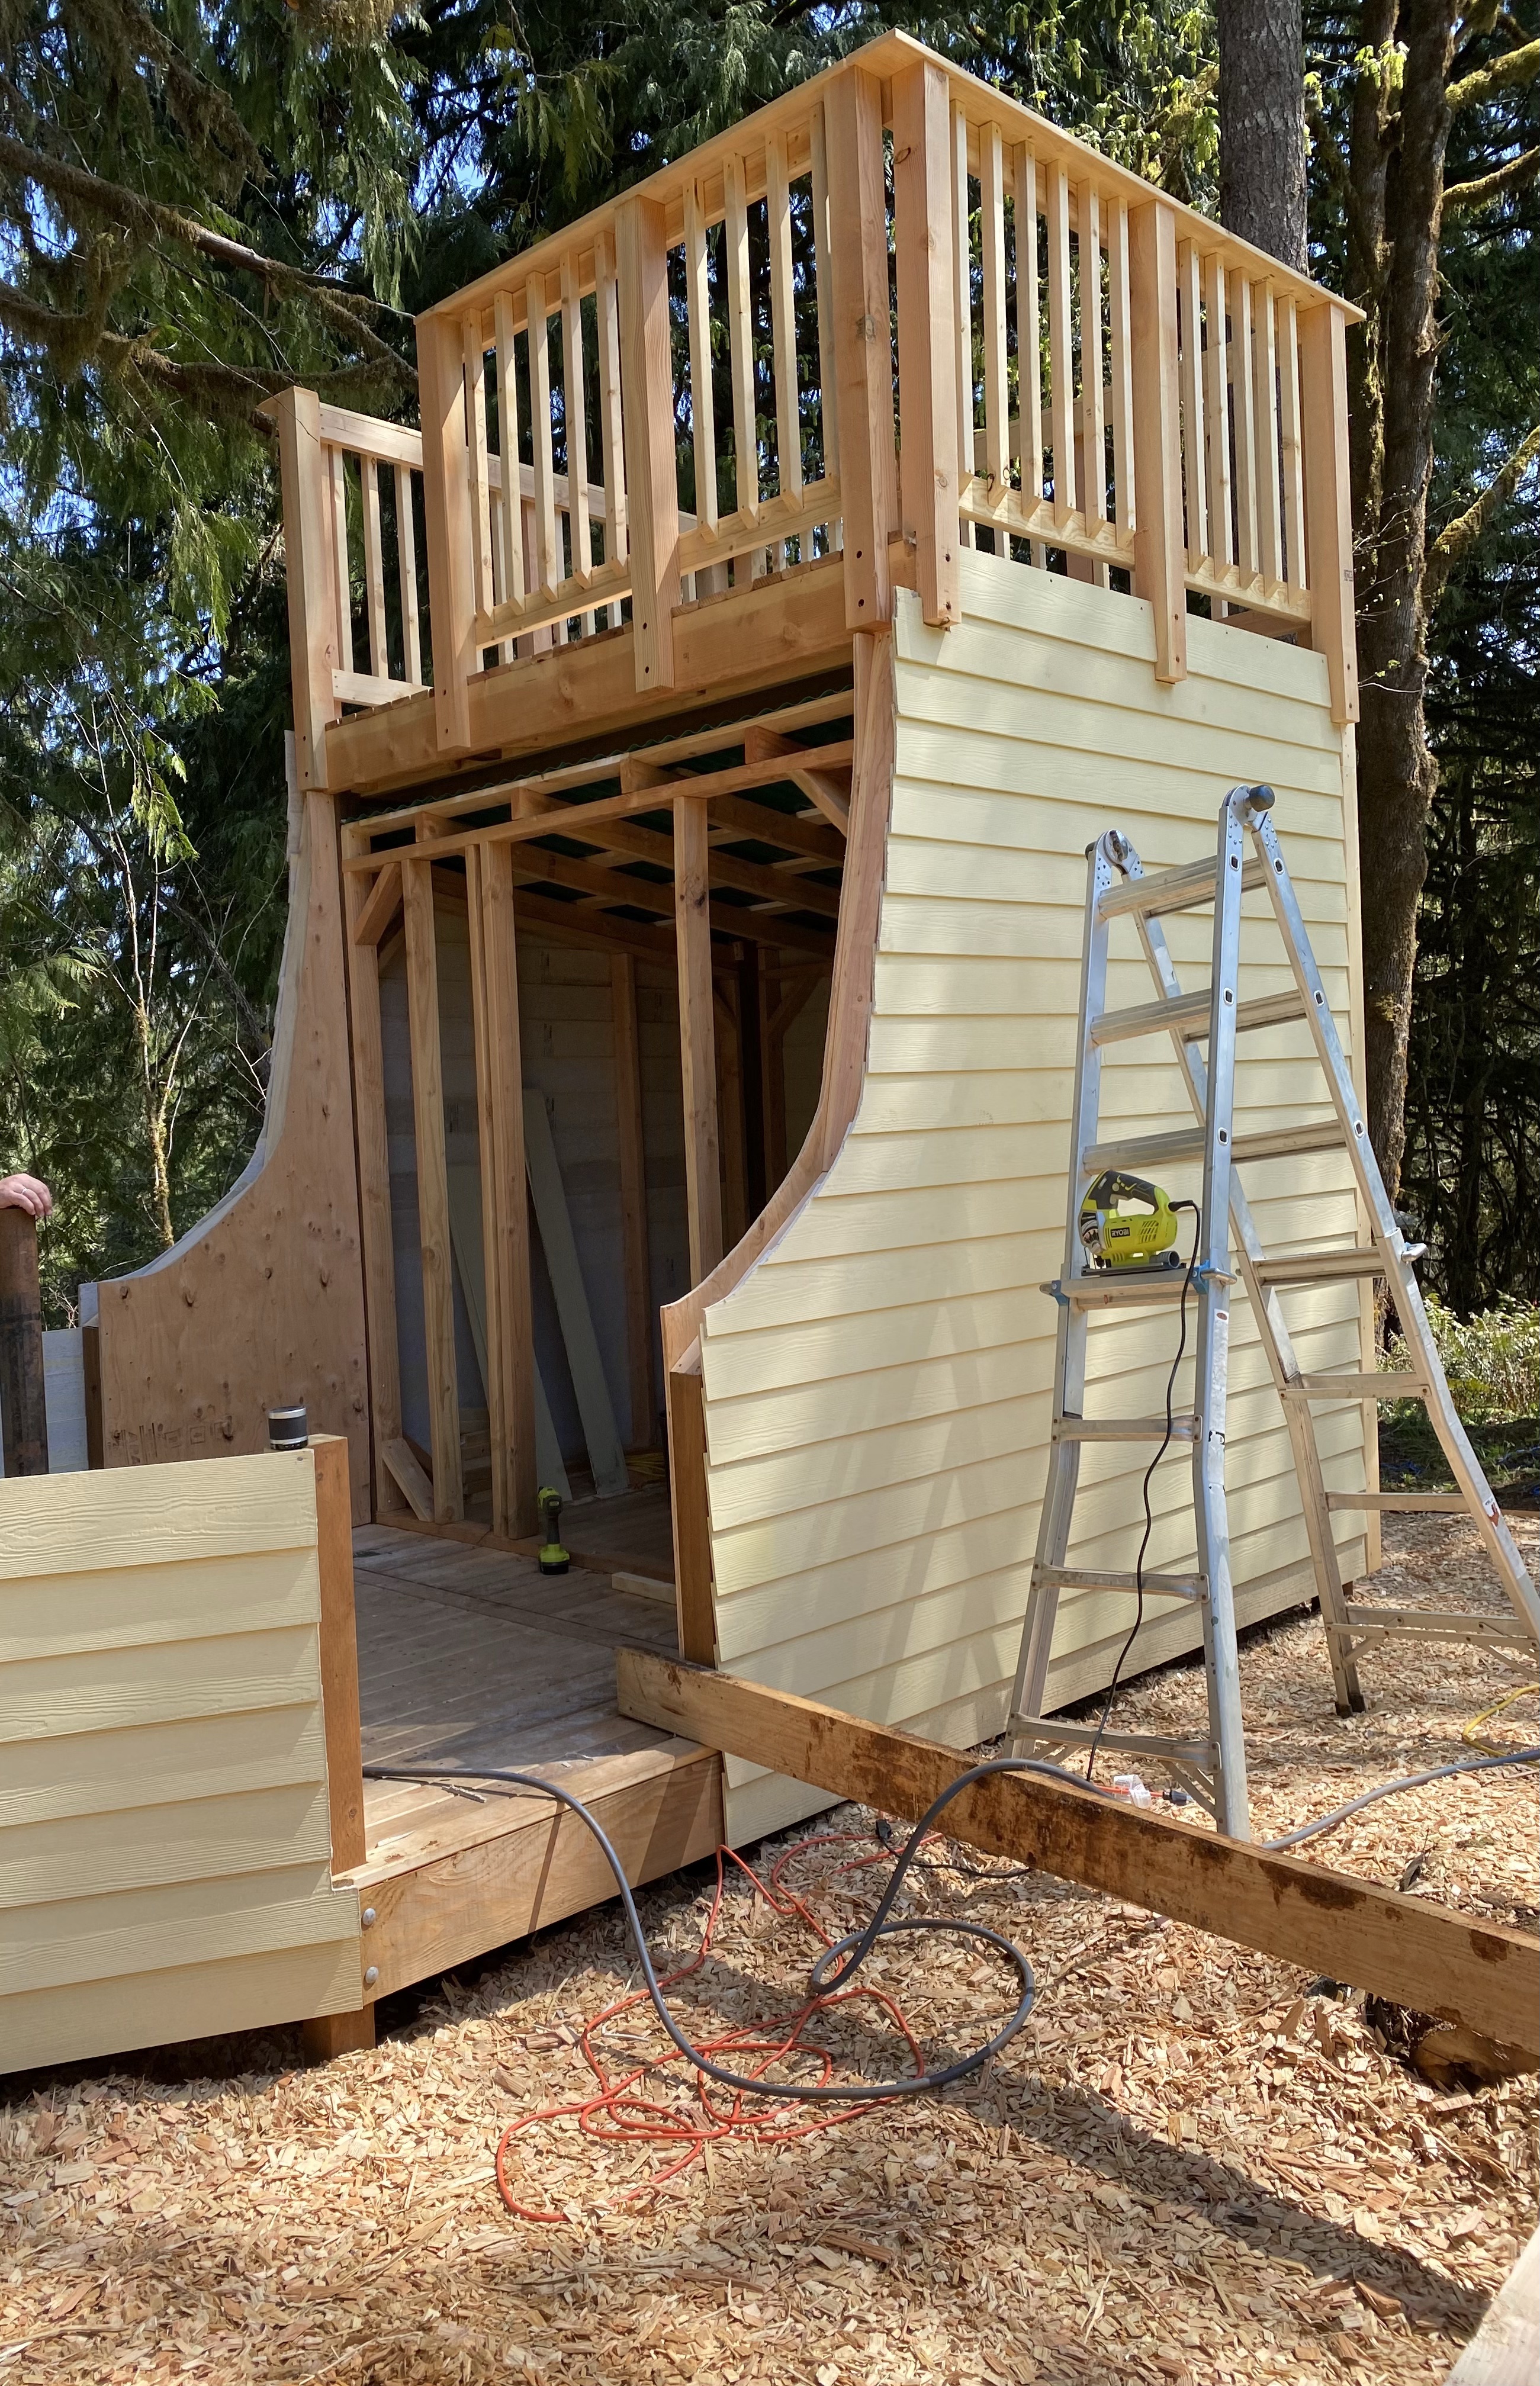
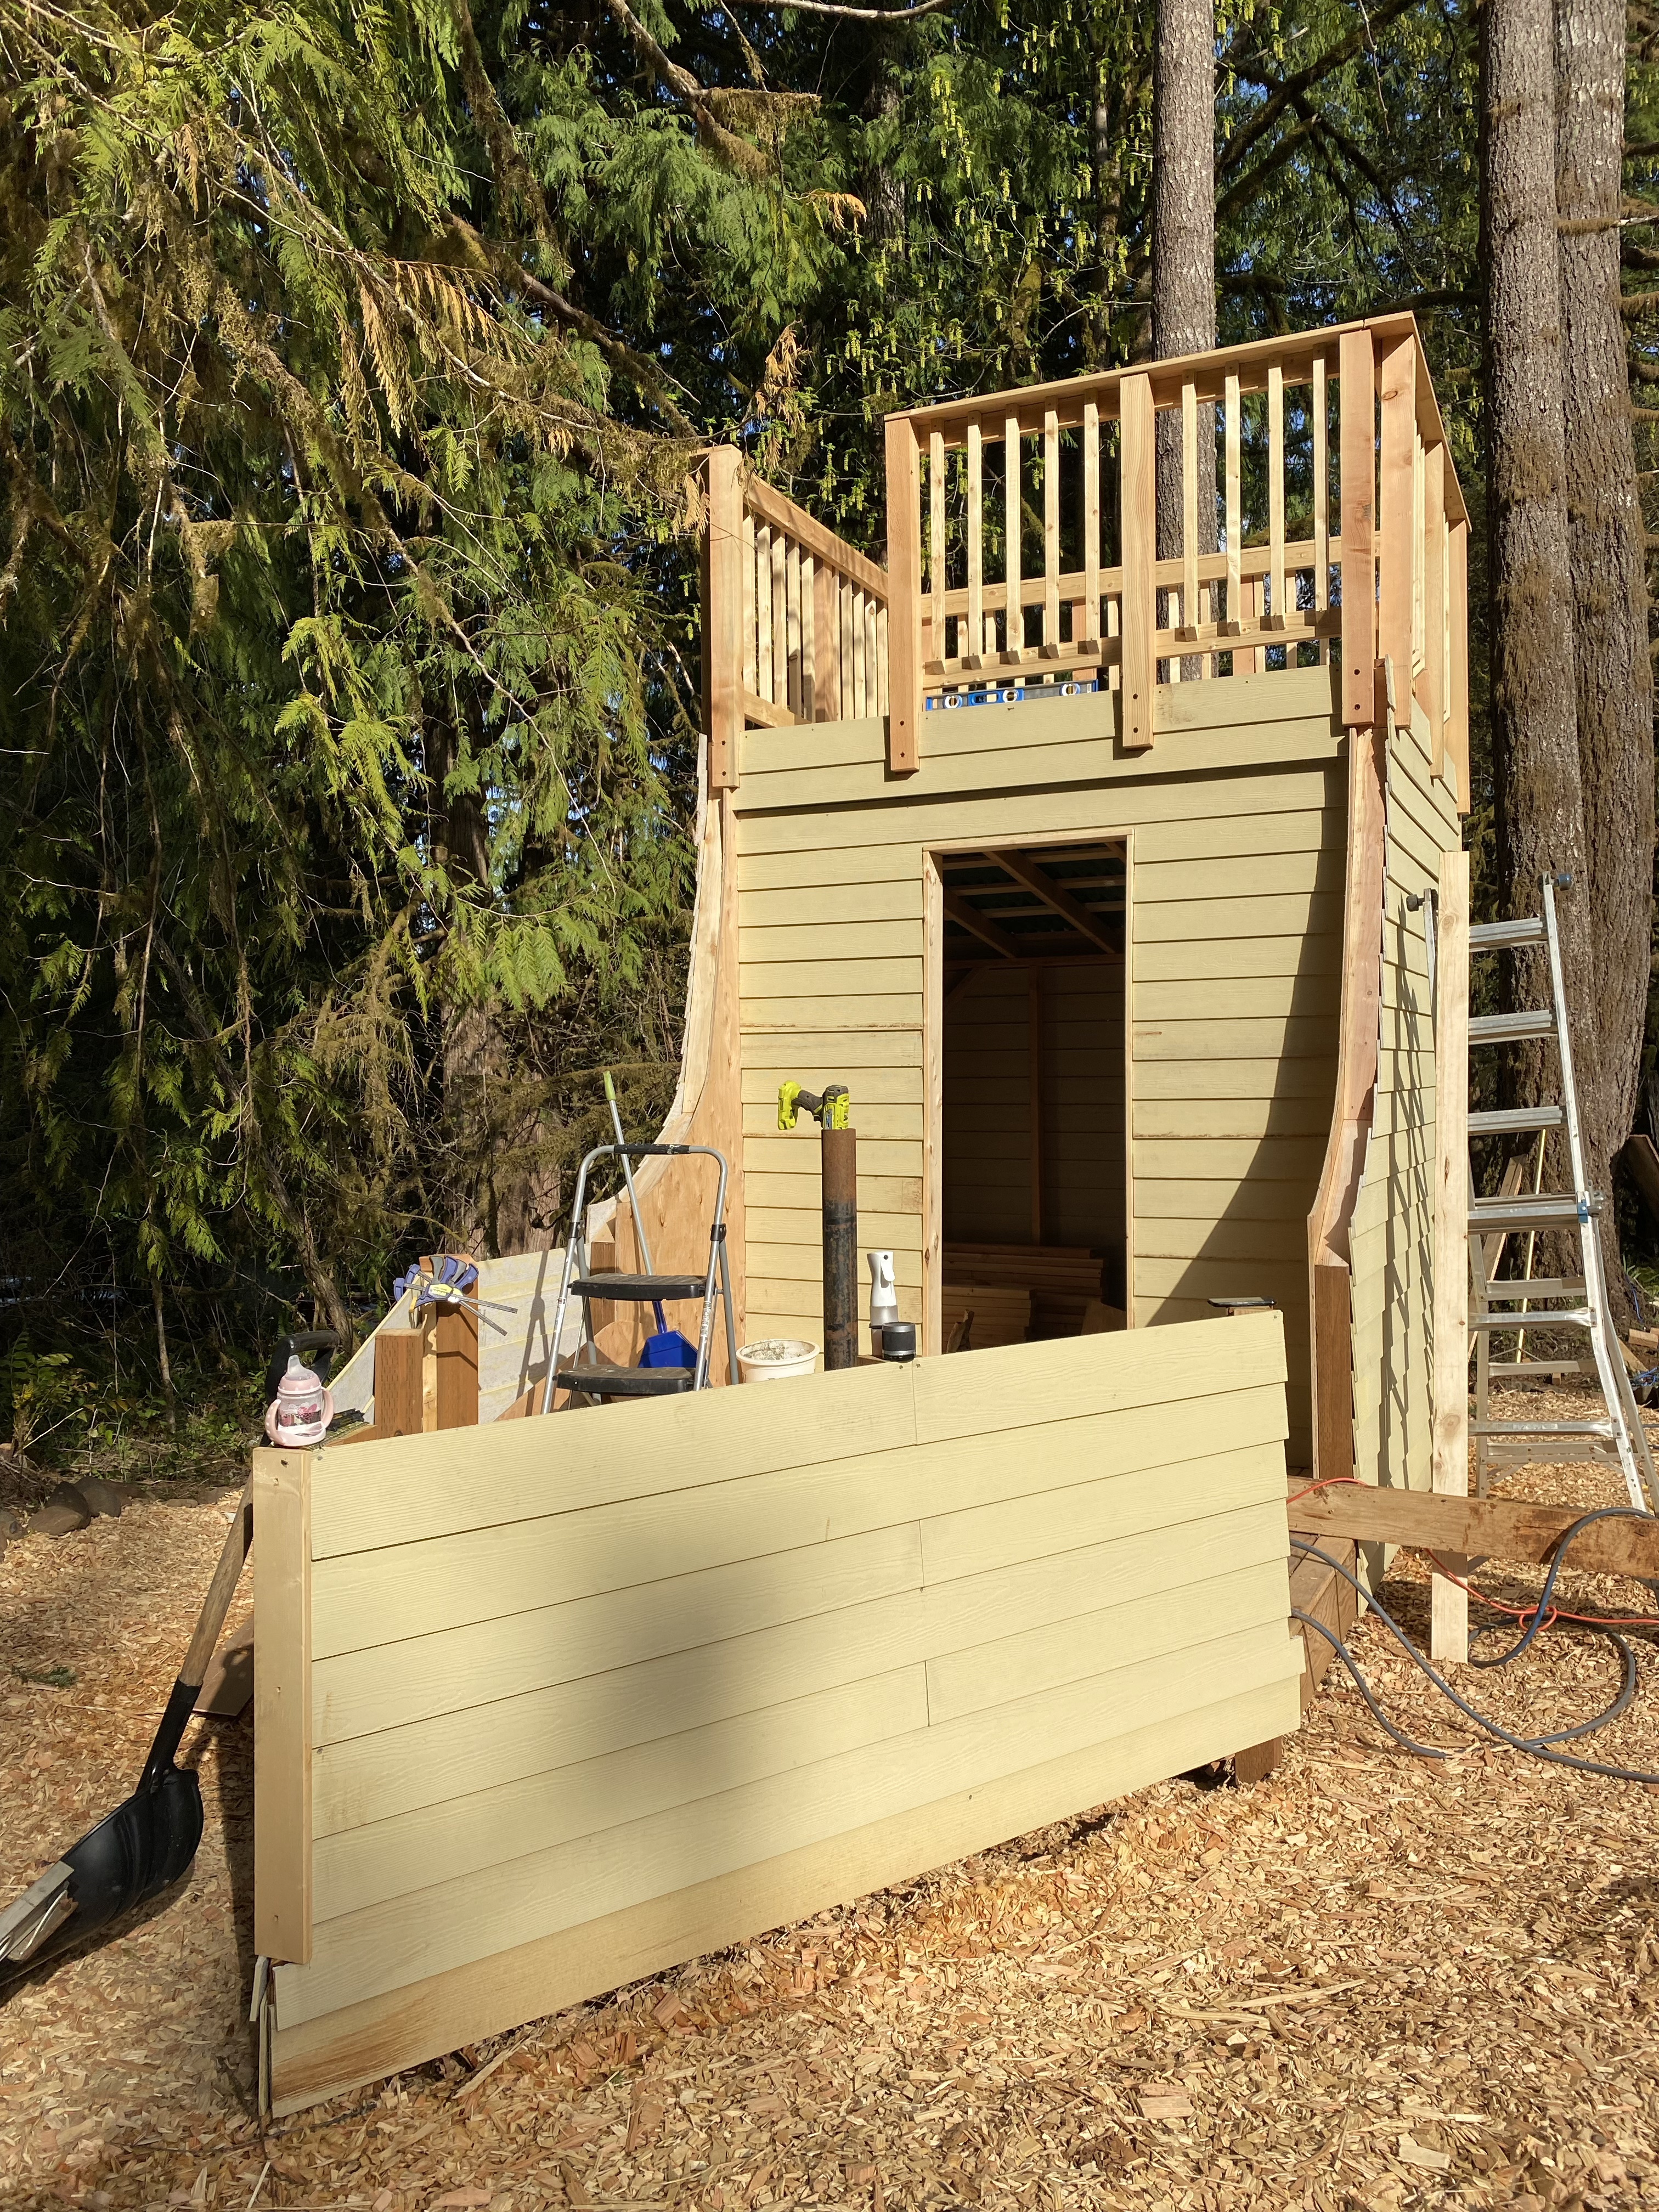
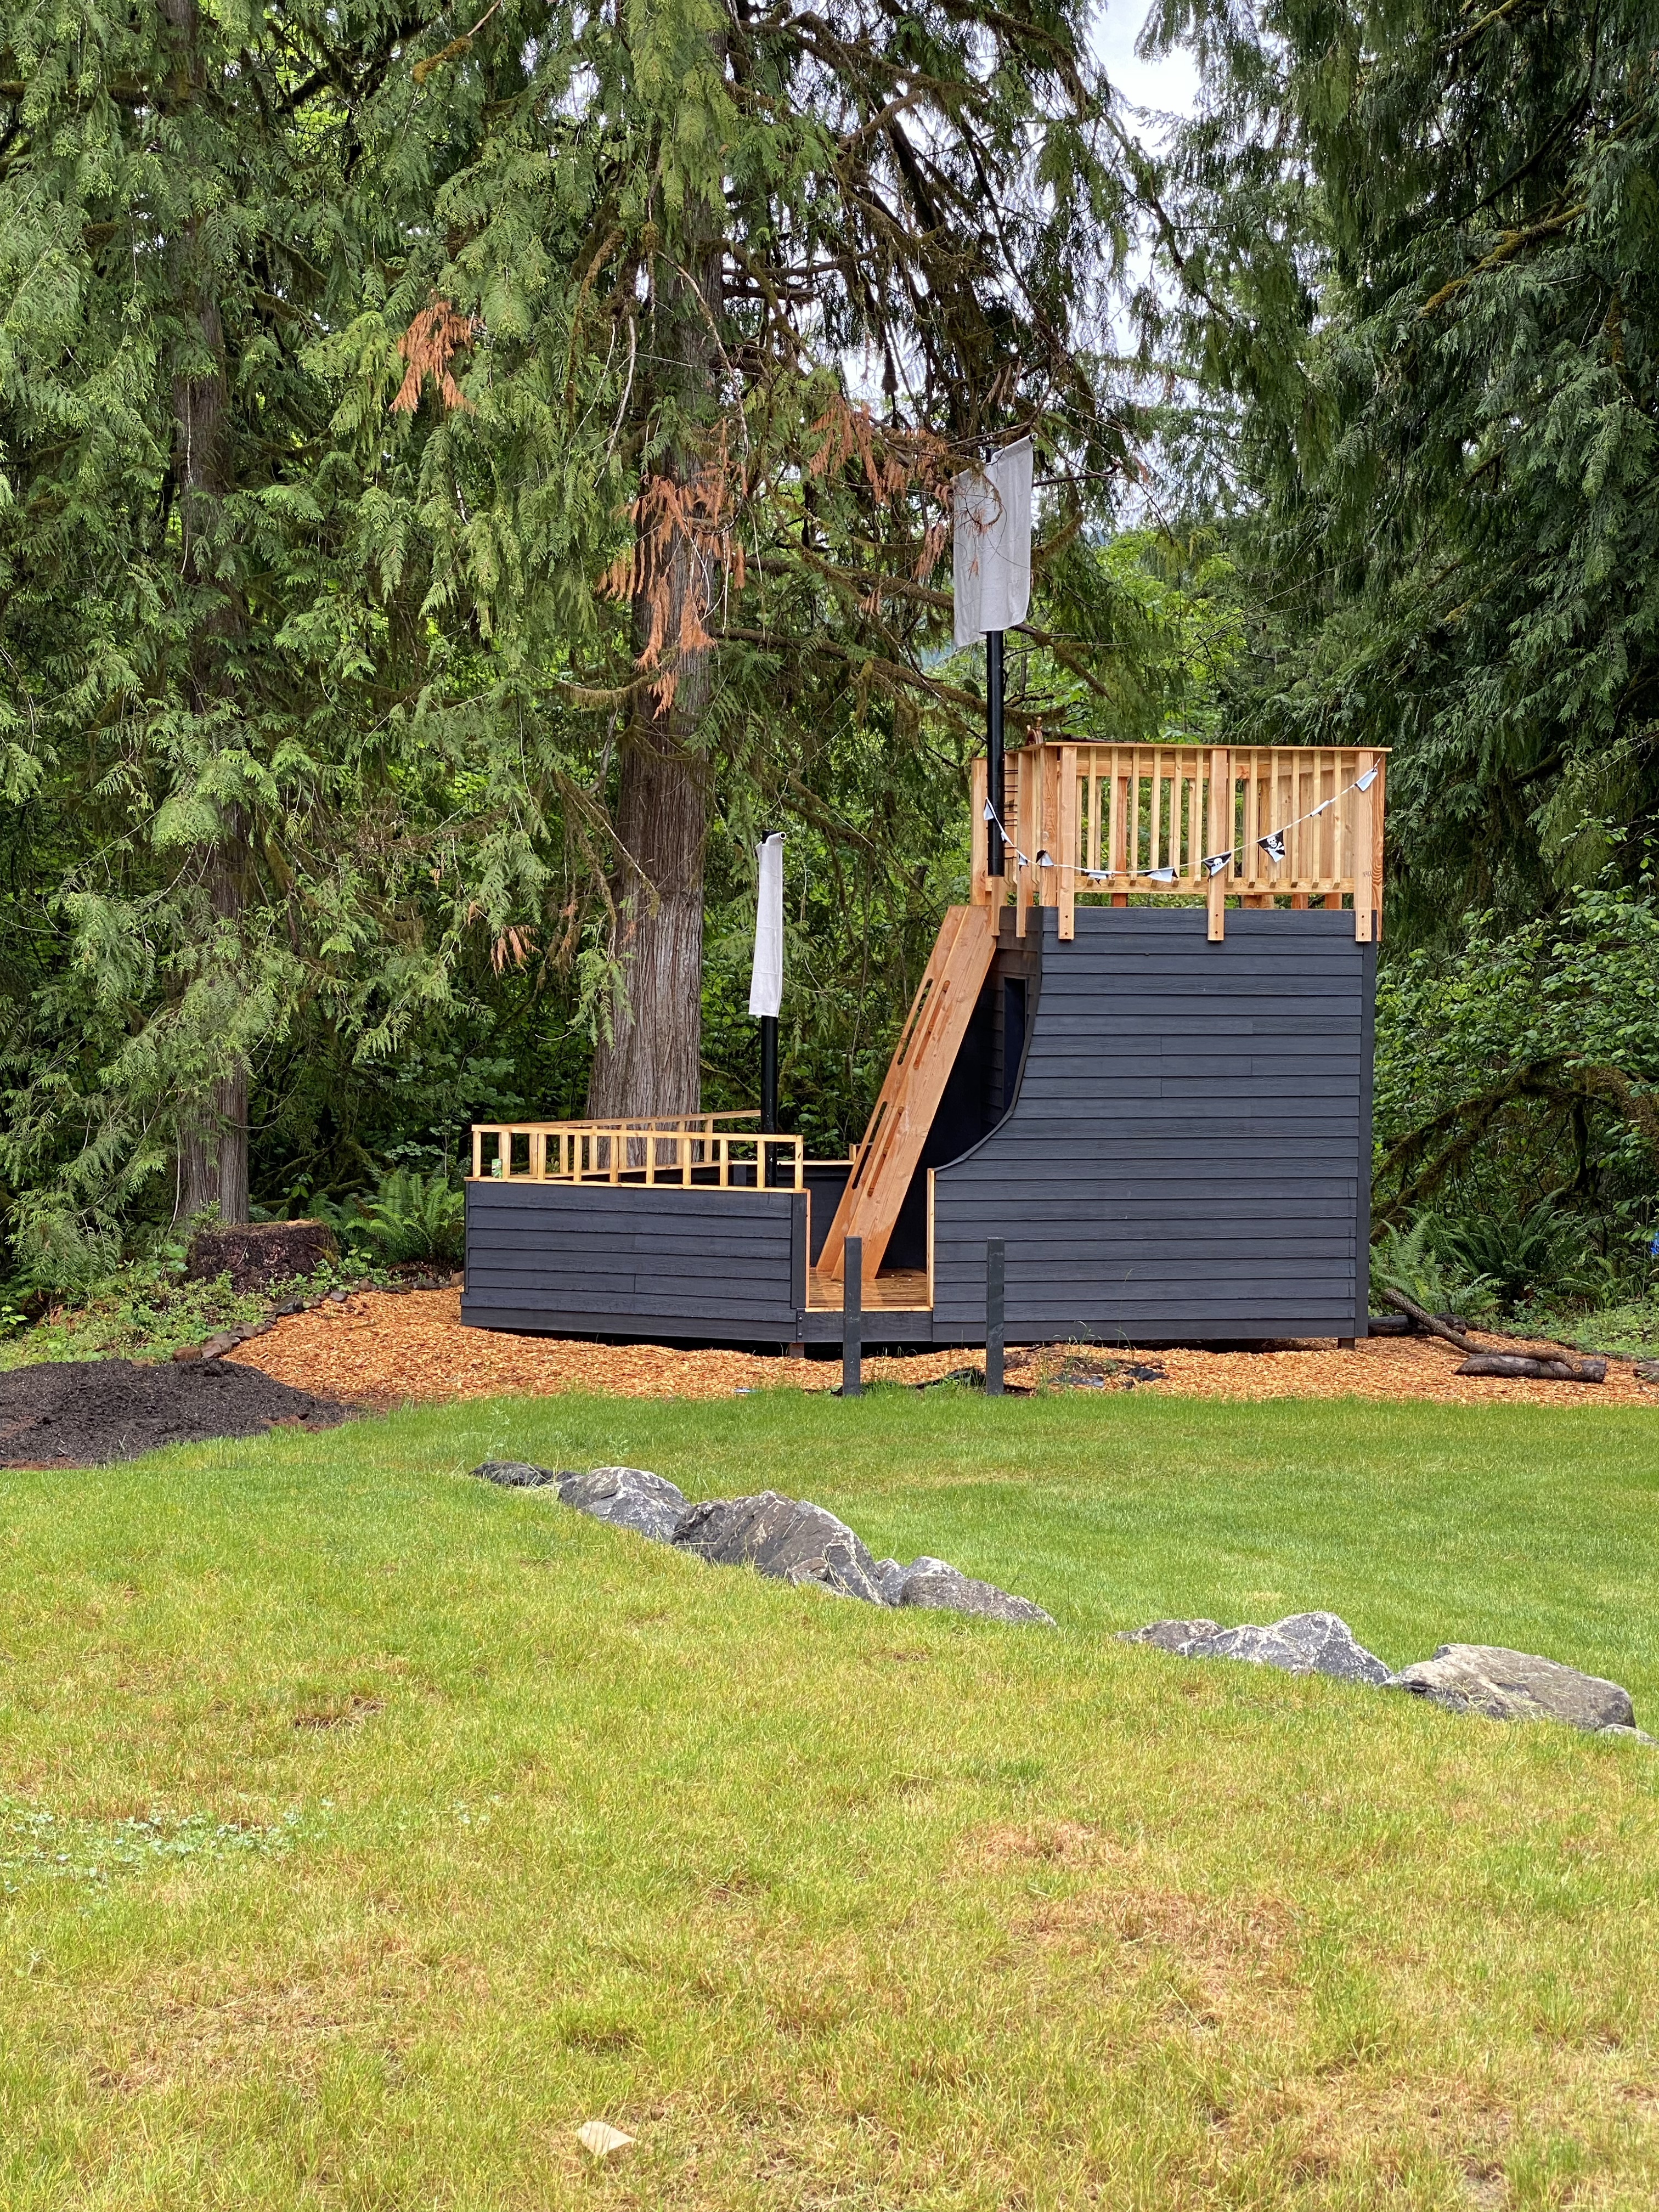
7. We decided to use siding on the outside of the ship. Our hope is that it will withstand the weather well. And here you can see what I meant by the cabin roof line being “invisible”. You can’t tell it has a slant from the outside of the ship, but still get the benefit of water running off that roof and out the back of the ship. Liam really loved helping with this project!
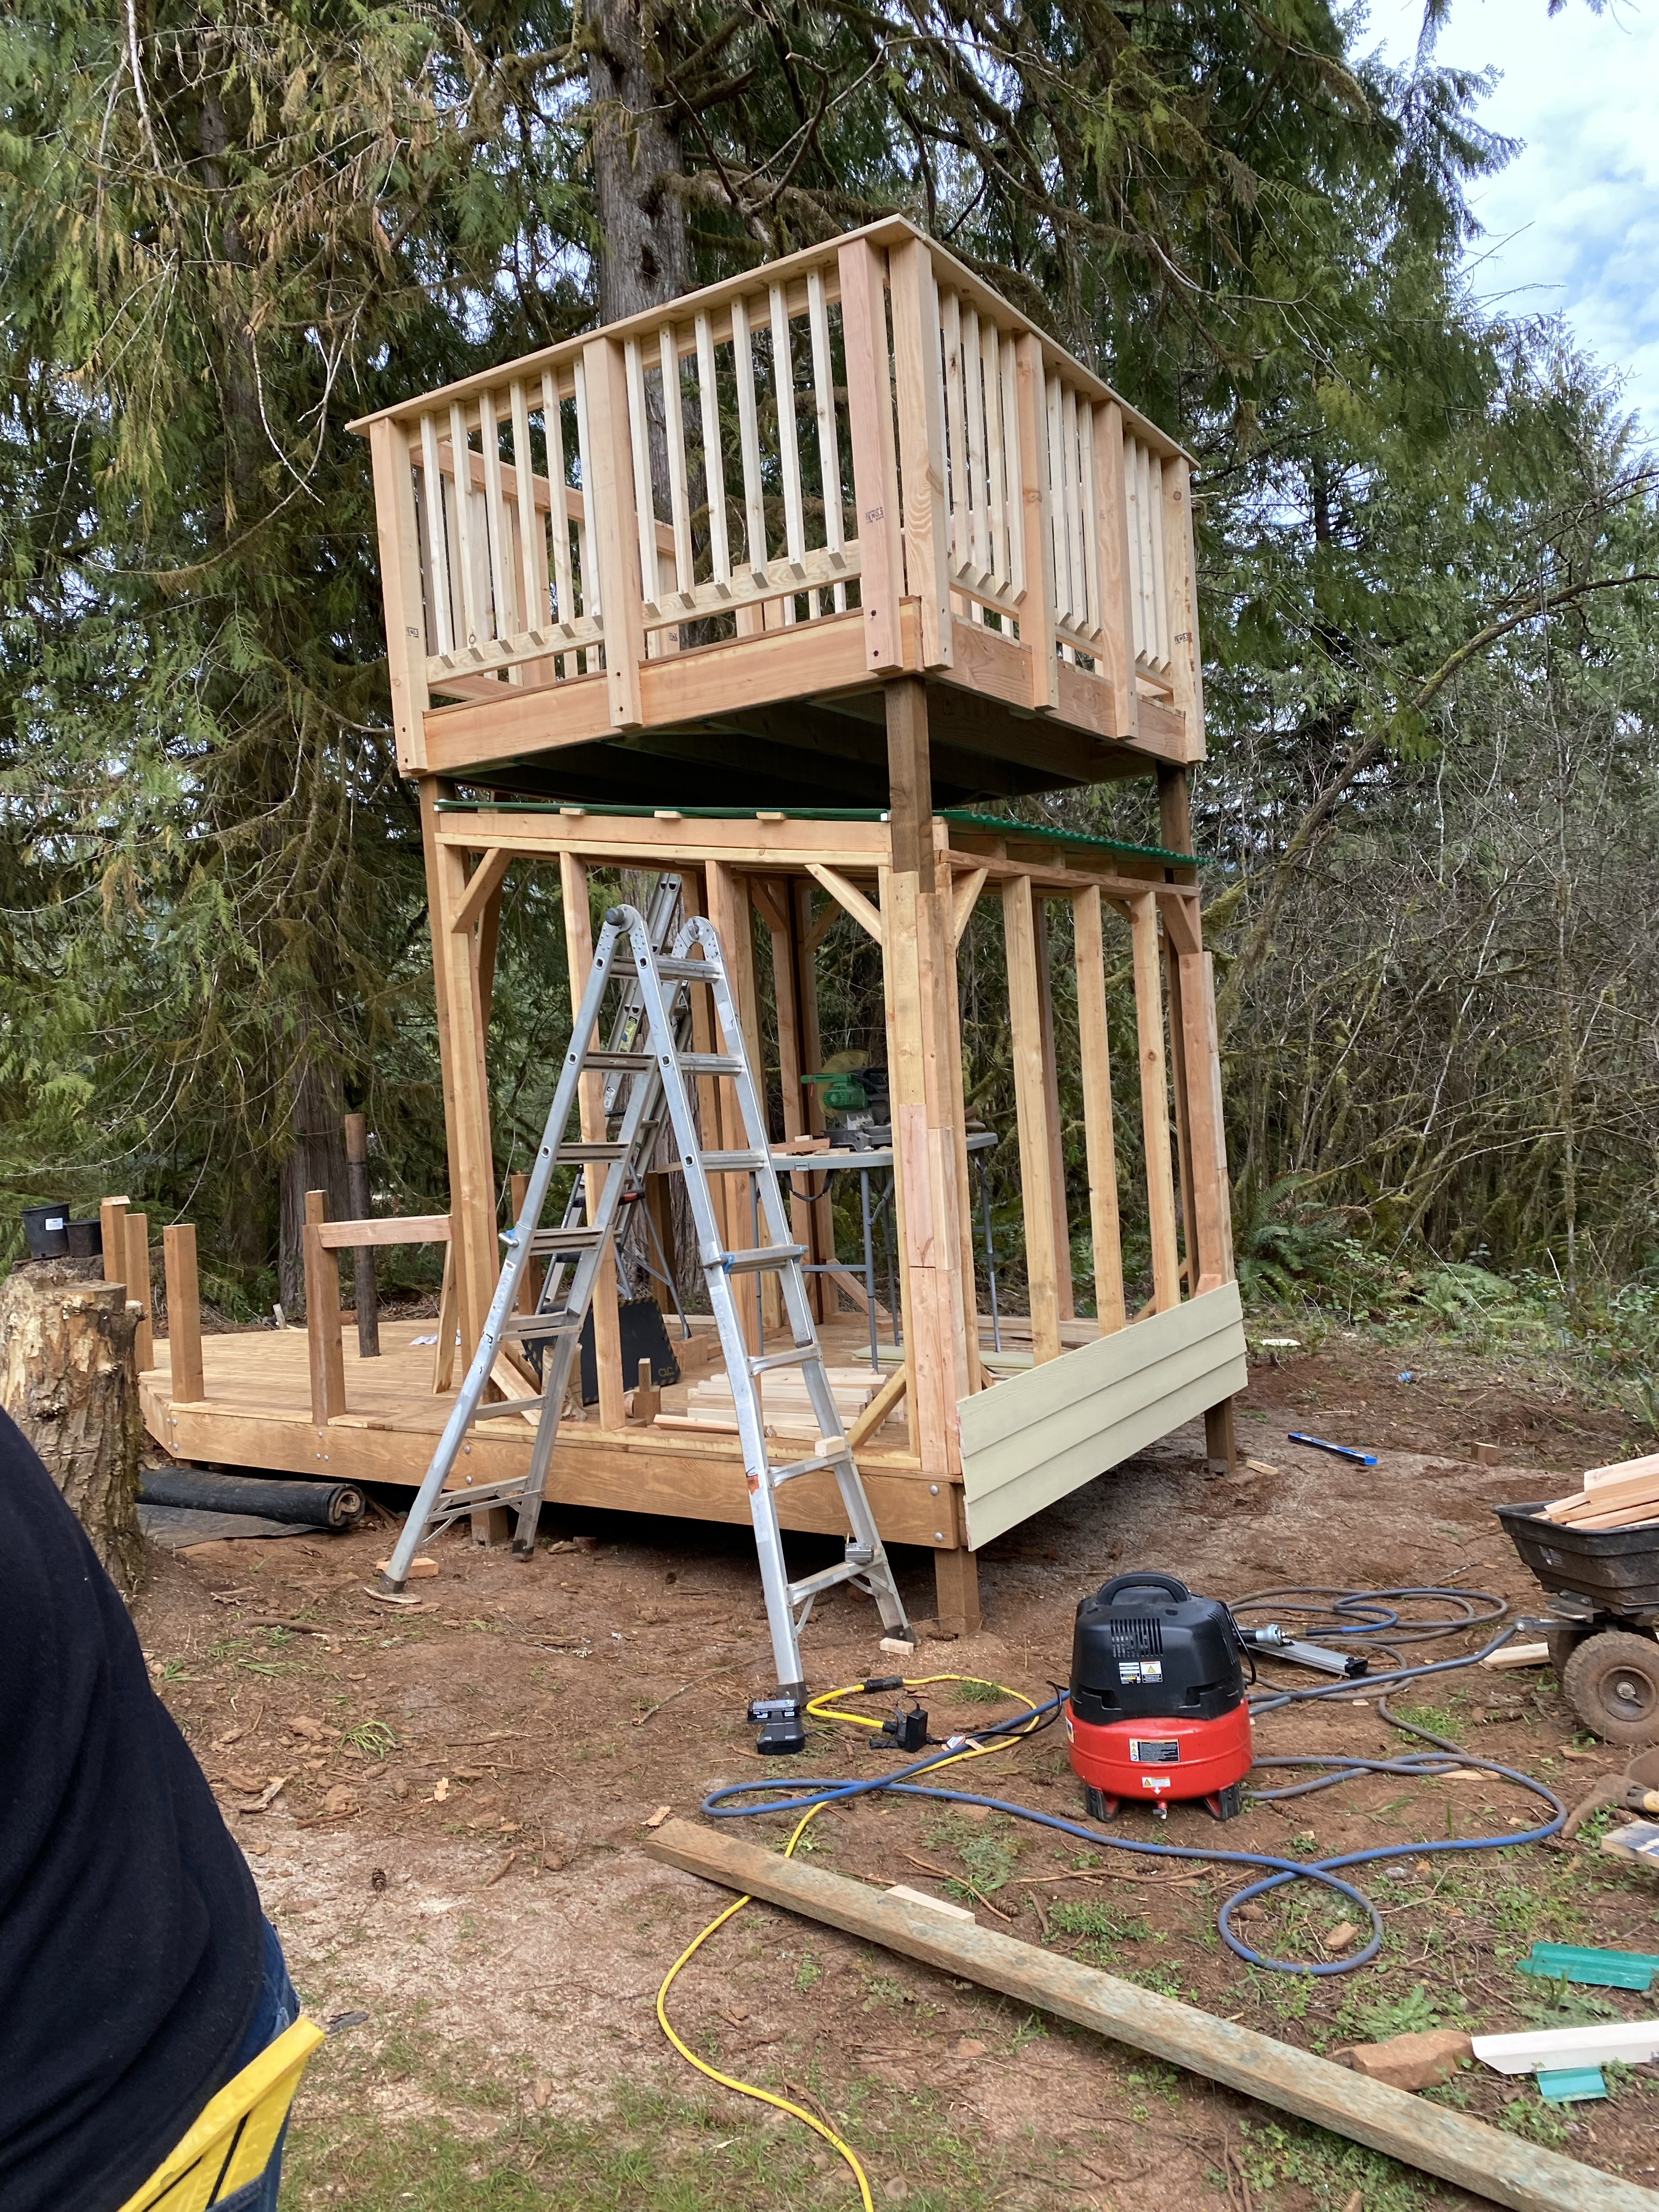
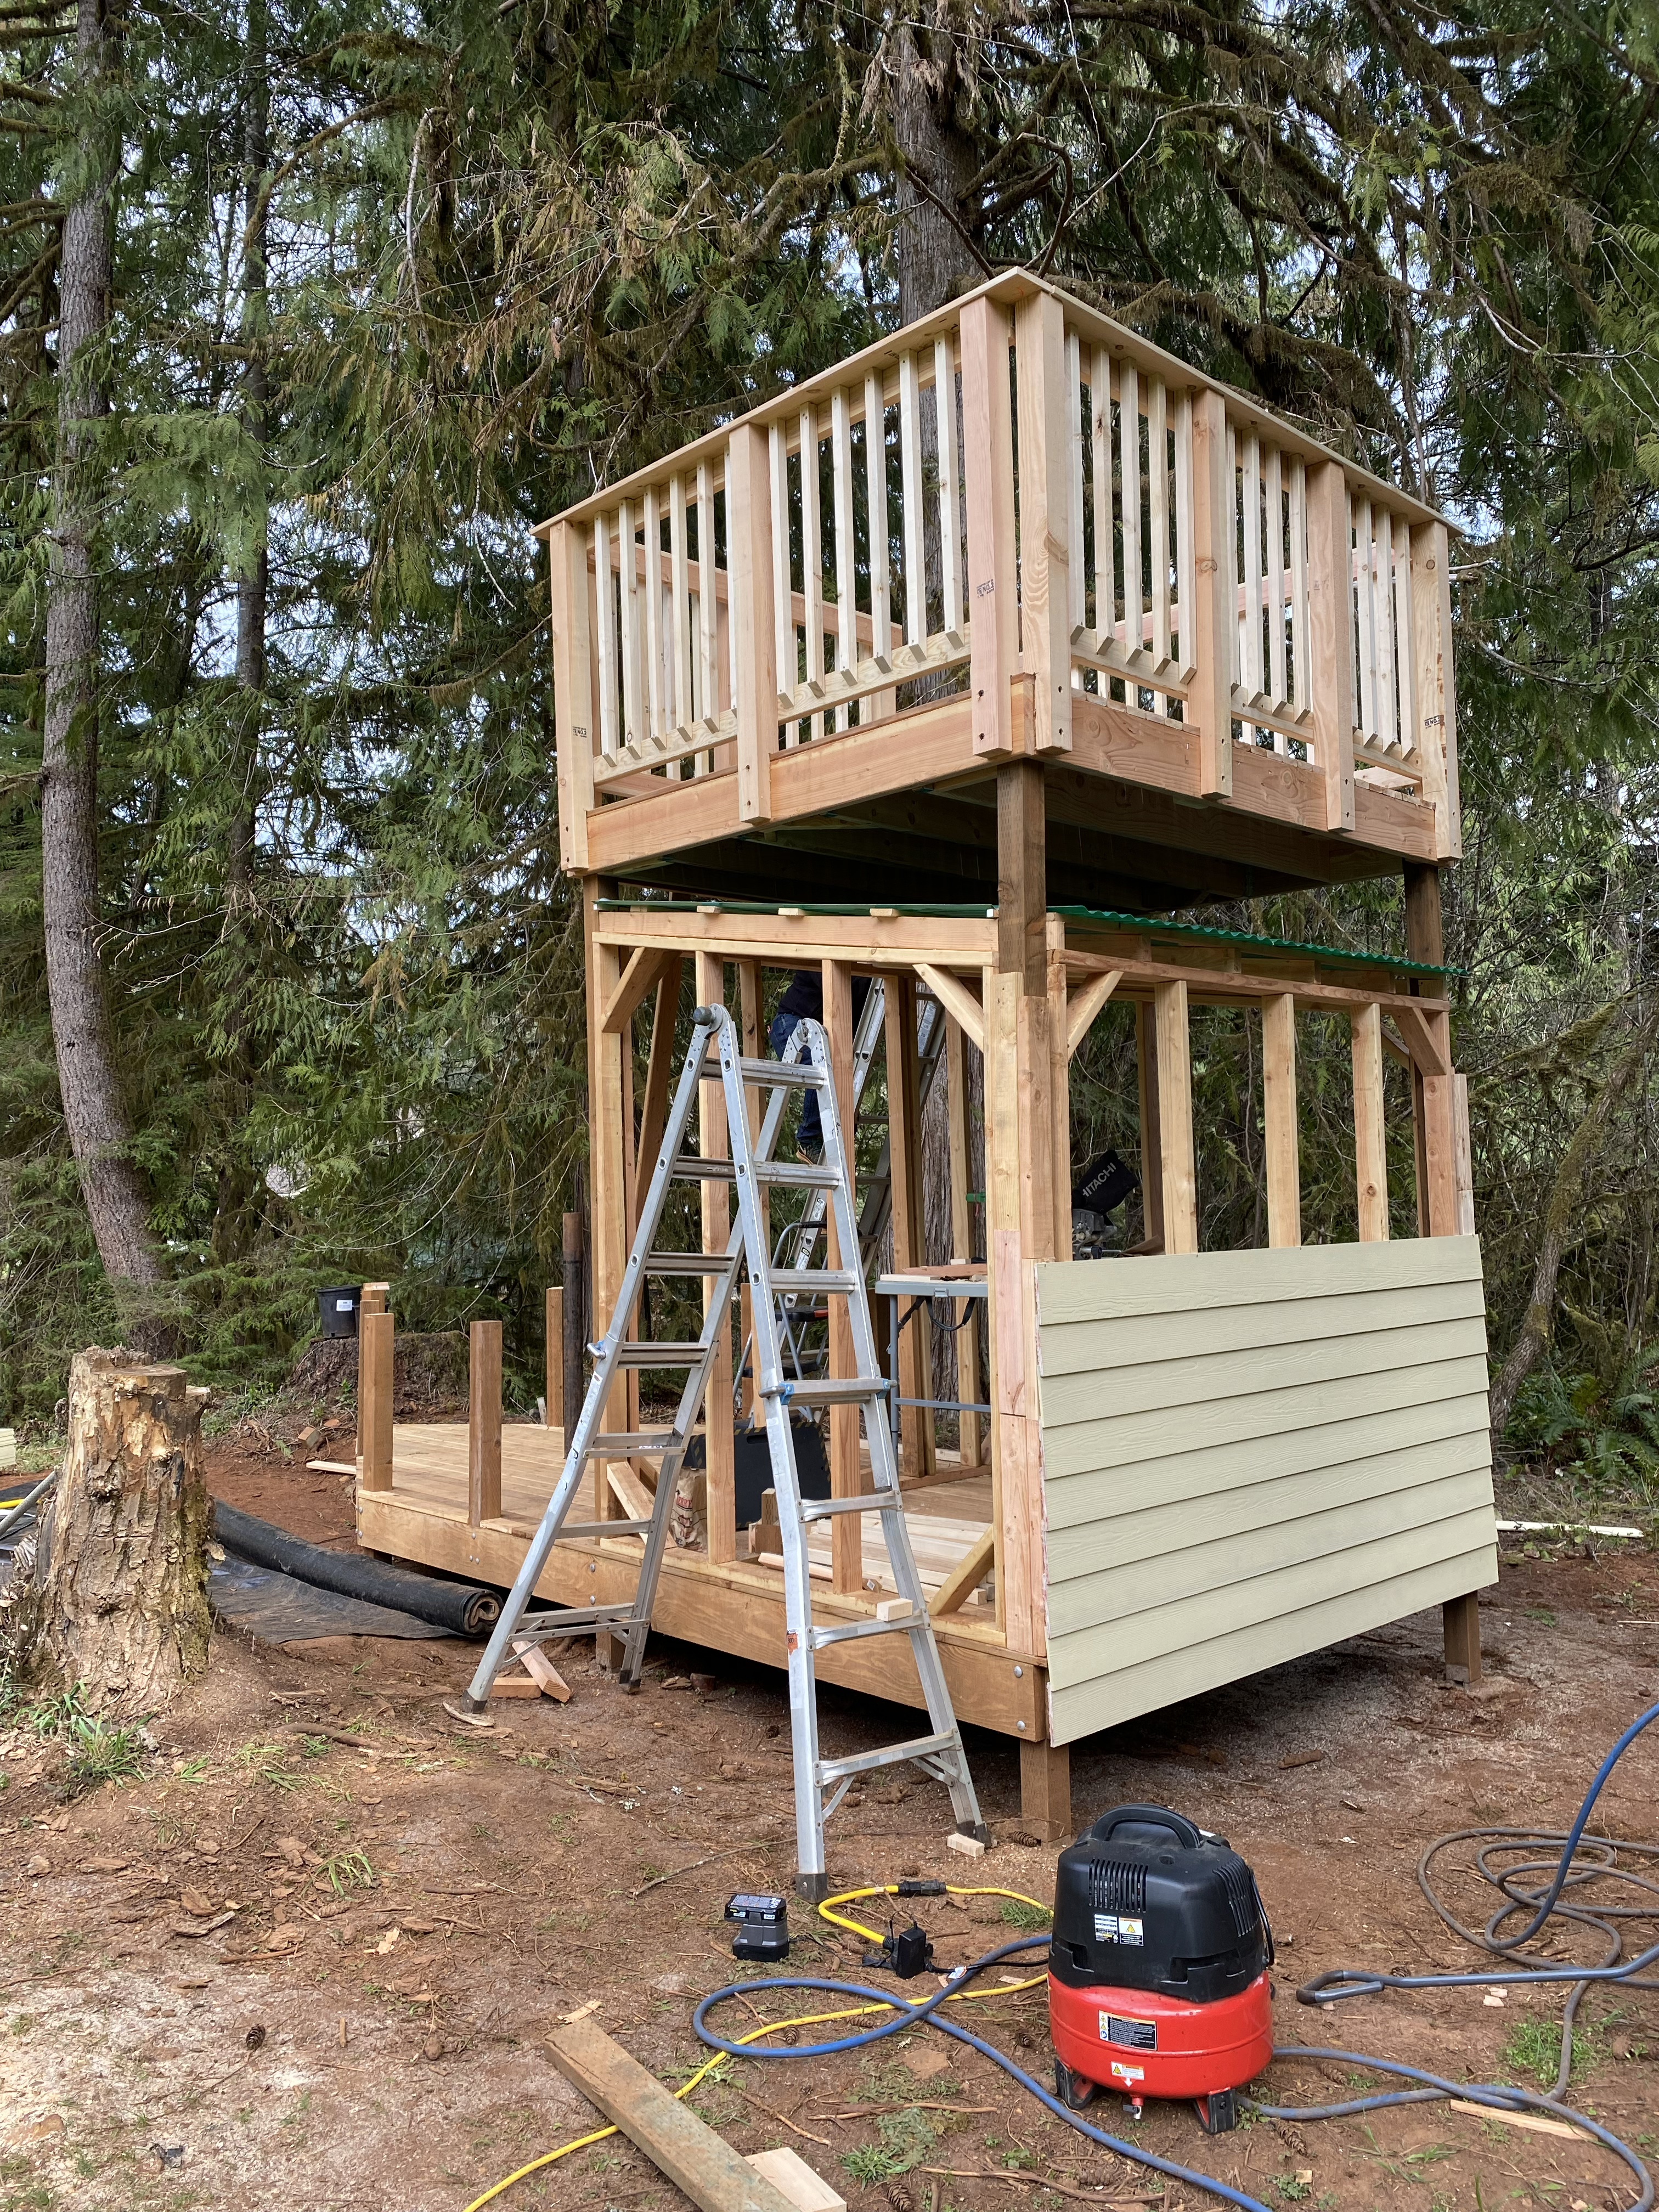
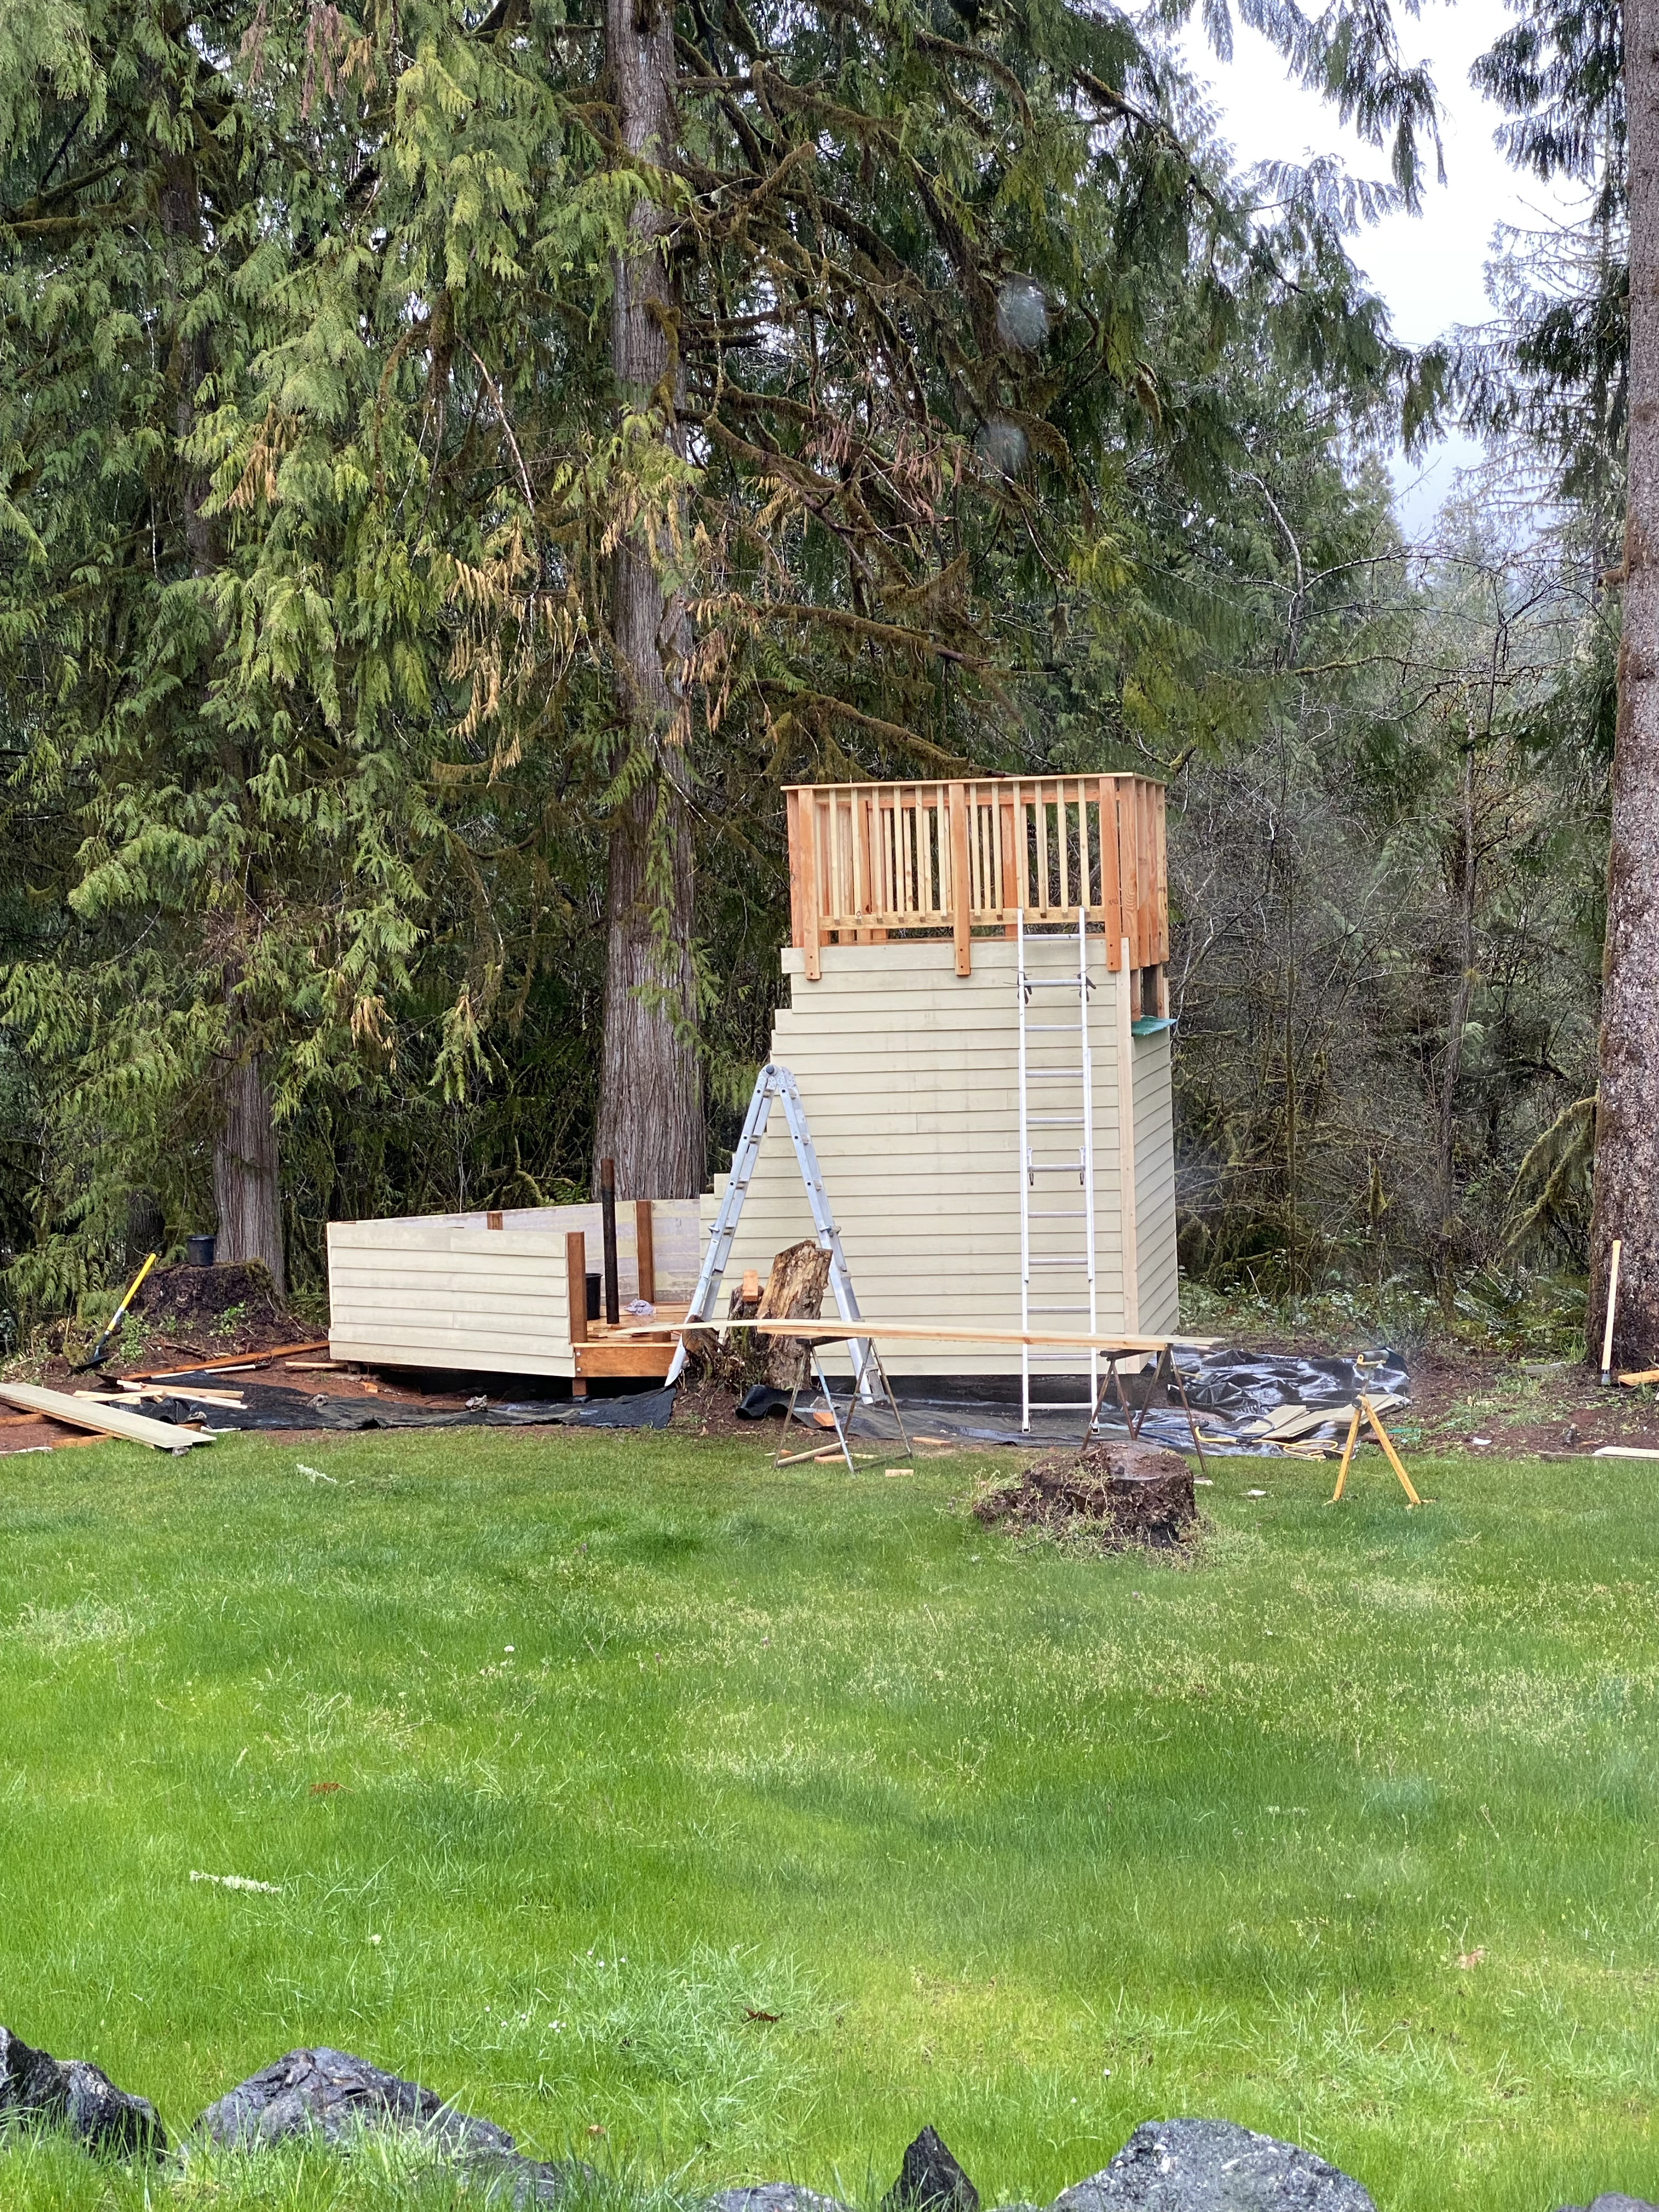
8. You can see we also added a transition between the two-story level of the ship and the front of the ship with some plywood, and by extending the siding. Aesthetics are important! We also added some wood chips to even things out around the ship.
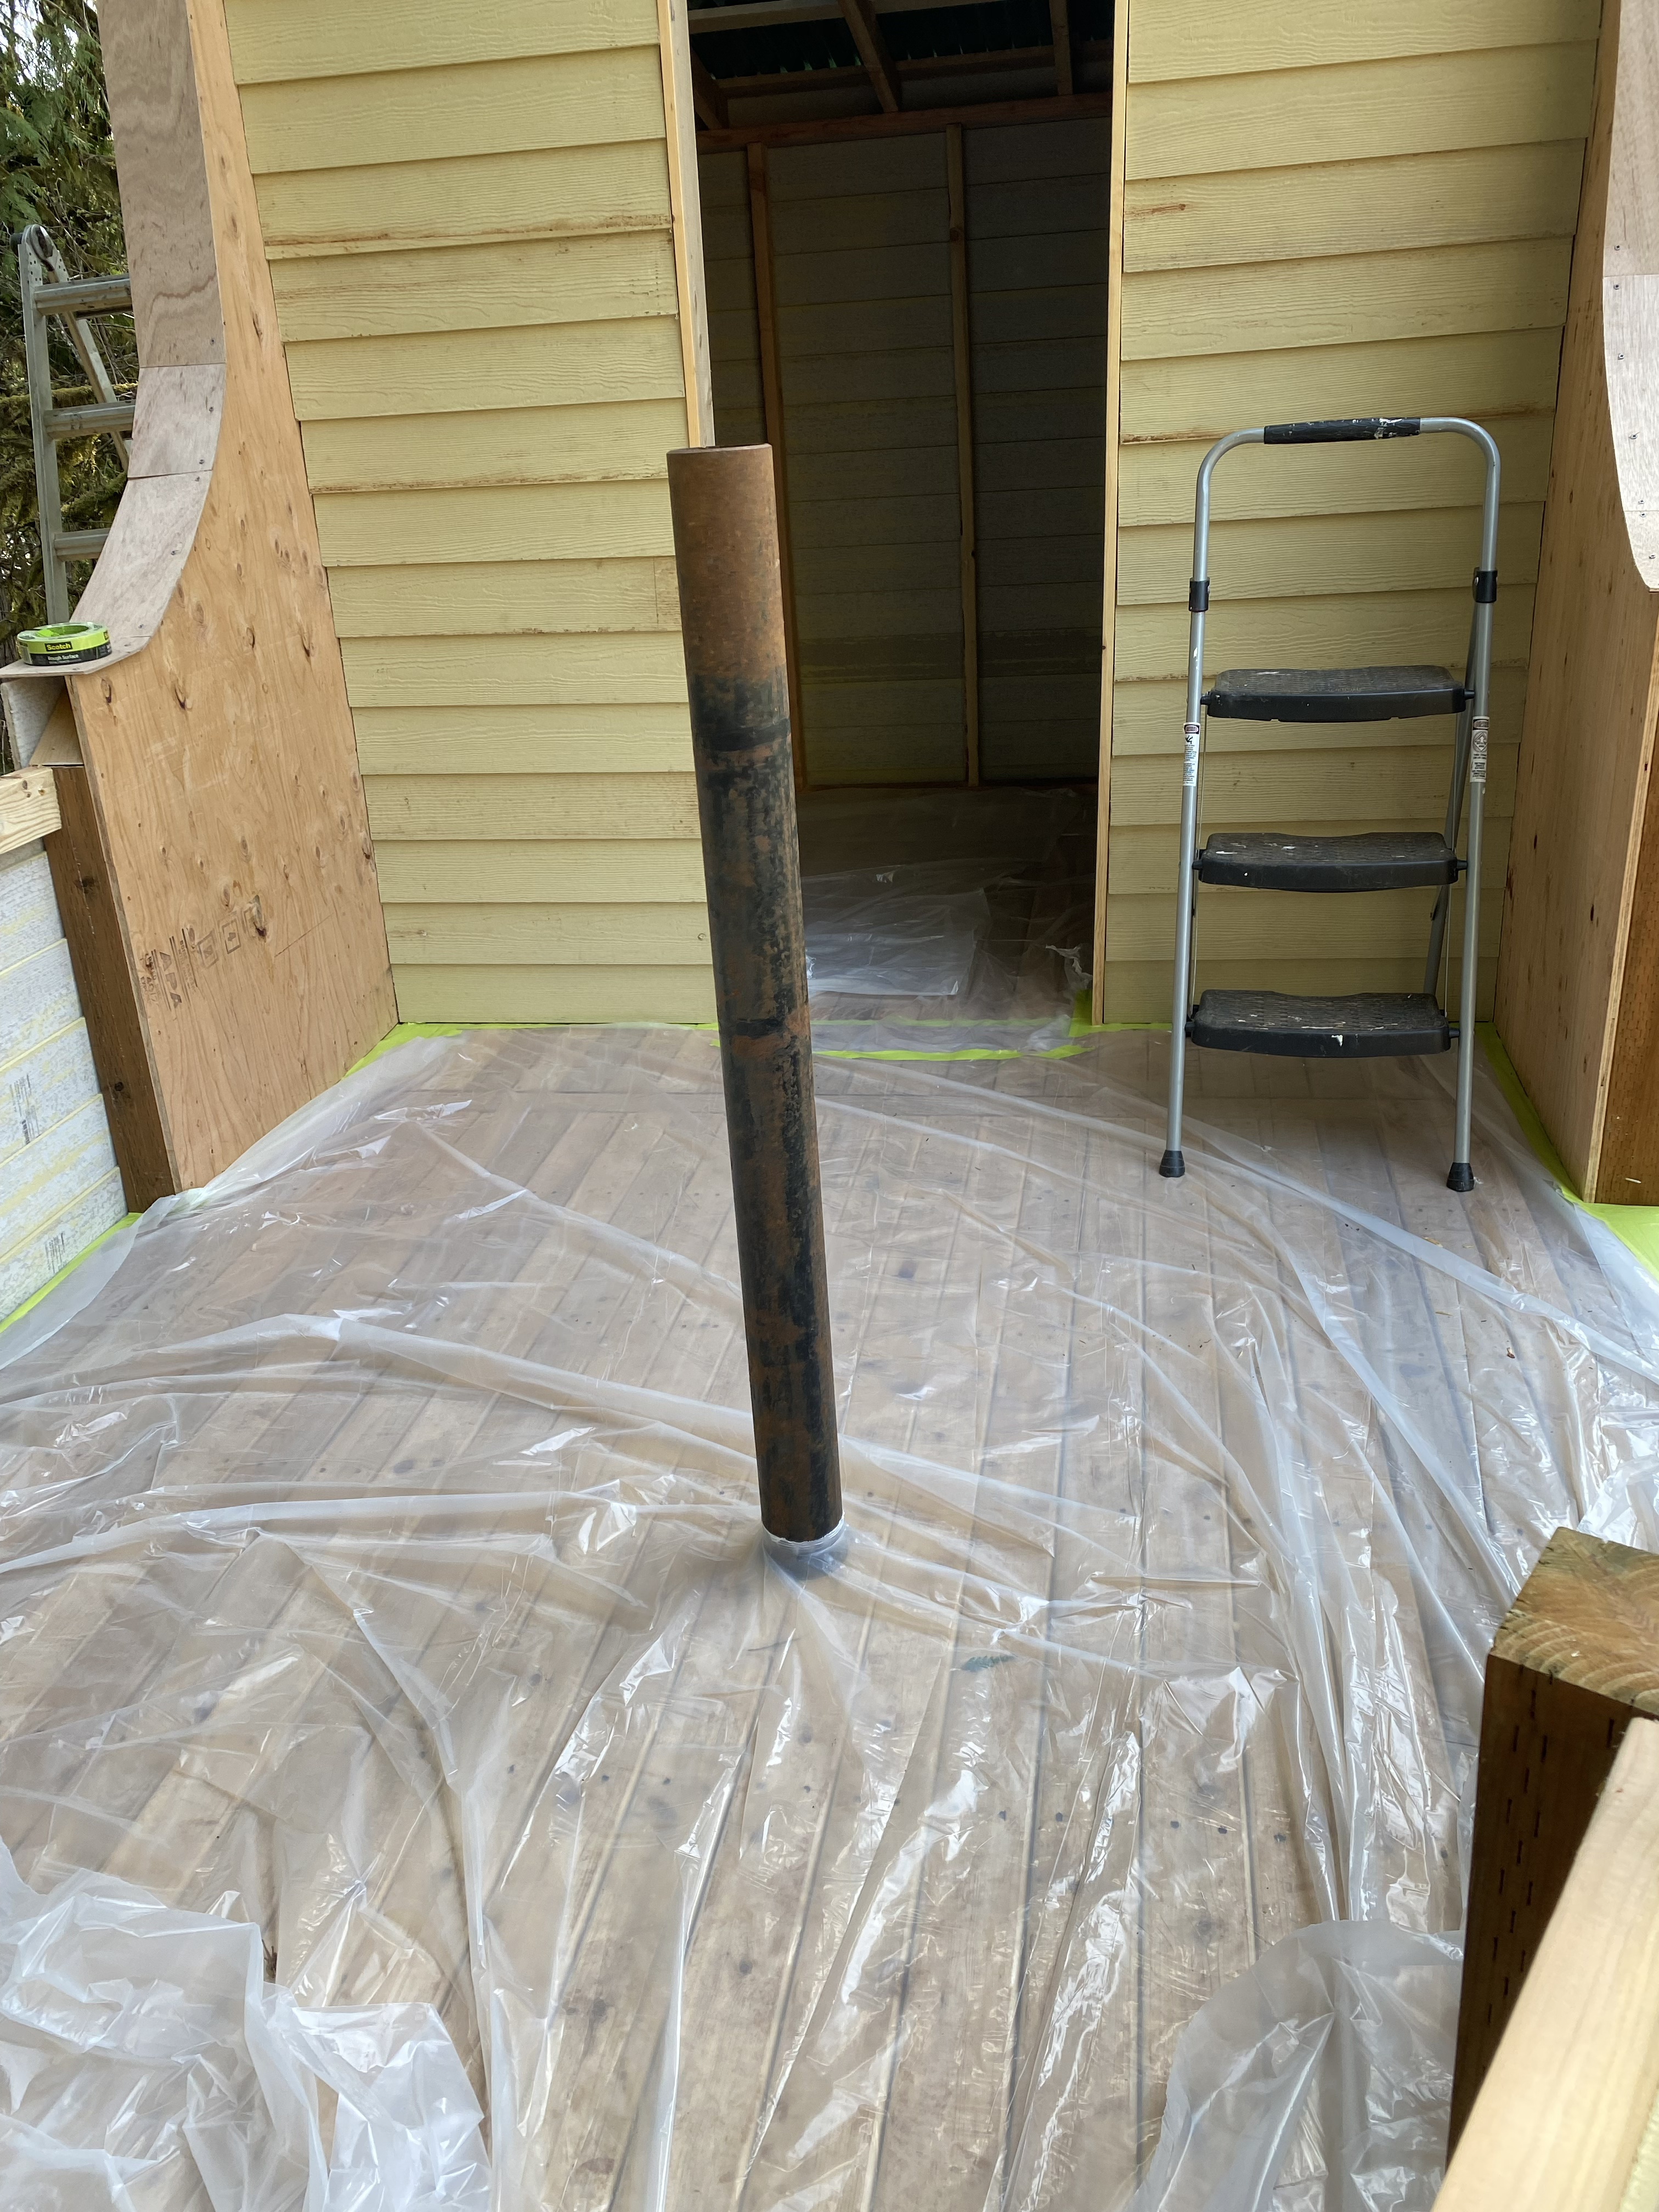
9. This is funny, often, the land gives exactly what you need. During the initial excavation of our property, we found this old post with a big chunk of concrete still attached. Unfortunately, it did not get removed with the other construction garbage. I had told Ryan we needed to take it to the dump or get rid of it somehow, I didn’t want a collection of random junk piling up around the property. A friend of ours joked it would still be around in 20 years…I did not find this idea funny. Well, the post sat and sat and sat because it was too heavy to get into a car to remove. But then, when we needed a way to mount a mast, by golly, we repurposed that post. We dug a big hole under the deck of the ship, and muscled it in. It gave us a sturdy place to mount a spray-painted PVC mast onto the ship. See, the land gives and yes, it will still be around in 20 years. Richard was right.
Total side note: It was a CHORE to get it muscled into place. To this day I’m still not sure how Ryan and I moved it on our own. Really Ryan gets the credit!
10. Next up, paint. No self-respecting pirate ship would be anything but black. (Also, it just so happens to coordinate with our black and white house, imagine that!). So I sprayed SW Tricorn Black on all of the siding. We did opt to leave some of the wood unpainted, loving that two-tone look.
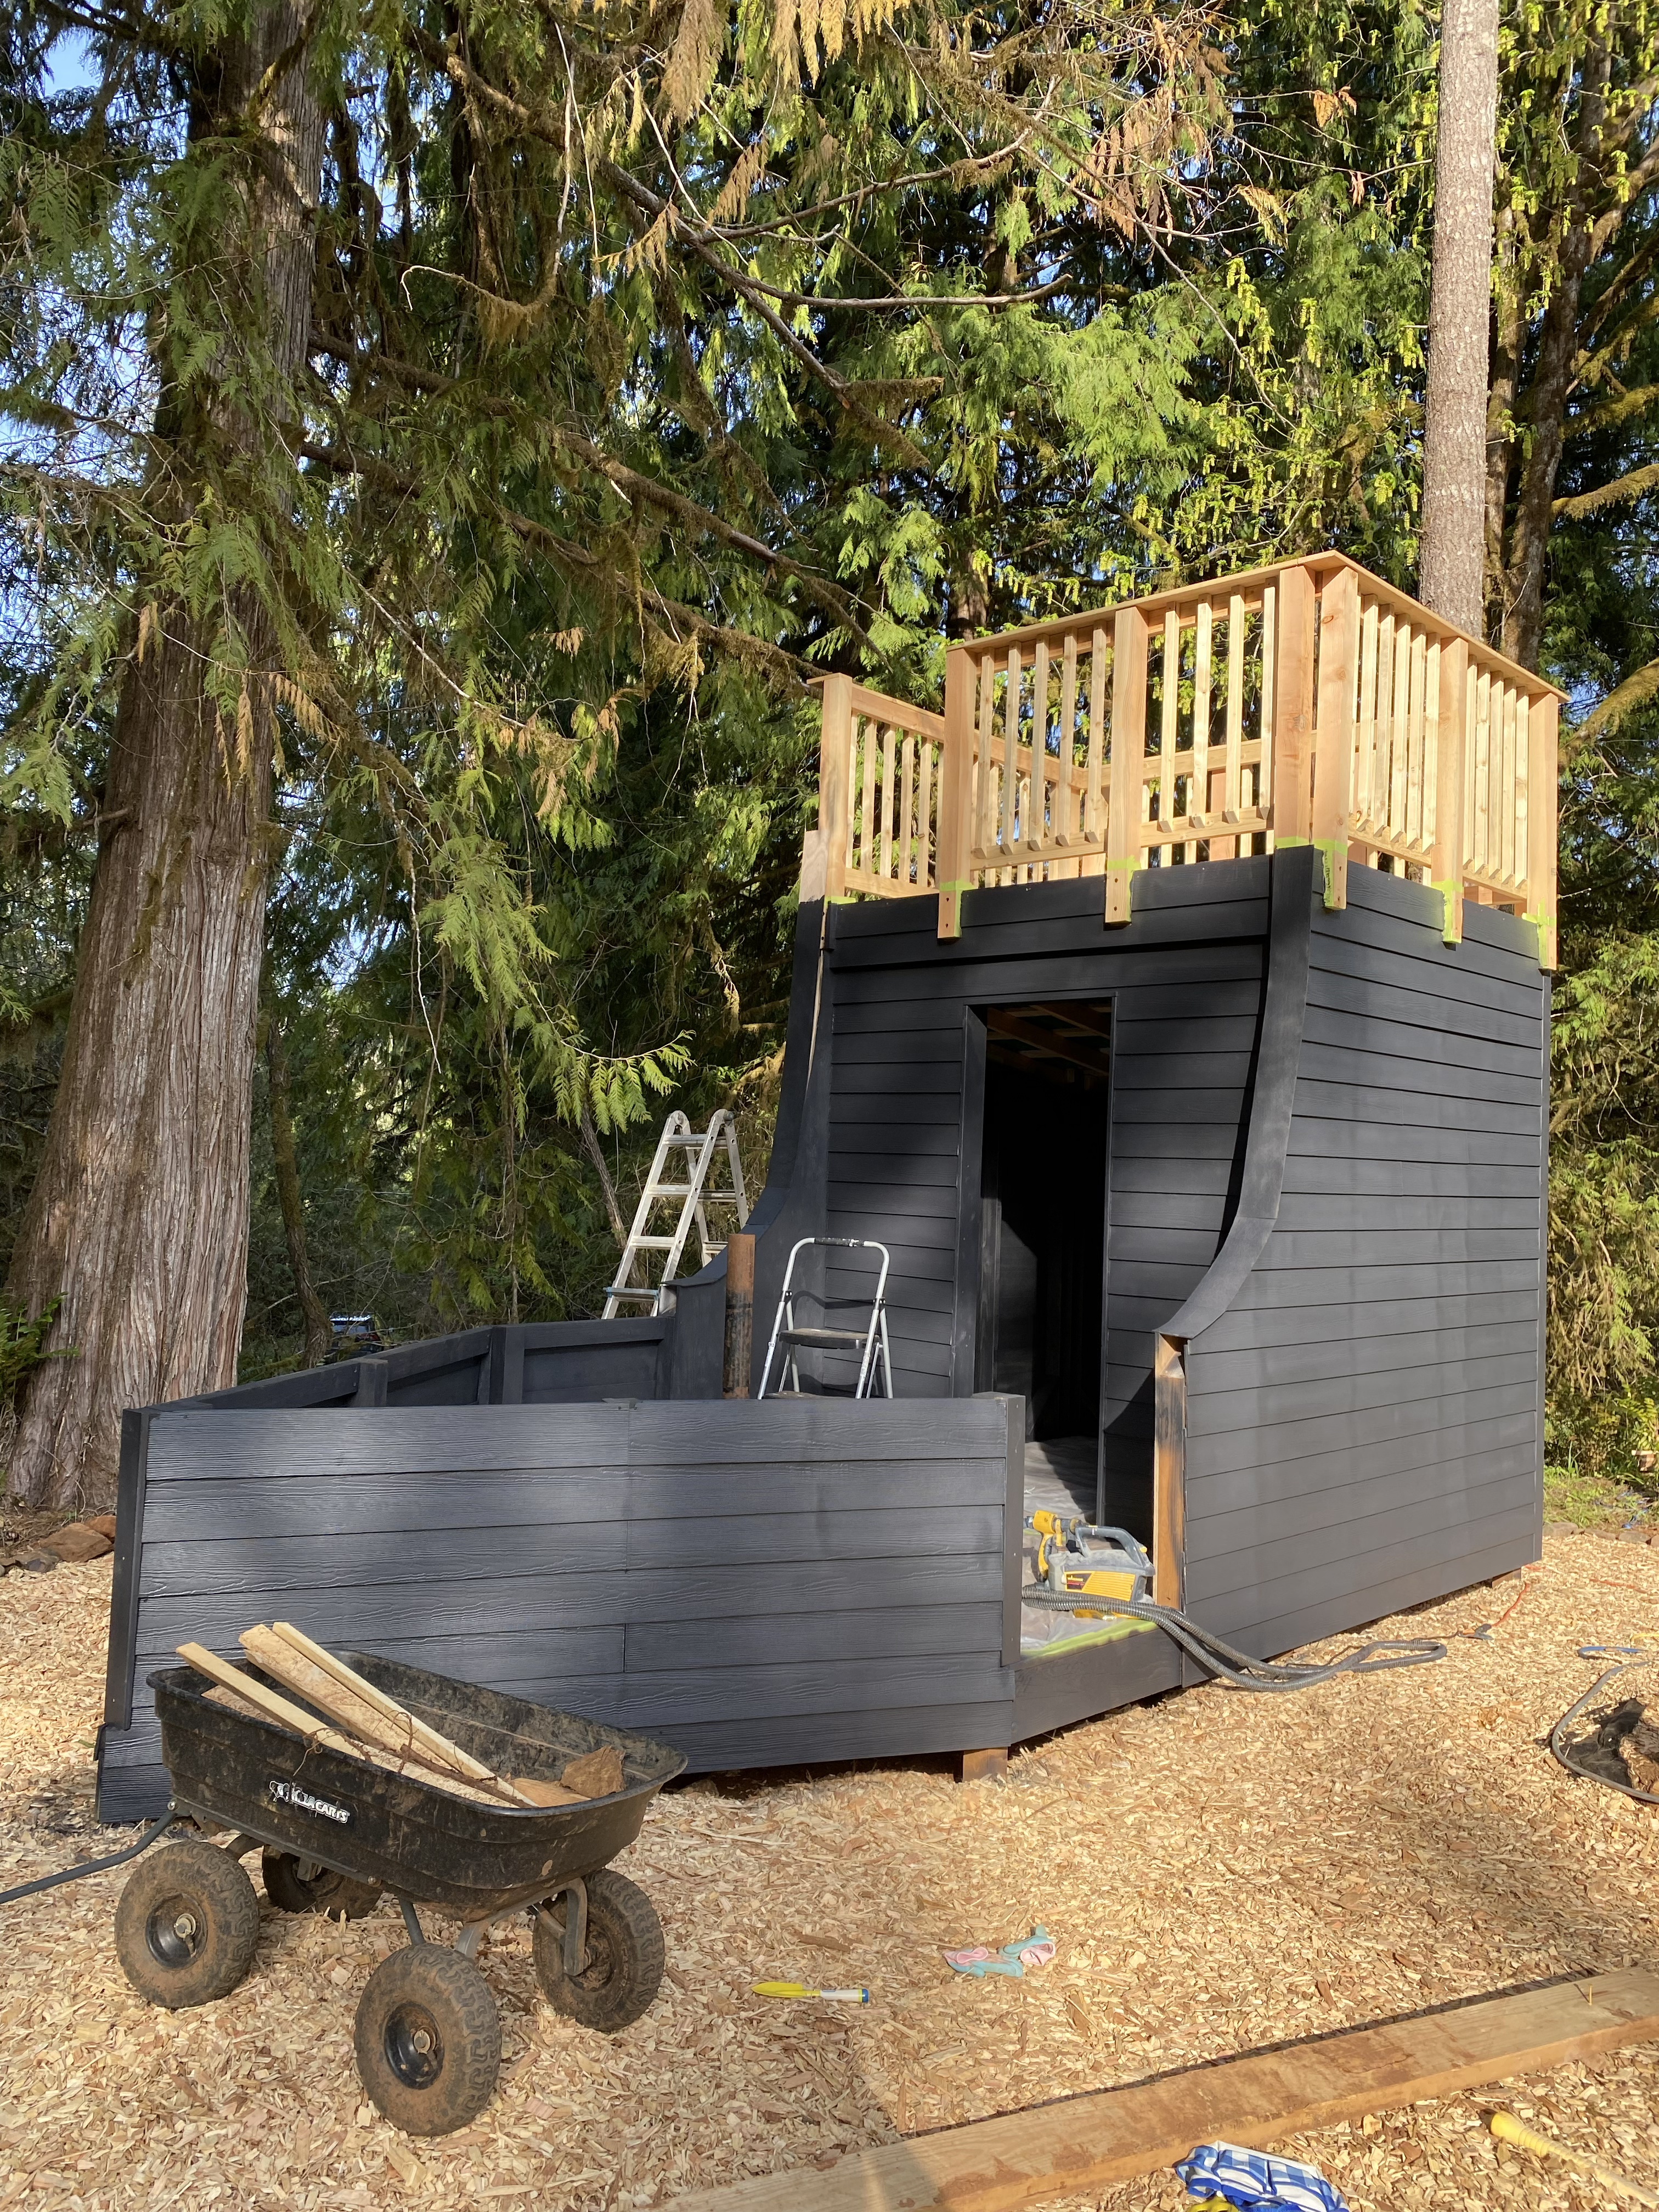
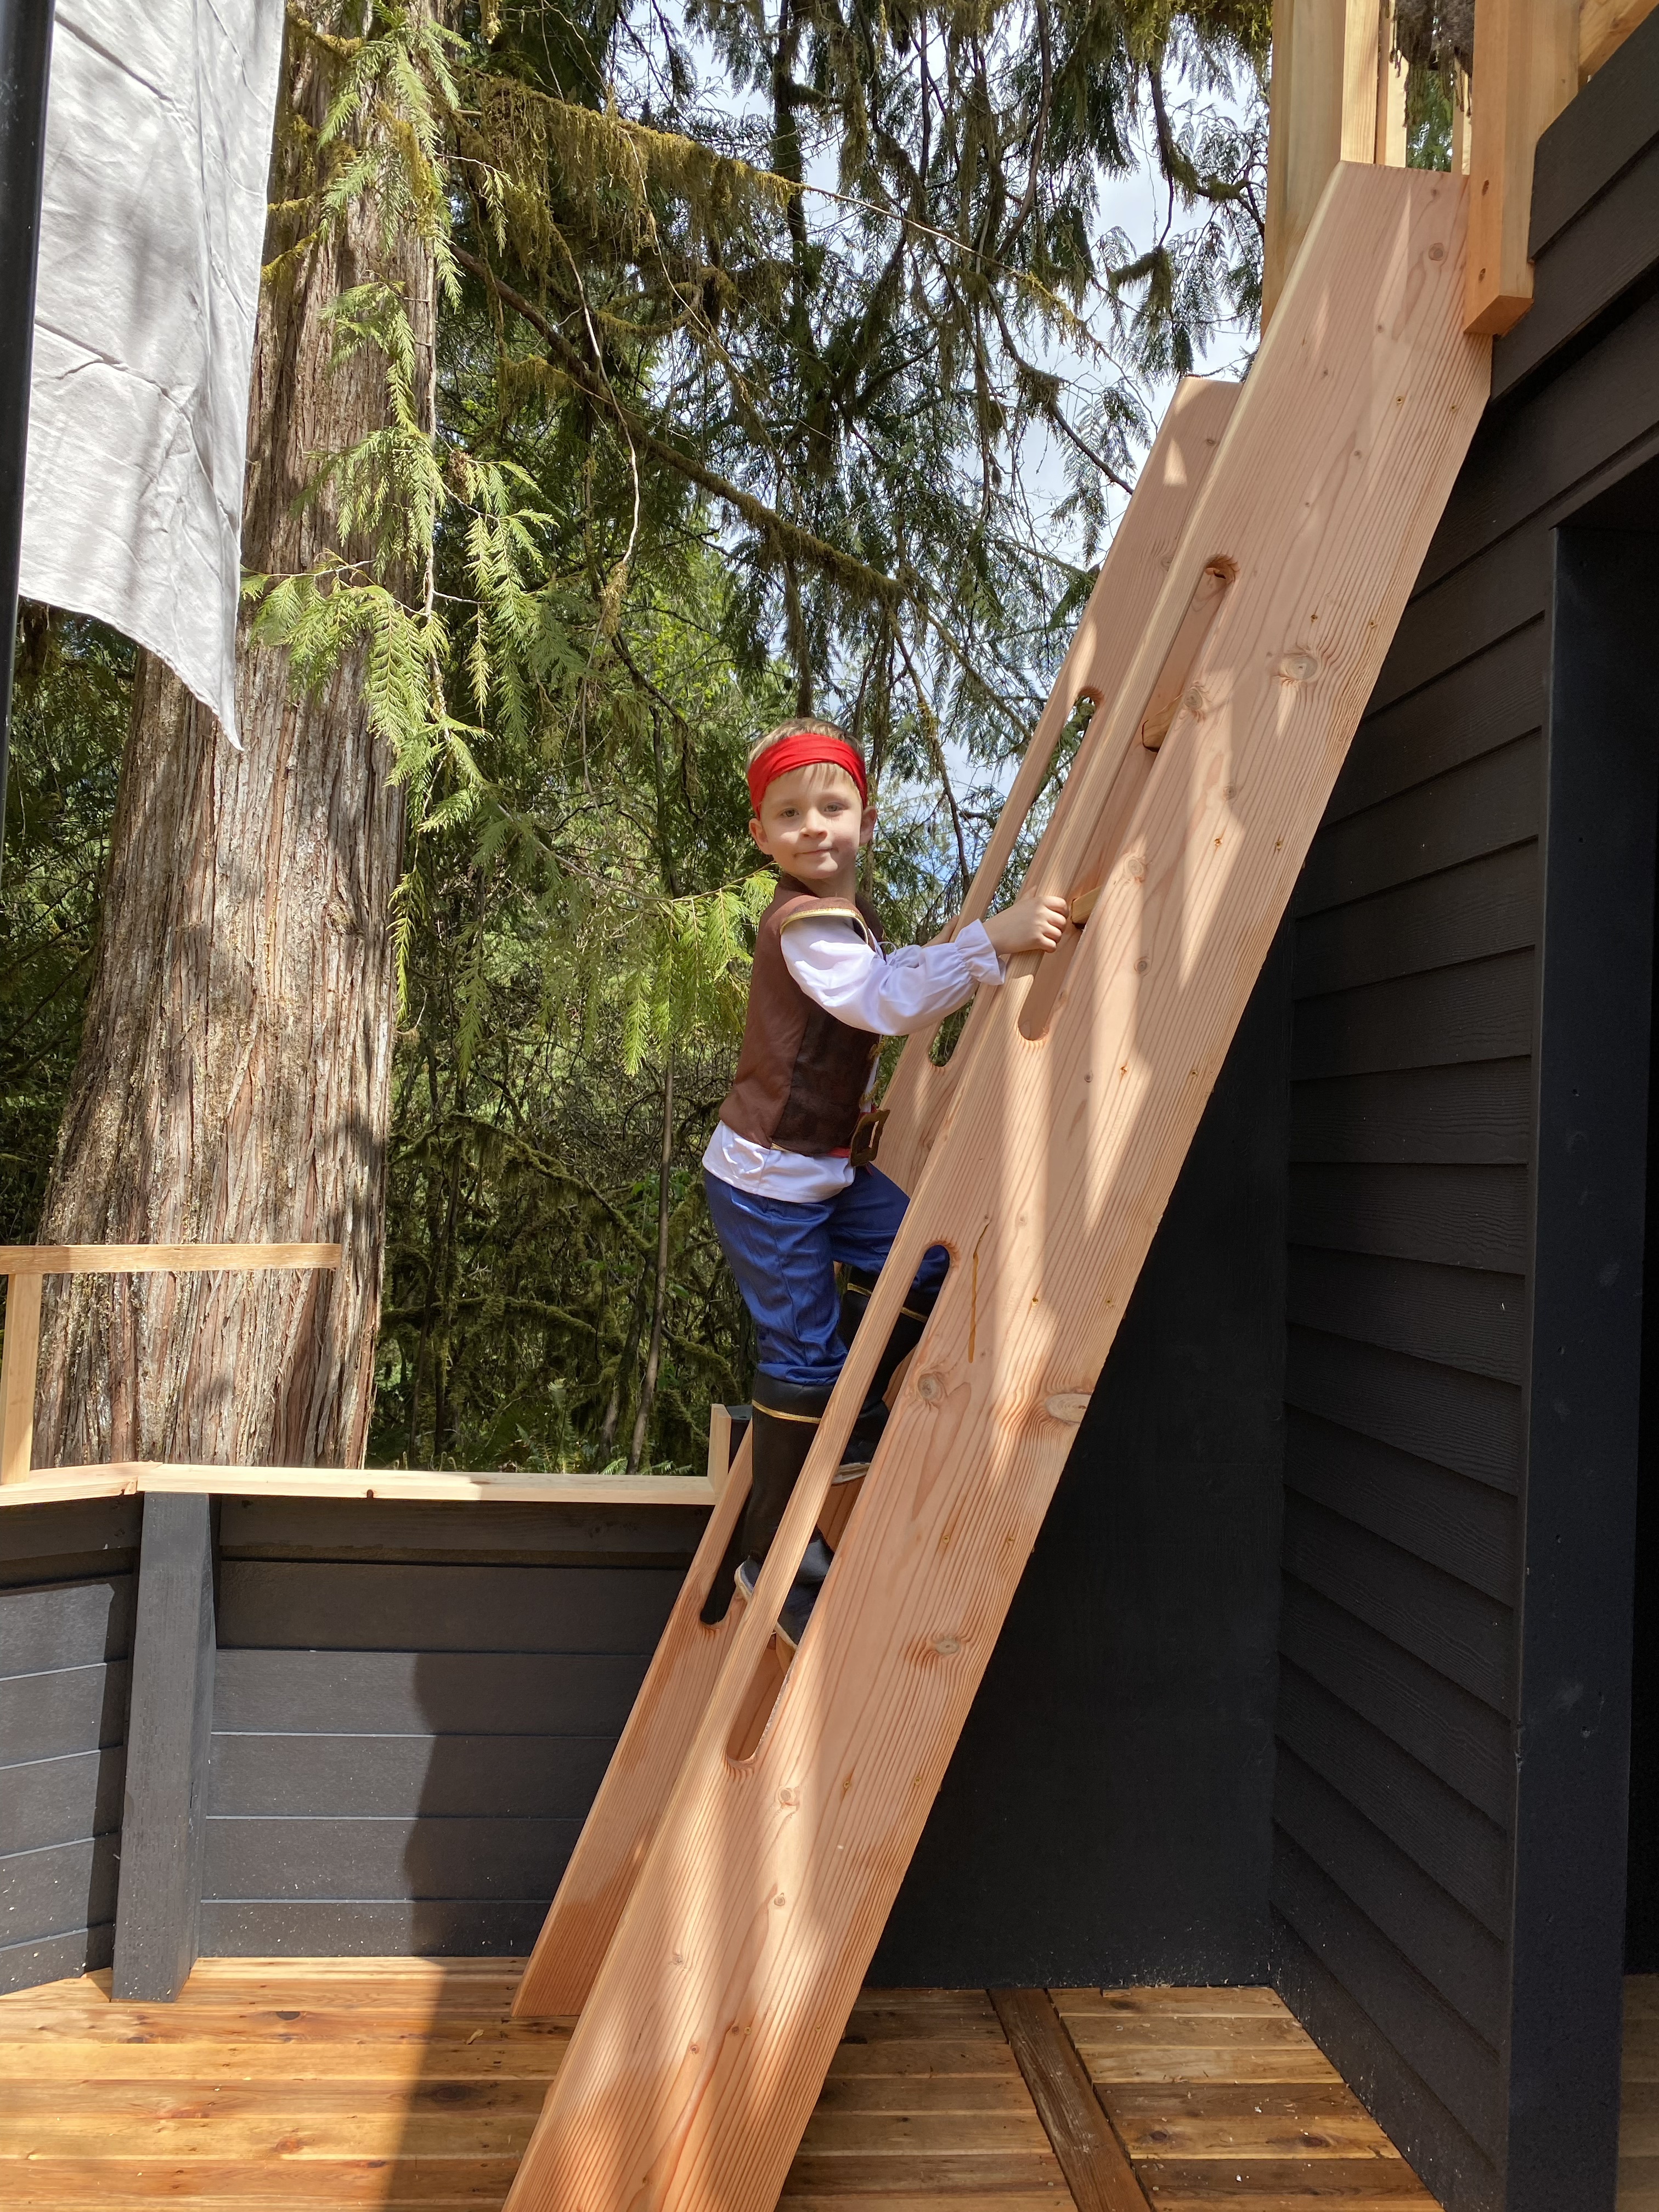
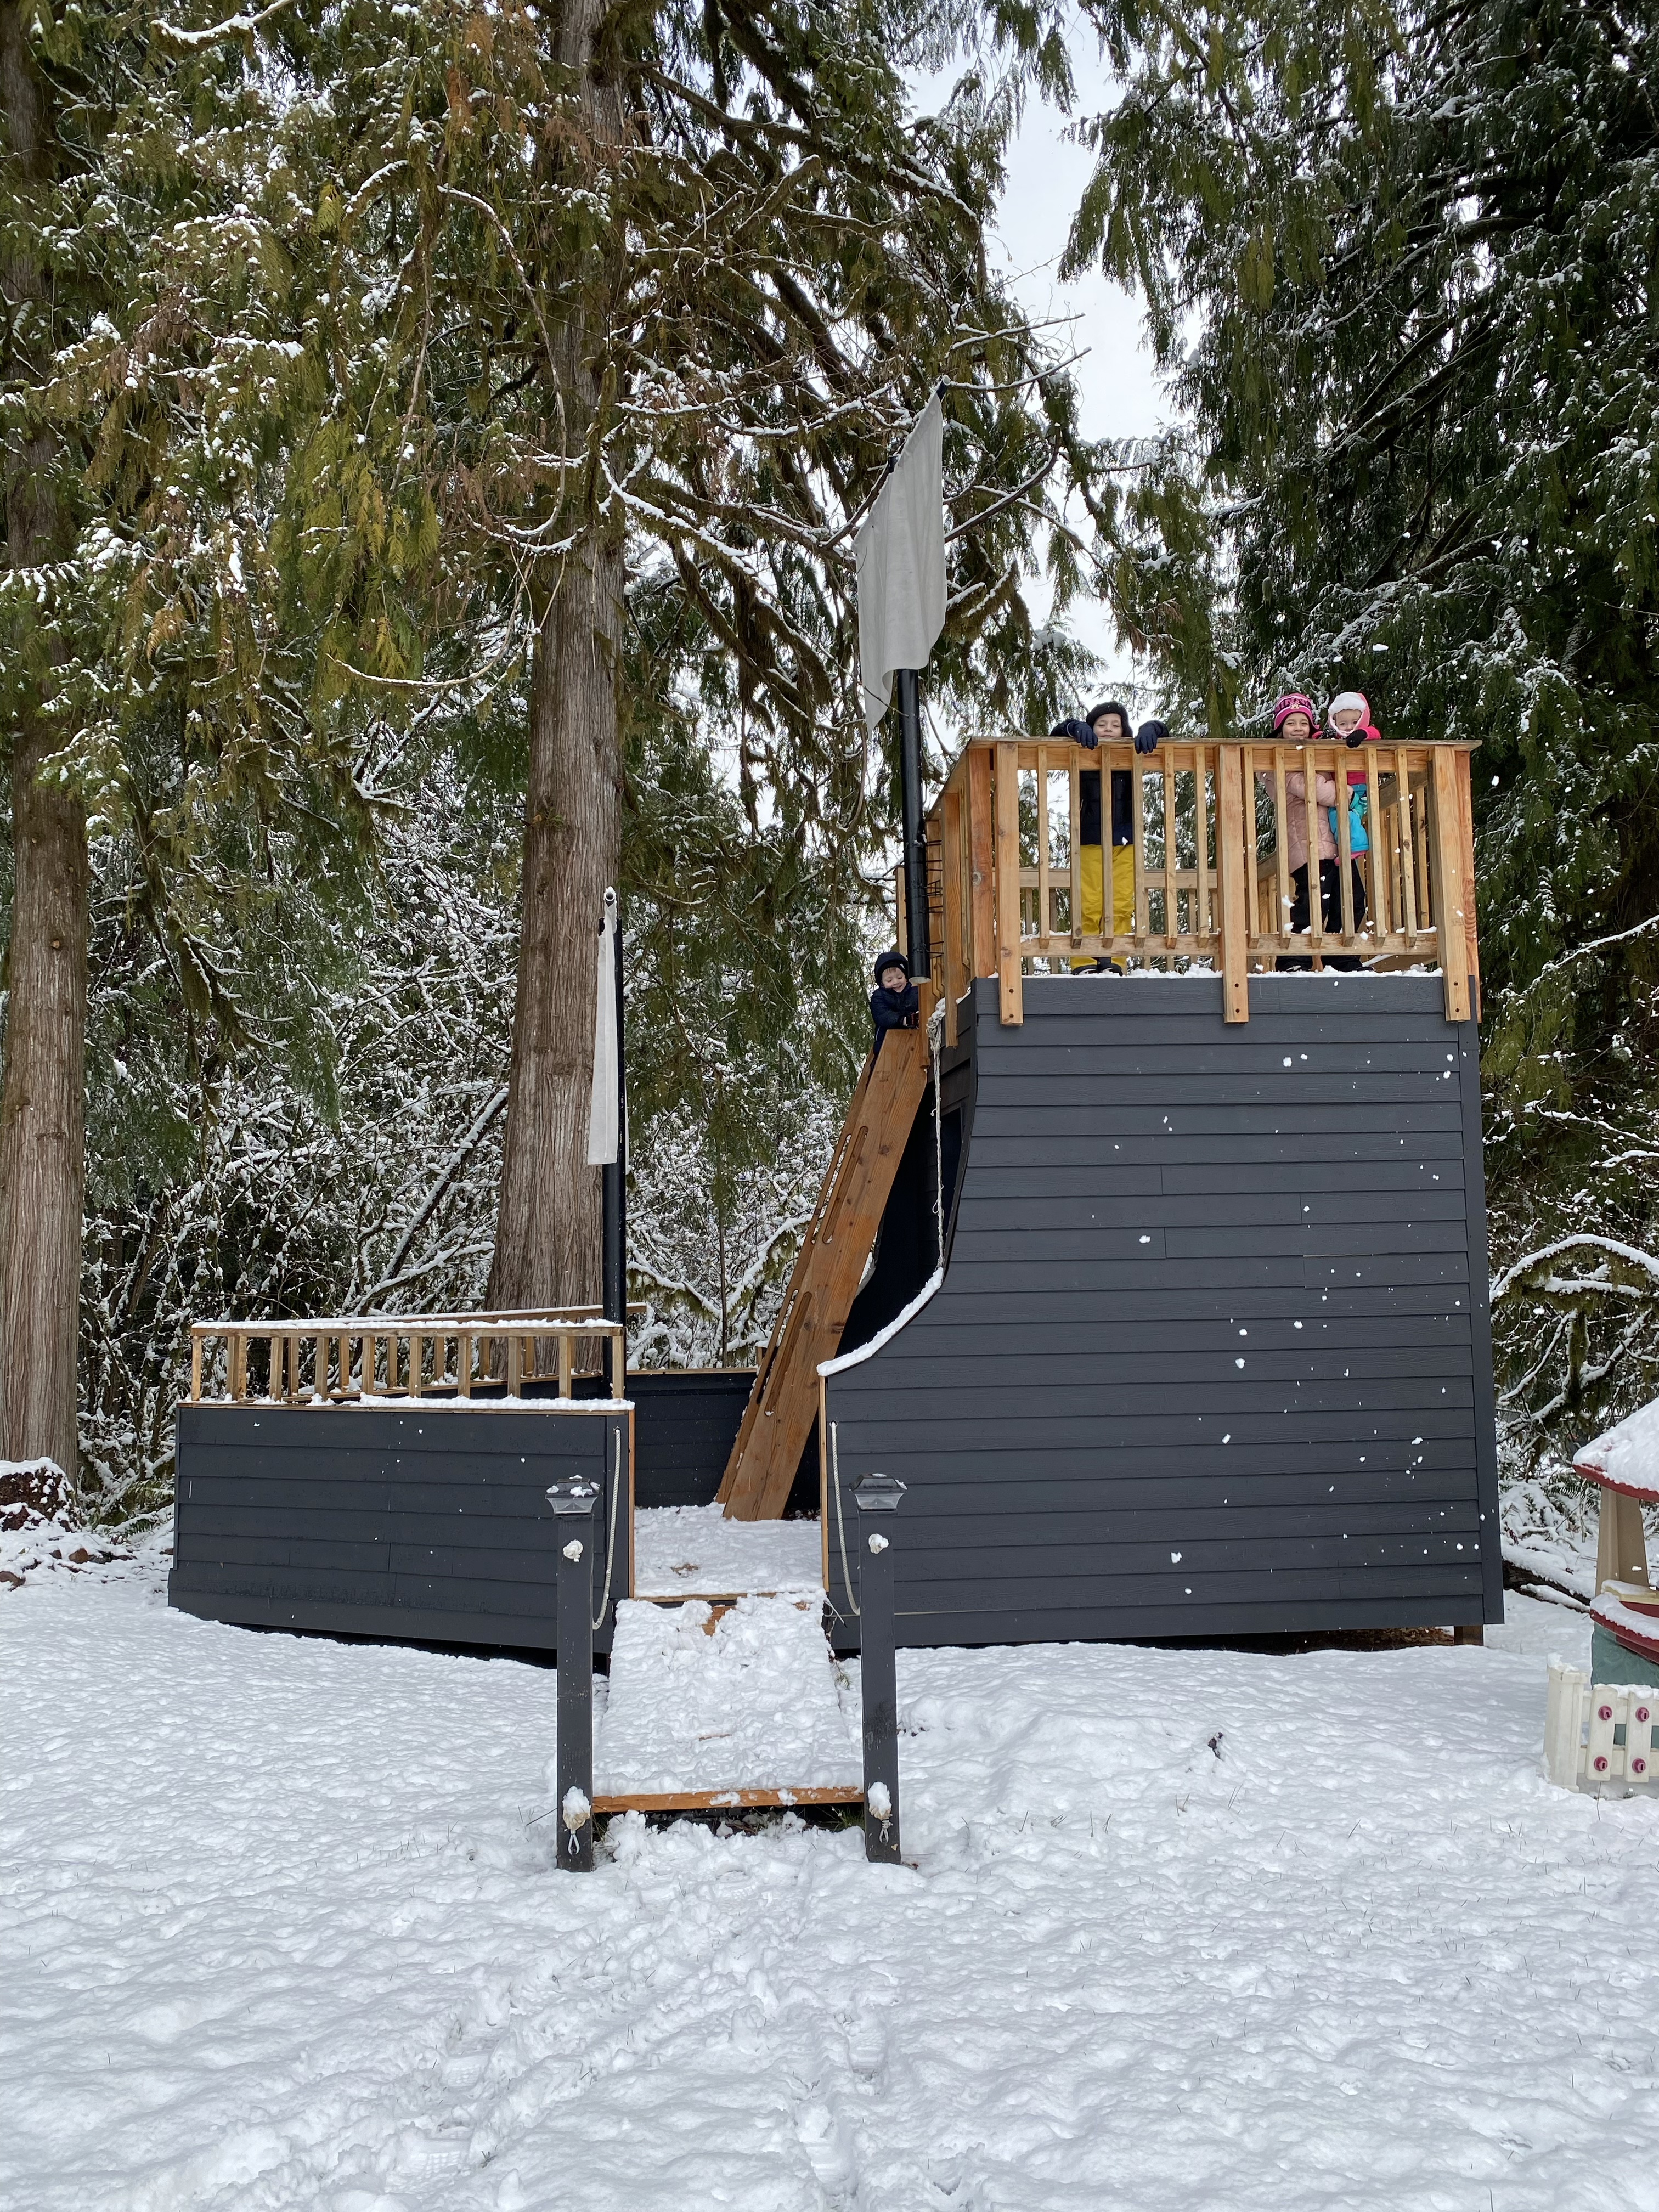
11. Finally, we got down to the decorative features. More railings on the front of the ship, a second PVC mast on the upper deck. Sails out of inexpensive drop cloths. Very cool ladder with hand holds for safety and small children. Love what Ryan created there! Ship’s wheel, pirate flags, and we were ready for the party!
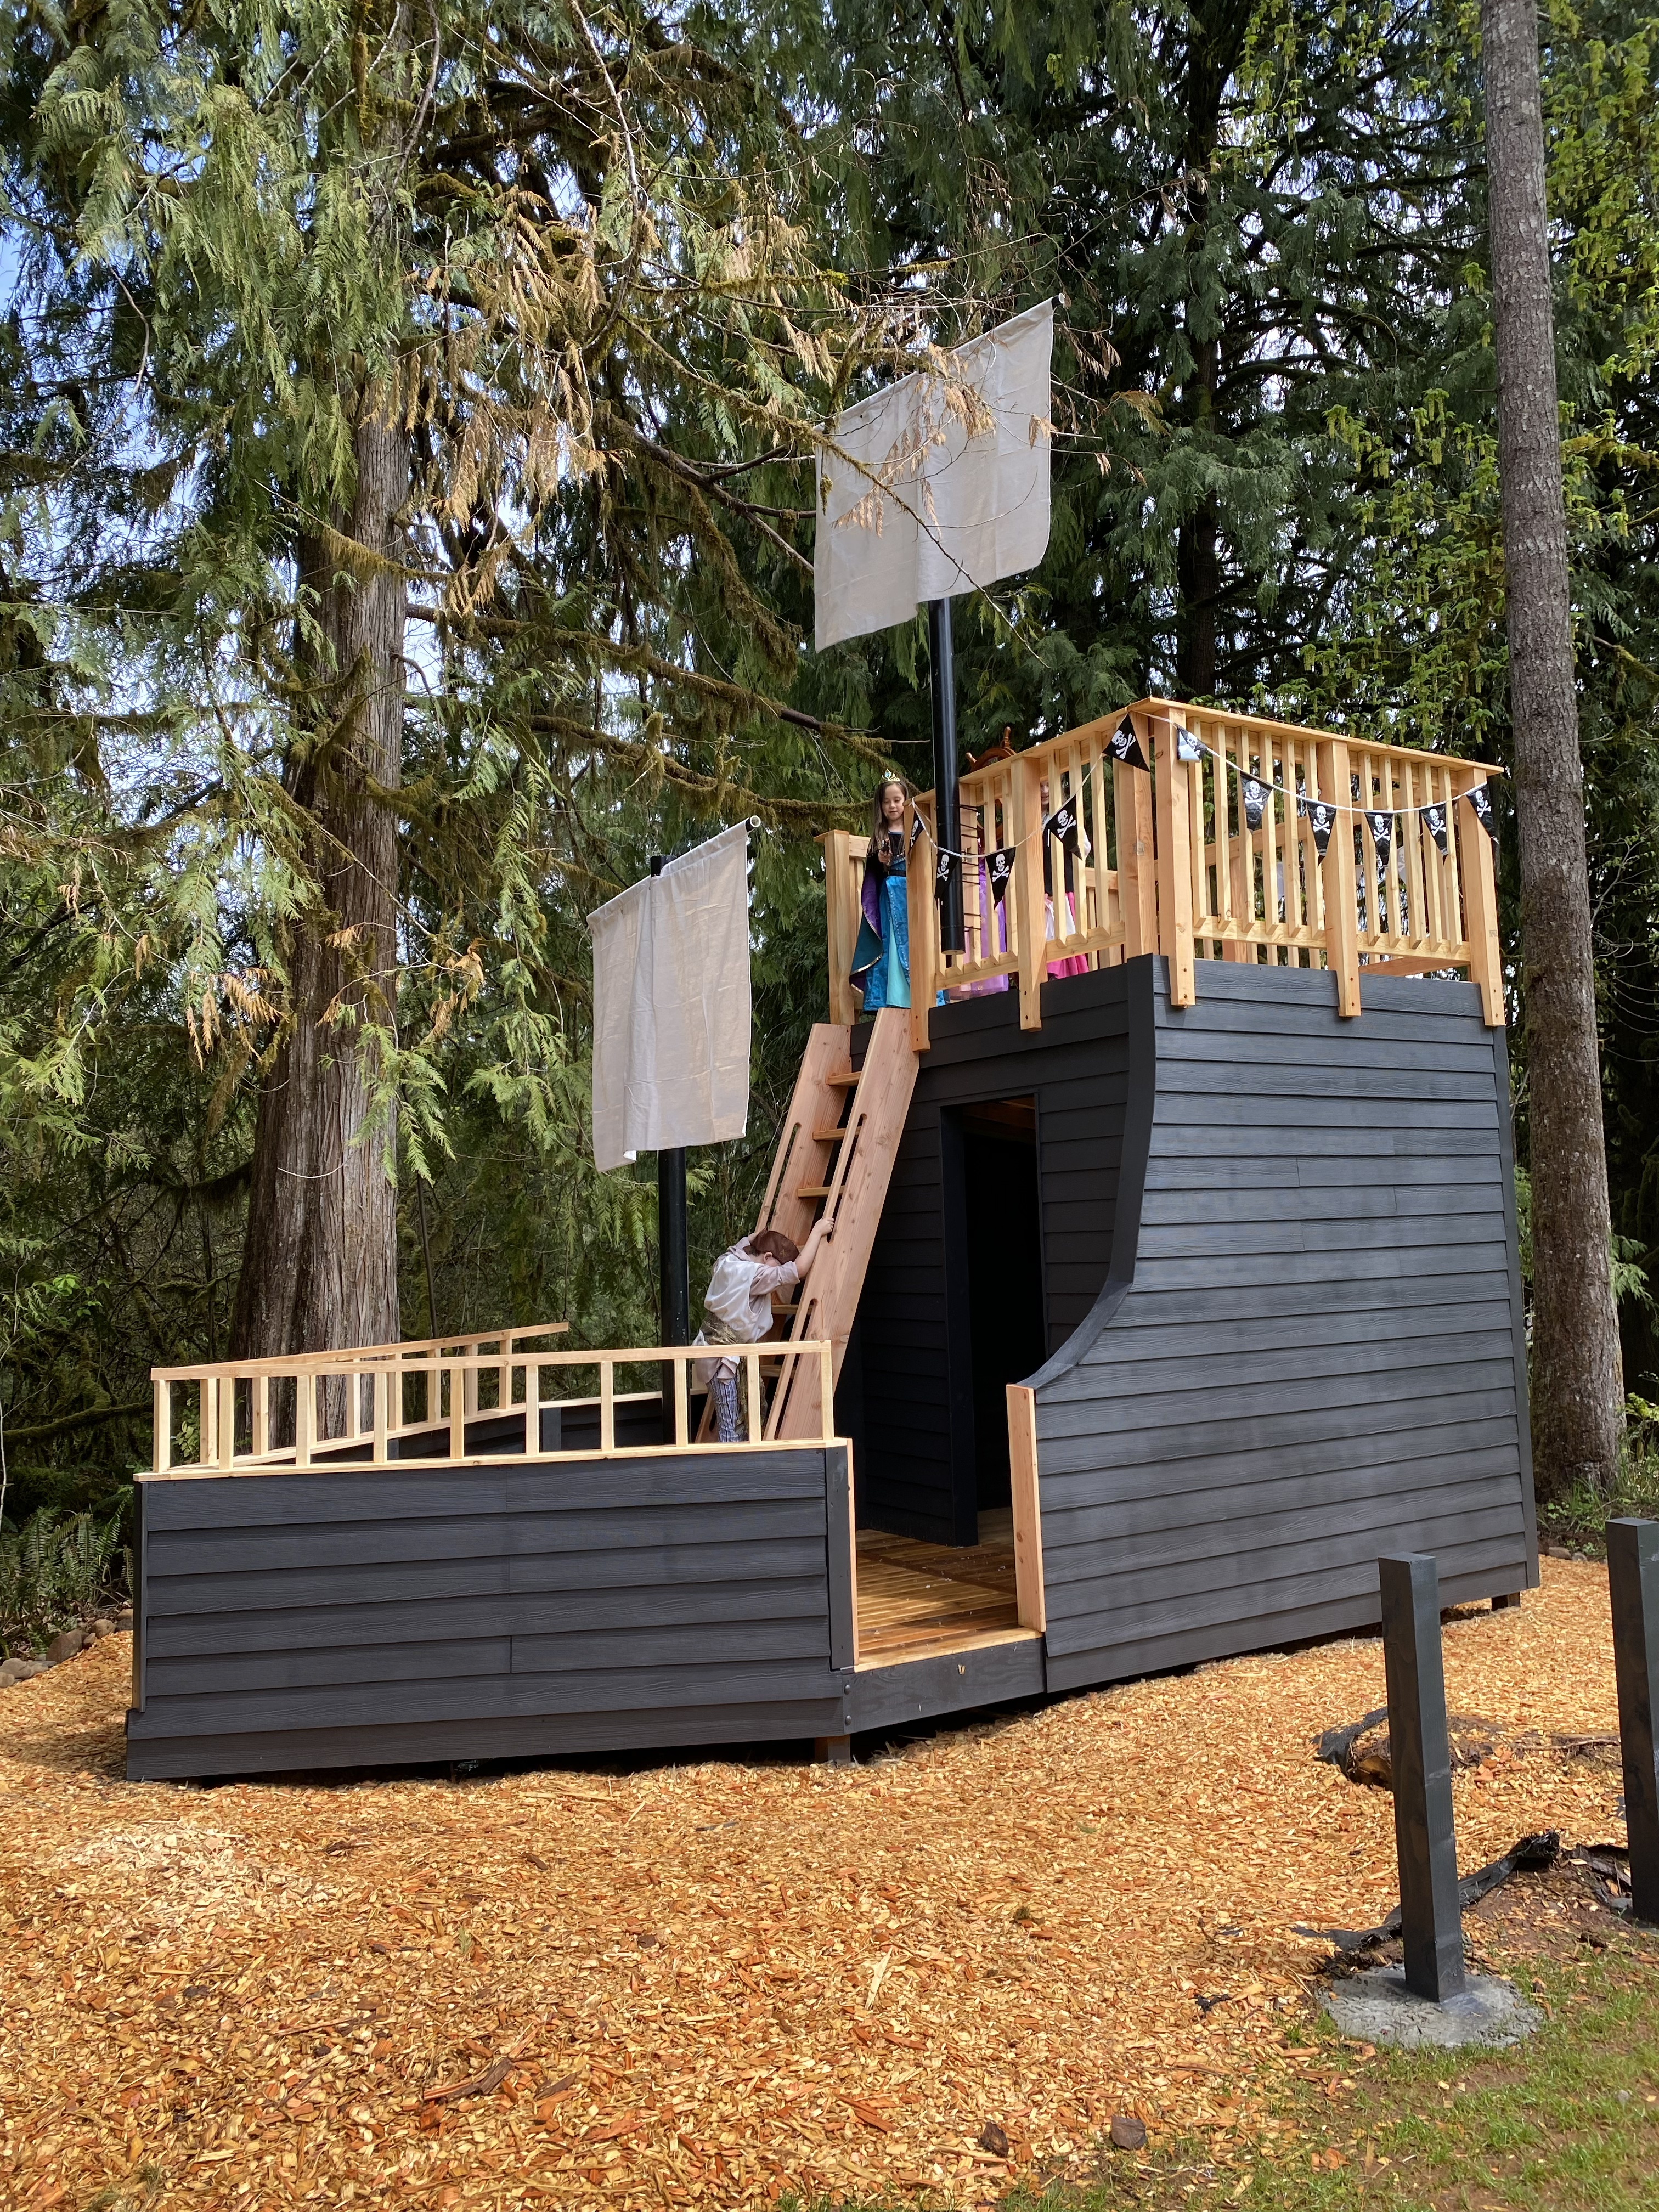


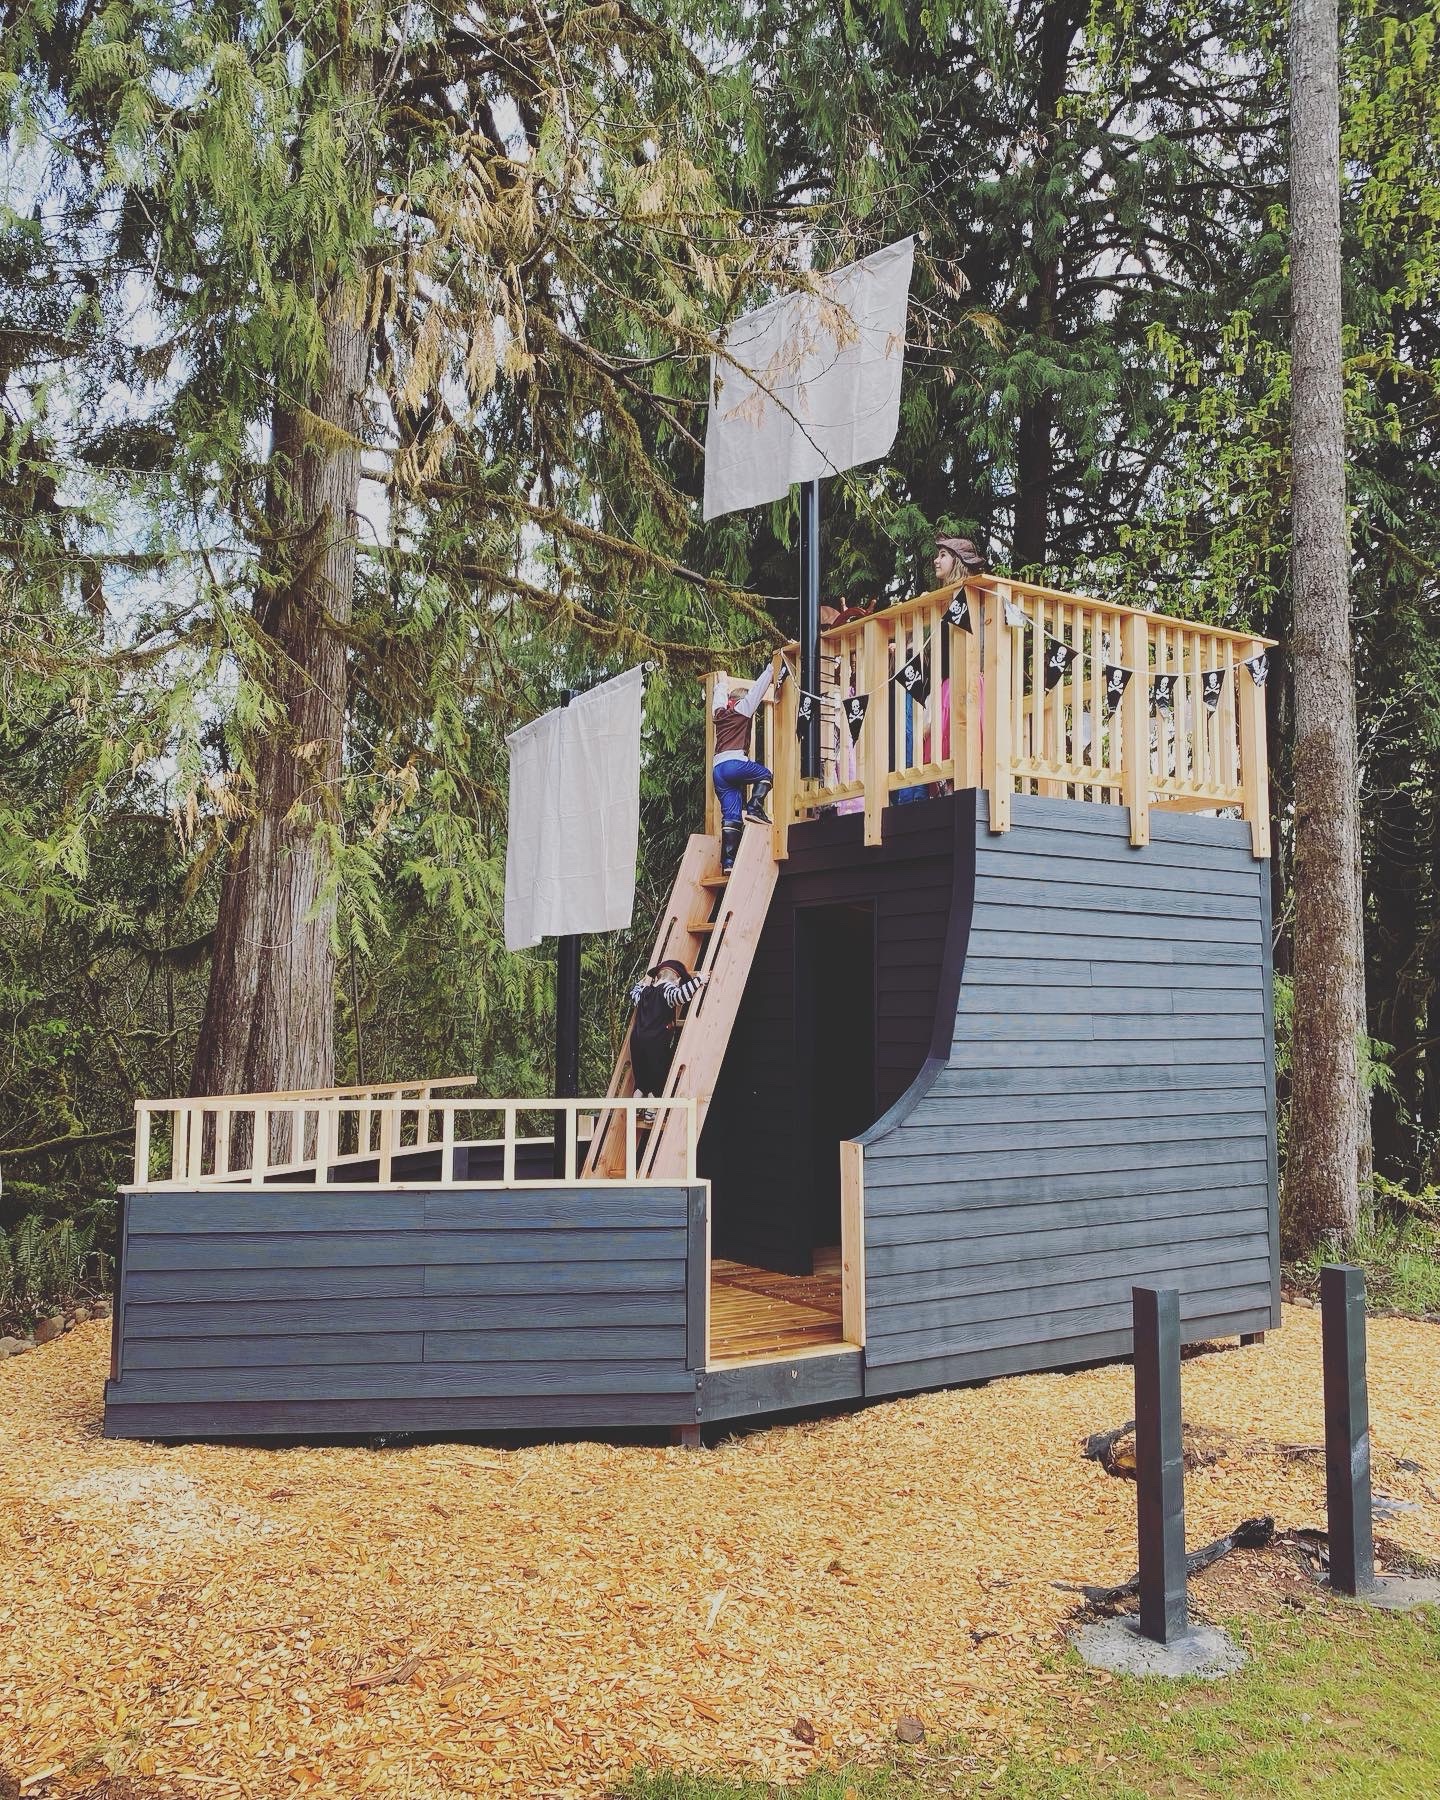
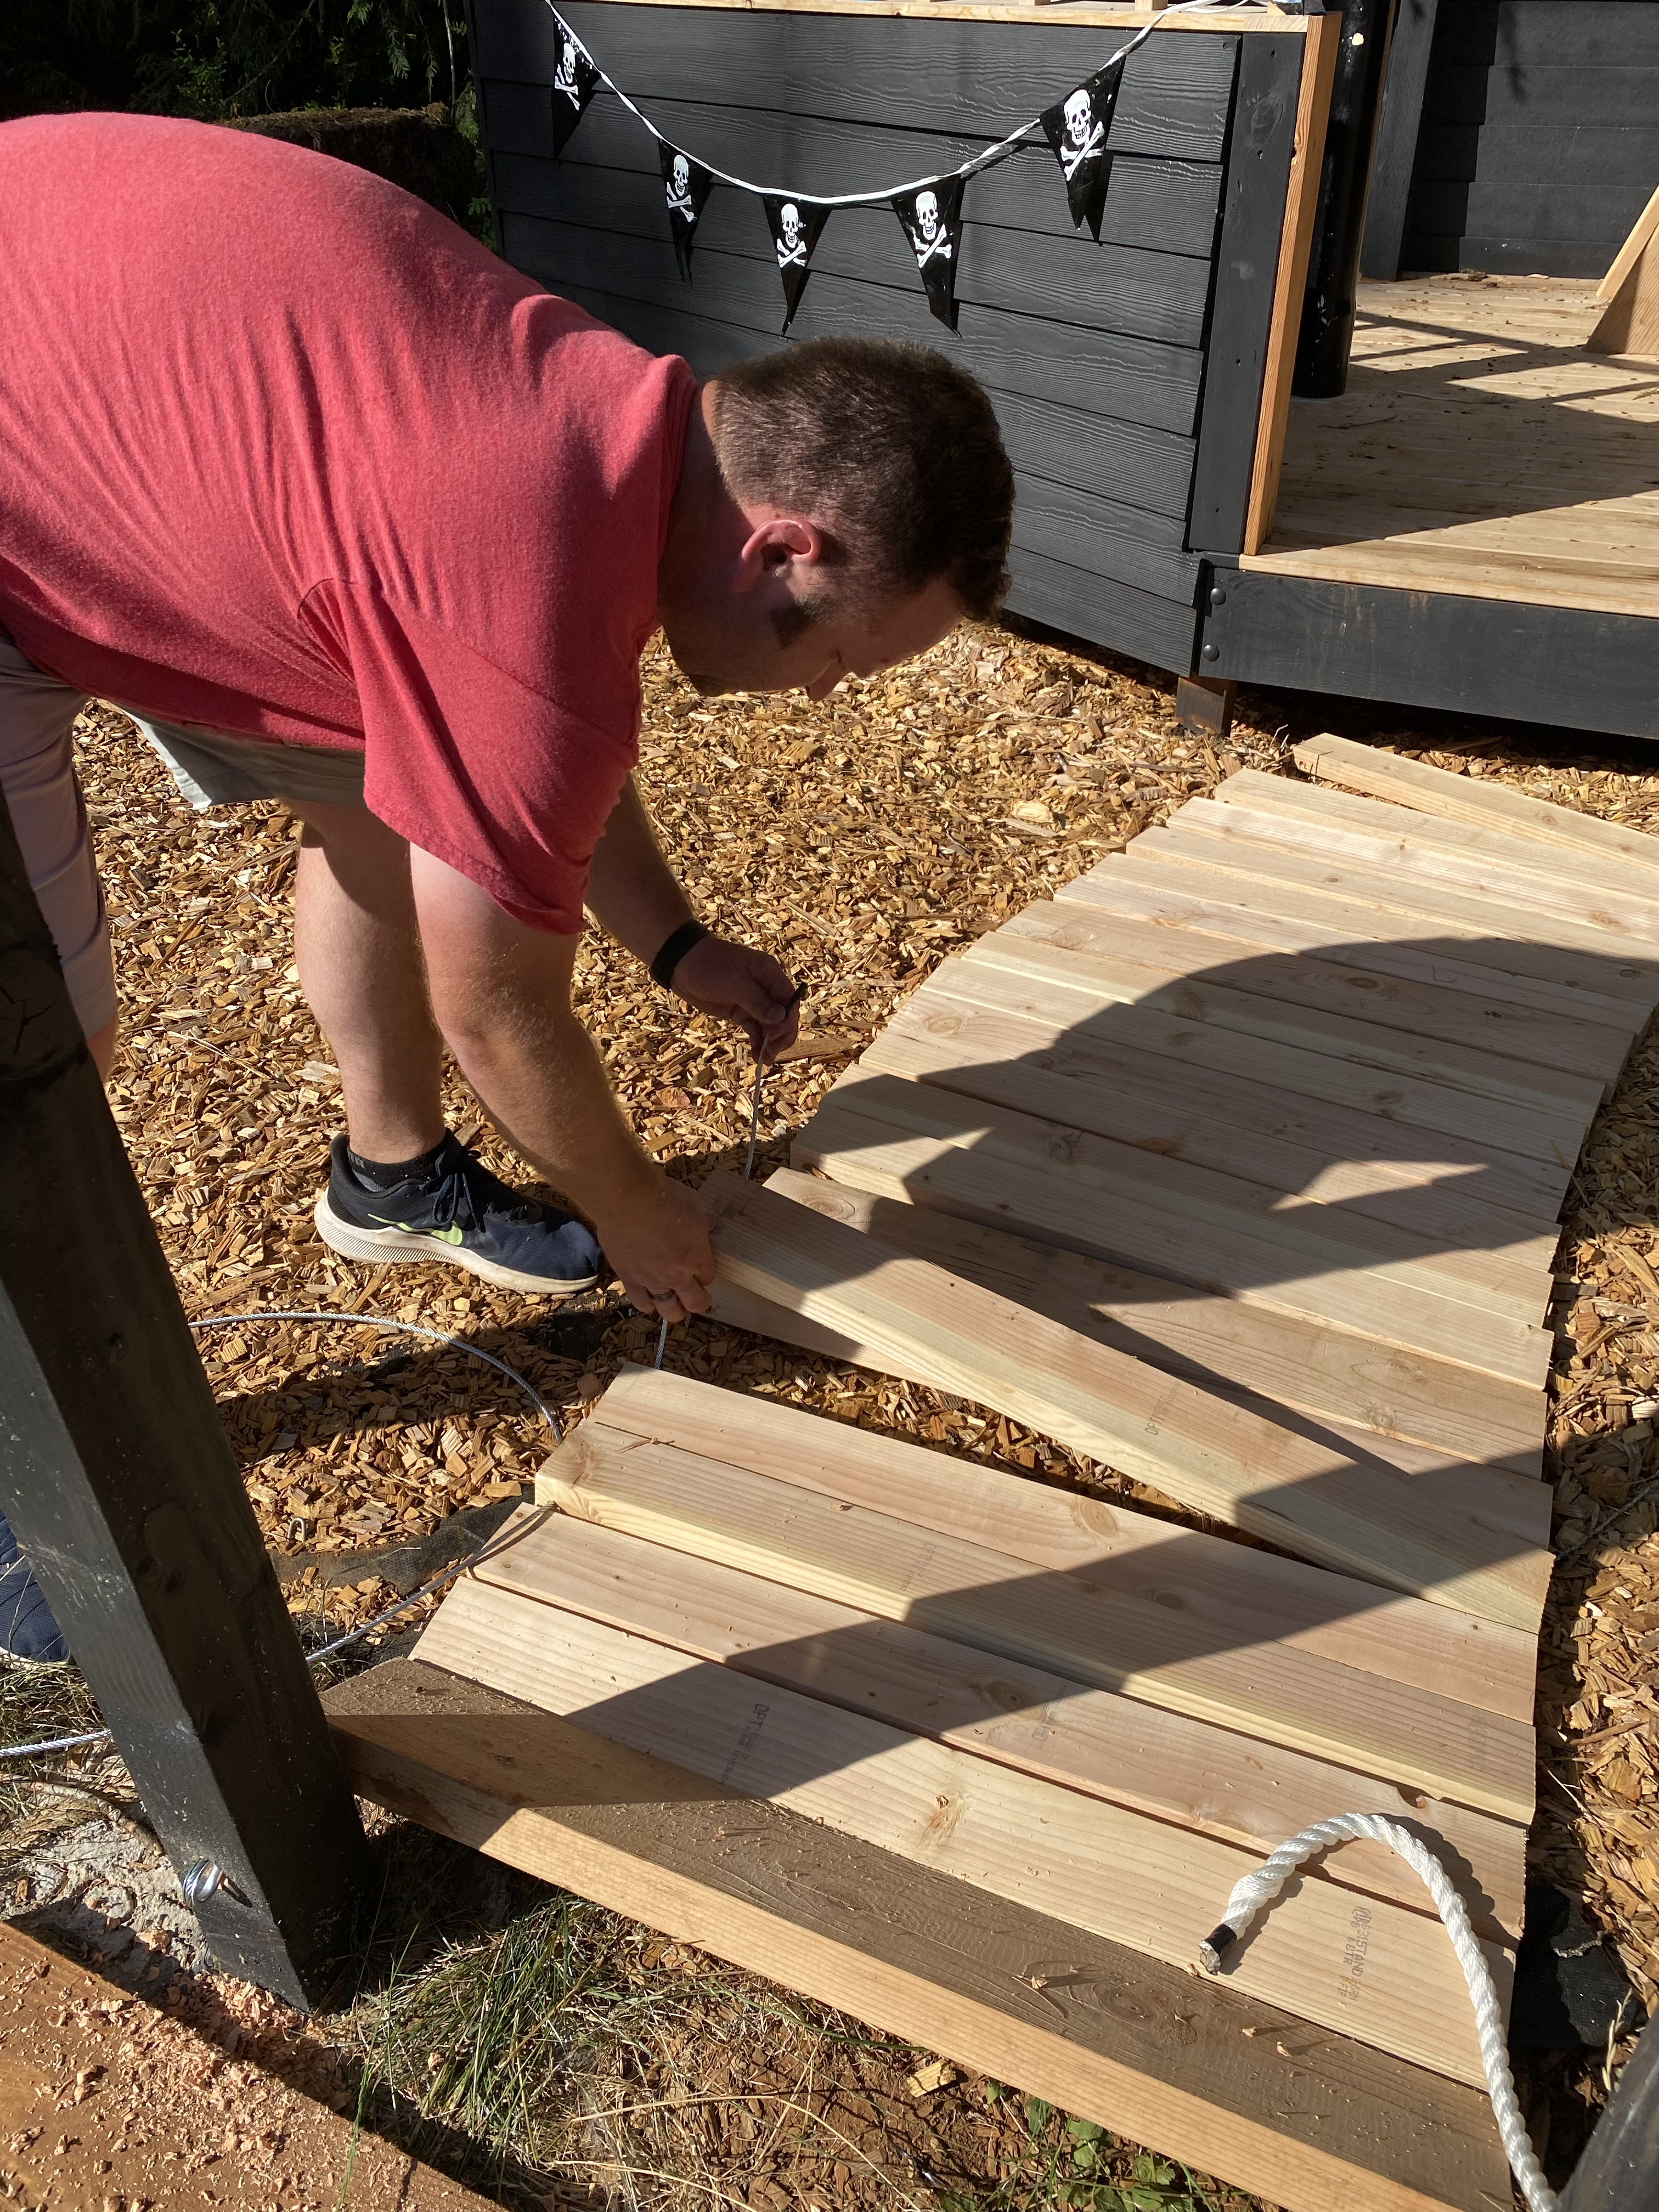
12. We later added the posts and rope bridge entrance. Also, some solar lights and the ship’s name on the stern. We have plans for a door on the cabin. But again, no project is ever, ever truly finished. (See every other post on my blog.)

This was an ambitious project for us. We had never done anything of this scale and we completely made up our own design. It was amazing how well it came together and how well Ryan and I worked together in each stage. Not because we don’t work well together (we do), but because at each step our vision really was so in sync. (And yes, we also listened to NSYNC while building this ship, I love me some 90s boy band music during a project.) This was also the project where I got over my fear of the chop saw and the pneumatic nail gun, which was amazing on its own. Our hope is that this ship will bring years of fun and imagination and delight for our kids.
Yo ho, yo ho, a pirate’s life for me!
xo,
-h

One thought on “Building a Backyard Pirate Ship: Step-by-Step Guide”