DIY Gingham Apron — Free Pattern

So I dusted off my free flirty apron pattern to make matching aprons for my mom and sister. 

This fall their very own cookbook released, 150+ Gluten Free Family Favorites. It was a labor of love to create recipes that even the most strict gluten free diet can handle. My sister was diagnosed with Celiac Disease over 15 years ago and has lived completely gluten free since that time. Difficult yes, but with all the awesome recipes they have created, she doesn’t have to live without her favorite foods anymore! Can you say cinnamon rolls?!!

And obviously, they needed coordinating aprons for events! Obviously. 

You can get all the instructions and details from this previous post

Here are the finished aprons at the local gluten-free expo!

And how cute is this cookbook? See the coordinating blue and white gingham, aren’t we clever?!!


Are you, or someone you love, gluten free? You can order the book at any major retailer including Amazon.

-h

P.S. I die for the Salted Carmel Shortbread.

DIY – Reupholster a Dining Room Chair

When Ryan and I were first married, my parents spent a weekend at my grandparents house getting rid of some clutter. One of the items that was on its way out was an old dining room table and chairs that originally belonged to my great grandparents.

Thankfully, my mom couldn’t bear to see them go. So, she called me! Yay!

I’m always up for a little DIY challenge and Ryan and I just so happened to be shopping for our first house. Perfect!

Mom saved the set from the landfill, Ryan and I bought a house, and the set was ours. We lovingly refinished the chairs with dark cherry stain and I re-covered the seats with a tone-on-tone red damask fabric. Gorgeous! We ended up having to buy a new table because the tabletop wasn’t salvageable (good news, we did save and reuse the legs).

Every time my parents come over for dinner, my Dad remarks fondly how glad he is that we saved the chairs. He remembers the “heart” shape backs from his own childhood. My grandmother has also been tickled to see them in our house. I love the history and stories these chairs tell. All the warm fuzzy feelings!

Now we have three little ones of our own and the stories continue. Sadly though, the red damask hasn’t loved the spilled oatmeal, applesauce, milk, ice cream, yogurt, syrup… you name it, those chairs have gotten doused in it.

I was wandering around Hobby Lobby looking for inspiration, and this is what called my name!

The chairs! Yes!

Materials:

1 yard home decor fabric (Mine was from Hobby Lobby)

6, 1″ foam chair pads (Hobby Lobby again), measuring 15″ x 17″

Tissue paper

Staple gun, staples

Pliers and screw driver (for removing old staples)

Directions:

    I started by removing the seats from the chairs. (Let’s be real, Ryan did that part. Thanks babe!)
    I used a combination of the flathead screwdriver and pliers to remove the old staples.
    I traced the seats out into the tissue paper and then added about 2.5″ all the way around to create a pattern. If you look closely (not only will you see my stylish slippers) you will also see my grandfather’s last name and my grandmother’s maiden name written on the back from when my grandparents were first married and had the chairs recovered. Family history right there!
  • Then I used my pattern to cut out my fabric. I also had to trim the chair foam just a bit to fit the seats.
    Assembling the seats is as simple as fabric face down, foam centered on the fabric, seat (face down) on top. Then staple, staple, and staple some more. To staple, you want to pull the fabric tight, actually pressing down on the foam. Start in the center of one side, and work to the edges, leaving the corners until all four sides are done. Do the corners last, making a nicely finished edge.
    Ryan put the screws back in and… voila!

Chairs full of legit family history sans oatmeal stains!

-h

P.S. Check out my cute little helper…

DIY Roman Shade

I love myself a good roman shade. Don’t know what it is exactly, but my type A personality is drawn to the simplicity and nice lines time and time again. 

In the past ten years we have lived in our house, I have sewn several. In particular, I like to change out the one in my kitchen. We are in the middle of a mini remodel, and well, I thought I’d reward myself with a new one. I mean, the remodel my never be done, but I have myself an updated window treatment!

To top it off, I was in NYC a few months ago and got to visit Mood Fabrics. It was literally fabric heaven. While I was there, I picked up some fabric perfect for my new shade. Obviously. 

Materials:

Checked fabric – 2 yards (depends on the size of your window)

Coordinating Fabric – 1/4 yard (again depends on the size you are making

Coordinating thread

Coordinating Ribbon – I used grosgrain ribbon 1.5″ wide

DIY Steps:

  1. Measure your window. Cut your main fabric, adding two to five inches to the width. The length should measure about 2/3 to 3/4 of the height of your window. Add 1/2 for the seam allowance all around. 
  2. Next, cut out the coordinating fabric (if you so choose). This is for the curtain rod to slide into. The width should be the same as your main fabric by 5 1/2″ to 6″. Press in seam allowance on the sides and stitch. Press in half lengthwise, with wrong sides together. 
  3. Press in sides of main fabric and stitch. Press up hem, stitch. 
  4. Cut out your ribbon. Because of the width of my window, I decided to have three ribbons holding open my shade. So I cut six pieces of ribbon the same length as my main fabric. 
  5. Pin the ribbon onto the main fabric. Since I have three, I divided the width of my fabric by four to get my spacing between ribbons. Because of the precise pattern, I carefully lined up the ribbon to hit the pattern the same way. Three on the front, three evenly spaced on the back. 
  6. Next, pin the top of the main fabric to the open edge of the rod piece. Stitch together. Press. The top stitch. Top stitching might seem like just an extra step, but it sure does give a nice finished look. Make sure you pin your ribbon pieces down so you don’t catch them into the stitching. How would I know about this you may ask? Because I did it. Twice. 
  7. Now come the fun part!! Hang up your shade! You can tie your ribbon pieces at the height that you find visually pleasing. I like to make sure it is all even by ironing soft pleats along the bottom then tying the ribbon. This time I actually sewed the ribbon together, front to back and added a bow on top with hot glue. In the past, I’ve also just tied the bottom in a nice knot or freehand bow. You do what looks good to you!
  8. Bask in the glory of a nice, neat customized, roman shade. 

c

DIY Infant Stitch Costume in Less than 1 Hour!

I love Halloween, like love it. You get to play dress up and people give you free candy. Does it get any better than that?!?!

This was Jackson’s first Halloween. When we were having the serious conversation that was the costume brainstorm we talked about how Kyrie was Boo from Monster’s Inc. dressed as a monster for her first Halloween. Logic dictated that Jackson should also be a monster, but “just a little one!”

Jackson as Stitch, so cute I could just die. 

Kyrie was Lilo, obviously, but more on that another time. This Stitch costume took about an hour and you could do the whole thing without sewing if you wanted to!!

Materials:

  • Hooded footie pajamas (I went on Amazon and found some that were the perfect color)
  • Blue and light purple craft felt (the blue should match the jammies)
  • Light blue polar fleece
  • Thread
  • Hot glue
  • Velcro

How to:

1. I started by making a pattern for the ears. 


2. Then I traced and cut out two on the blue felt and two on the light purple. I trimmed the light purple slightly smaller than the blue. 


3. Stitch has little notches in his ears, so I cut those out. 


4. Next I ironed the ears in half lengthwise and hot glued the blue and purple pieces together. 

5. Next for the tummy. I folded the light blue fleeces in quarters, measured, traced and cut out my tummy shape. 


6. At this point you could just hot glue on some Velcro and call it good. I decided to sew one side on and Velcro the other. However I wanted it to appear like the entire tummy was sewn. So I marked halfway and sewed just the left side of the fleece from pin to pin. 


7. Next I pinned the right side of the tummy piece to the jammies and sewed them together. Don’t forget to unzip the jammies and don’t sew across said zipper.


8. Next I hot glued the Velcro on the unattached side of the tummy piece and lined it up on the jammies. Again, attaching it with hot glue. 


 9. Finally, try the costume on your little one to determine ear location and attach ears. I used hot glue for this final step. 

Aww, such an adorable little Stitch!

-h


DIY Disneybounding Ariel Tank Top (Kids)

“When’s it my turn?
Wouldn’t I love, love to explore that shore up above?
Out of the sea
Wish I could be
Part of that world”

Ok, if you were a little girl in the 90’s, you too probably belted out these lyrics as you pretended you were a mermaid with flowing red hair and a crush on a handsome prince. Well, not much has changed since then, little girls still dream about being Ariel. She’s my niece’s favorite Disney princess, and it isn’t hard for me to imagine why. Her Disneybounding look is next!

I had trouble thinking through how I would do Ariel without needing sea shells, or something that wasn’t very appropriate for a 5 year old, but luckily I found some inspiration… somewhere… Here’s my sketch…


Ariel Disneybounding Sketch 

 
Materials:

  • Purple Tank Top
  • Sea green fabric – I found a fun sequined fabric at Joann’s that the little girl inside fantasizing about being Ariel couldn’t resist. 🙂
  • Coordinating Thread

    Ariel Disnebounding Materials

DIY:

  1. I decided the overdress would be at the empire waistline. Measure the width and length from the empire waistline to the bottom of the tank top. Add a few inches to the width so you can gather. Cut out two rectangles.
  2. Right sides together, stitch together the side seams. 
  3. Run at least two lines of a gathering stitch along the top of the overdress. Gather to fit to the tank top.
  4. Pin overdress to the tank top along the empire waistline (right sides together) so the dress is basically “flipped up”. Ariel in progress
  5. Zigzag stitch all the way around around, press dress down.
  6. To create some slight gathering at the neckline, I hand-stitched about two inches down and gathered it (securing inside the tank top).Ariel Detail Shot

OMG, talk about ADORARABLE!! Who wouldn’t want to be a mermaid princess, really? 

 –h

Disneybounding Merida T-Shirt DIY

Ok, you may be wondering, what is Disneybounding? Here’s the concept in a nutshell…

Disneybounding: Creating a fashion look based on a Disney character by drawing from colors, or iconic design elements from that character’s clothing. Disneybounding isn’t simply making a costume, but instead creating a look you could wear on a normal day and hint at a favorite character. You know, bring a little Disney magic to your every day. 😉

Merida from Brave is up next in our little series. My mom chose her because she loves Merida’s color palette. Confession, I haven’t see Brave yet, but luckily Google images came to my rescue and gave me plenty of inspiration! This is an easy project, with VERY little sewing.

Materials:

  • Green t-shirt
  • Suede or faux leather cording
  • Small grommets or eyelets
  • Faux leather or brown trim
  • Coordinating ThreadMerida Disneybounding Materials

How-To:

  1. Here’s the design I sketched up, you can see how simple it is when you start with a t-shirt.
    Merida Disneybounding Sketch
  2. Measure, mark and apply grommets following the directions on the package.Merida Disneybounding Top
  3. Cut the cording to the desired length.
  4. Measure/cut cording. Lace up your top. Tie knots at the end of the cording.
    Merida Detail Shot
  5. Measure/cut trim.  Sew side seams together, pin and sew on trim.Merida Detail Shot 2

    Disneybounding Merida Finished

Seriously, 5 steps and you too can Disneybound Merida. How’s that for quick, easy, fun! The countdown to Disneyland is on!

–h

DIY Disneybounding: Princess Aurora Tank Top

We are heading to Disneyland later this month with my family and I can’t wait! I decided all of us girls should get to Disneybound one of the princesses. So I sketched up some concepts and let everyone pick. Watch for the entire series of posts!

My sister went for Aurora…Do you remember the legendary rivalry between Flora and Merryweather? Blue…Pink…Blue…Pink!! Well that rivalry is very real between me and my sister. I know you will be shocked to learn I am clearly in the superior pink camp and she is definitely in the blue camp. So, I’m making her a pink shirt. Because I can. Pink wins!

Aurora Disneybounding Sketch

Materials:

  • Pink Tank top – I found one for $5 at Target
  • White Material – I used some I had in my stash (don’t ask, it’s a little out of control). The fabric you choose needs to have some structure and some stretch. You might need to use some interfacing if your fabric can’t hold the shape.
  • White Thread
    Aurora Disneybounding Materials

How-To:

1. Measure from the center of the bust, to side of the arm. Then measure from the same spot on the arm all the way across the back to the side of the other arm. This will give you everything you need to create the simple pattern.
Aurora Disneybounding Pattern Sketch

2. Draw out the pattern on some tissue paper or wrapping paper. You will notice there is an angle on the arm seams. Ideally, you would determine the angle by trying the piece on the recipient. I just guessed and then had to make some adjustments after the fact. Better to do this step now instead of later.

3. Place your patterns on your white fabric and cut out two front pieces and one back piece.

4. Right sides together, sew the two front pieces together at the center seam. Right sides together sew together the front pieces to back piece at side seams. Trim and press seams open.

5. Fold the entire piece in half length-wise with wrong sides together. Press.

6. Now it’s time to attach it to the tank top. With the folded side up, pin. I pinned the front at a slight downward angle toward the center front to give it the look I was going for. Zigzag stitch to the tank top all the way around (skipping the arm holes for now). Press down.

Aurora Disneybounding front   Aurora Disnebounding back

7. Press down the seam allowance in the arm holes, and top-stitch across the arm holes.

Disneybounding Aurora Finished

Tada! You’re ready to Disneybound Princess Aurora just in time for vacay! The shirt is PINK!

–h

P.S. Add a gold headband (or crown) if you really want to go for it!!

Marvel’s Black Widow Inspired Infinity Scarf

A big Marvel movie releases and there isn’t any Black Widow clothing or accessories to be found. How can that be? She quite literally kicks butt, but doesn’t warrant merchandise?

What’s a girl to do? Since I don’t want to make, much less wear a black leather jumpsuit (shocked, I know), I thought I could make a screen-printed infinity scarf with a subtle (or not so subtle) nod to this super heroine.

Materials:
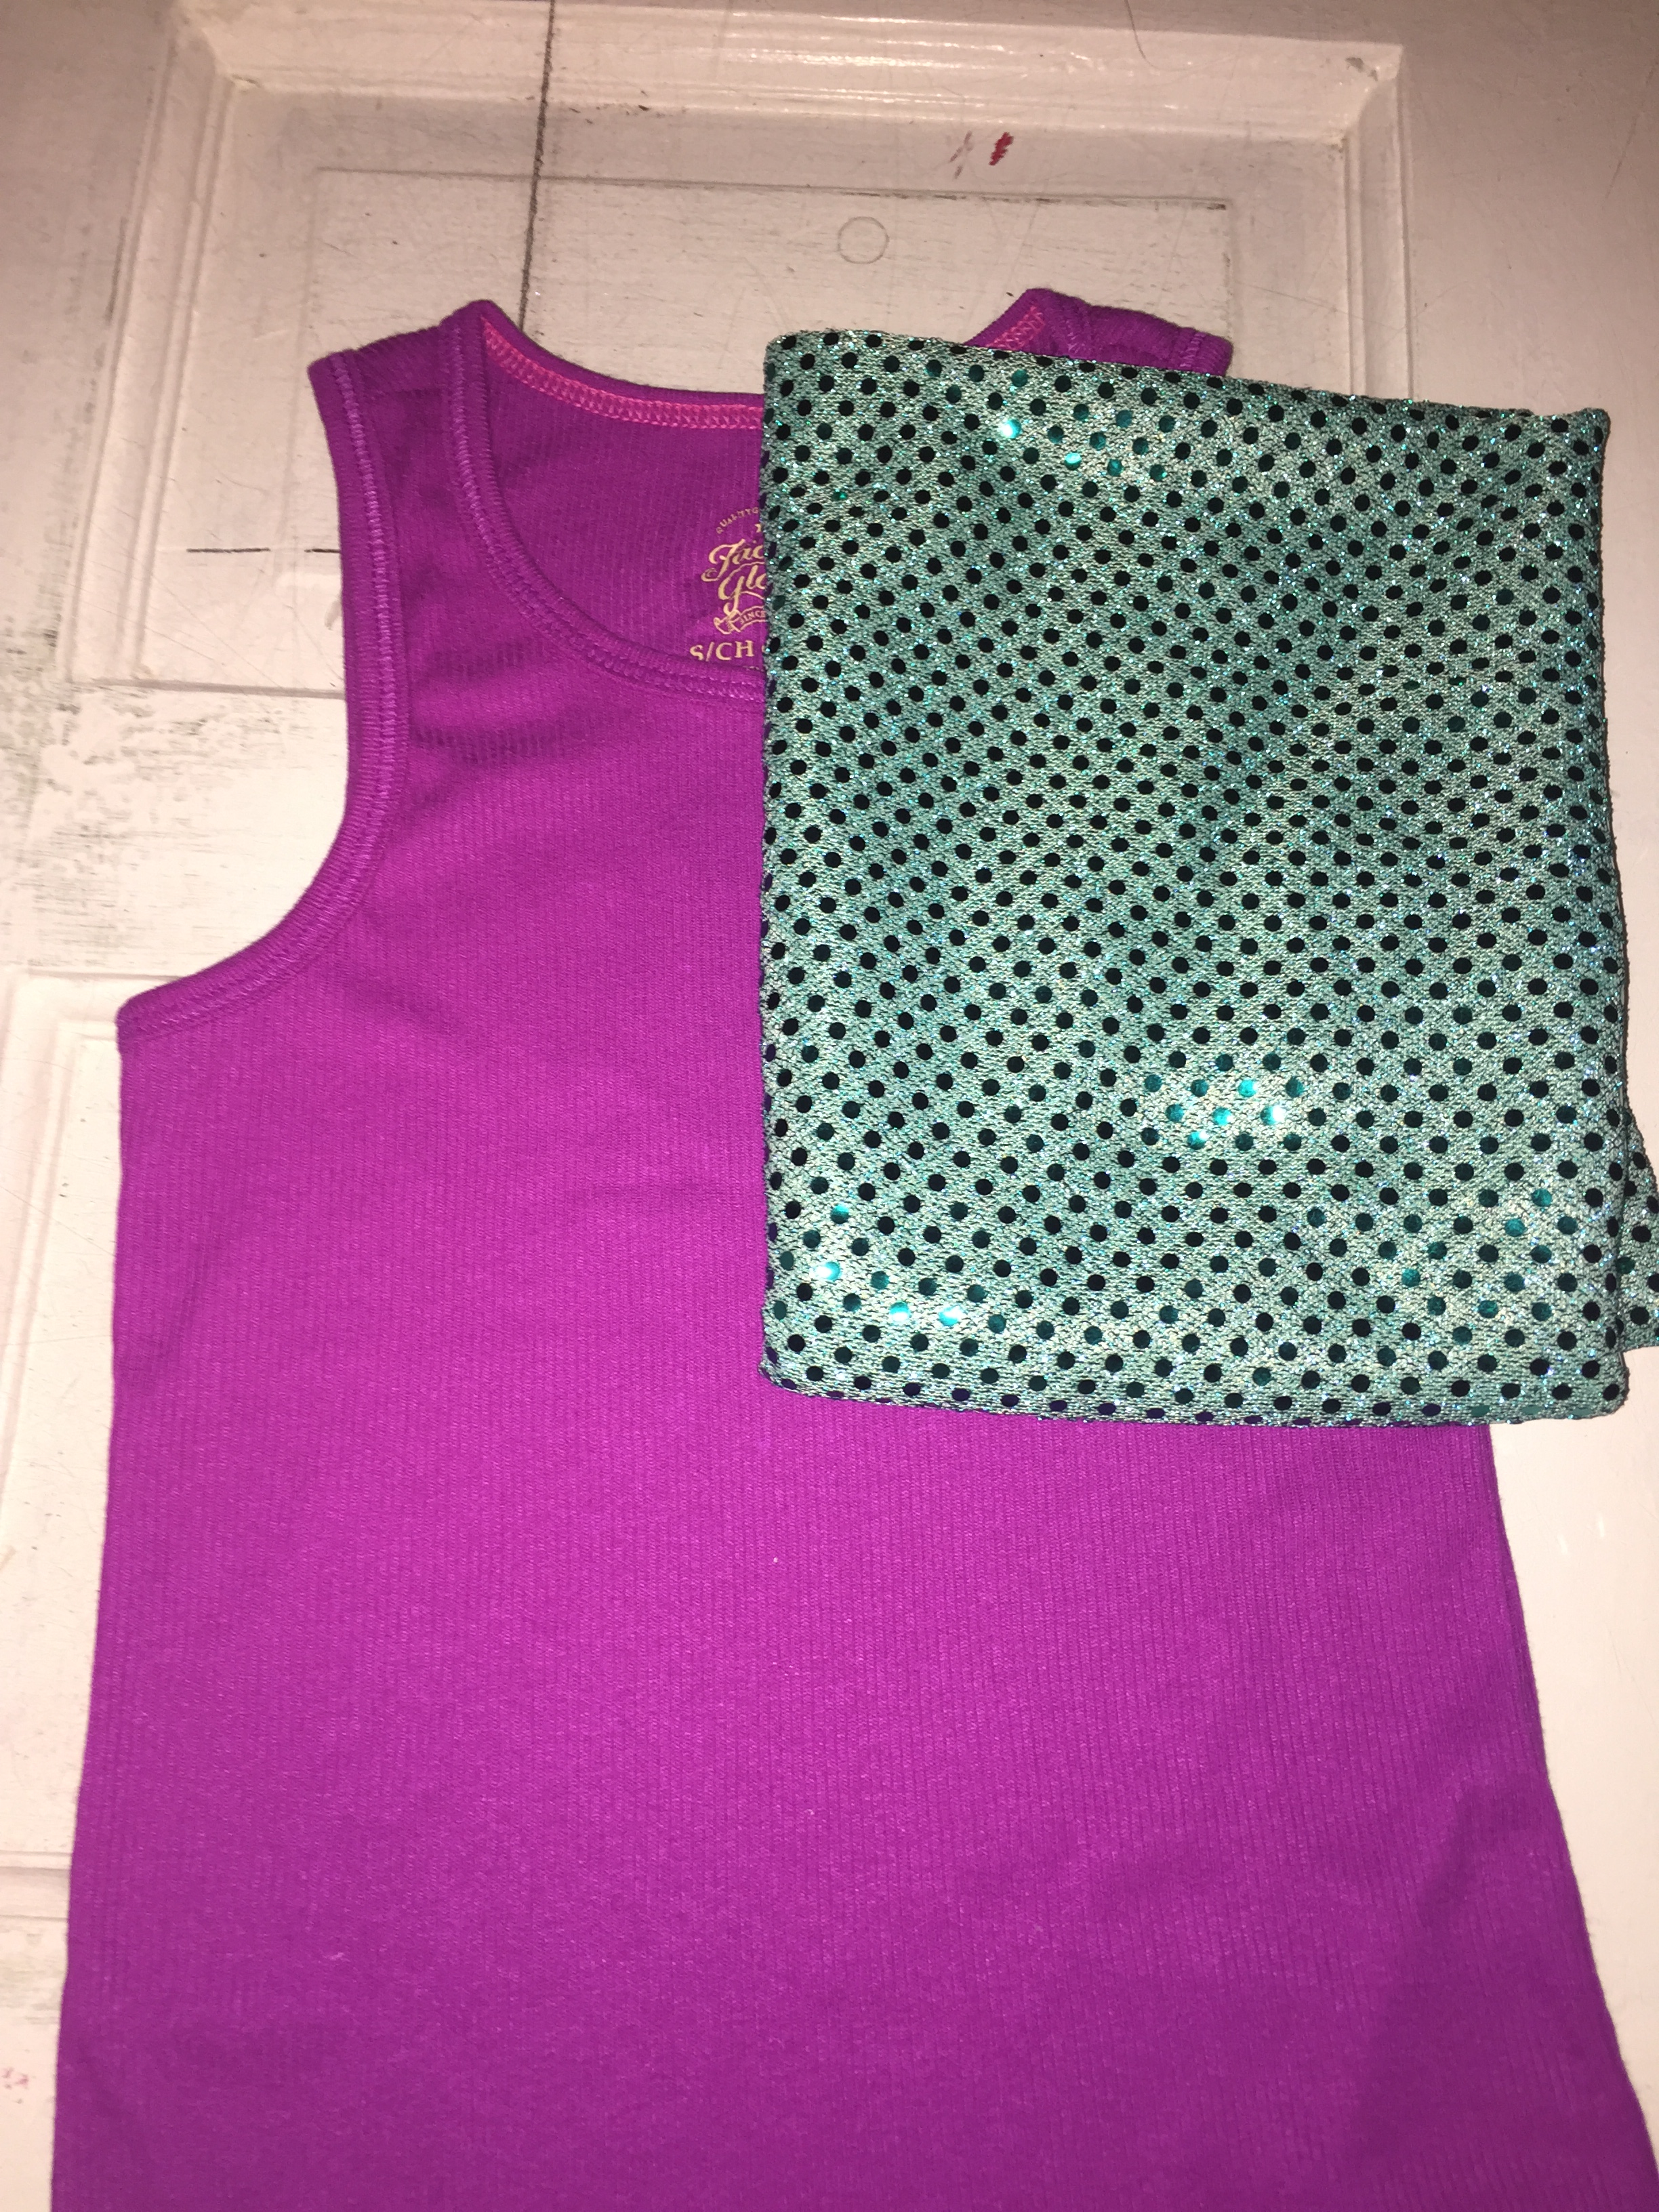
Black knit fabric (cut to 16″ x 75″)
Thread
Red fabric paint (I used Martha Stewart Tartan Red)
Mod Podge
Embroidery hoop
Nylon
Small paint brush
Credit card or gift card

DIY:
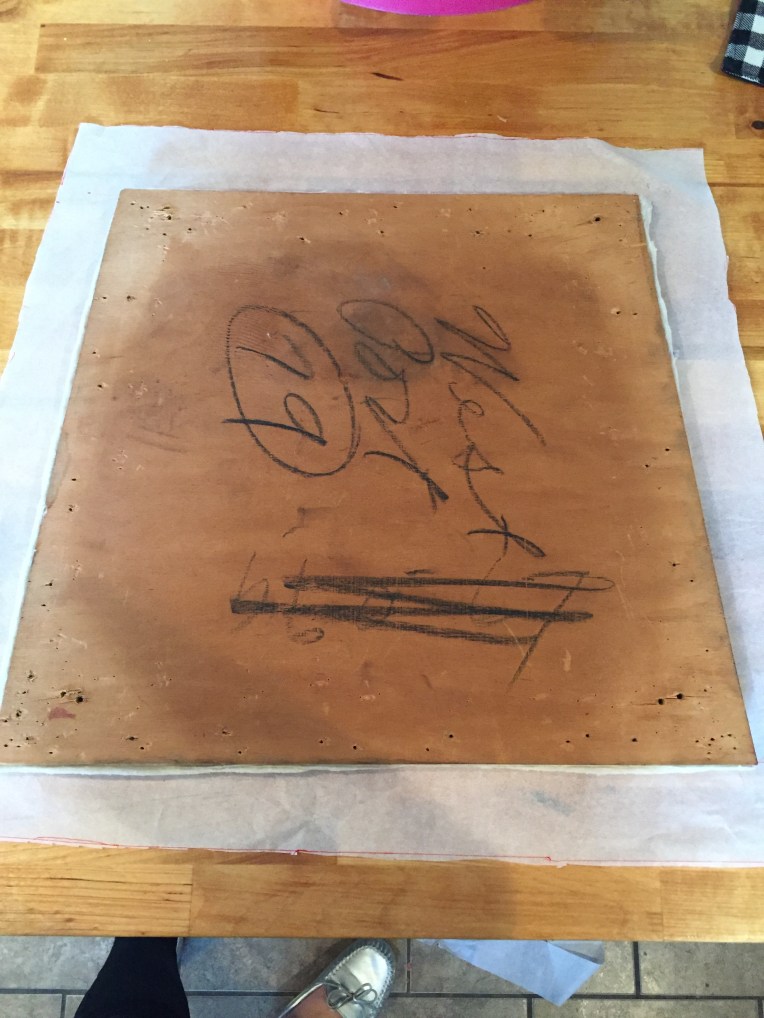
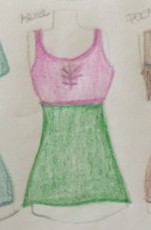
1. Ok, it seems like a lot going on, but it is pretty simple, I promise. I started by sketching out the design I wanted to print. I looked for some references online and created my own “black widow” symbol.

2. I found a great blog post on how to screen print using Mod Podge, check it out here. I’ll also give a brief explanation. Stretch your nylon tightly across the embroidery hoop. Then place it face down on your design and trace it with a pen (I used a Sharpie). Once you transfer the design, take your Mod Podge and carefully paint it on the parts of the “negative space” on the nylon. Basically what you DON’T want to show paint. Take your time, this is important. Two coats.

Black Widow Scarf Screen Print logo

3. Next, I cut out my fabric to 16″ x 75″, I wanted a nice long infinity scarf. You might want to measure your favorite scarf to find the perfect size for you!

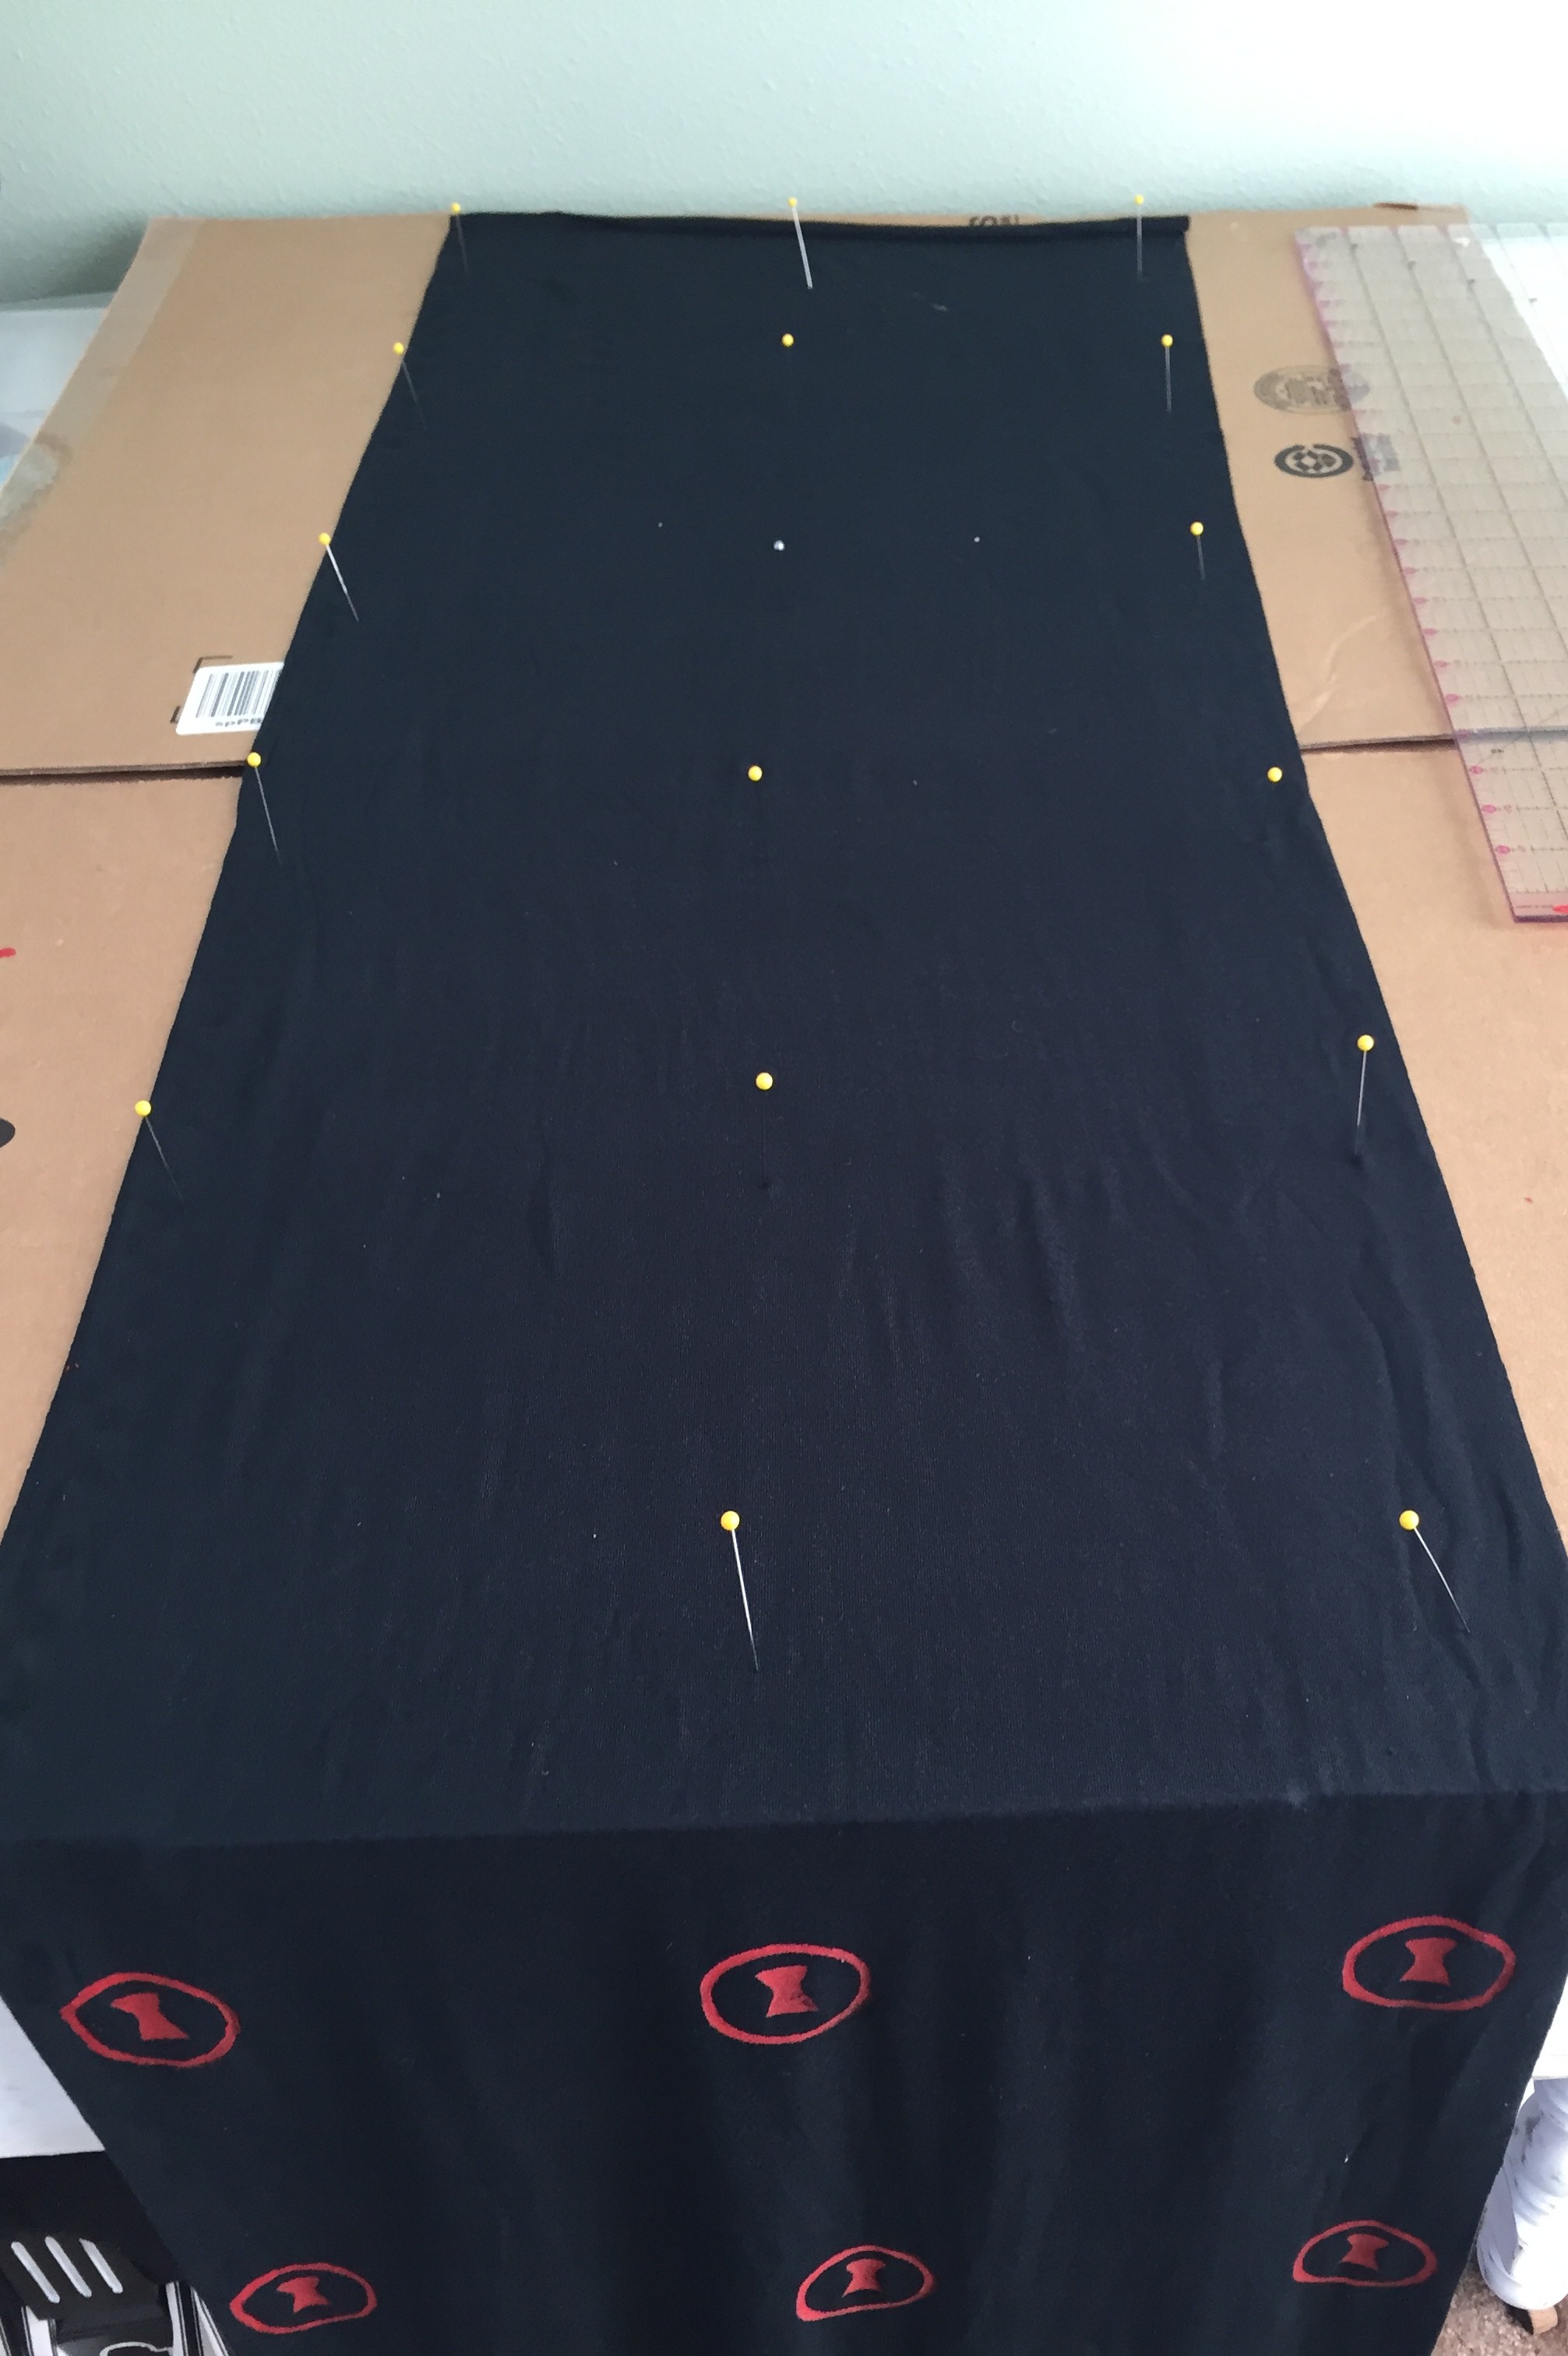
4. I laid out my fabric on a piece of cardboard and pinned it down securely. I then decided how I wanted my pattern to repeat and put pins in those locations. This image should demonstrate this step…
Black Widow Scarf Screen printing in progress

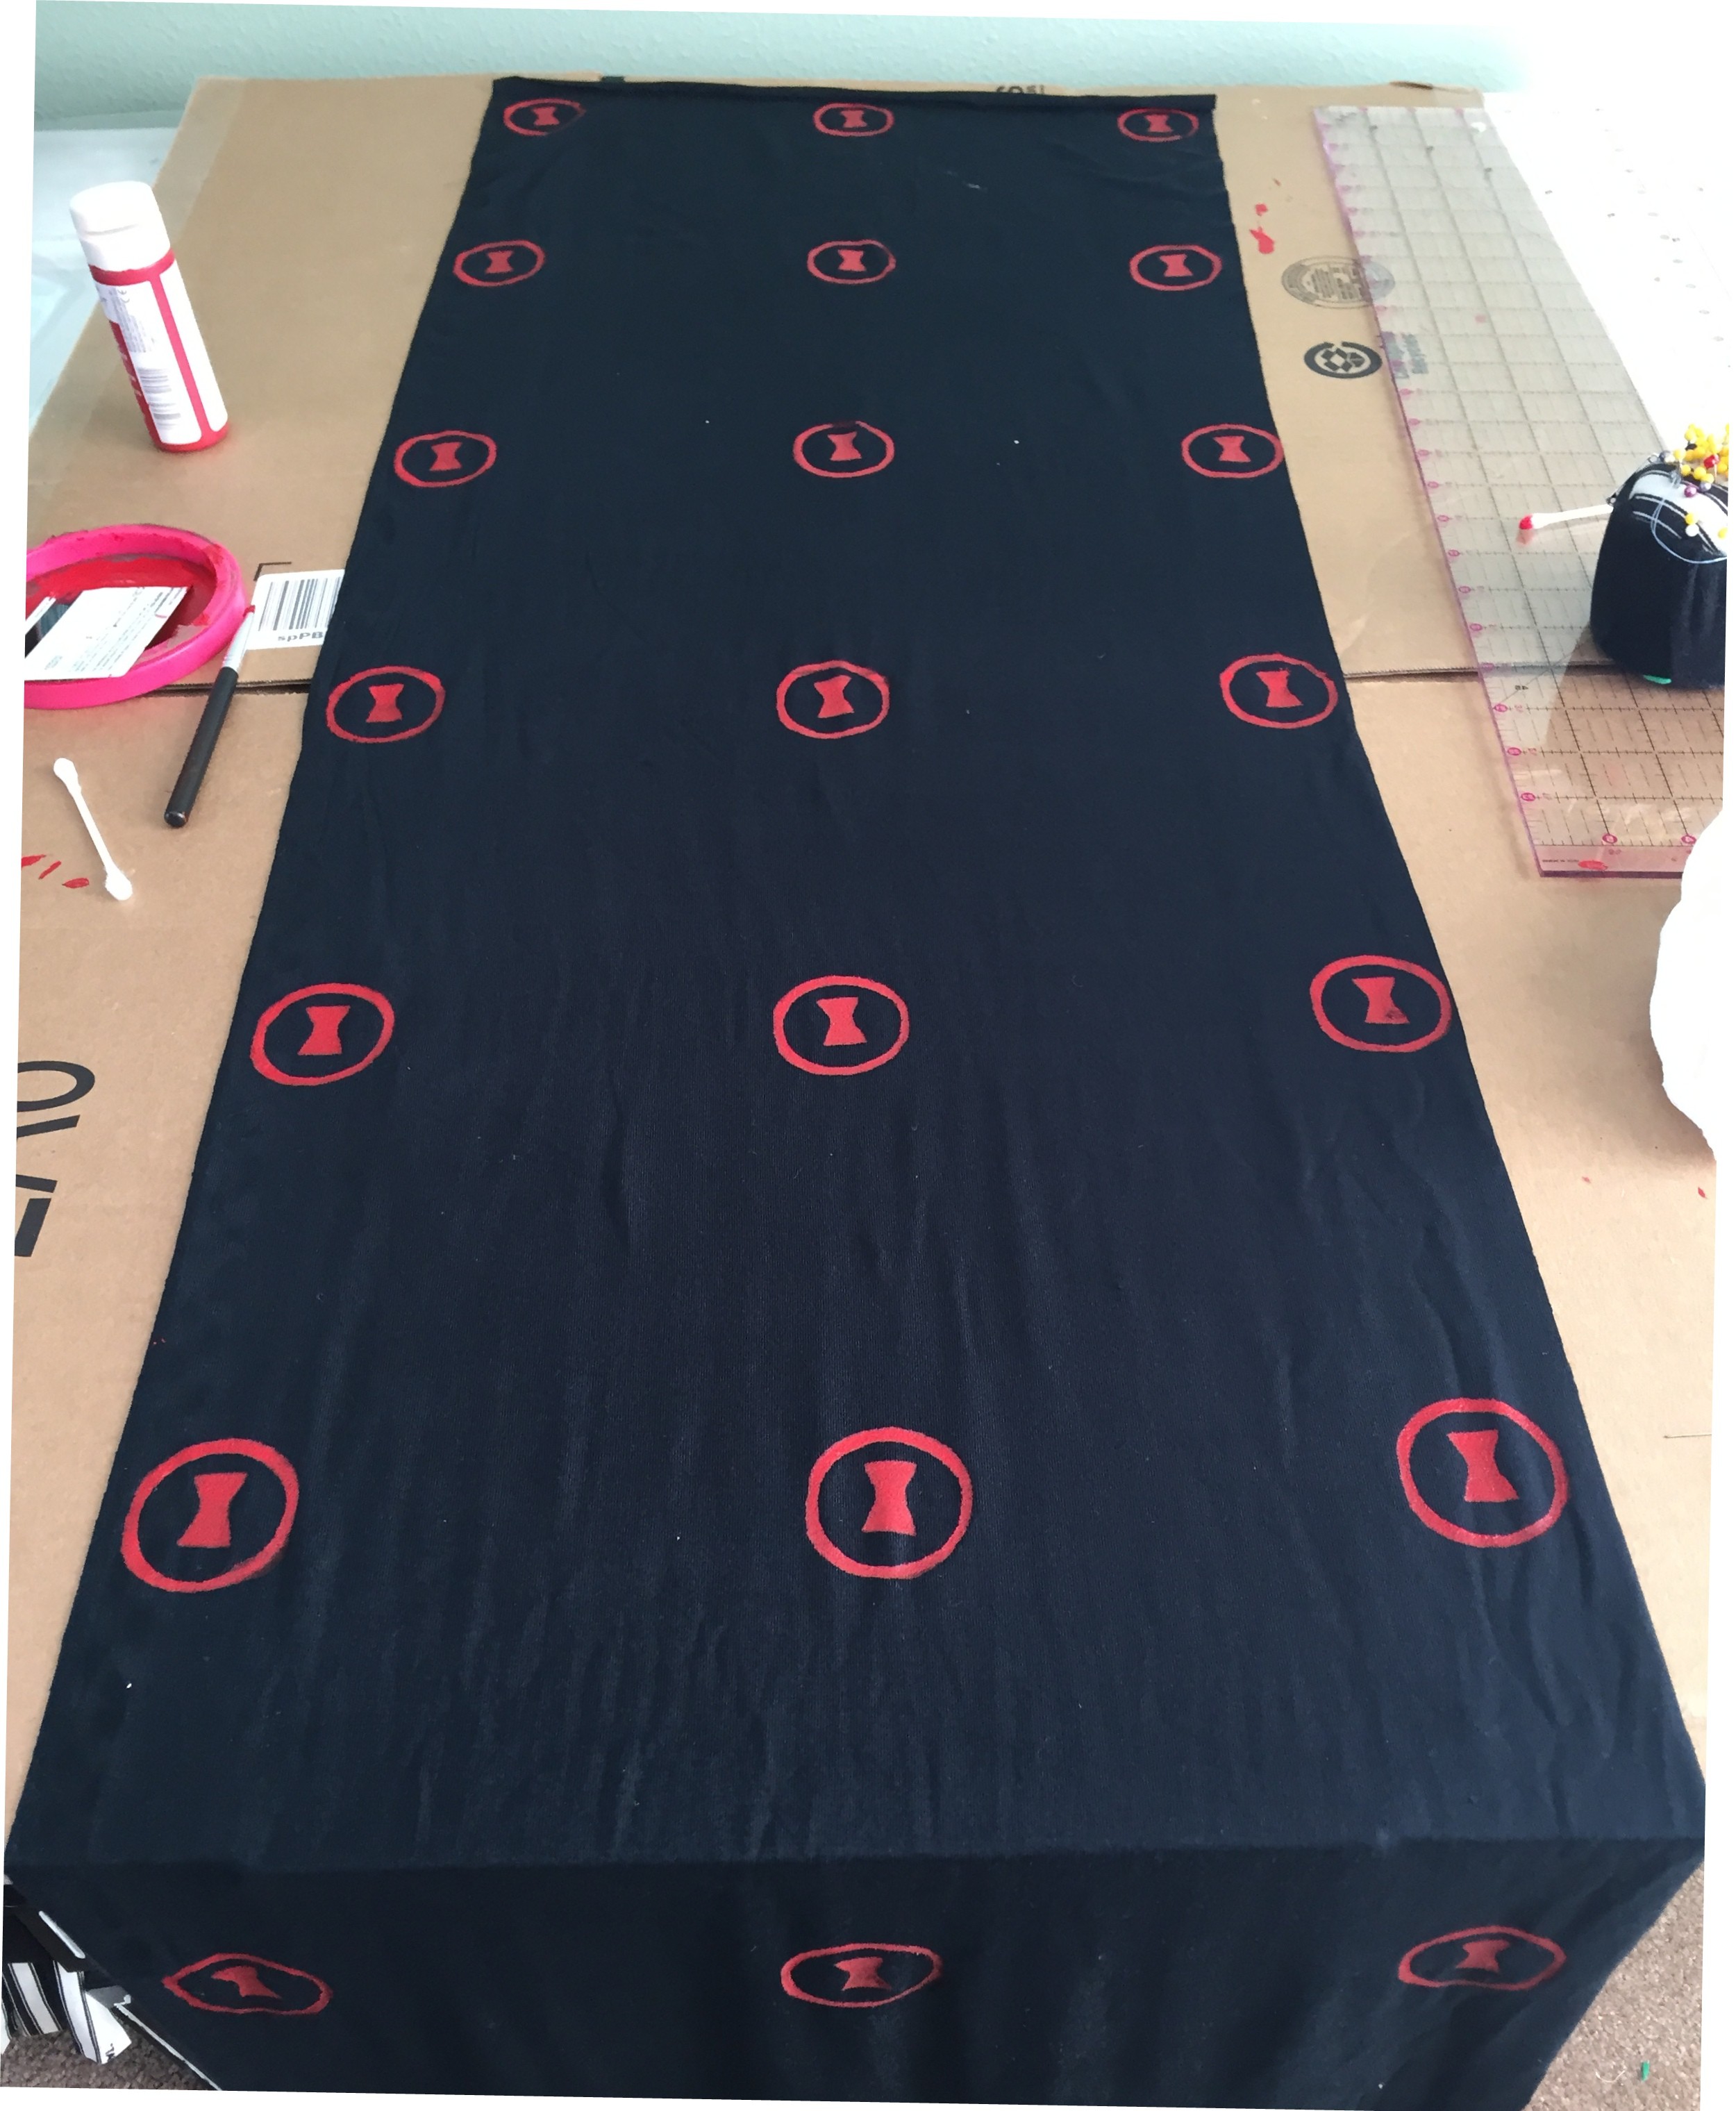
5. Now it’s time to screen print. A little frightening, I know. But truly, it was easier than I thought it would be. With the nylon face down against the fabric, squirt some red paint onto the nylon, then use a credit card, gift card, piece of cardboard, etc. to swipe the paint evenly across the nylon. You might swipe a couple different directions to make sure there is even coverage. Then carefully lift your hoop/printer. Make sure to hold down the fabric when you do so, this will save you some smears.

5. Repeat, repeat, repeat! Between prints, be sure to check the surface of the nylon (the side that goes against the fabric), if any paint has leaked out, wipe it up to keep your printing crisp. As you go, don’t worry if a few of the repeats aren’t perfect. This is a draped scarf so likely you won’t see the imperfect ones. Also, I like the idea of this looking a little vintage, hence the screen printing, so embrace those imperfections!!
Black Widow Scarf Screen Printing

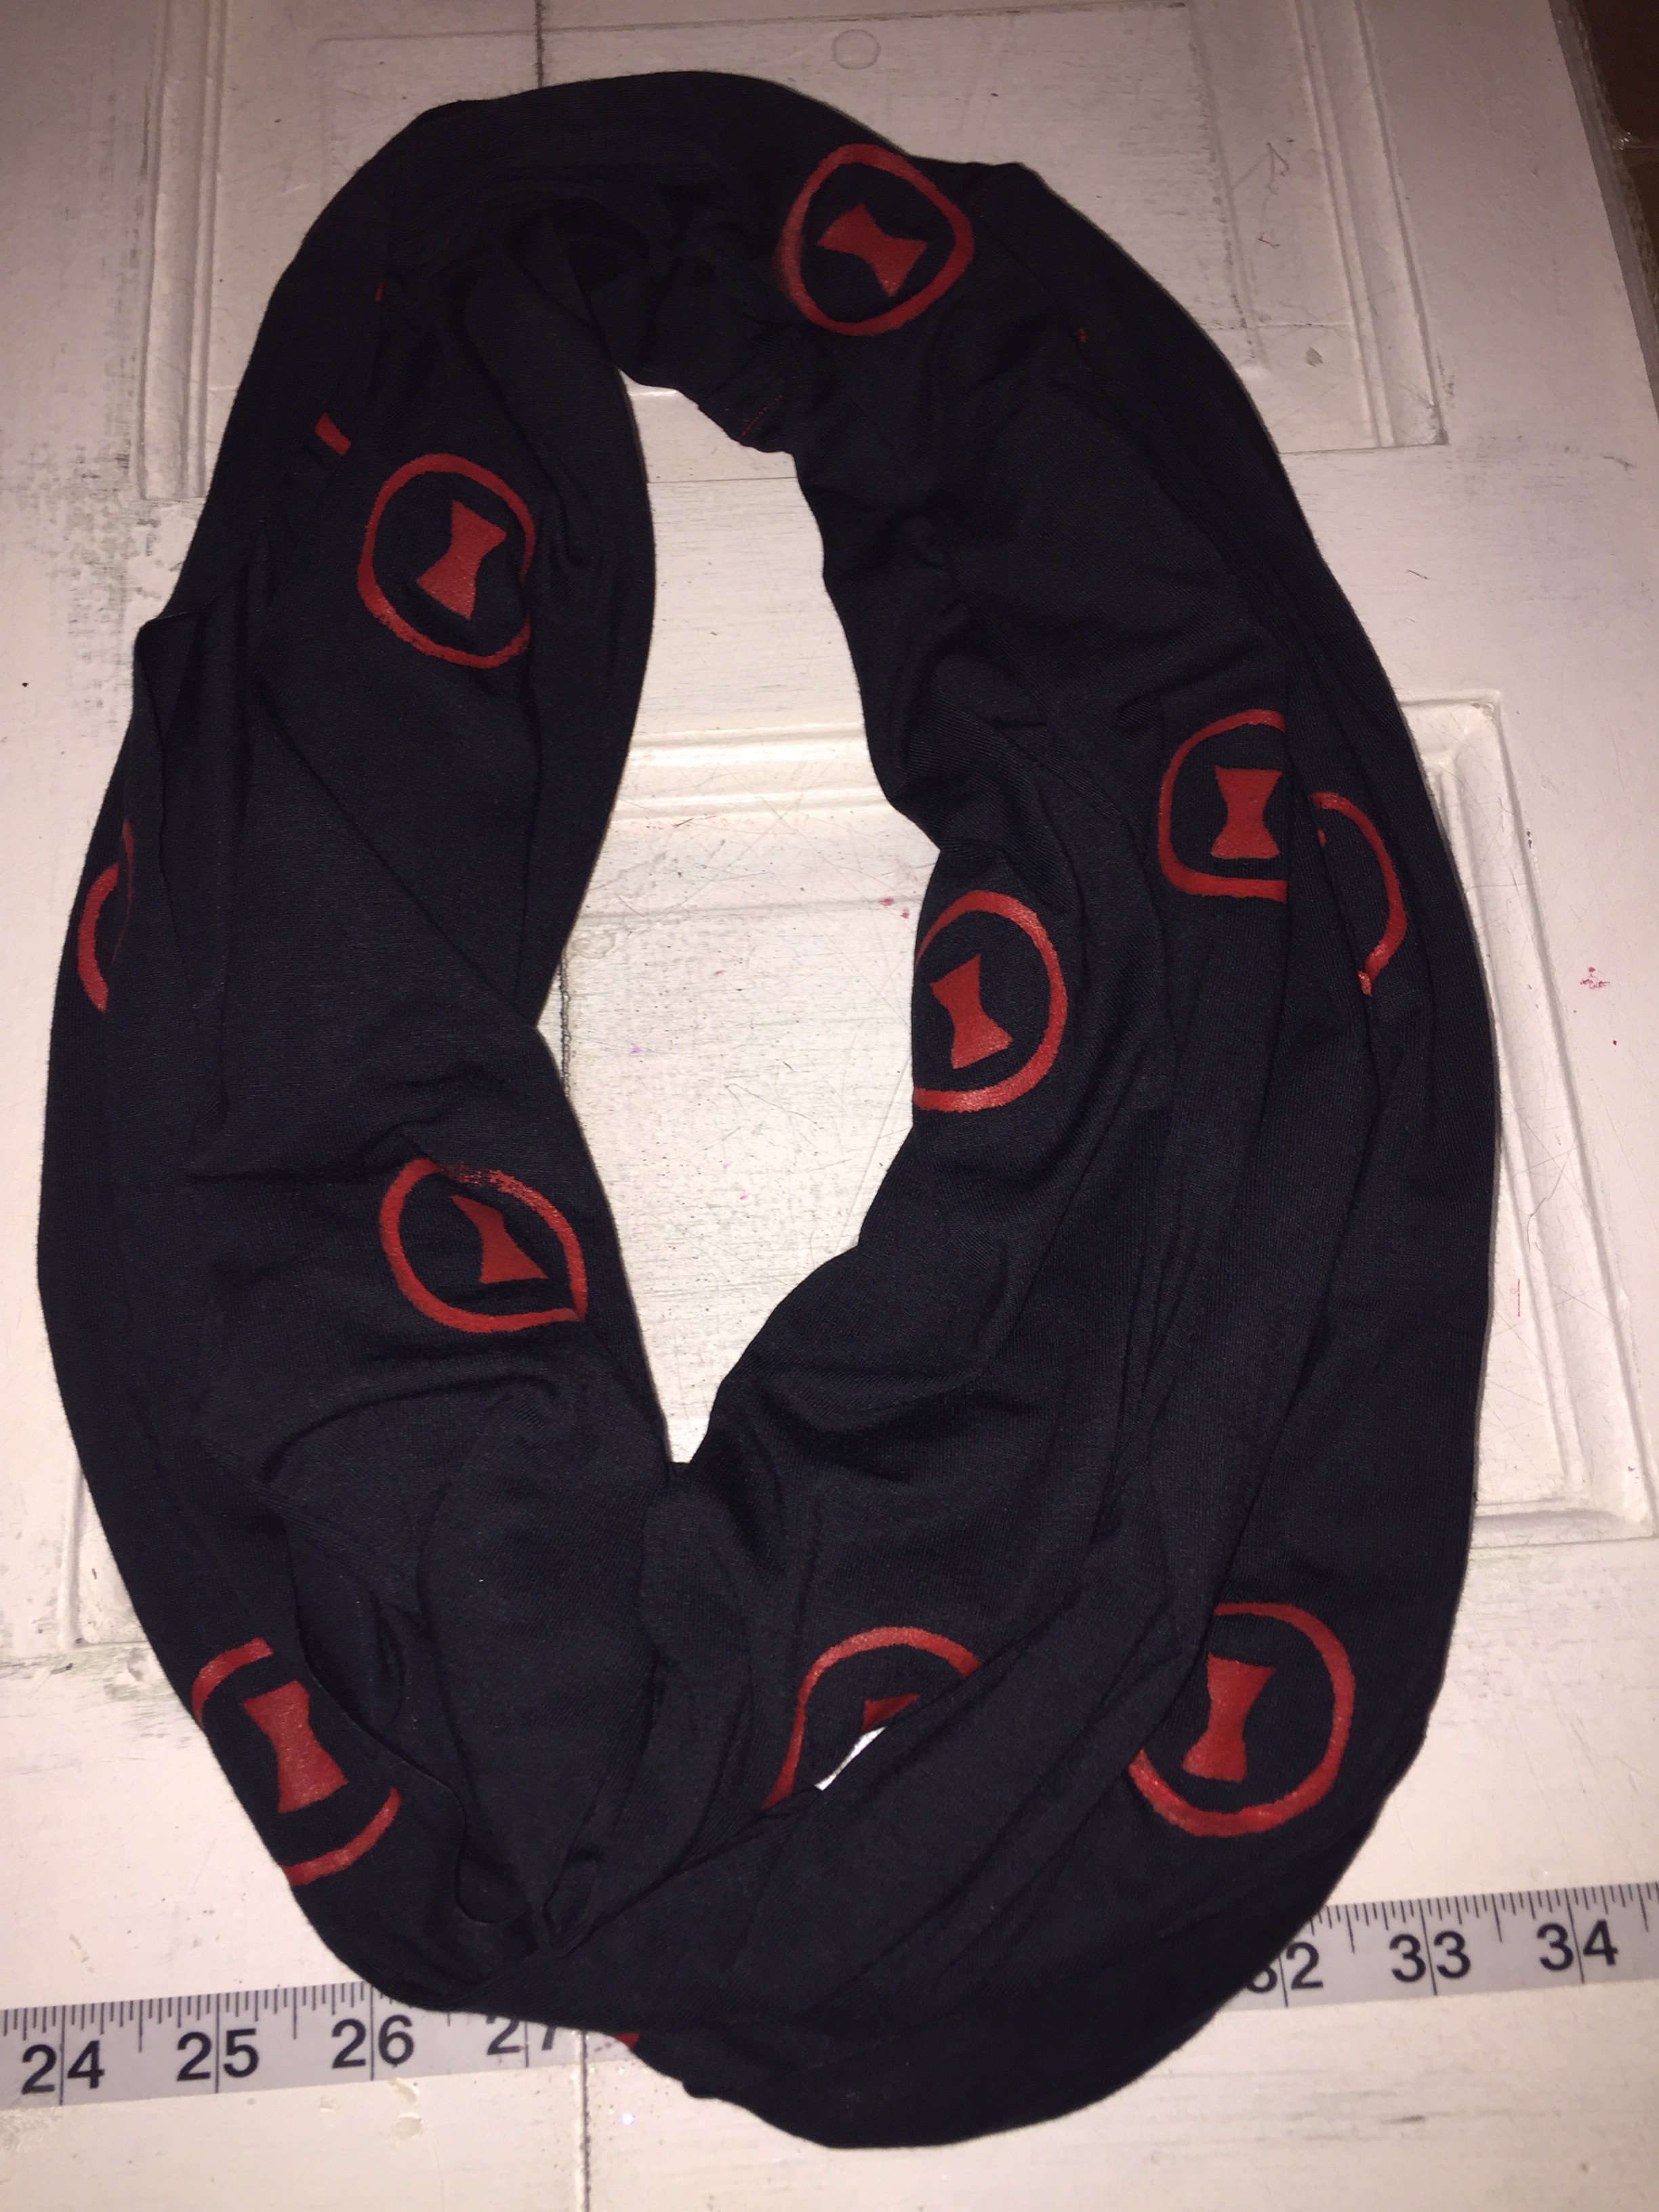
6. Once you have printed the entire scarf, allow it to dry completely before sewing. Seems obvious, but if you get excited like me, you might forget. 🙂 I chose a fabric that I didn’t have to hem, so all that left is to sew the ends together. For a neat finish, a flat-felled seem is a good choice, but can be difficult to execute on knits. So I’ll tell you my cheater way to do it…basically a french seam sewed down. So, wrong sides together, seam then trim. Then flip it around and sew with right sides together so the original seam and trimmed seam allowance is inside. You now have a finished “flap.” Pin the flap down to one side and top stitch. Quite tidy and worth the extra 5 minutes.
Black Widow Scarf finished on table Rockin the Black Widow Scarf

Now all that’s left is to pair your brand new scarf with some killer boots and an attitude to match!

–h

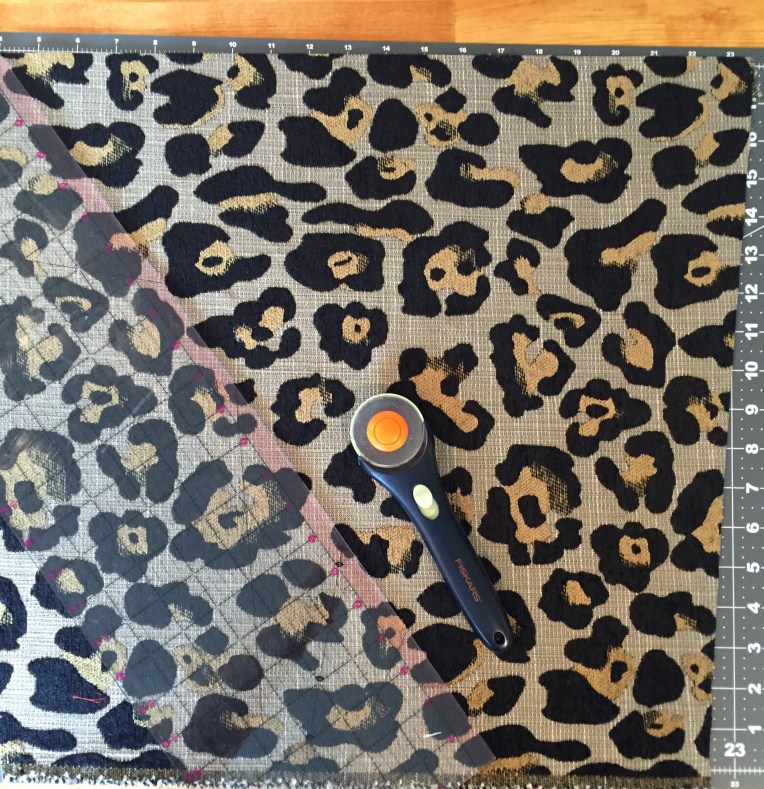
P.S. As I was working on this scarf, I cut right through my “self-healing” mat. Exploring my own super-human strength apparently! 😉

Black Widow Infinity Scarf DIY

Can’t get enough of Marvel or the Avengers? Check-out my Captain America quilt, Part I and Part II!
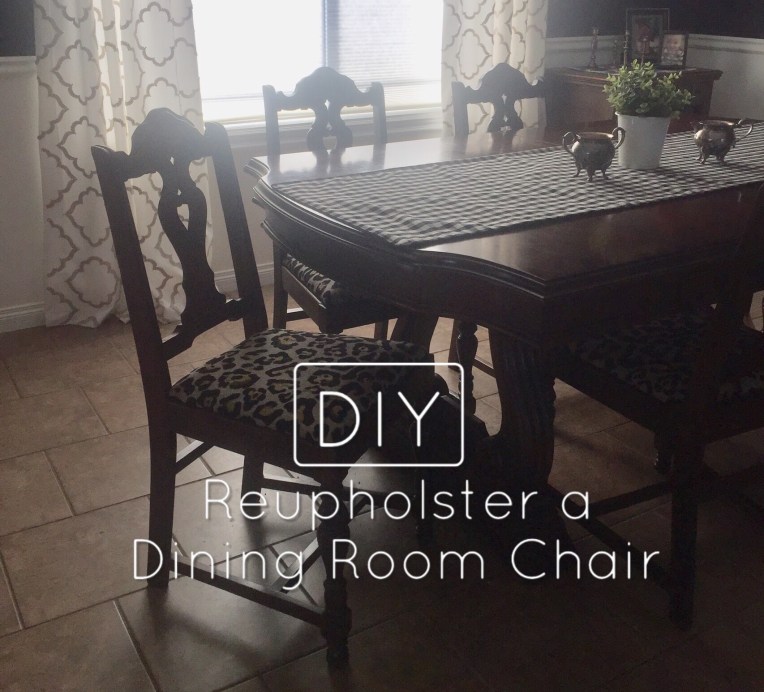
10 Tips for Painting a Rolltop Desk

There is something so rewarding about taking an old and unexciting piece of furniture and giving it a completely new look! I love painting furniture, and our most recent project was this rolltop desk we were given. It has always lived in our office and while I didn’t love the finish, I LOVE all the little cubbies and drawers. It gives the illusion of organization at least. In our efforts to baby proof, we moved my craft table to the office, and now the desk is in our living room. Now that the desk is more visible, it really needed to be updated. So, instead of giving you the blow-by-blow, I thought these 10 tips would really cover the important points and convince you that anyone can do it!

BEFORE:
Rolltop Desk Before Picture closed

AFTER:
Rolltop Desk FINAL closed

1. Use chalk paint.
Chalk paint rocks! You don’t have to spend hours prepping the surface, and it comes out with a great matte finish. There are a lot of great brands out there, but there is a local place that sells Shabby Paint and their colors are great. For this project I used Snow White, Licorice, and Sheer Vax to finish it.

2. Use spray paint.
Because I wanted to give the desk a distressed look with some “layers,” I used black spray paint (satin finish) on all the edges and corners of the desk before painting it all white with the chalk paint. So when I distressed the desk, you can see some great added dimension with the black layer. It really adds to the overall look in a big way.
Rolltop Desk Spray paint edges

In addition, I used black on the cubbies inside the desk. There really wasn’t a good way to get a paint brush into those tight areas. Just using a bit of spray paint made my life way WAY easier!
Rolltop Desk cubbies

3. Take time to disassemble the desk.
It might seem like a bit of a pain, but you will save yourself quite a headache if you at least take off the top of the desk, and remove the rolltop. You will be even more pleased with your result if you take the time to do this step. Make notes to yourself as you take it apart to make re-assembly go smoothly.

4. Consider a two-toned look.
I really like the way this turned out. I decided I wanted the horizontal surfaces to be black. It adds interest and makes the finished desk unique. I love the contrast of black and white, but lots of other color combos would be cool. Maybe Vogue and Garfield Grey, Emily Ann and Lillian Grey, Paper Doll and Alamo White…

Rolltop Desk After 1

5. Paint the sides and inside of the drawers.
In keeping with the two-toned look. We painted the inside of the drawers black. This feels so good when you open the drawers and see a nice completely finished piece. Another fun idea, especially if you are going with one color on the desk, would be to paint the insides and sides of the drawer with a fun pop of color. This extra step is worth it! BTW, we used spray paint on this step too.

Rolltop Desk side angle of drawers  Rolltop Desk side angle of little drawers

6. Dry brush the rolltop piece.
Every project inevitably has a lesson you learn the hard way. The good news is that you can learn from our mistake. I’m going to reiterate step 3, take the rolltop out and lay it flat. You then want to carefully dry brush this piece. It will take extra time, but you don’t want the paint to puddle between the slats. Otherwise you will end up with cracked paint you won’t be happy with. Take your time, it might take an extra coat or two.

7. Buy new hardware.
This desk had wooden pulls that just didn’t excite me so we decided to update the majority of the hardware. New hardware doesn’t have to be expensive (we paid like $1.79 per pull) but it can make a big difference!

Original pulls     Update hardware

8. Spray paint existing hardware.
While I didn’t love the wooden pulls, I do love the plate on the front of the rolltop as well as on the plates on outside of the little drawers. I just decided to get ride of the gold and spray paint them black. Looks super cool!

Rolltop Desk spray paint existing hardware

9. Have fun distressing.
You work so hard to carefully paint the piece, then you spend time destroying the perfection. I oddly love this step, go figure. It actually lets you off the hook, and you can embrace any areas you felt like were “mistakes.” We can celebrate the imperfections now! I use 60 or 80 grit sandpaper on a sanding block and go to town. Concentrate on corners and edges that would normally experience wear and tear. I also like to use it as an opportunity to highlight interesting details in the piece. I just try to maintain some distressing consistency as I go along, comparing to previous sections as I go.

Rolltop Desk front desk drawer details   Rolltop Desk front drawer details

10. Print fun tags.
Just a final touch. I picked a vintage looking (and FREE) font and had fun printing out labels for the fun little drawers. I love this finishing touch!

Rolltop Desk drawers closeup   

Feels like a brand new desk!
Rolltop Desk FINAL open     10 Tips for Painting a Rolltop Desk DIY1
–h