How to Create a Beautiful Dried Flower Wreath

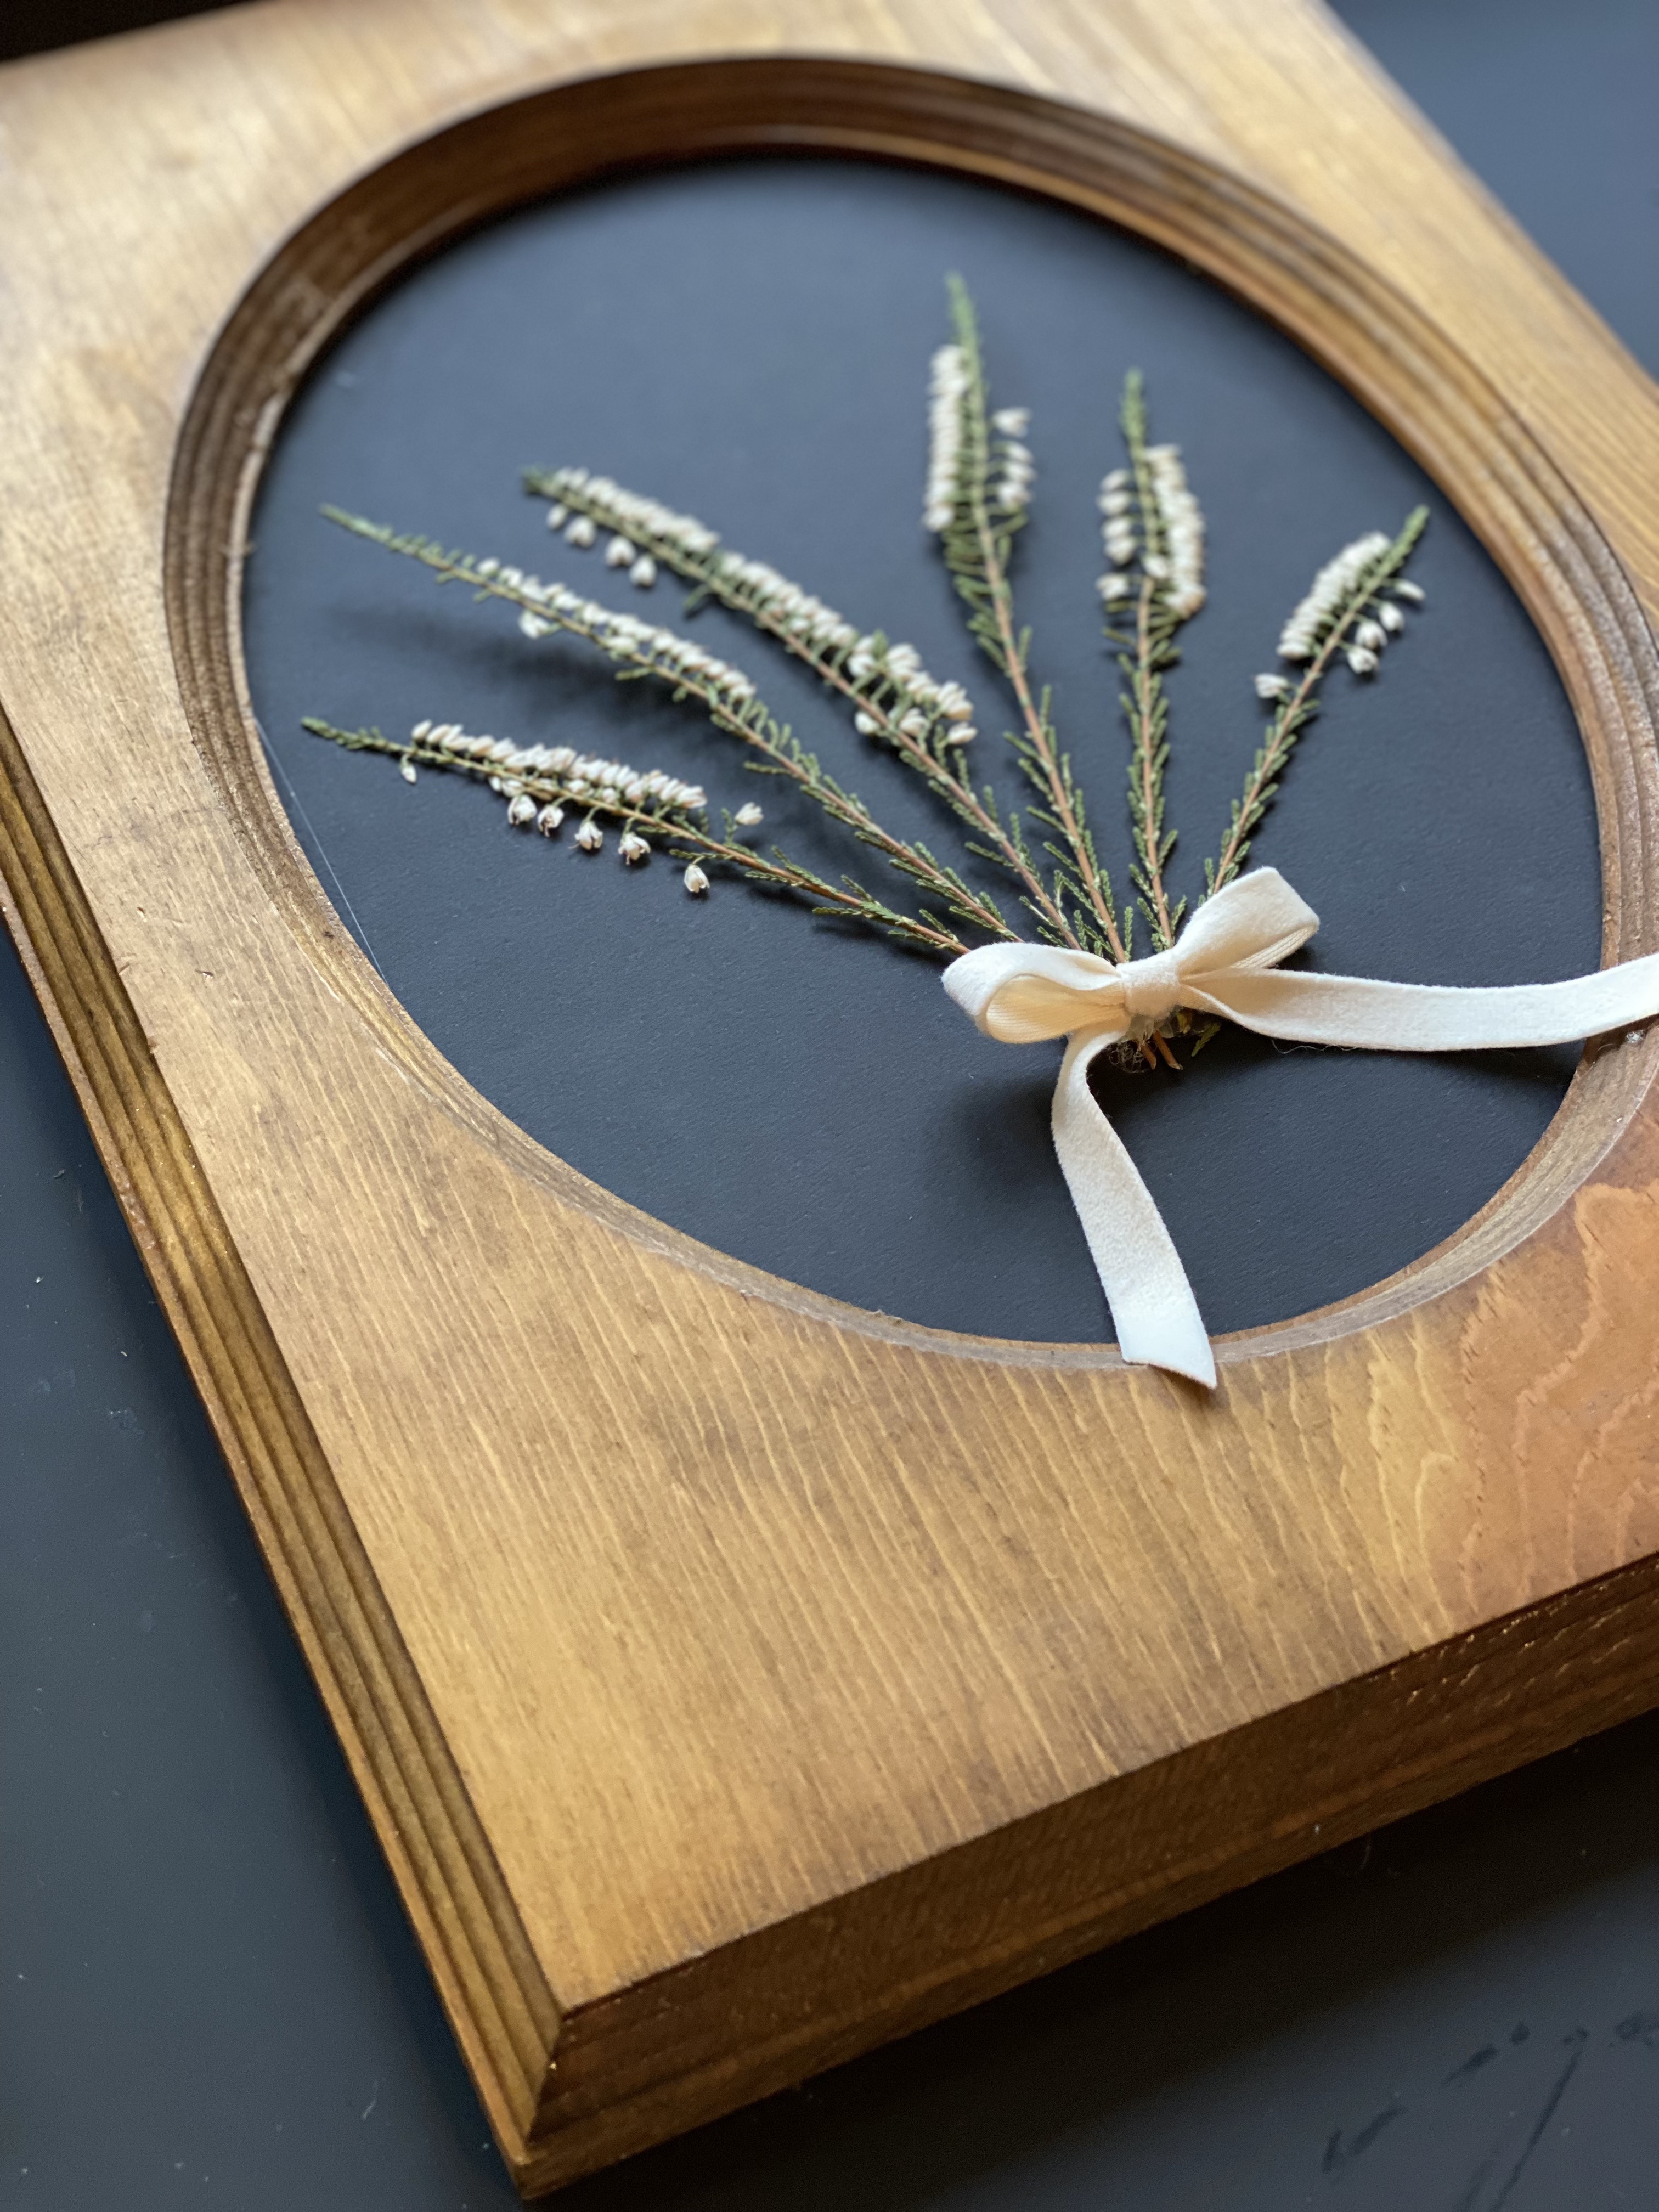
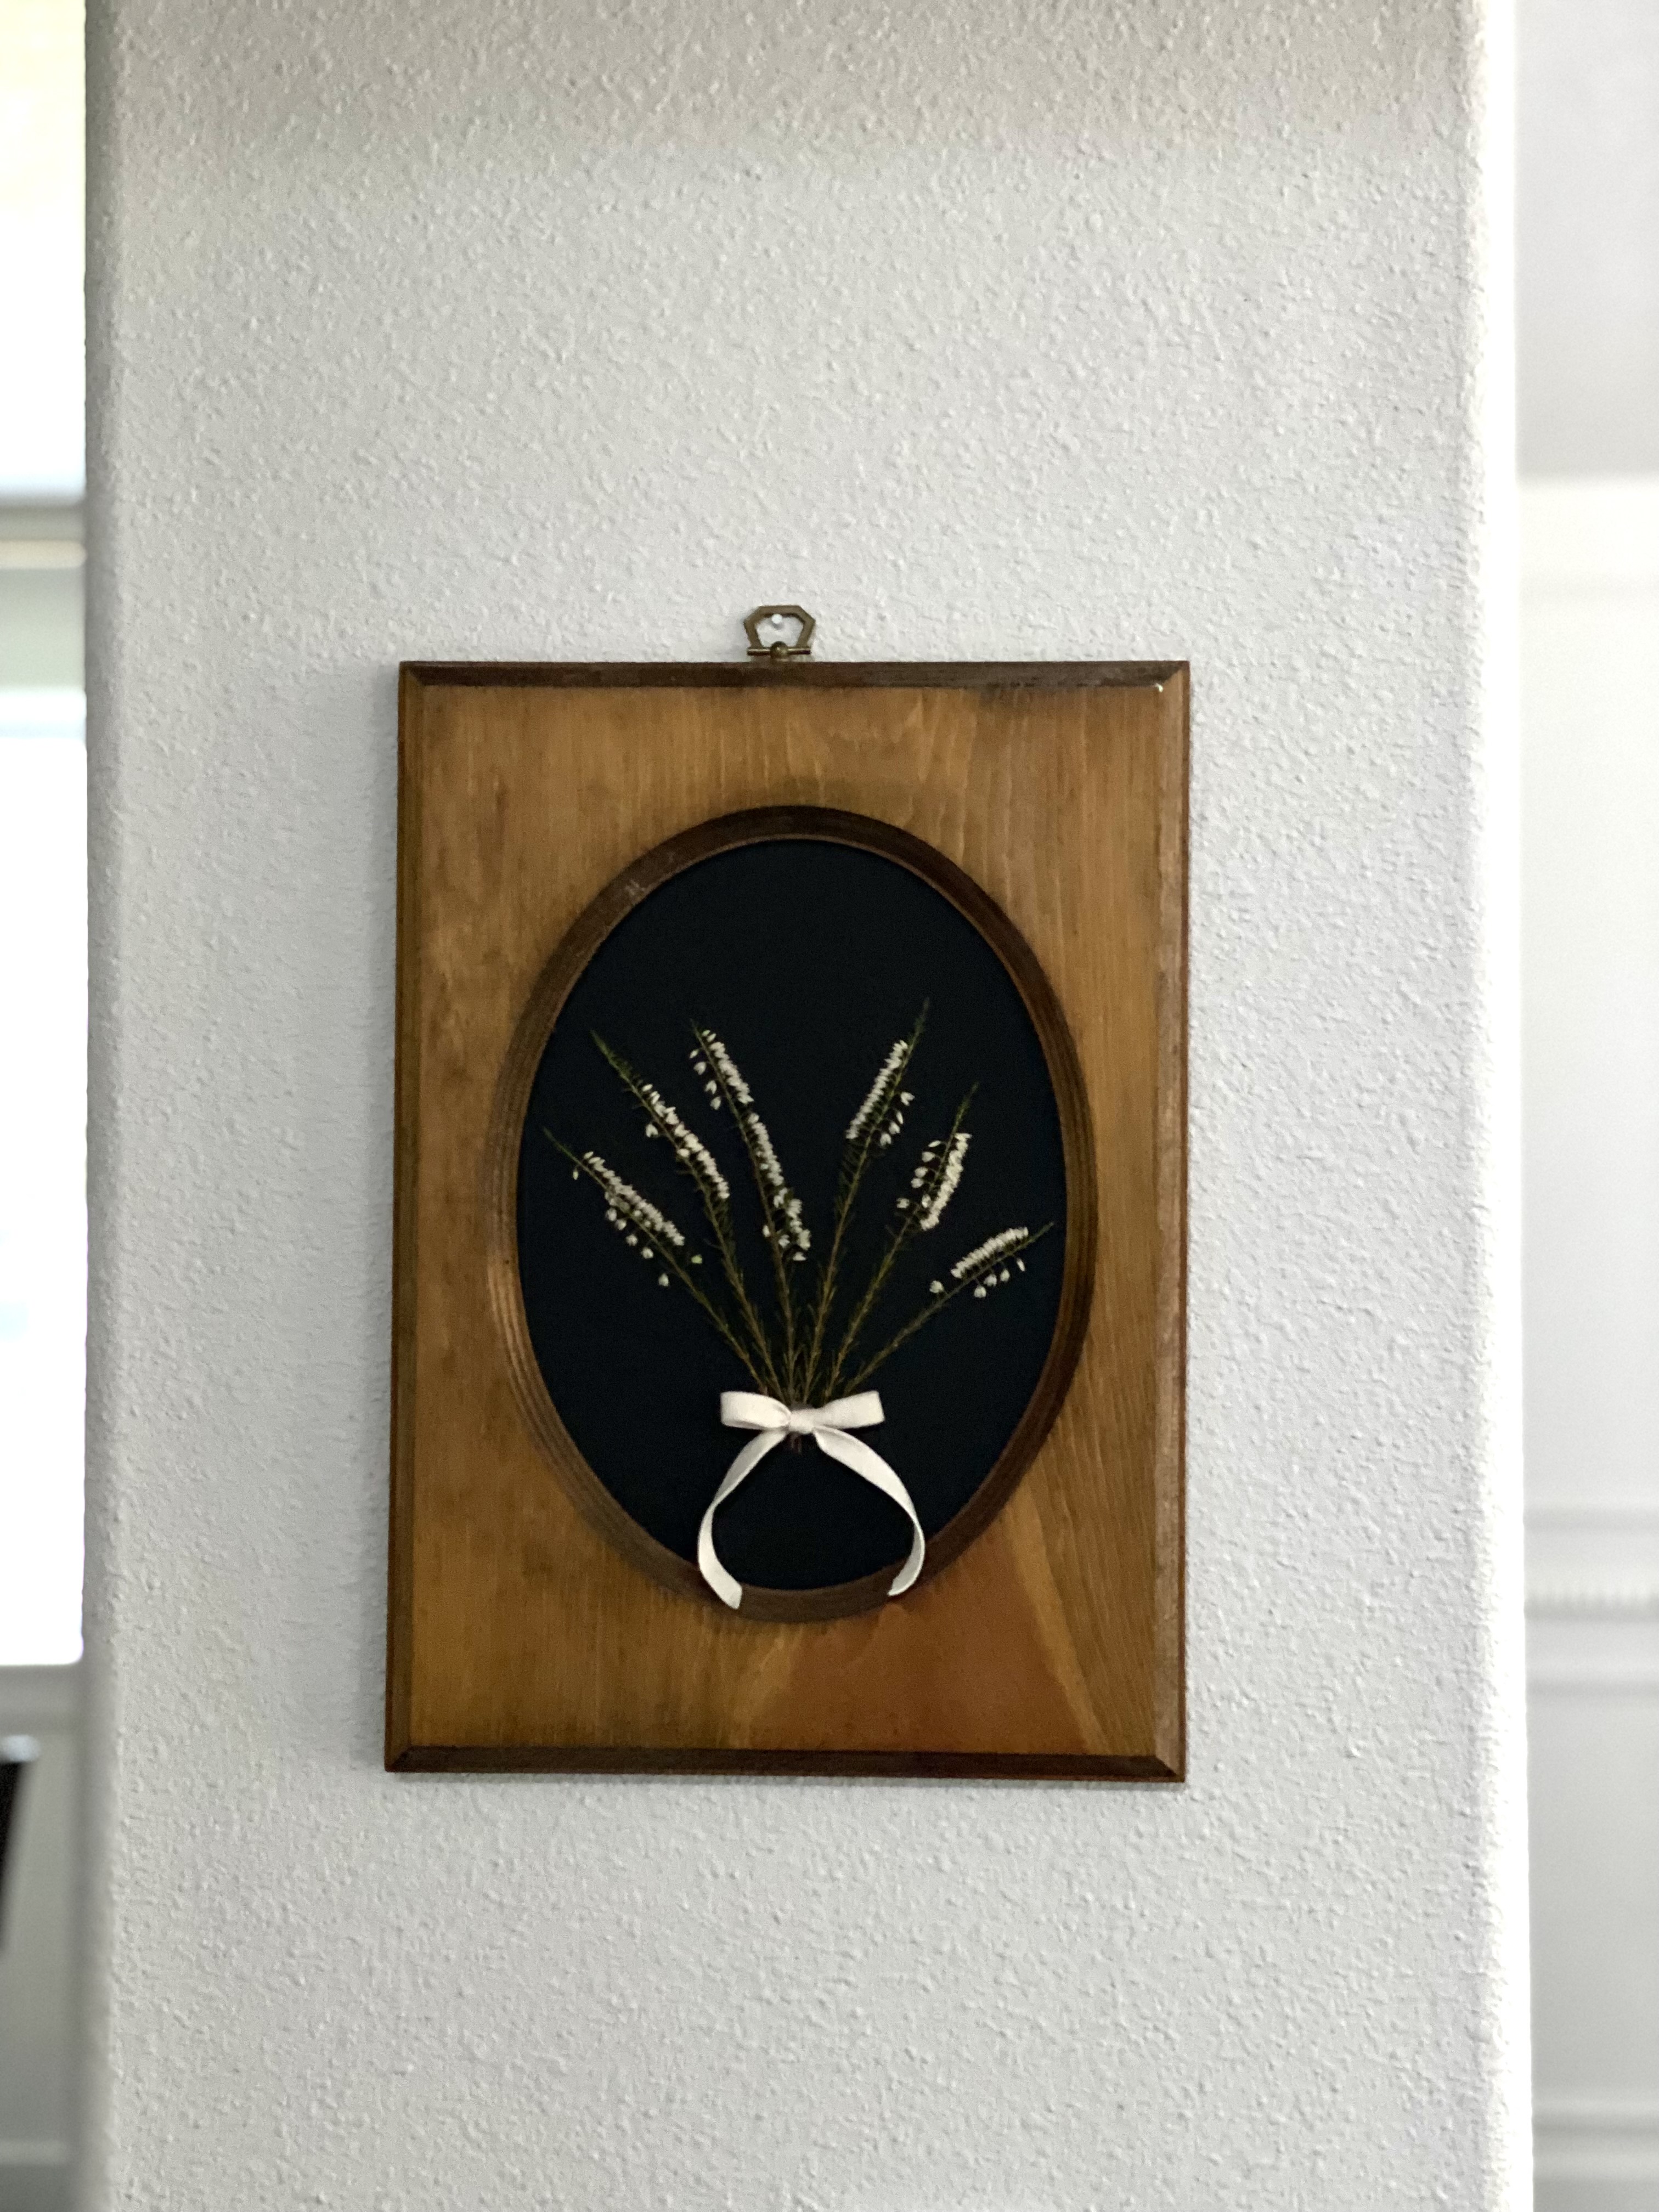
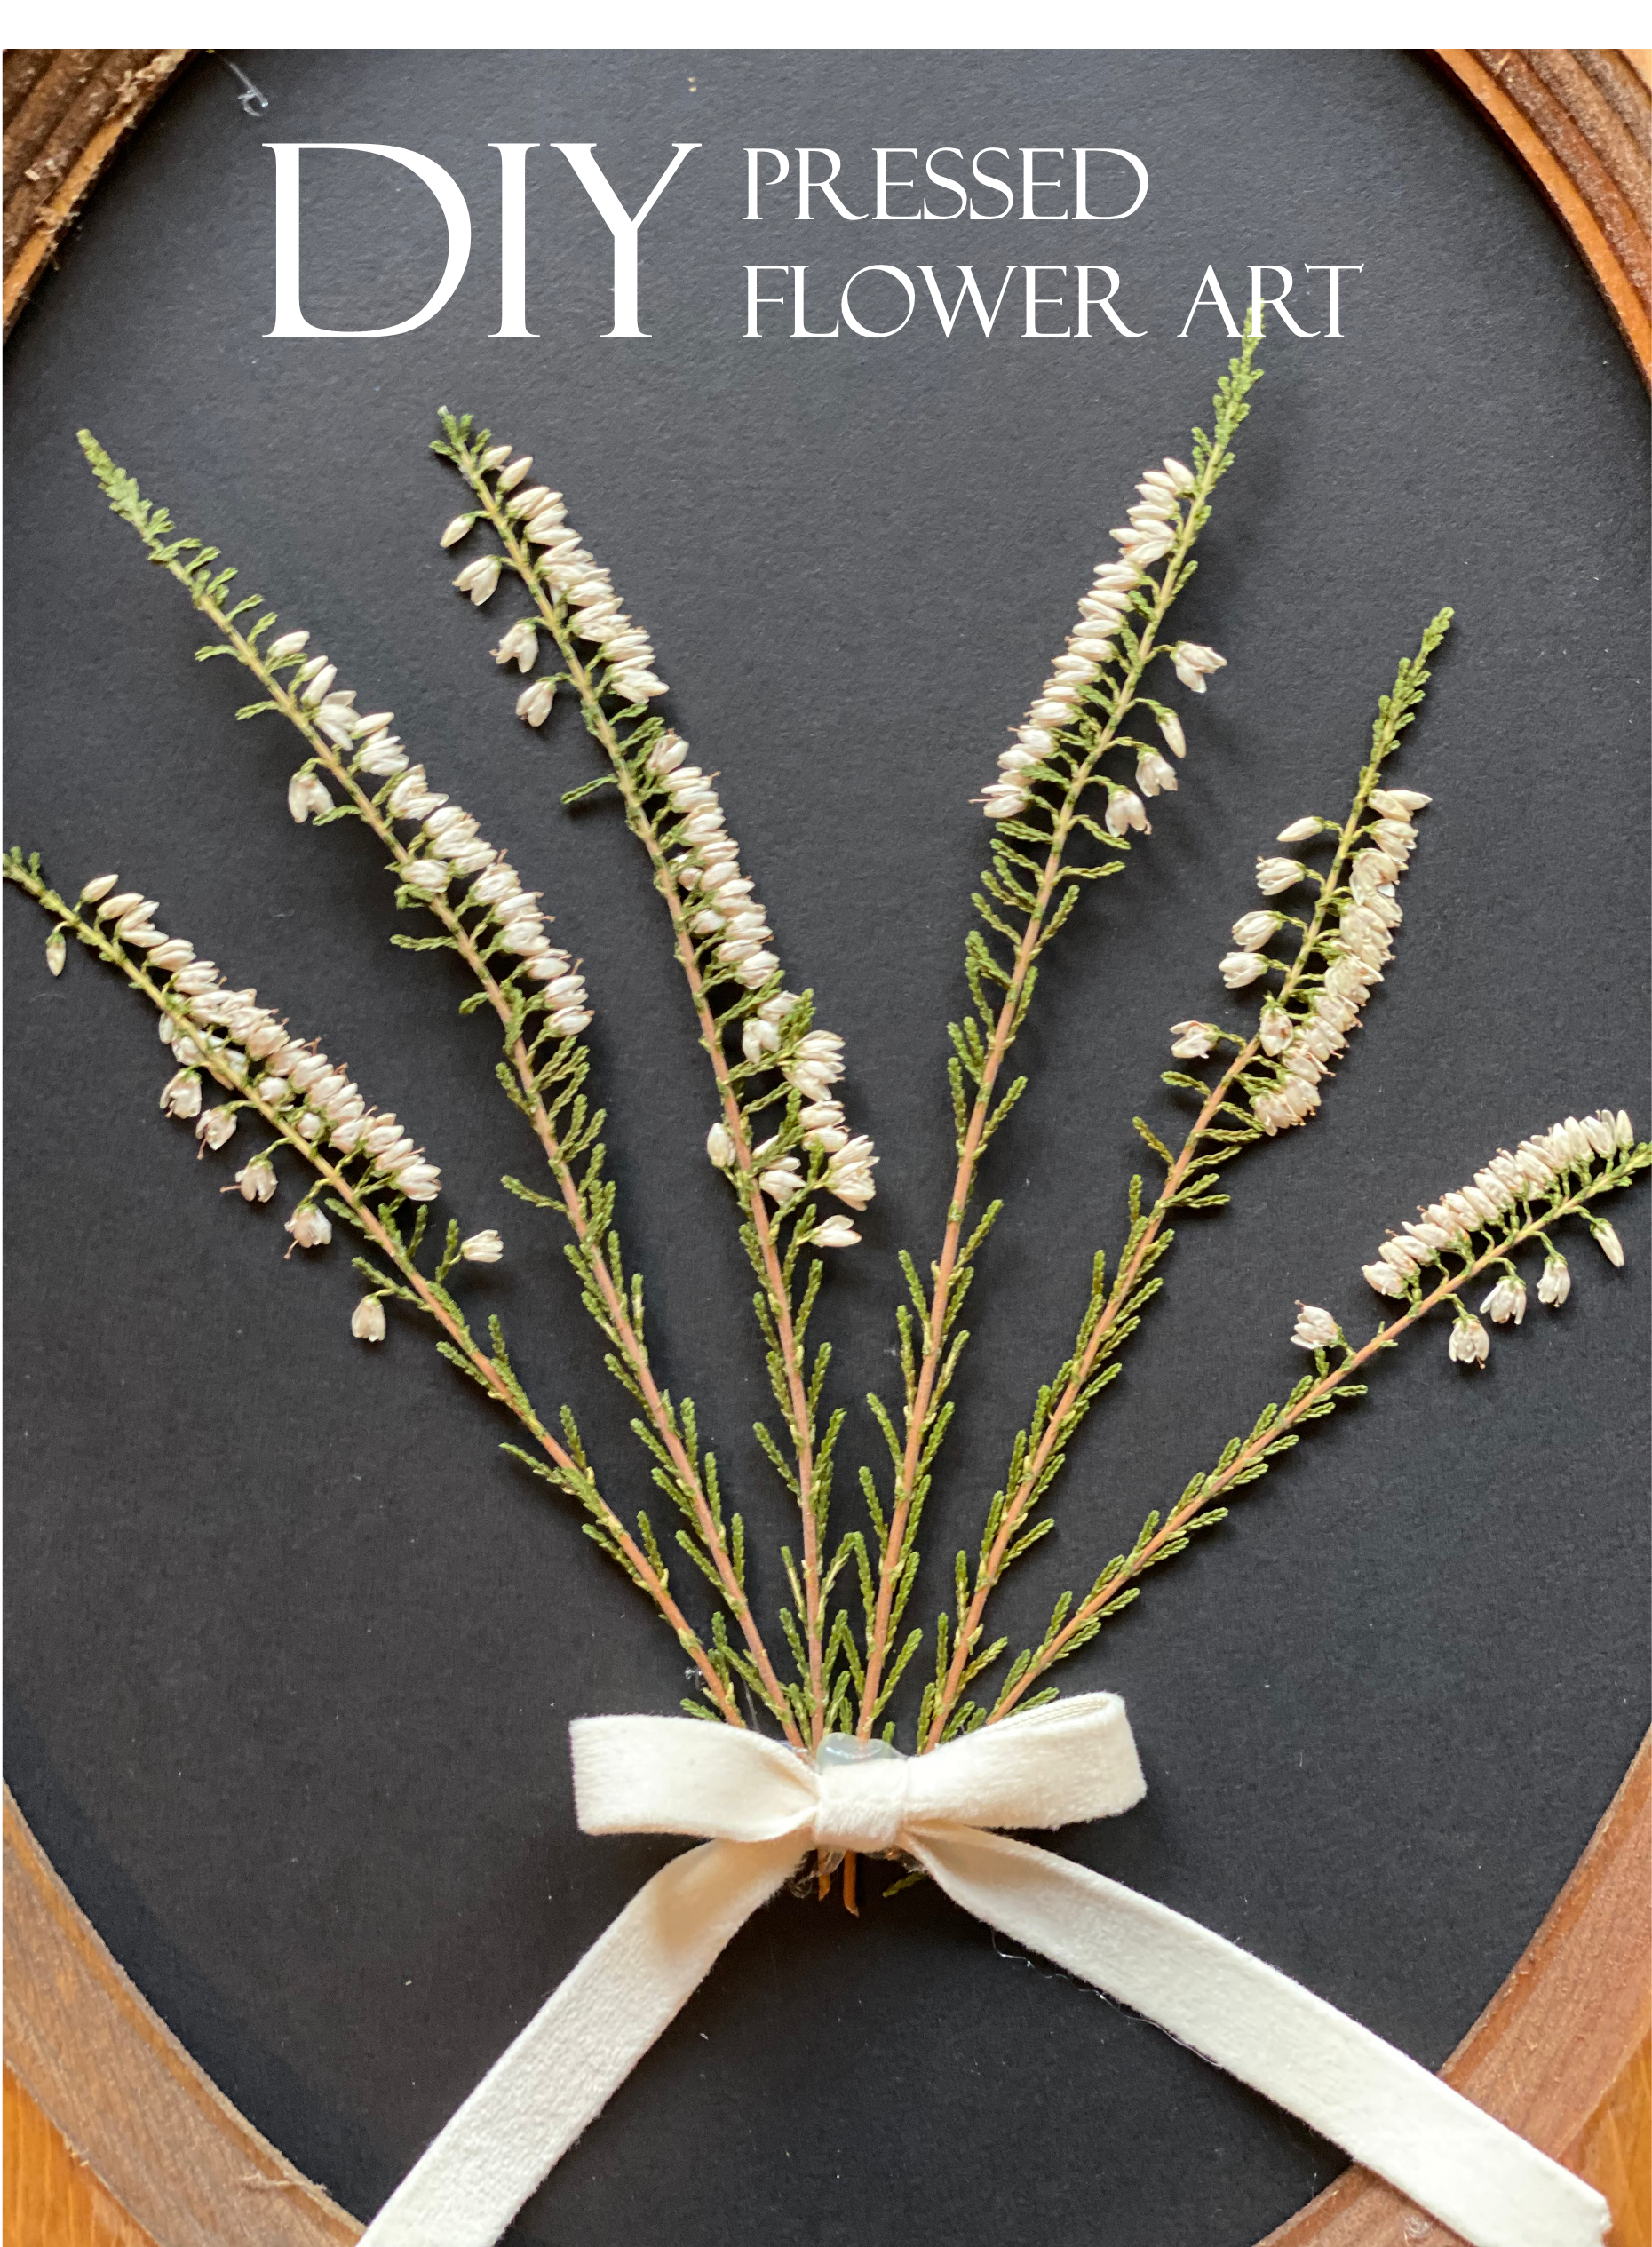
I’m learning more and more about how to enjoy the fruits of the garden year round. For example, we have been eating home-canned green beans all winter and it has been lovely to have a go-to side that we know was grown in our garden. Not to mention the dilly beans, strawberry jam, pepper jelly and more! I’ve also shared a simple pressed flower DIY, you can read about it here. The garden produces so many gifts.

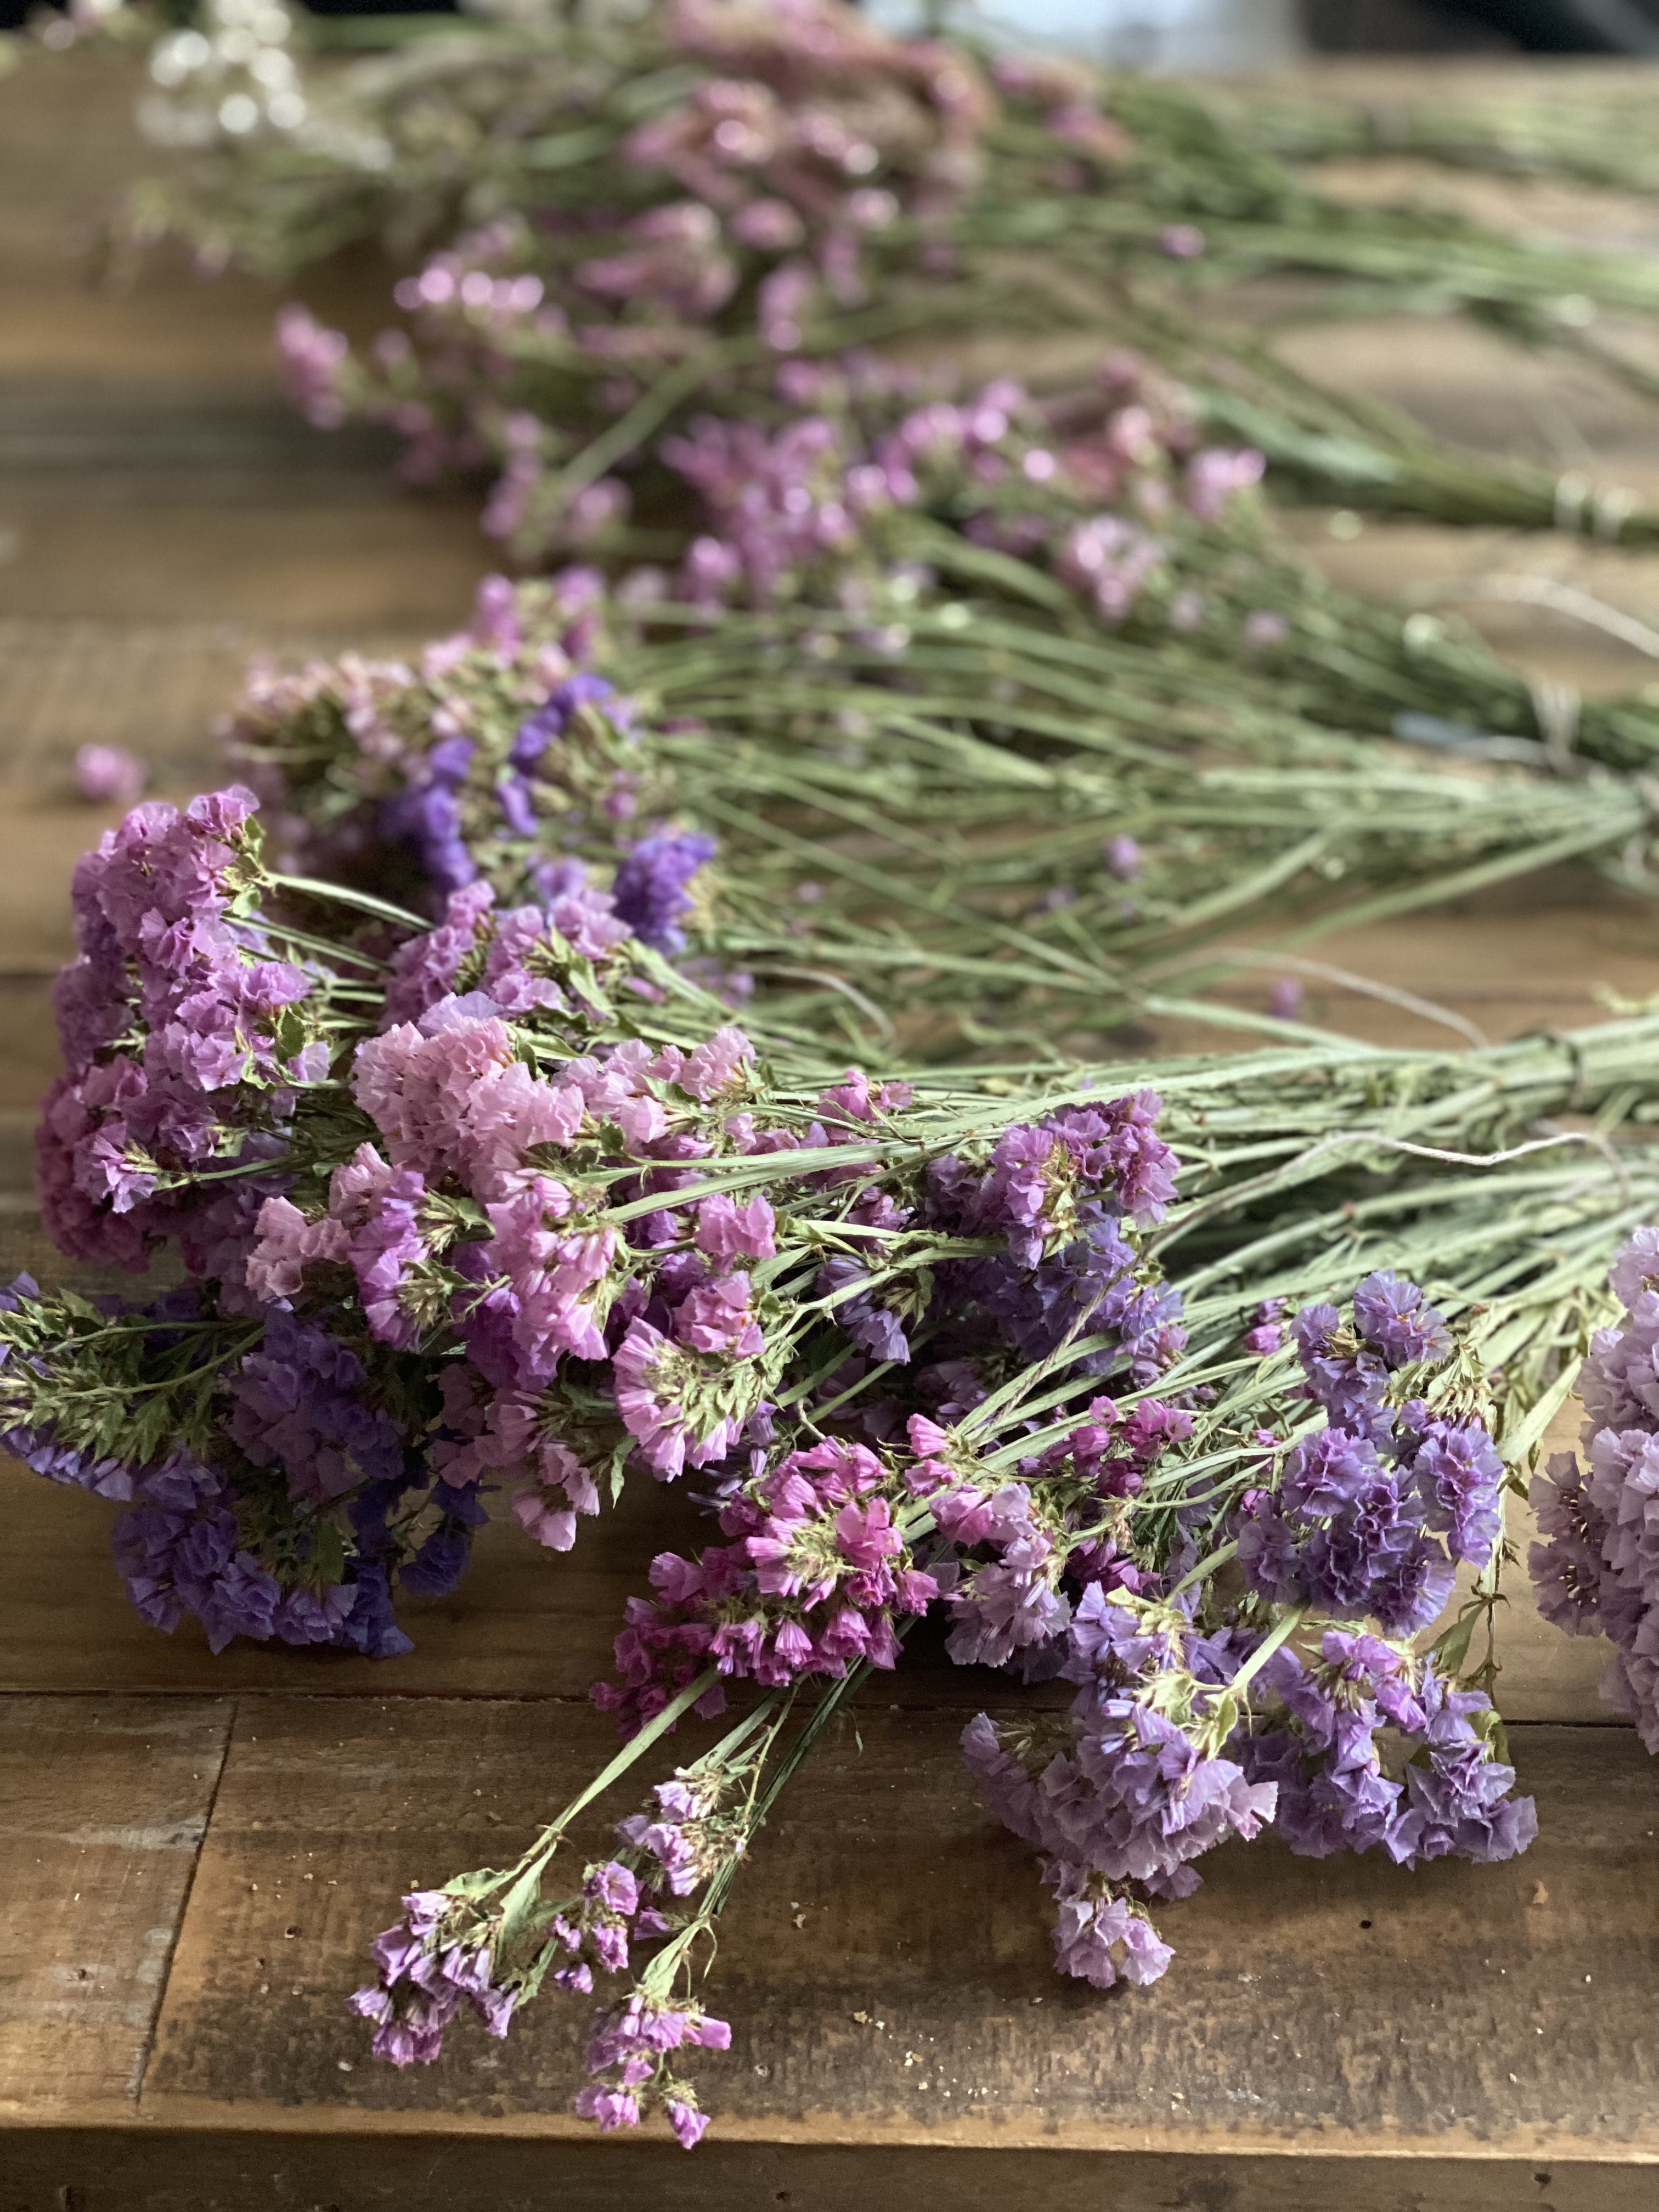
I decided to grow statice this year. I chose the Forever Happy variety and it did not disappoint. I grew statice because I have fond childhood memories of my mom buying a dried statice bouquet each year from the local farm. I still remember how the bouquets hung beautifully from the ceiling, and how much she enjoyed picking out just the perfect one.

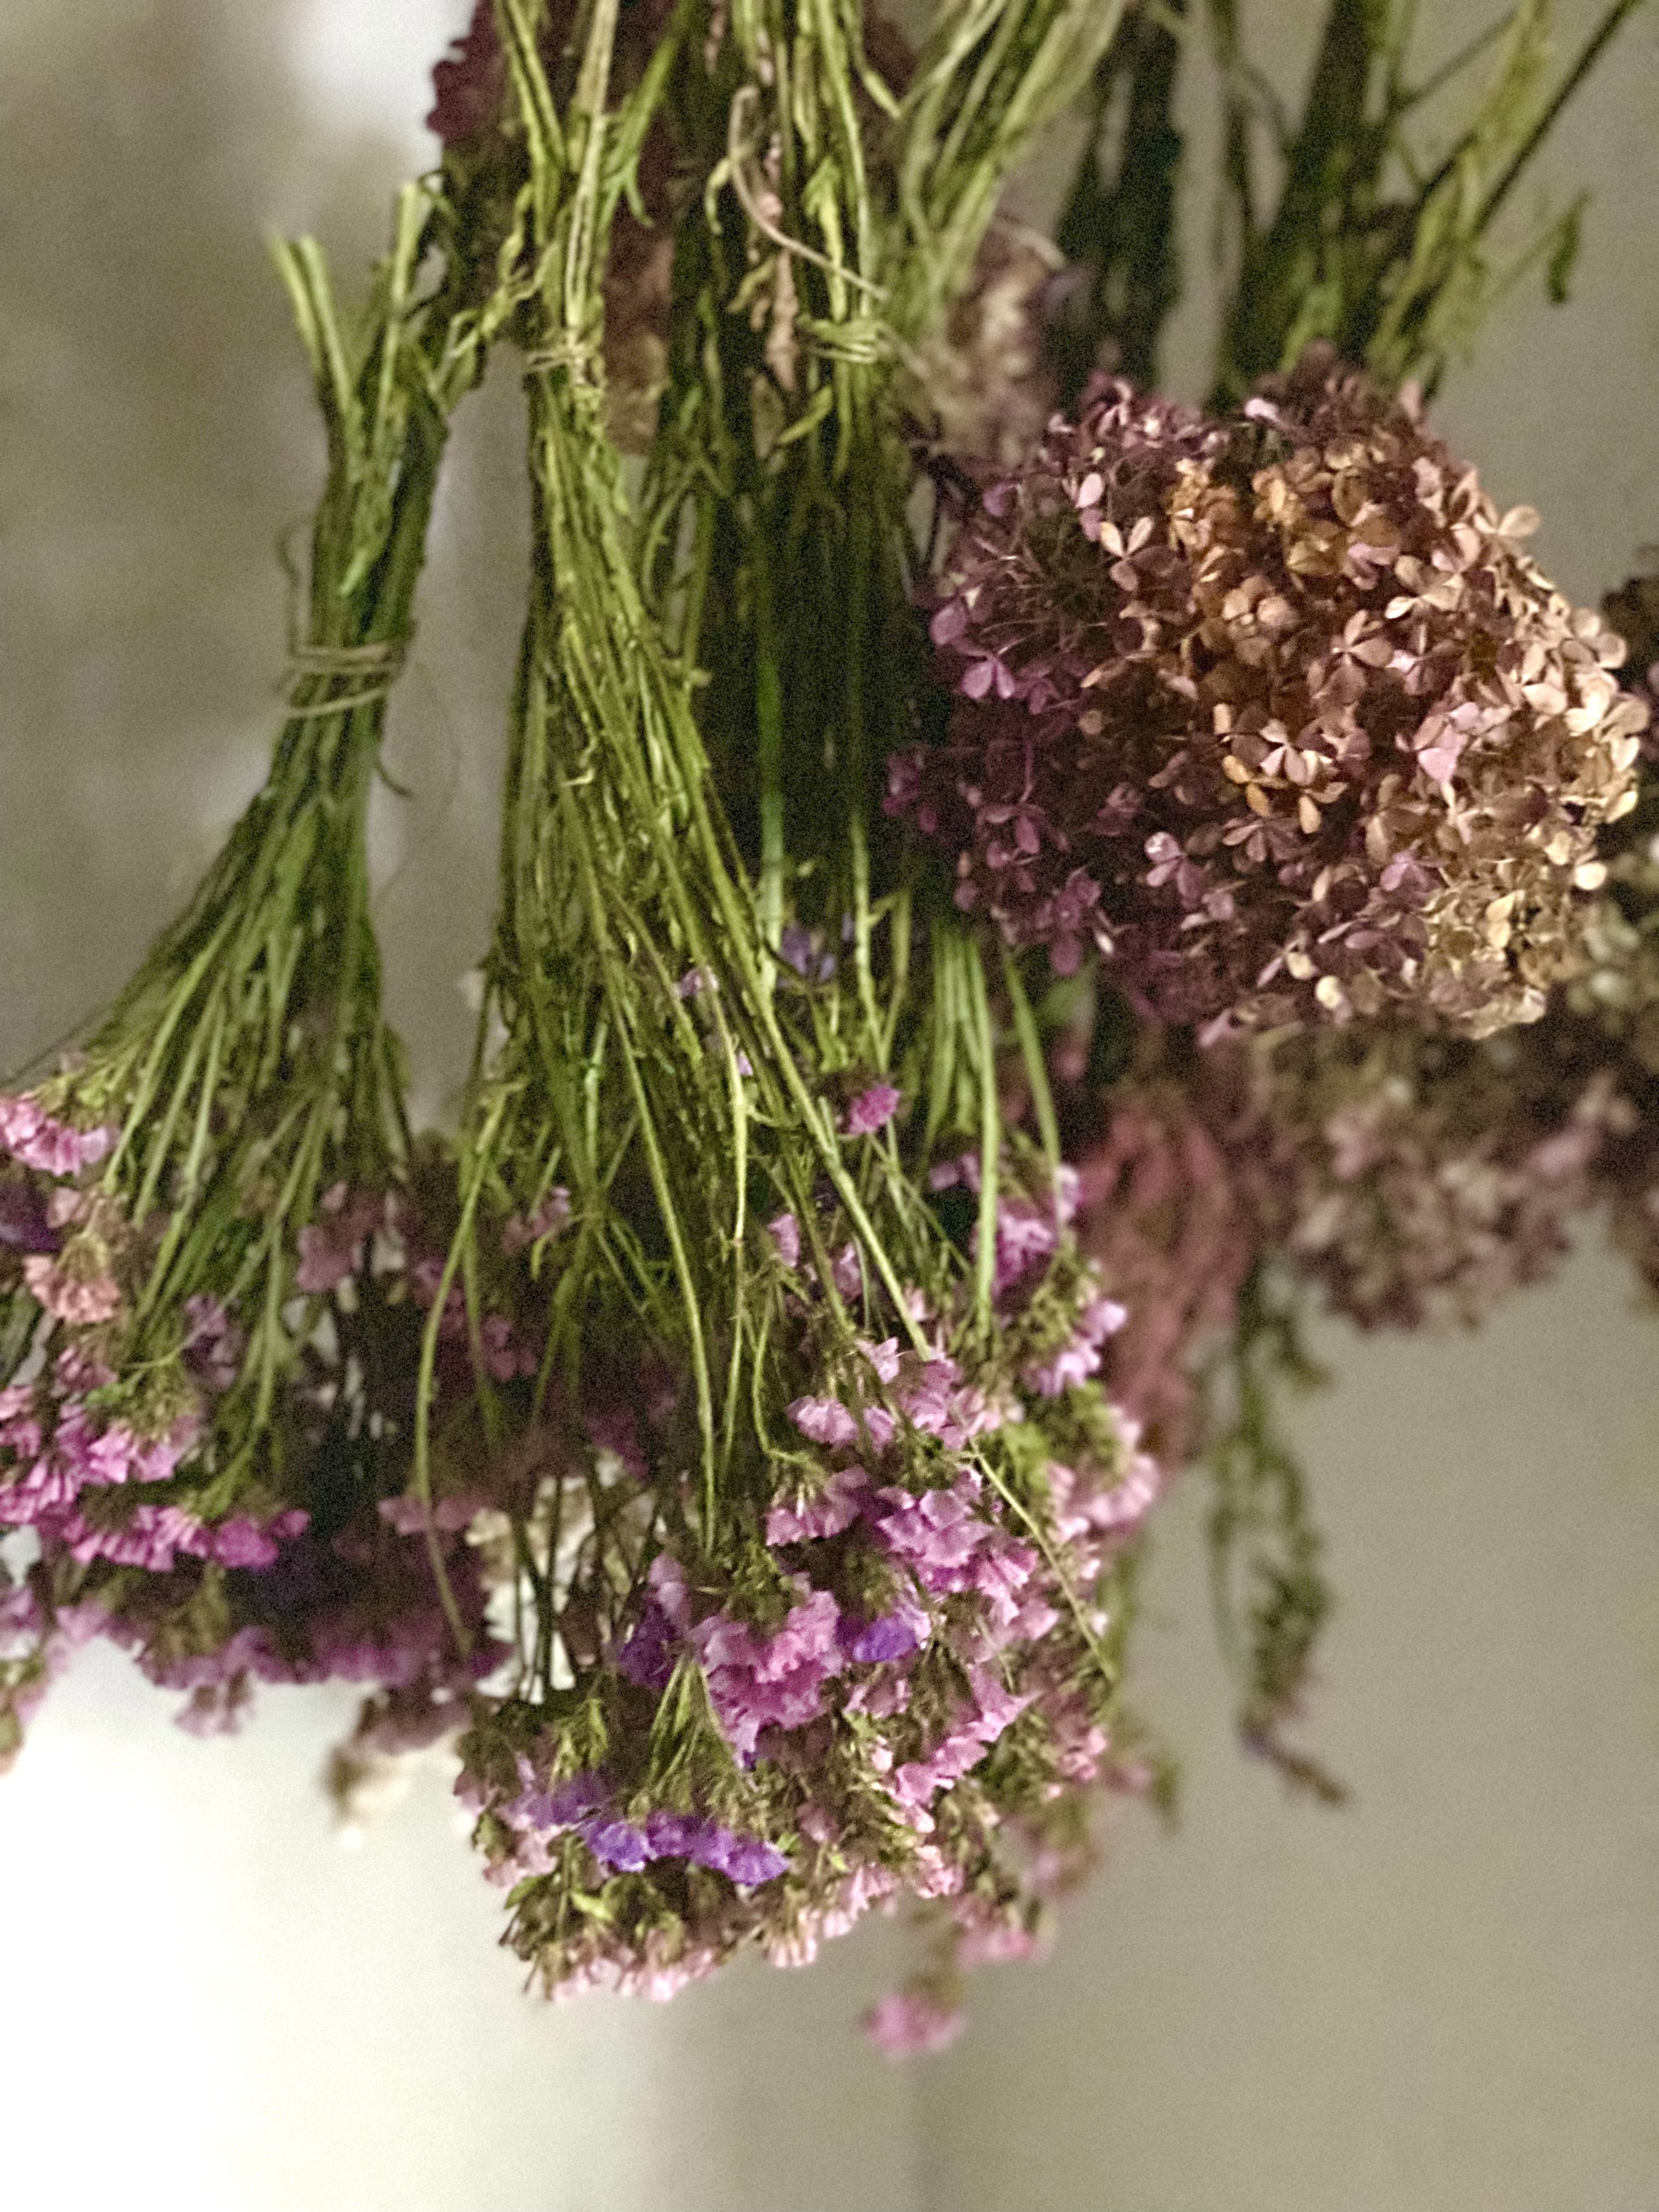
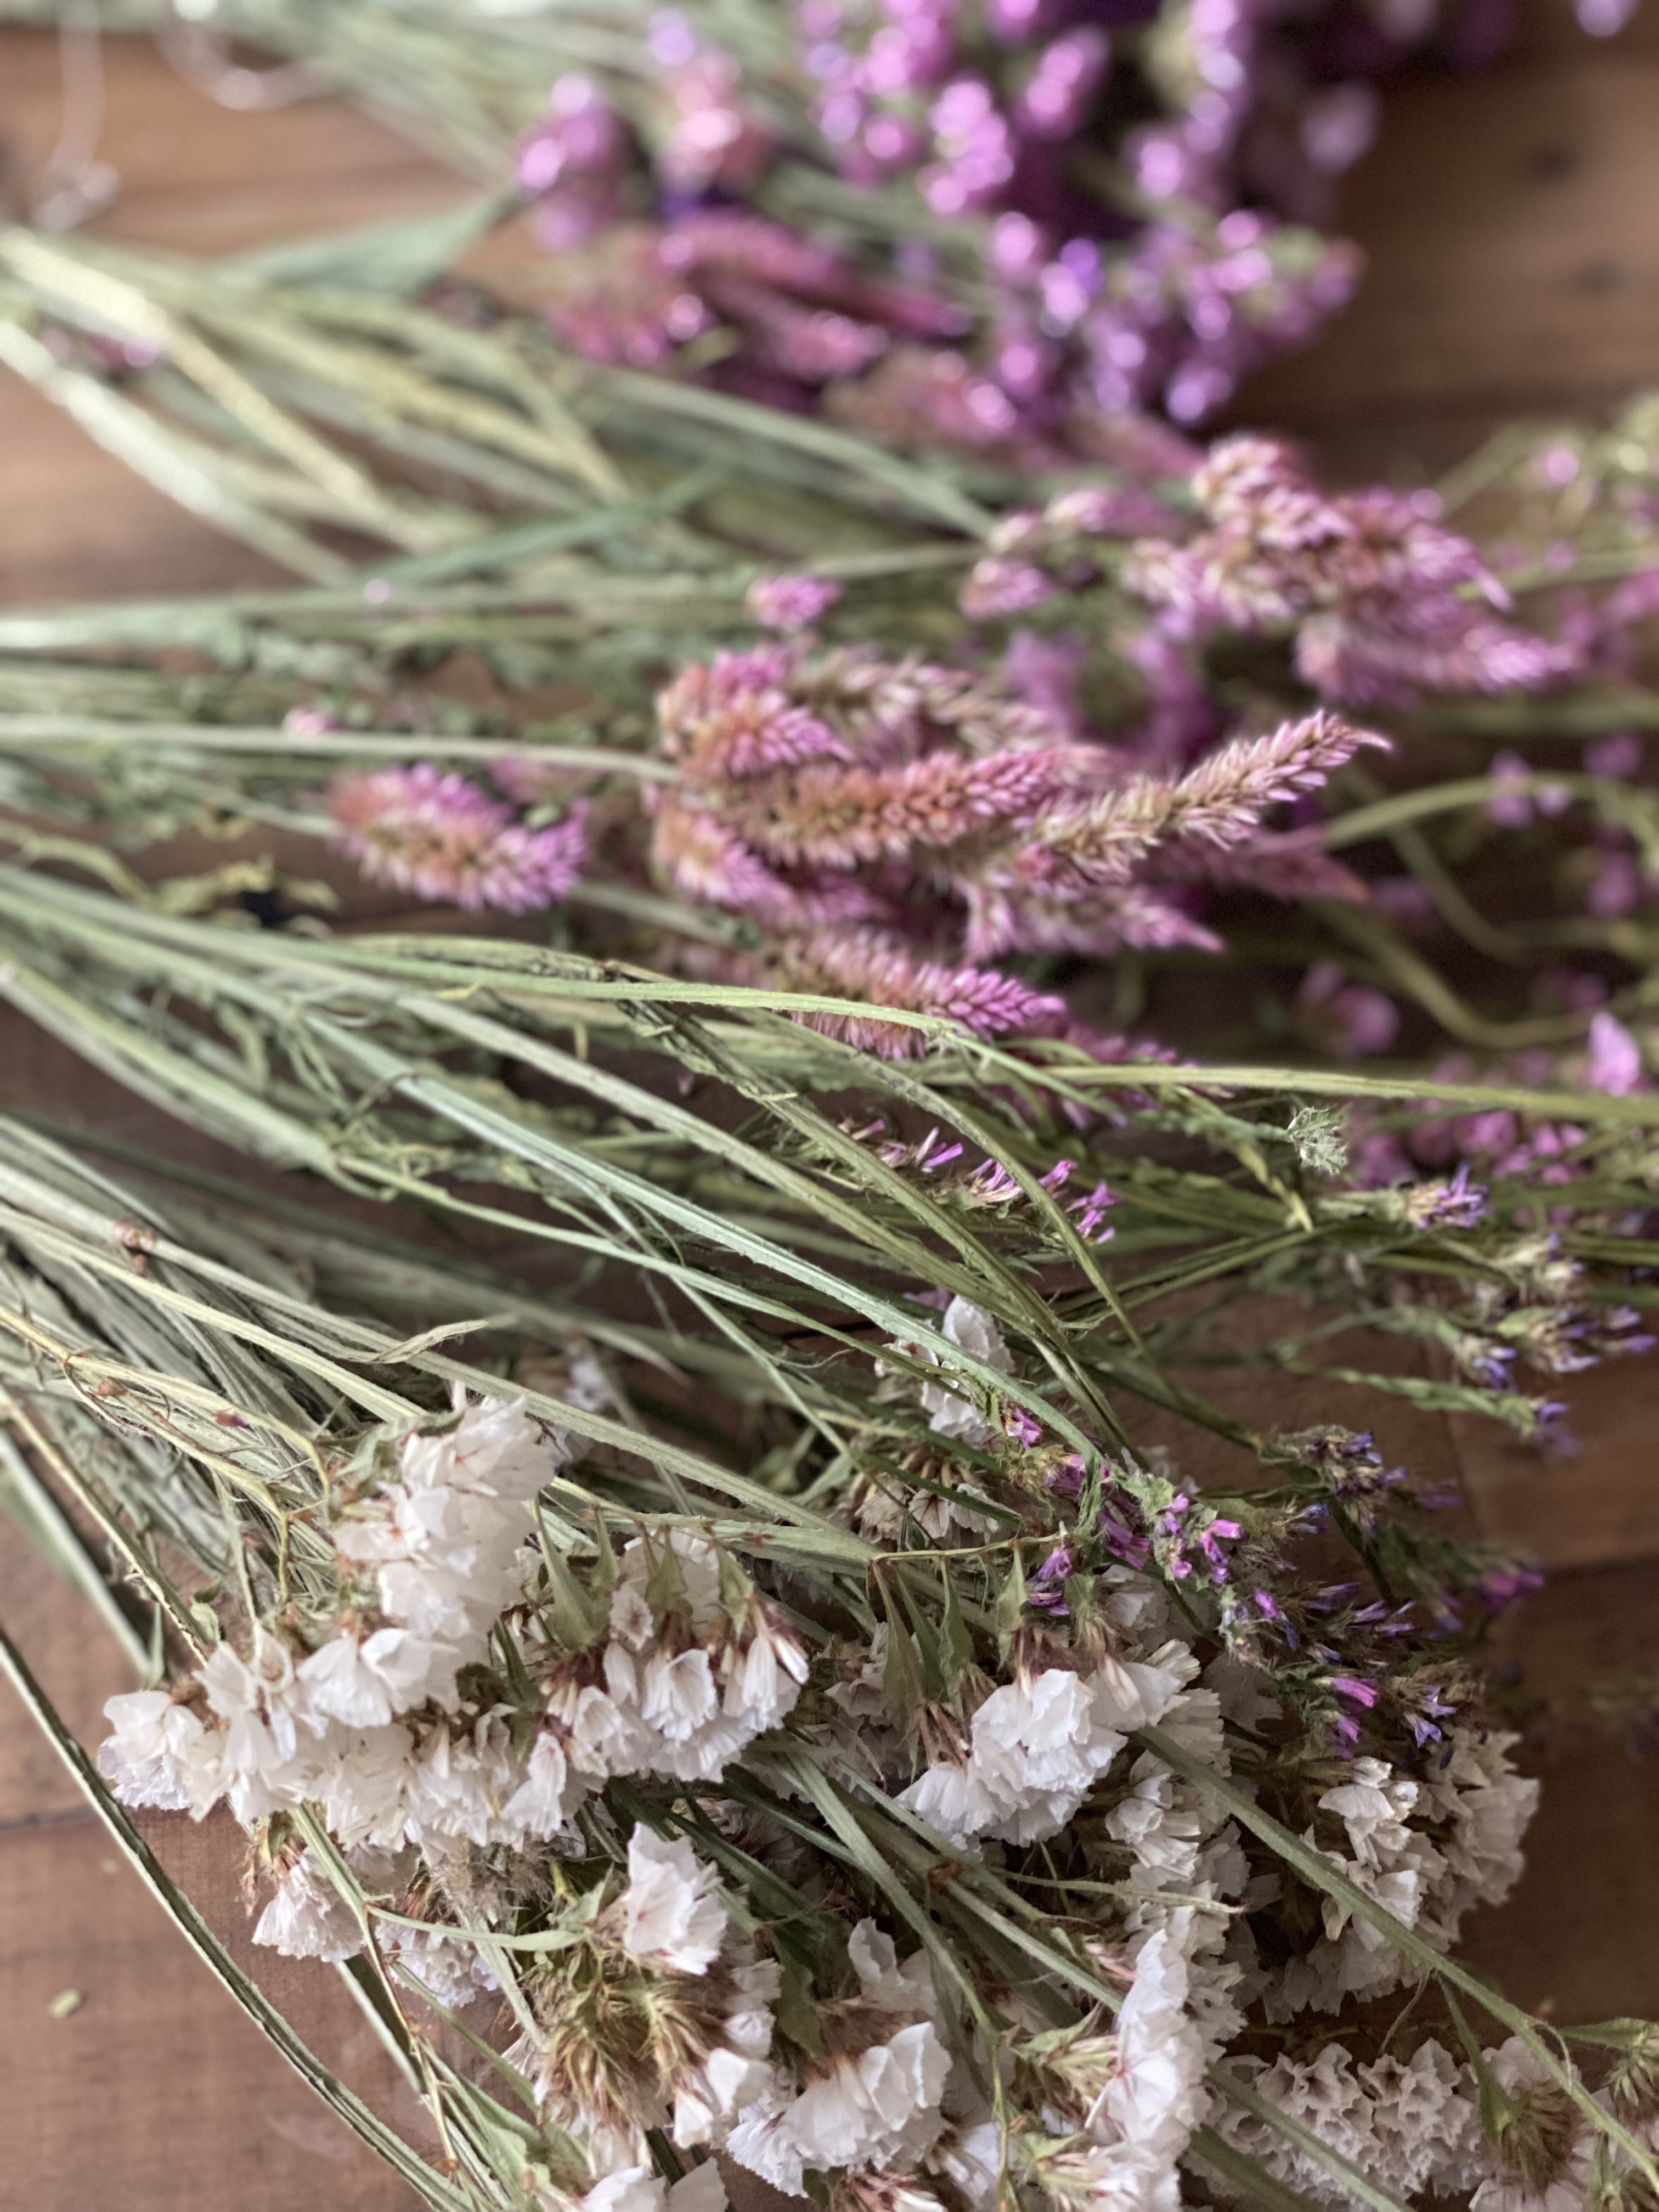
When the statice plants started blooming, I harvested them as they were ready. Then I hung them upside down in a dark closet to dry. Great news, statice is very easy to dry and keeps its color nicely. (You’ll see I also dried some of my hydrangea blooms and celosia.)

I knew I had to make something with the statice for my mom, because she inspired me to grow it and she loves all things purple. A wreath seemed like the perfect craft.

This DIY wreath was pretty easy, except, I will note that dried statice is prickly. You could use another method to create a wreath before it dries, and depending on the look you are going for, that might be the way to go. But here’s what I did…
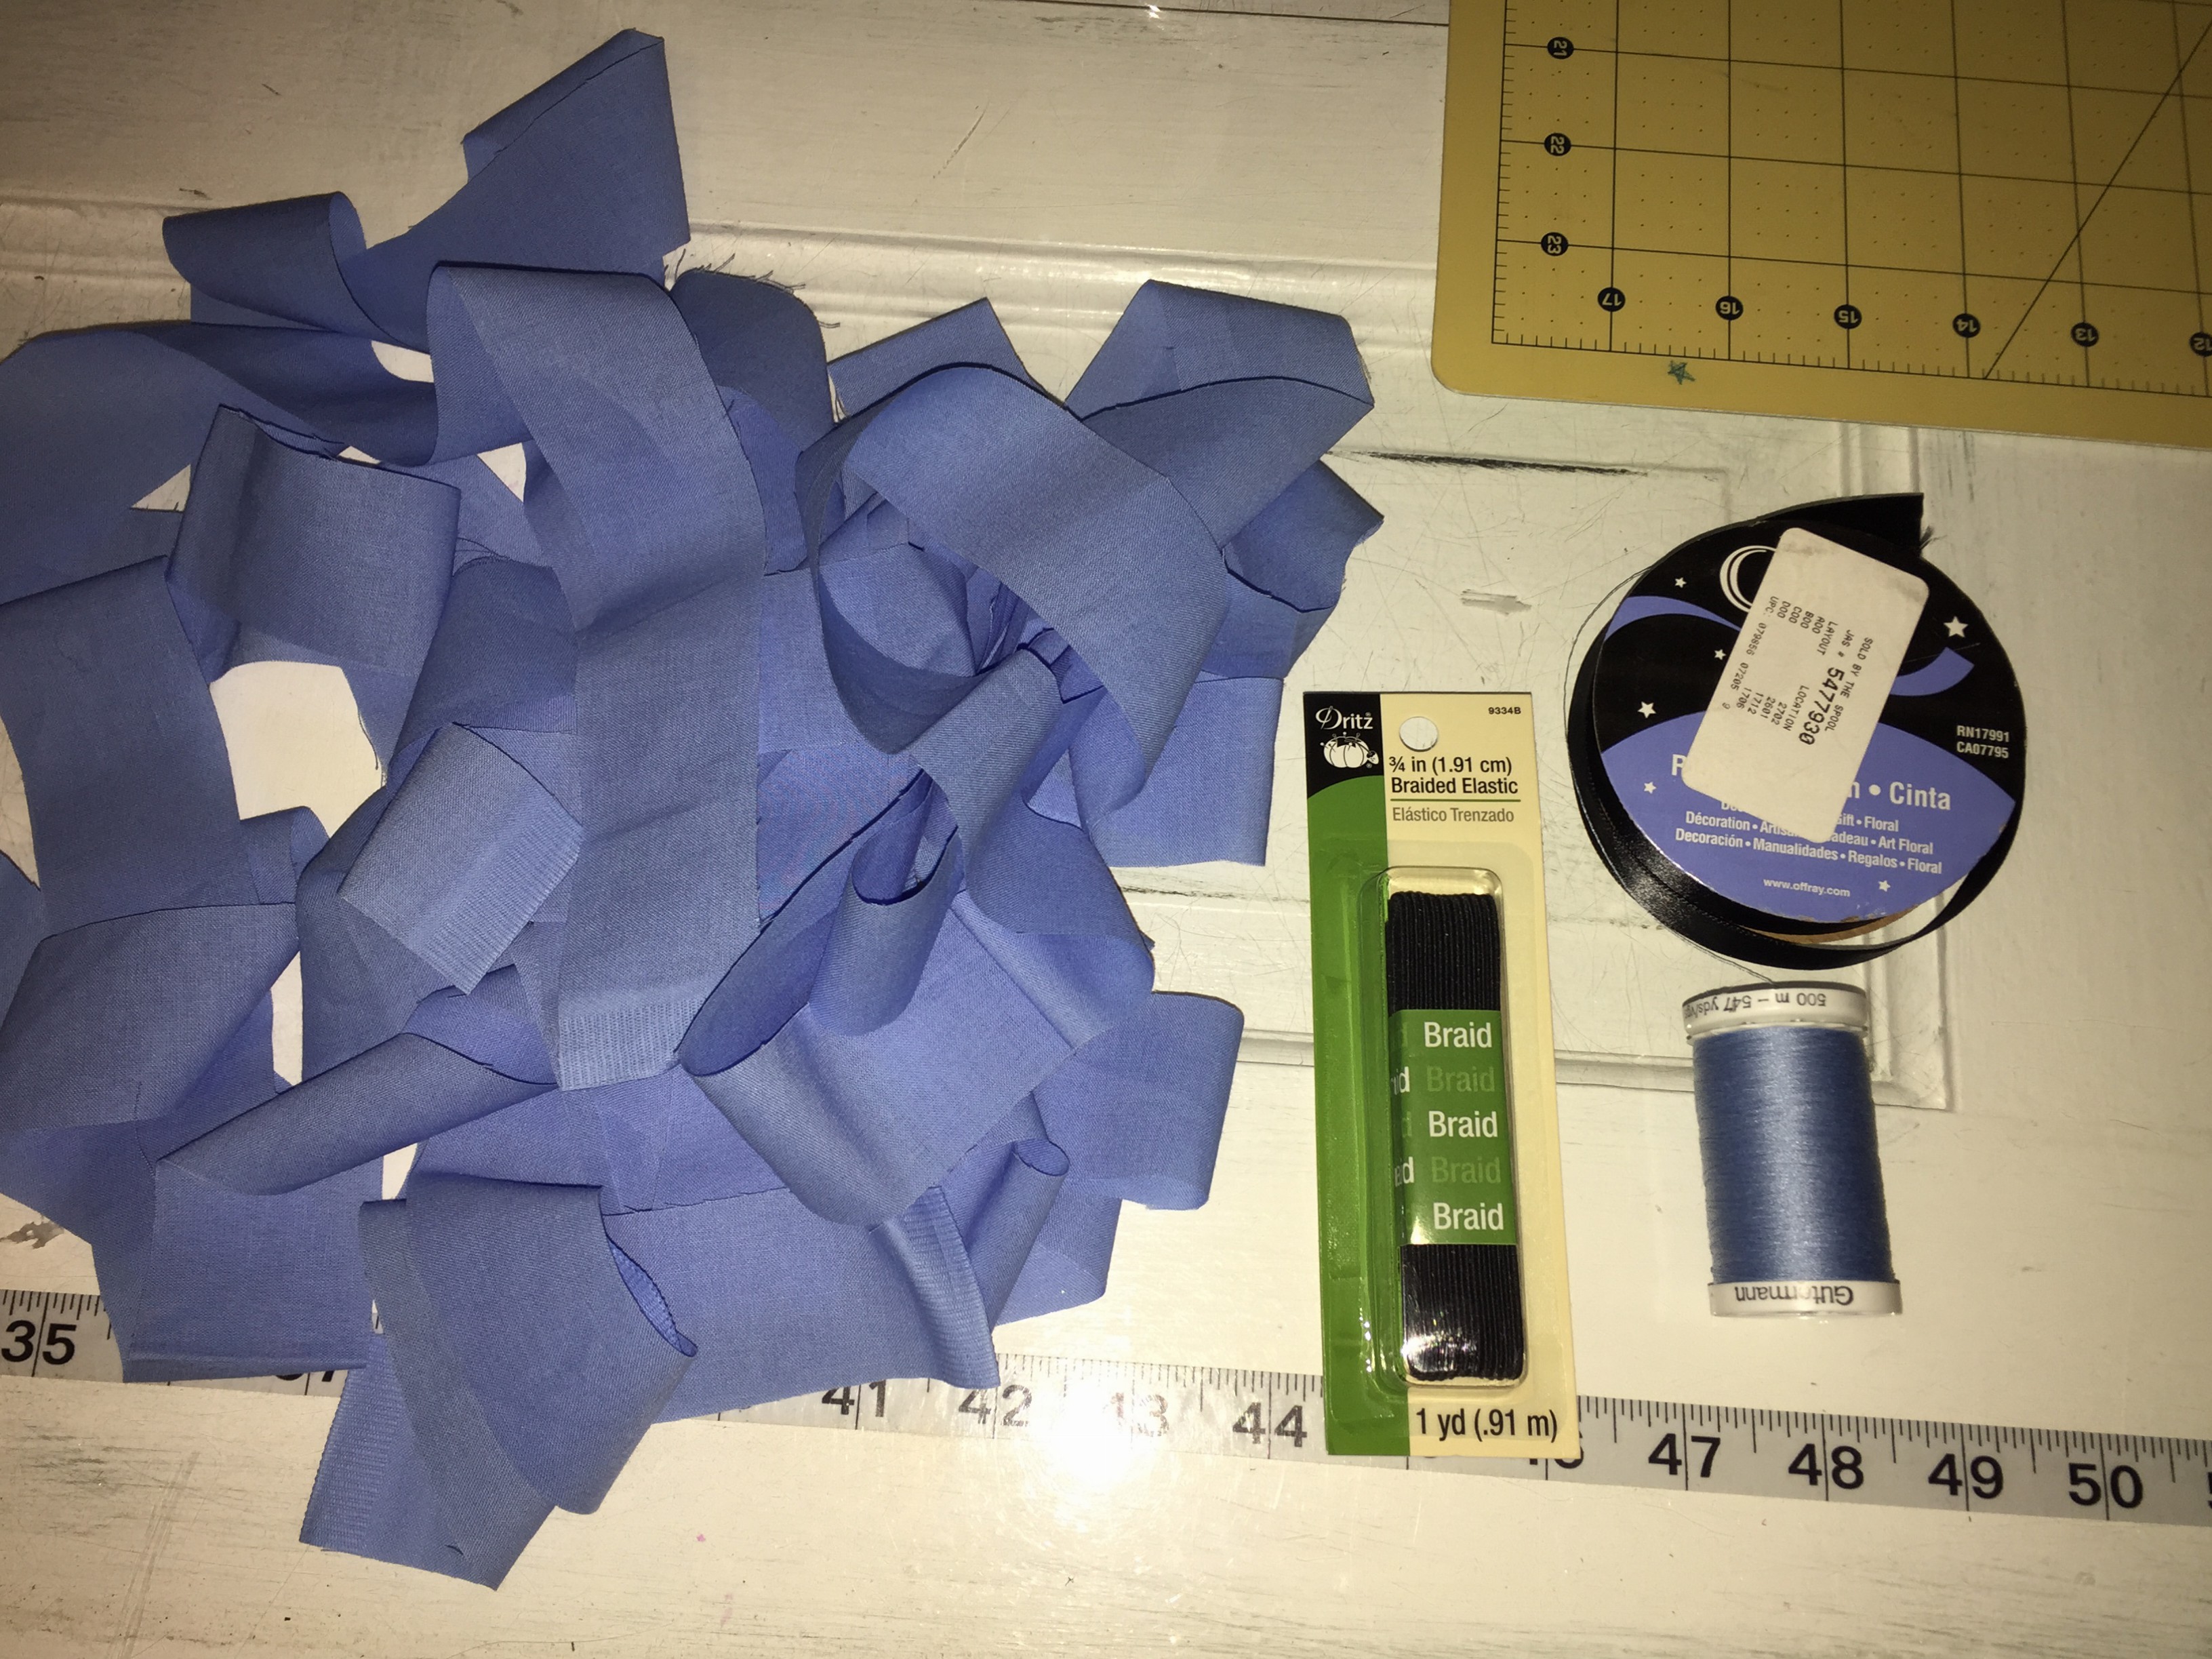
Supplies:

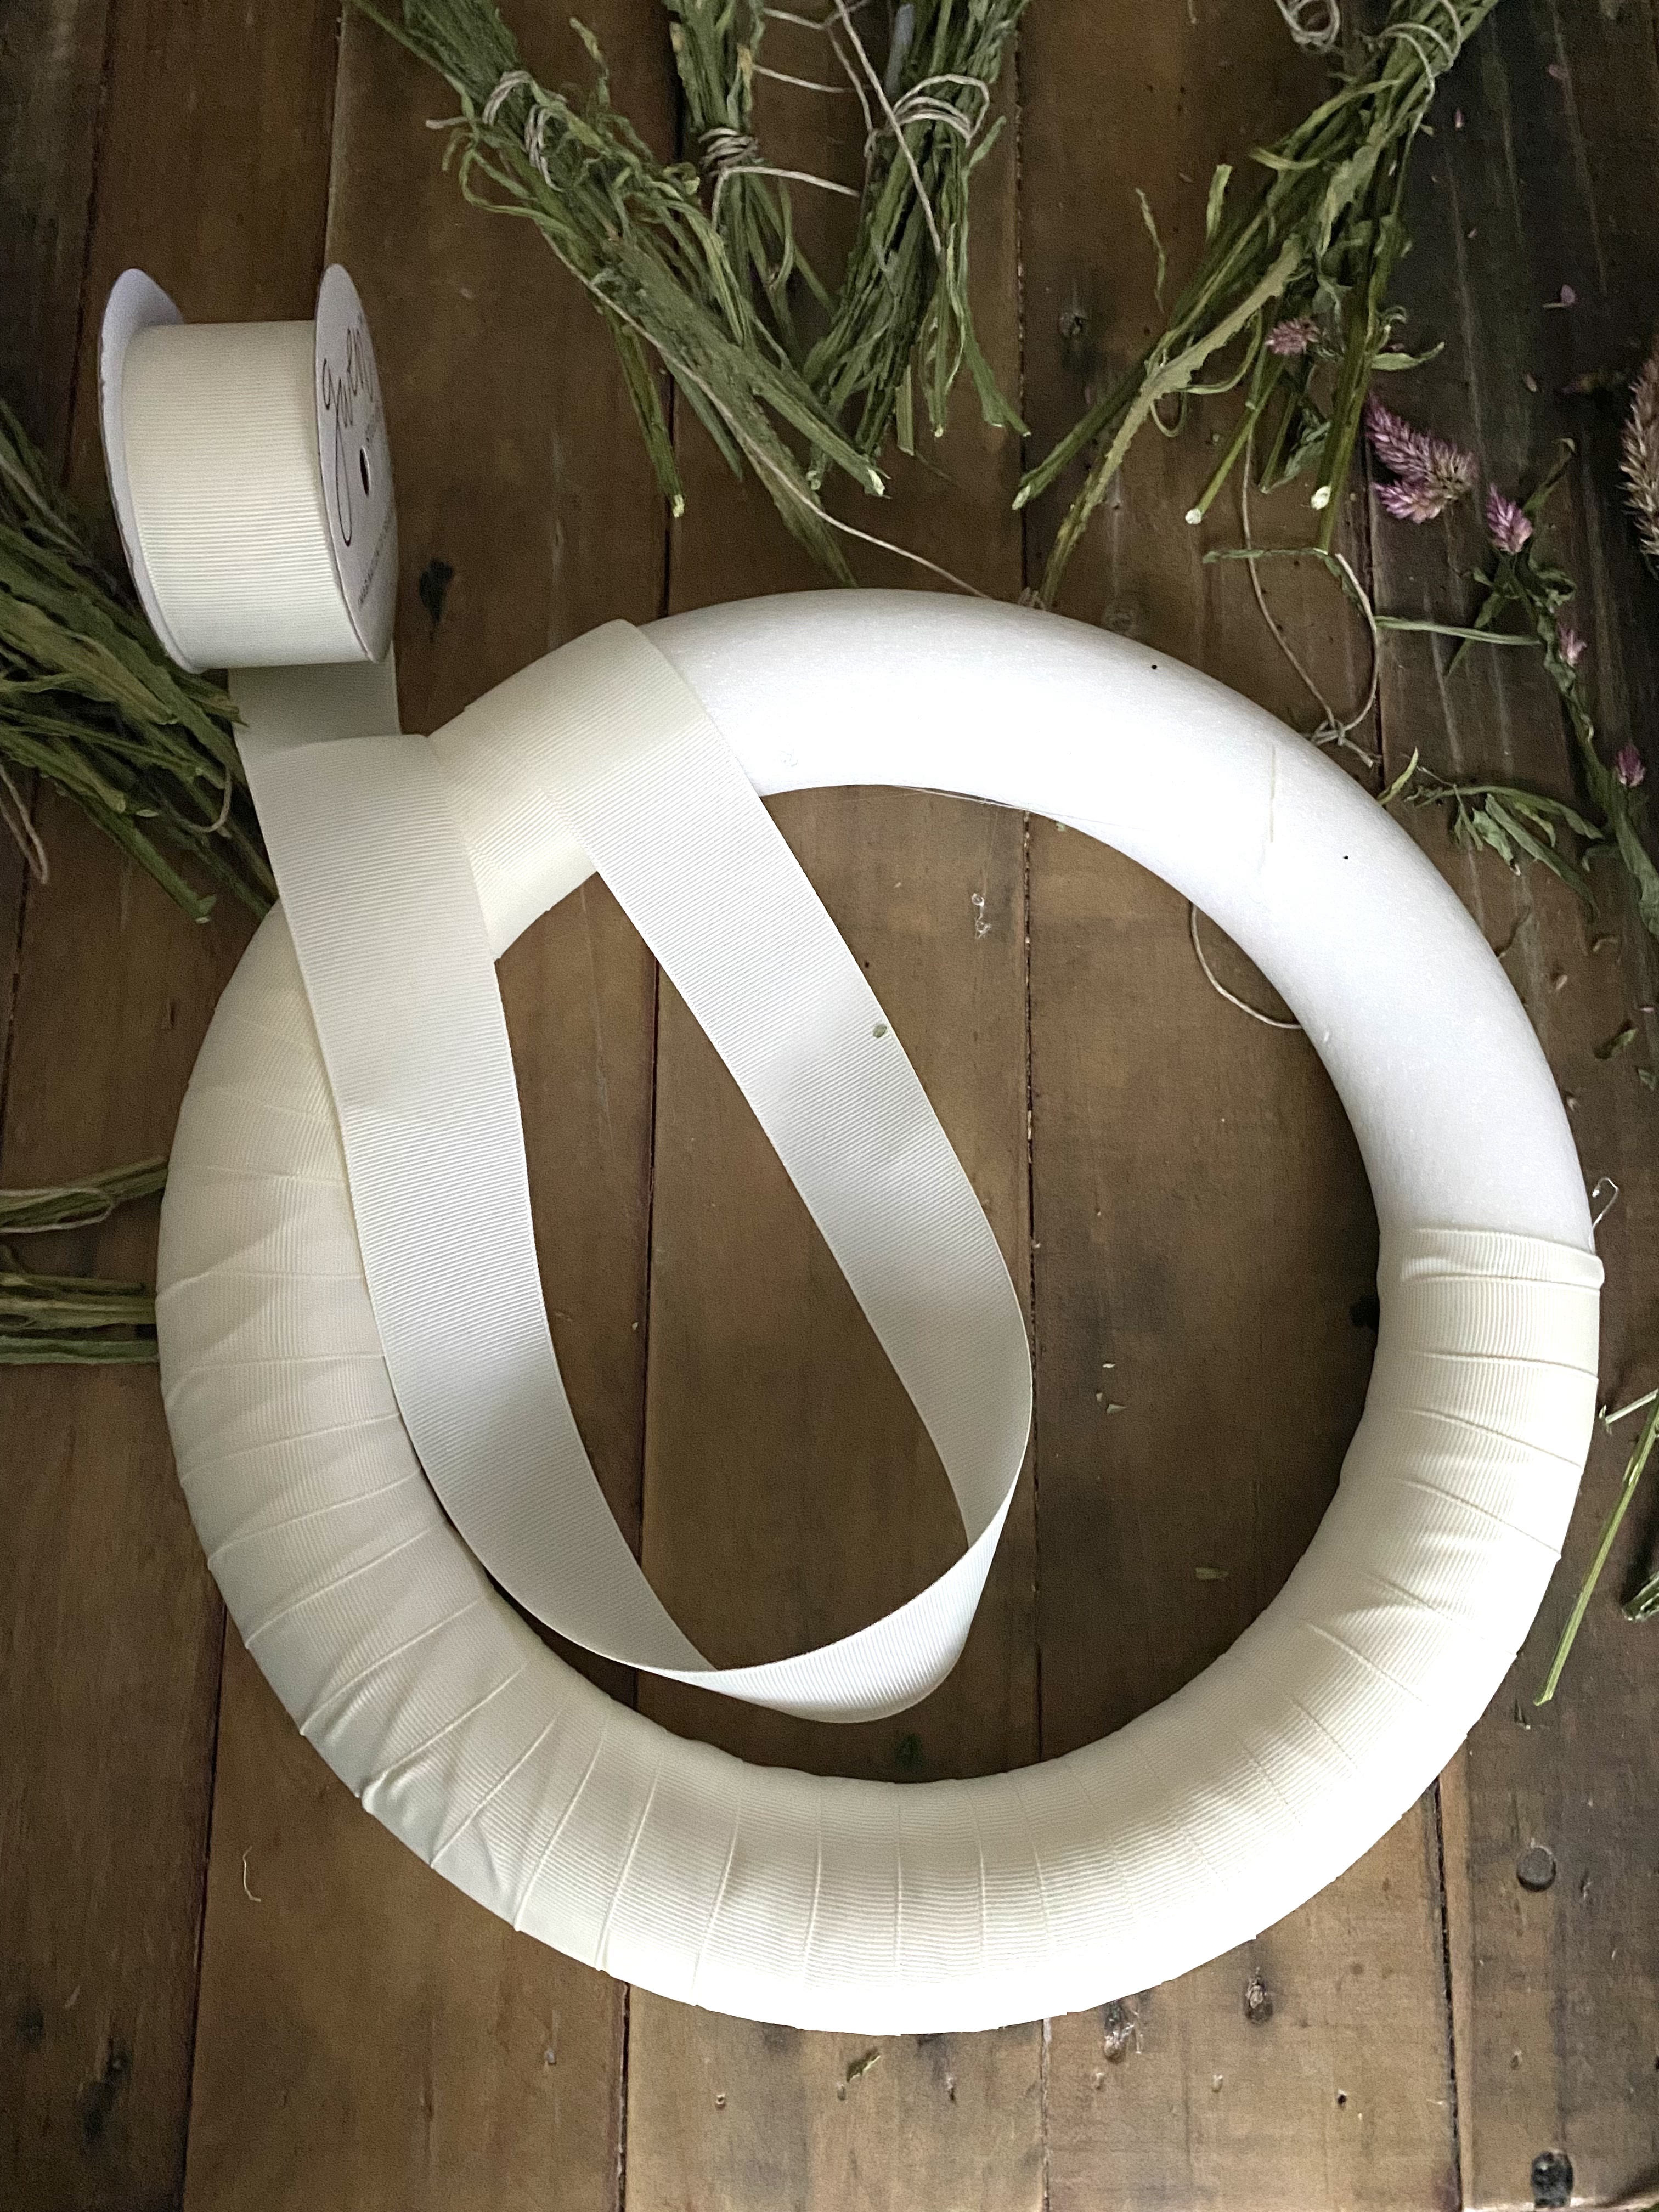
  • Wreath form – I used Styrofoam
  • Ribbon – for wrapping the form
  • More ribbon – for creating a hanger and bow, this could all be the same ribbon too
  • Hot glue – the most evil yet highly-practical invention
  • A bunch of dried flowers of your choice

Directions:

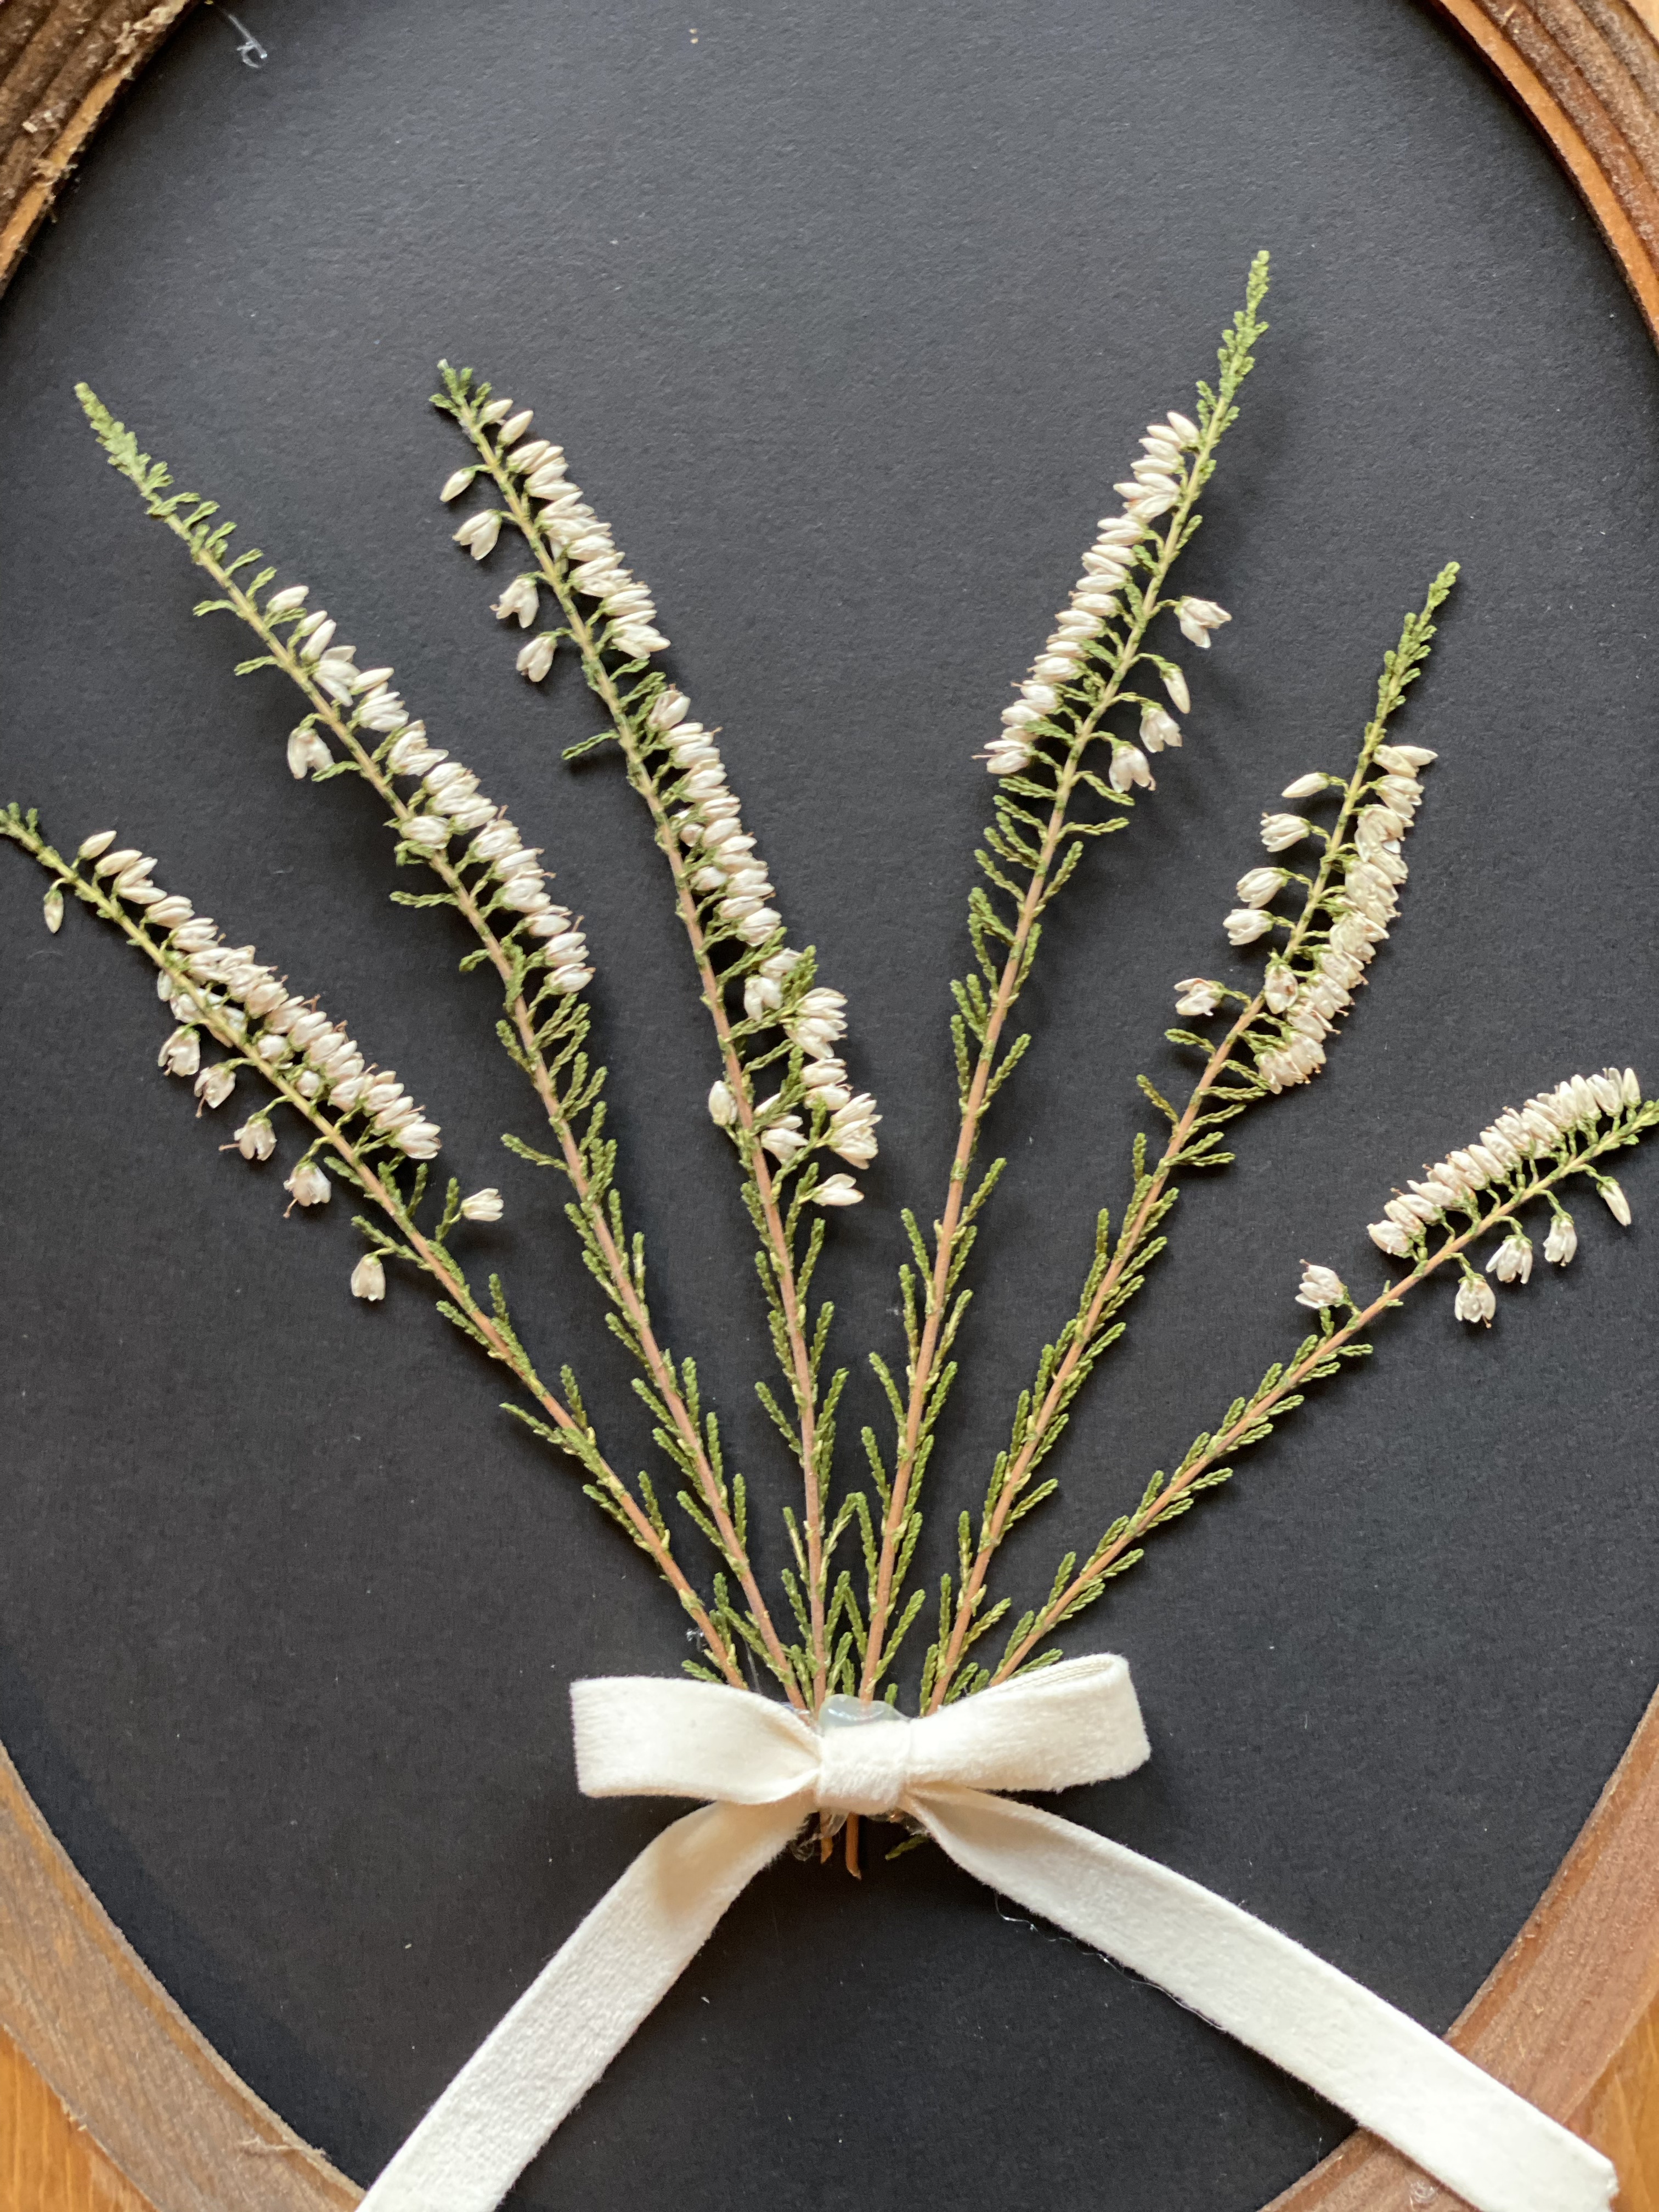
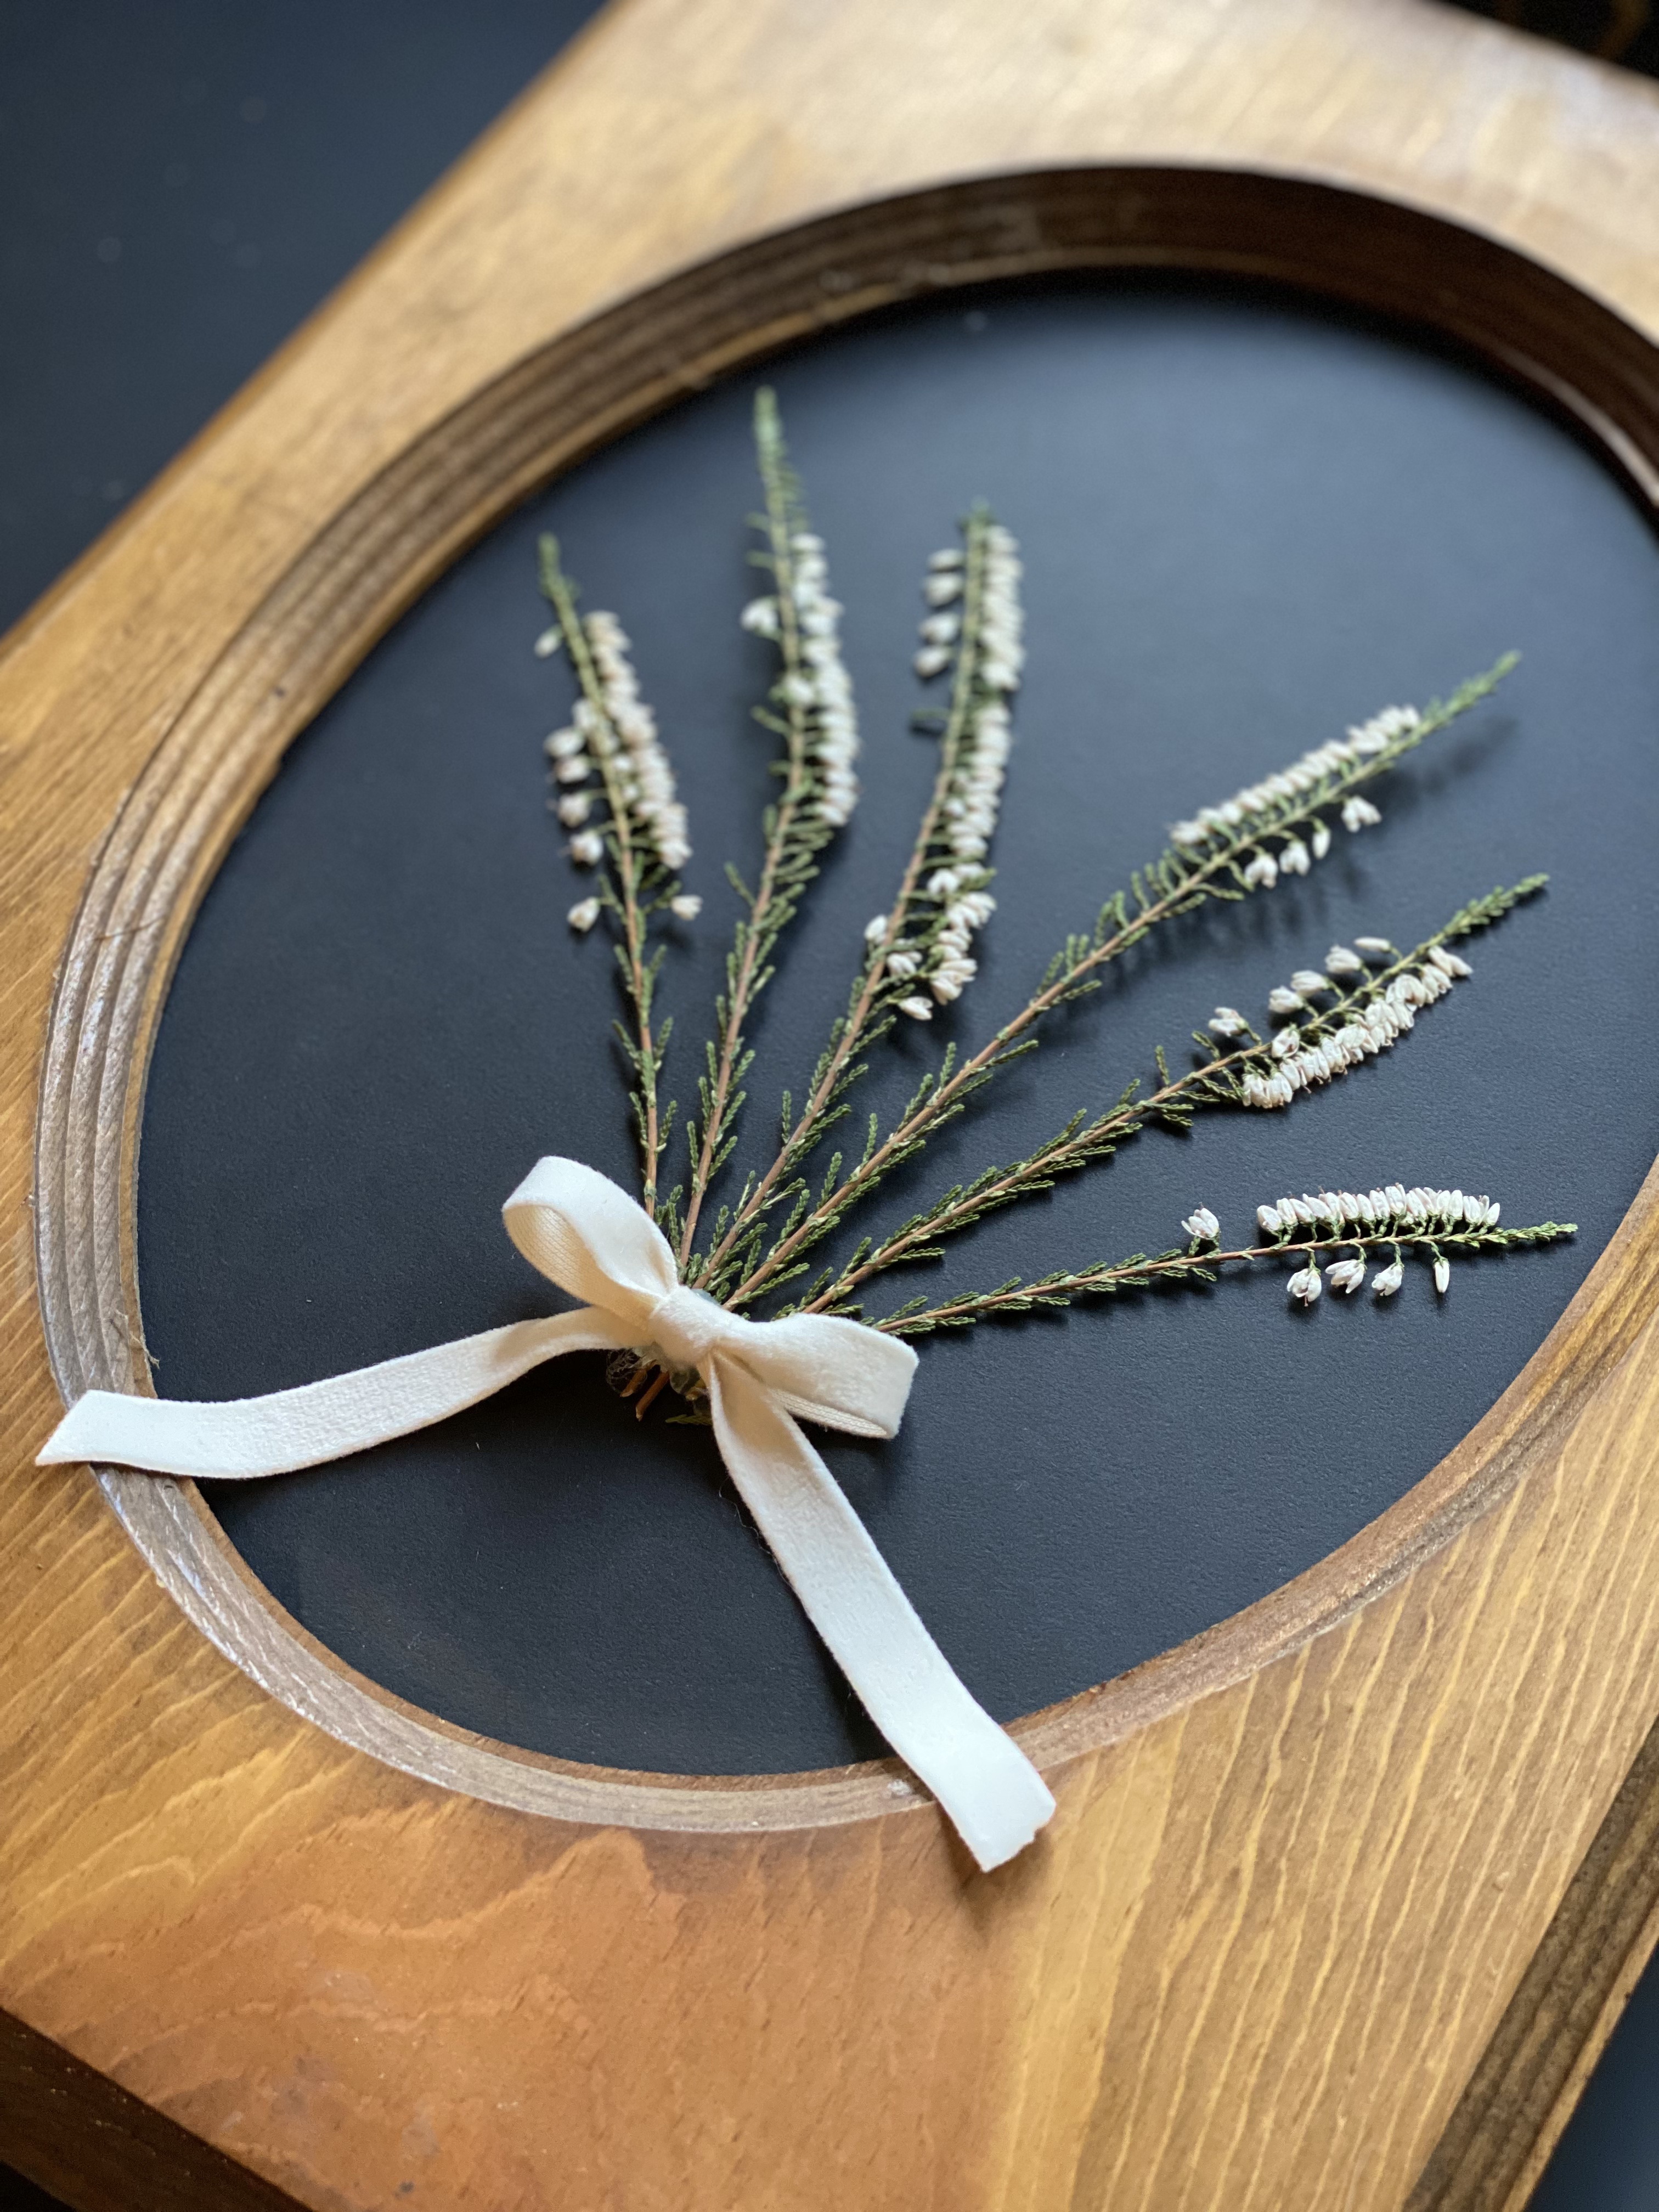
  1. Line up all your dried flowers somewhere with pretty light and take no less than 50 photos to admire them. Sooo pretty!

2. Next, I wrapped the ribbon around the form to cover the Styrofoam. I added a dab of hot glue to the ribbon every few times around. Once it was covered, I also used ribbon to create the hanger.

3. Next, I painstakingly cut off stems and glued and glued and glued and glued and glued and glued and glued. Then I glued some more. Then more. Then I hung the wreath up, stared at it, and glued some more. I tried to use the beautiful variation in the colors of the flowers to the best advantage, spacing like colors around at first. It should feel intentionally random. You’ll note I also mixed in some white statice I got from a friend (thanks, Adrienne!).

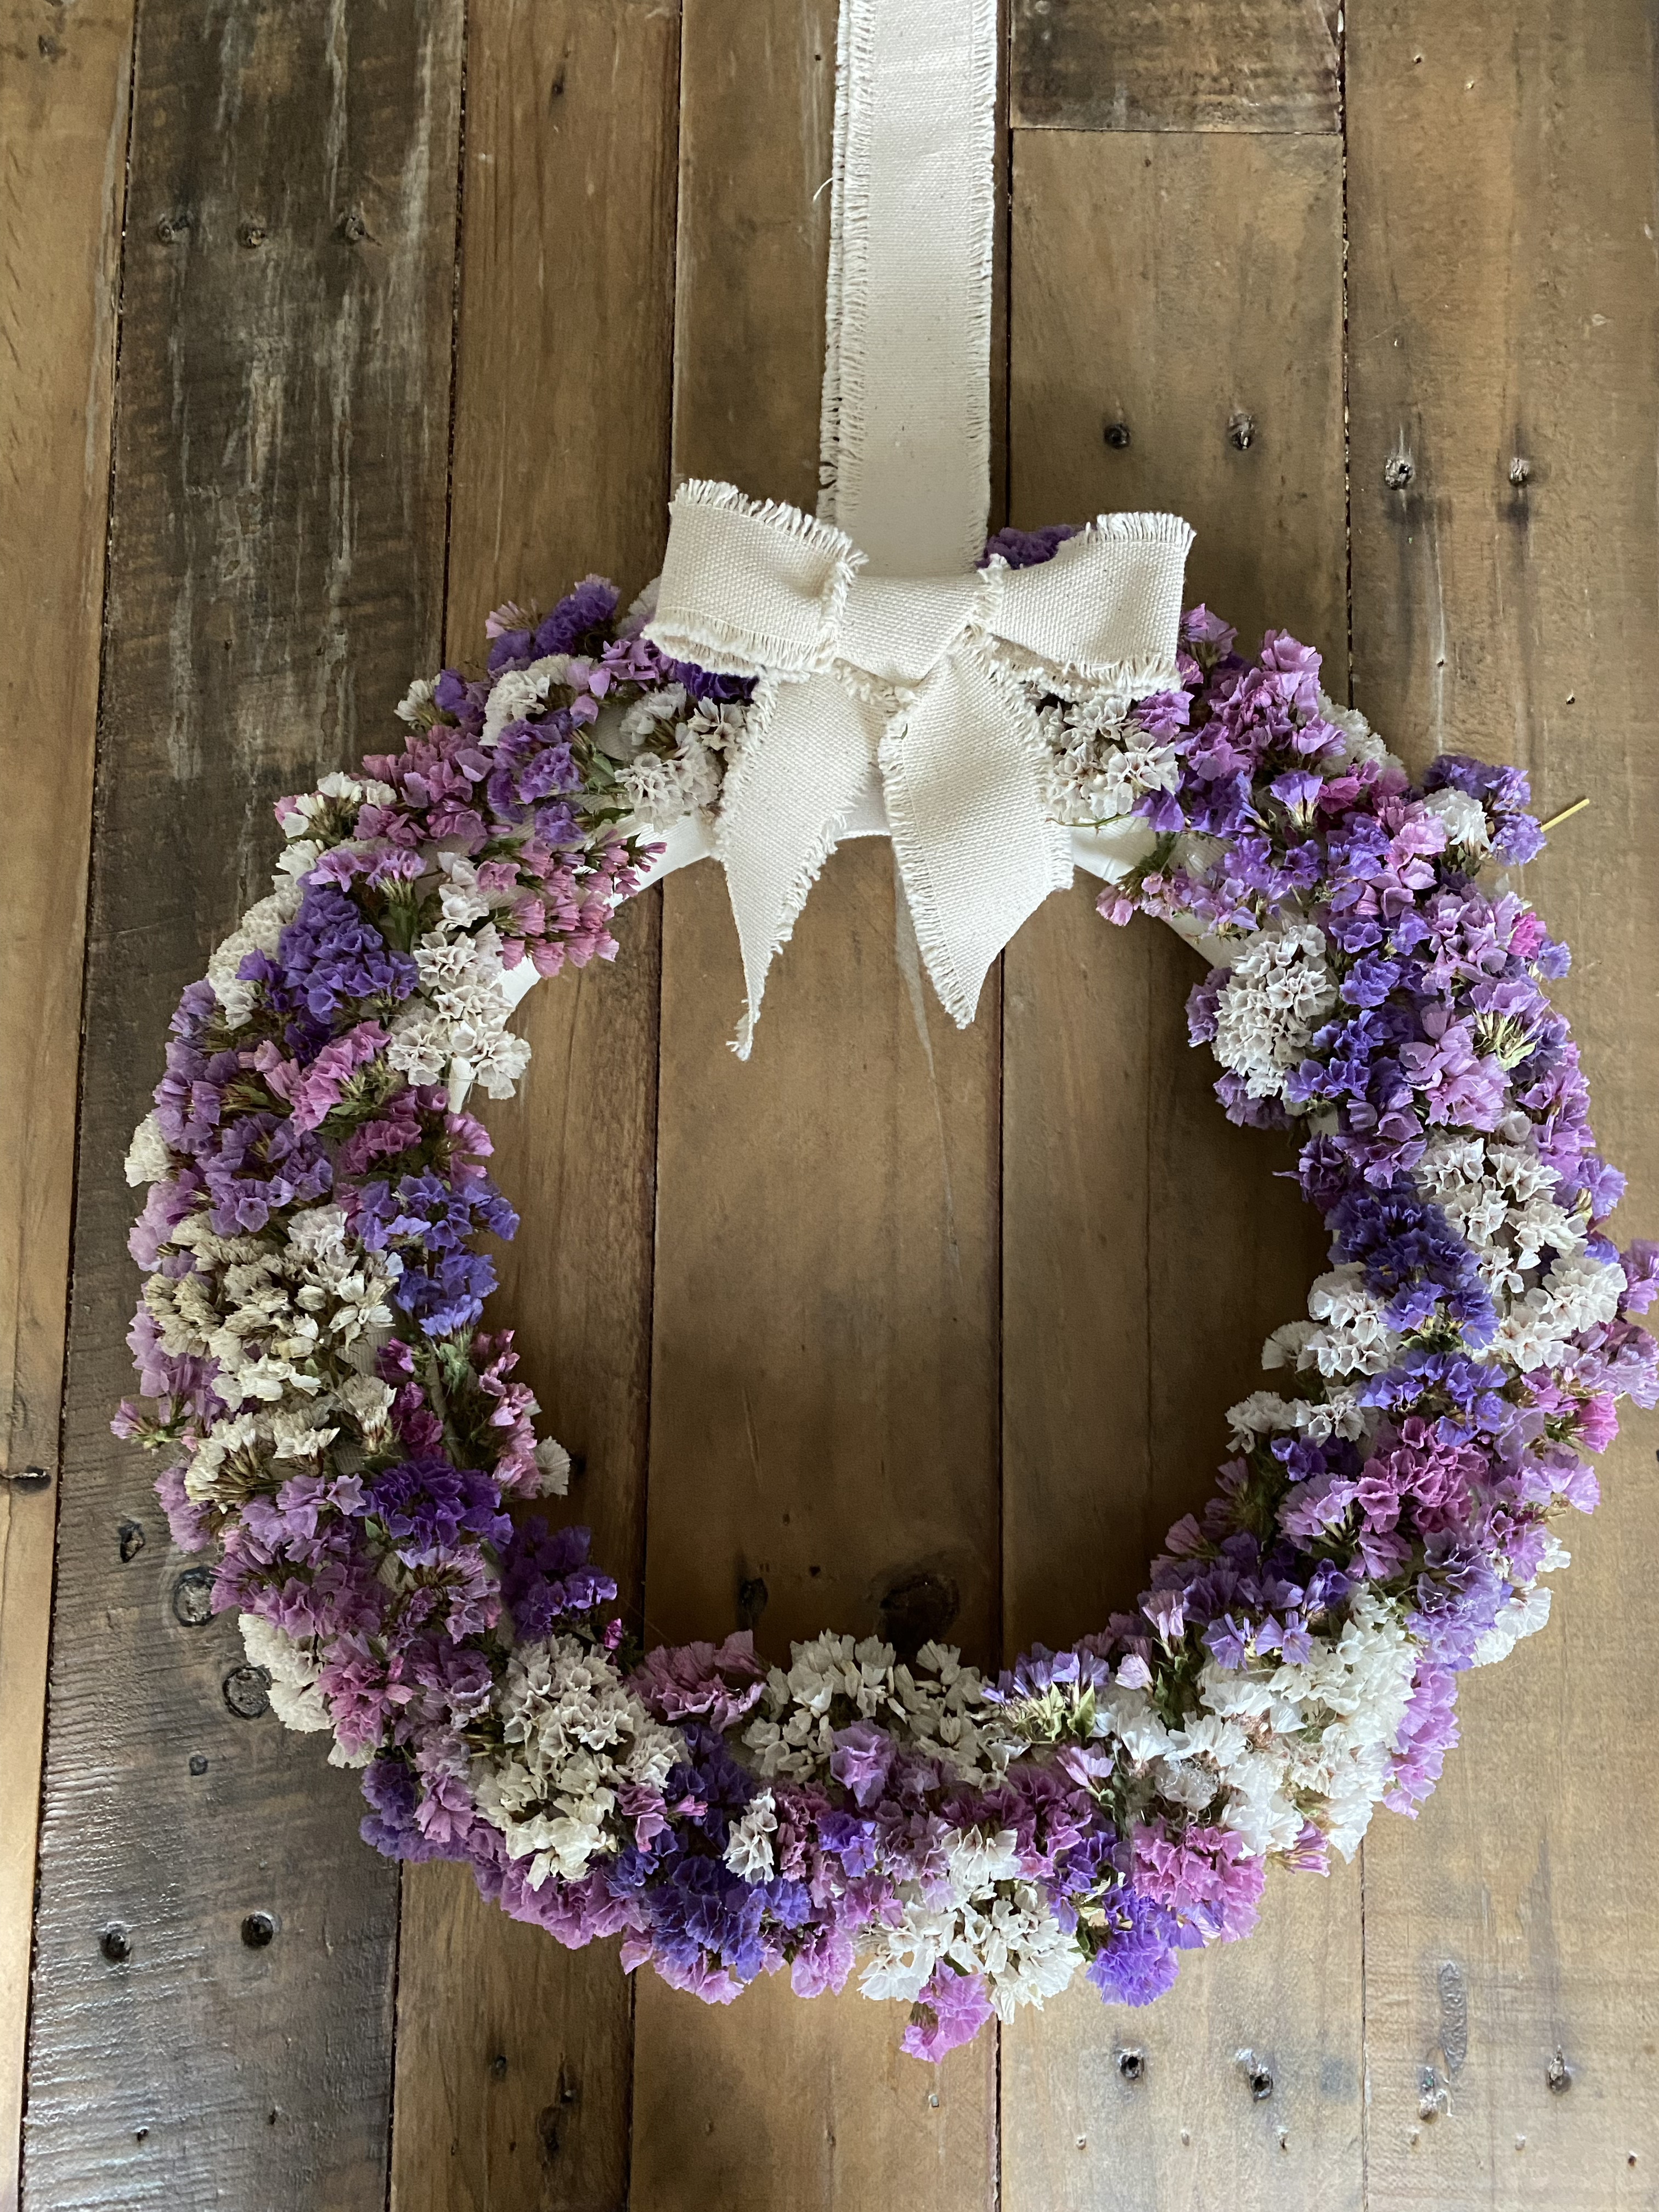
4. When I was happy with the shape and distribution of the flowers, I tied a bow and hot glued it to the front of the wreath. It was pretty and feminine and just needed a bow. There you have it, a simple DIY to enjoy the garden all year round.

XO,
h

P.S. I wouldn’t hang this on the front door or outside as the dried flowers are pretty fragile. But if you have a window or interior door that needs some cheer then this wreath is perfect!

DIY Pressed flower art

Sometimes you just need a sweet project to break up all the major projects. Or maybe you just need something to do with all the dried flowers you pressed with your daughter, with zero plan but lots of possibilities.

Over the last two summers, Kyrie and I started picking and pressing some of the flowers we’ve been growing. She kept asking me, “Mom, what are we going to do with all of these?” I have grand illusions of about a million projects, including creating a gardening journal complete with pressed flowers inspired by @missmustardseed (but that’s for another day). Instead, we picked and pressed to our hearts’ content without a real goal. We used parchment paper tucked into stacks of the biggest, heaviest books we have. It only takes a couple of weeks, and they are dried and ready to use.


I find the best ideas come from happenstance. I was at an outdoor antique fair this fall and found a few vintage frames for about $4 – $5 apiece. Again, with no true plan, I bought them because they were cool and you never know when inspiration might hit. When I got the frames home, it hit me, we should frame some of the pressed flowers! And no ego involved, I promise, but I had to start with heather.

Supplies:
-vintage frame
-pressed, dried flowers (DIY or you can find some on Etsy)
-scrapbook paper
-hot glue
-velvet ribbon (via Amazon)

Directions:
1. I measured the scrapbook paper and cut it to match the size of the backing of the frame. I used black paper because I love the contrast.

2. I then played around with arrangement of the flowers until I found a pleasing look. Typically, you would arrange in odds, but this art piece was just begging for one more stem.

3. Once I was happy with the arrangement, I used hot glue to secure the ends of the flowers. The frames I bought did not have glass, so I had to do something to secure them. Hot glue, while treacherous, does the job well.

3. The ribbon comes next, and yes, it is 100% to hide the hot glue. Nothing but honesty on this blog. I also thought about creating a little tag or using some lace to hide the glue, but the velvet ribbon won this time!

4. I assembled the paper and frame, and voila, done! I even found a spot to hang it that already had a nail, win/win/win.

This project took all of 4 steps (5 if you add pressing the flowers), and maybe 15 minutes!

XO,
h

Braided Headband DIY

Spring is definitely in the air! It makes me think of fresh flowers, sunshine, sandals, and headbands! Ok, so that last one might just be me, but I was inspired to try making a fun new one this week!

This is a great DIY because you don’t have to sew a stitch! Yay!

Materials:
Fun cotton fabric
Elastic – I used 3/4″ because that’s what I had, but 1/2″ would be better
Ribbon
Thread
Hot glue & gun
Braided Headband Materials

Let’s Get Started:

  1. Cut your fabric into strips, I did 1.5″ by 55″ for an adult-sized headband. I think I might go just a little thinner next time…1.25″.
  2. Secure one end, and start braiding. I enlisted Ryan’s help to hold one end since it gets so long.
    You might notice some fraying on the fabric, but that was the look I was going for. If it bothers you, fold in the sides carefully as you go.
  3. I used binder clips to hold the ends in place once I was finished braiding.
    Braided Headband 2
  4. Use thread to tie off the ends, just loop around a few times and you should be good. Trim thread and excess fabric.
  5. Fold your braided piece in half, then try it on your head. Whatever gap remaining determines the length of your elastic.

    **TIP: Don’t cut the elastic too short. Have you ever have the problem of a headband falling of the back of you head? The secret is that you want the headband to be secure, but the elastic shouldn’t be working hard at all.

  6. Hot glue the ends of your headband to your elastic. I overlapped by about 1/2″.
    Braided Headband 5    Braided Headband 3

  7. Wrap your ribbon around the place the headband and elastic connect. The intent here is to make this look nice. You won’t be able to see it when you have the headband on, but why not make it look pretty! Then hot glue together.
    Braided Headband 4

  8. Plan your spring outfit accordingly!
    Braided Headband Finished 2 DIY Braided Headband

–h

DIY Bottle Cap Pin Cushion

This is a fun, simple DIY project that anyone who can operate a glue gun can do. I mean glue guns do get pretty hot, so proceed with caution.

Several years ago when my sister had her first baby, we threw a different kind of baby shower. It was a quilting bee shower. Each guest worked on a square to be included in the final quilt for the baby. To go along with the quilting theme, I wanted to come up with a unique favor for the guests. So….I decided to make bottle cap pin cushions for everyone using mixed and matched fabric from the quilt. A useful and fun reminder of the shower!

bottle-cap pin cushions

Materials/Tools:

  • Coordinating Fabric
  • Batting
  • Bottle Cap (a Diet Pepsi bottle cap would be a good choice)
  • Hot glue/glue gun
  • Sewing machine (you barely barely sew, so don’t worry)

How To:

  1. Cut two circles out of the fabric 3.5” in diameter. Just use a cup to trace out the circles. I did two different coordinating fabrics.
    pin cushion
  2. On the circle you want for the top of the pin cushion, do a gathering stitch around the outside. Gather into a little ball with a small opening.
    pincushion5
  3. Stuff batting into the little pocket. Stuff it full. Finish gathering, clip thread. You now have a fabric ball.
  4. Wrap the other circle around the bottle cap, hot gluing it in place. I ended up tucking the fabric in four places.
    pincushion6
  5. Put a big dab of hot glue in the bottom of the bottle cap, and stick the fabric ball in, sewed side down. Tad-ah, finished!
    pincushion7

Now how’s that for a simple DIY? You can even up the ante on this. I added elastic to one and made it into a ring for when I need a hands-free pin cushion.

pincushion1

Or, I also did several of these on a bigger scale using old (cleaned out) olive cans. So this is my everyday pin cushion following the exact same steps as above (plus batting wrapped around the outside of the can).

pincushion2

Everyone needs a fun customized pin cushion, so I’m challenging you to find a can, bottle cap, and some fun fabric and make your own! I’d love to see pics if you are up for it!

–h

Pinterest Ready Bottle Cap Pin Cushion