
Ok, so I have to thank my brother-in-law for this blog title and no, I’m NOT trying to brag.
So… I was working hard to finish the Boo costume in time for Halloween when tragedy struck! I went to sit in the folding chair I had next to my work table, sorta missed it, it folded, and I fell through it pinching my upper arm and ripping off my entire ring-finger nail (like down to underneath the skin).
Yah, gross.
1 quick trip to the ER to “fix” my nail and back to work. That’s what we call sacrifice and commitment to a project, right?? And, like my bro-in-law said, I am “nailing” this costume!! Seriously, I think these things only happen to me.
Ready to start sewing? Cutting out is my least favorite part of a project, so that’s done. Yay!!
Teeth:
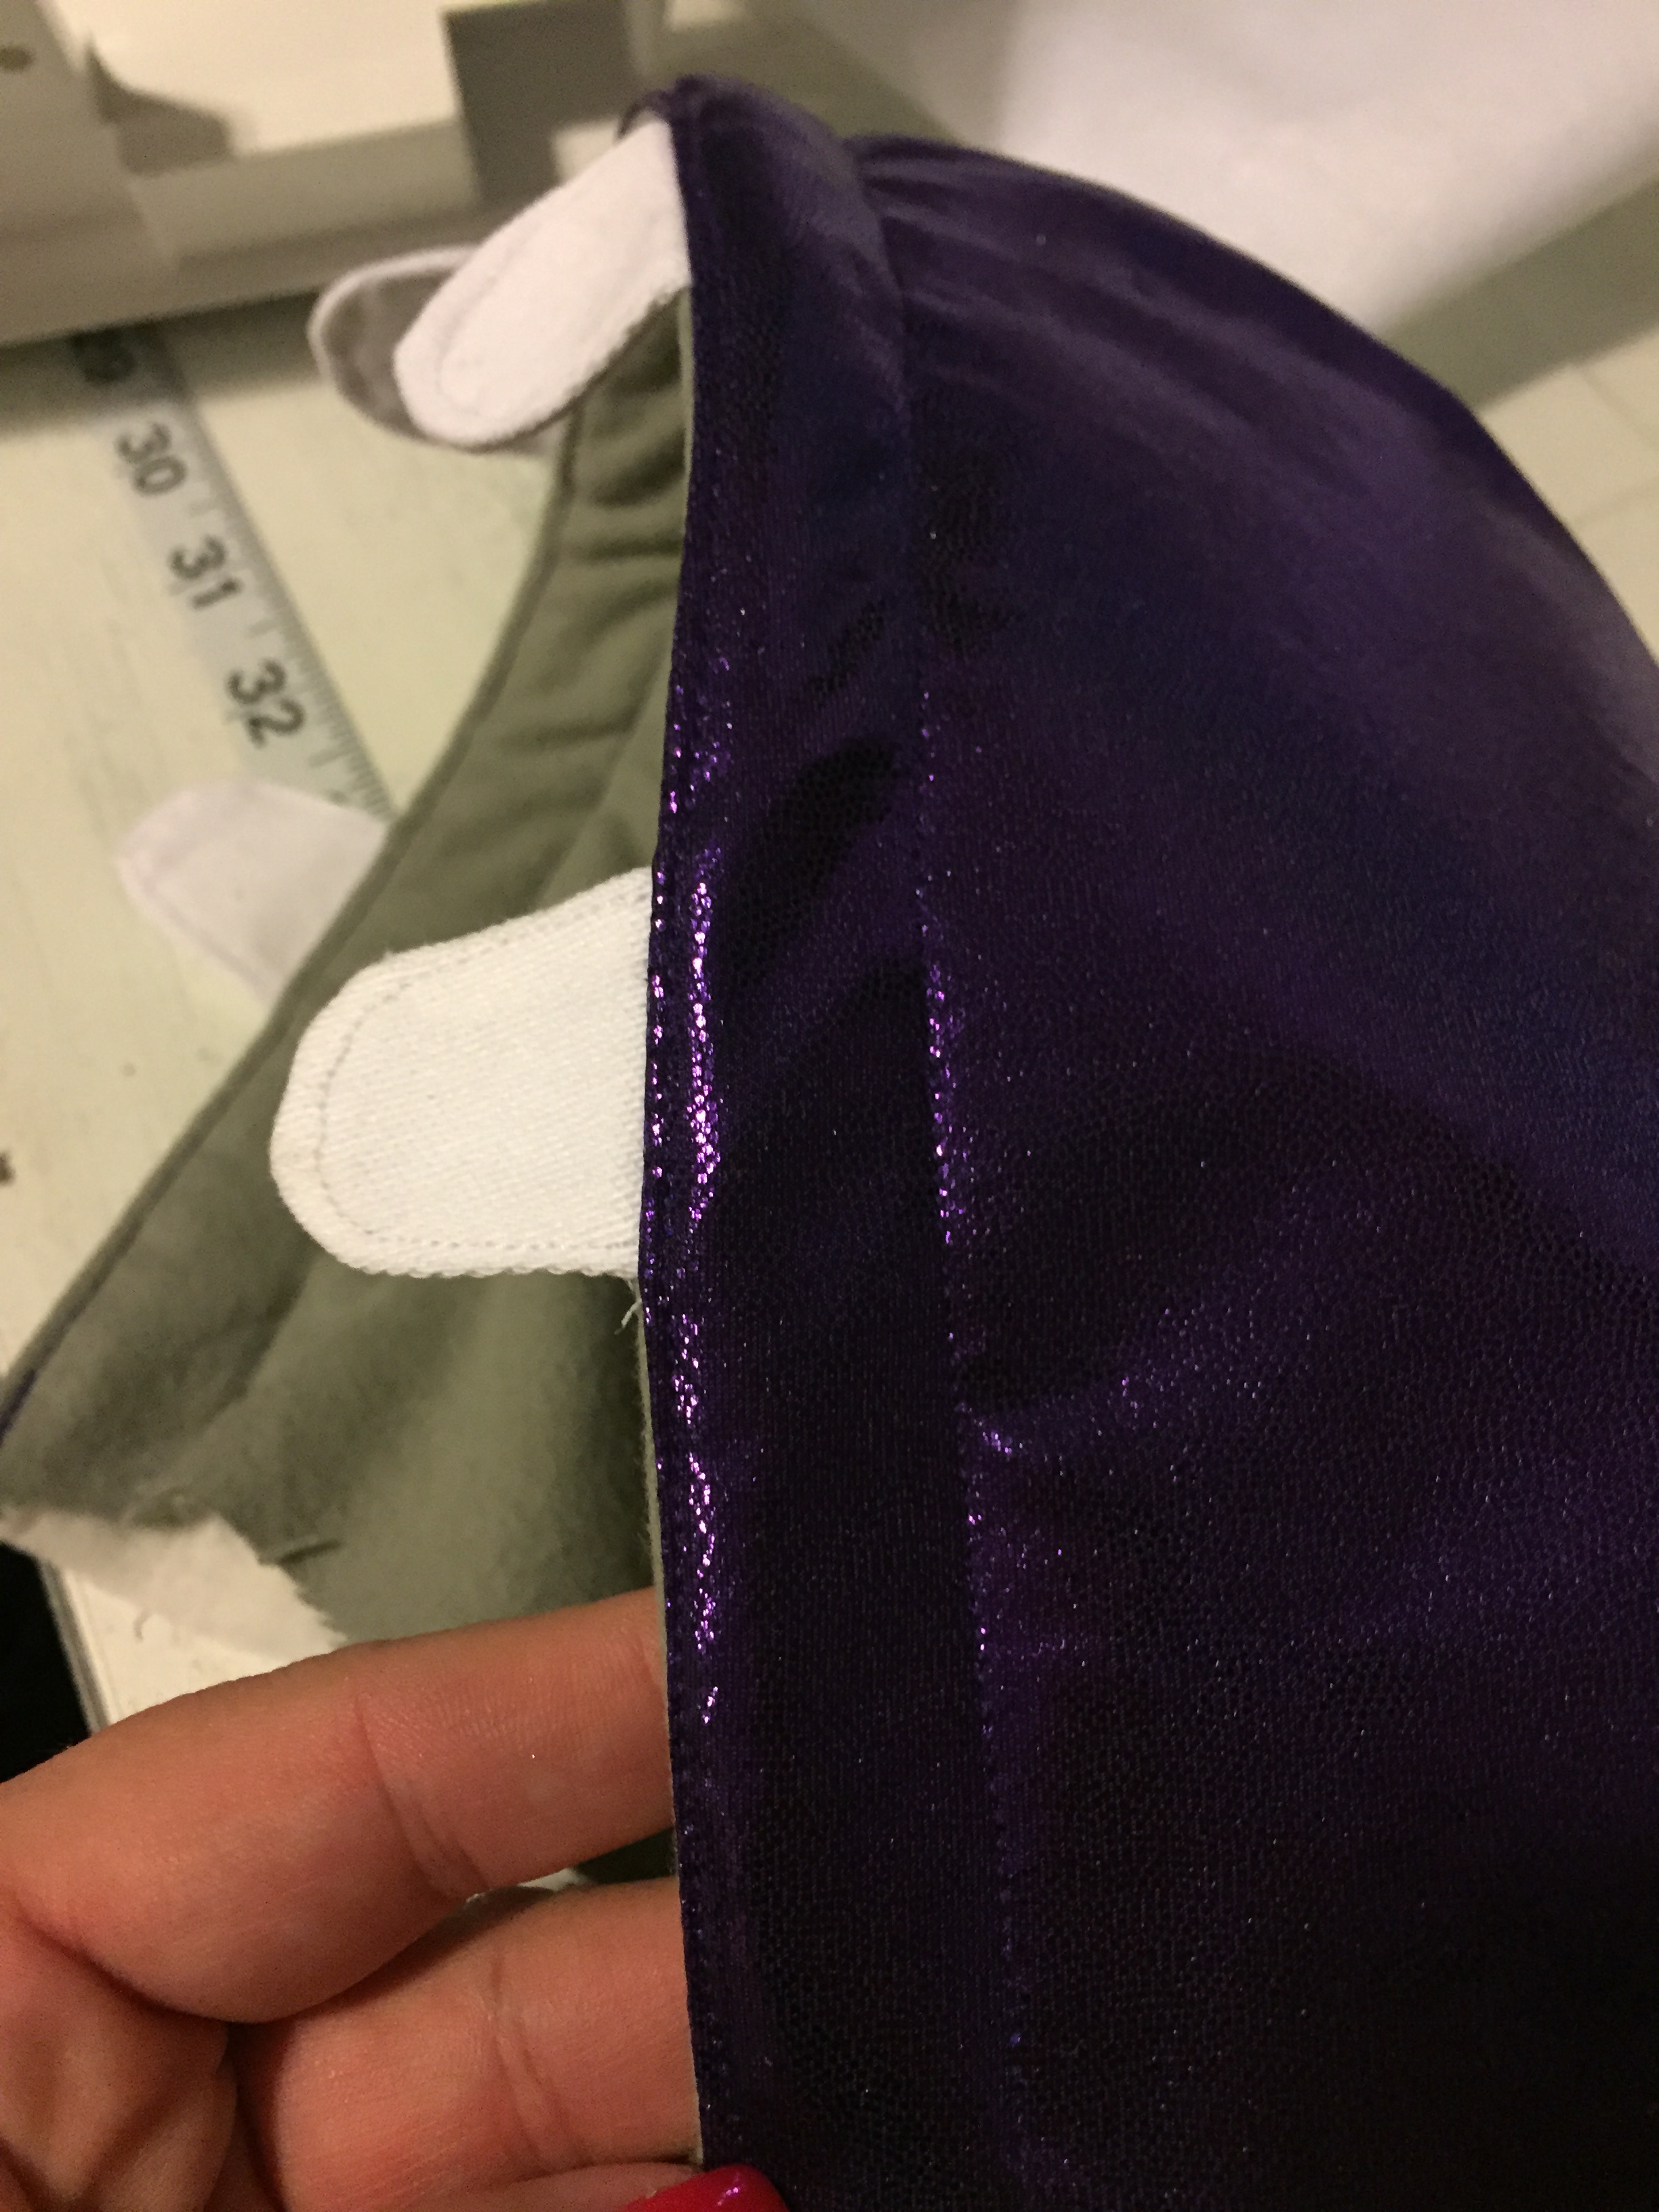
Yes, oddly, I did the teeth first because they will be sewn into the body and the hood. So I just drew myself a simple pattern and cut 20 or so teeth pieces out of some white canvas I had lying around (you could use any white fabric that has some stiffness to it – you don’t want your monster teeth to be wimpy). Right sides together, sew the top and sides. Clip curves, turn out, press. I then top stitched each tooth to finish them off.

Hood:
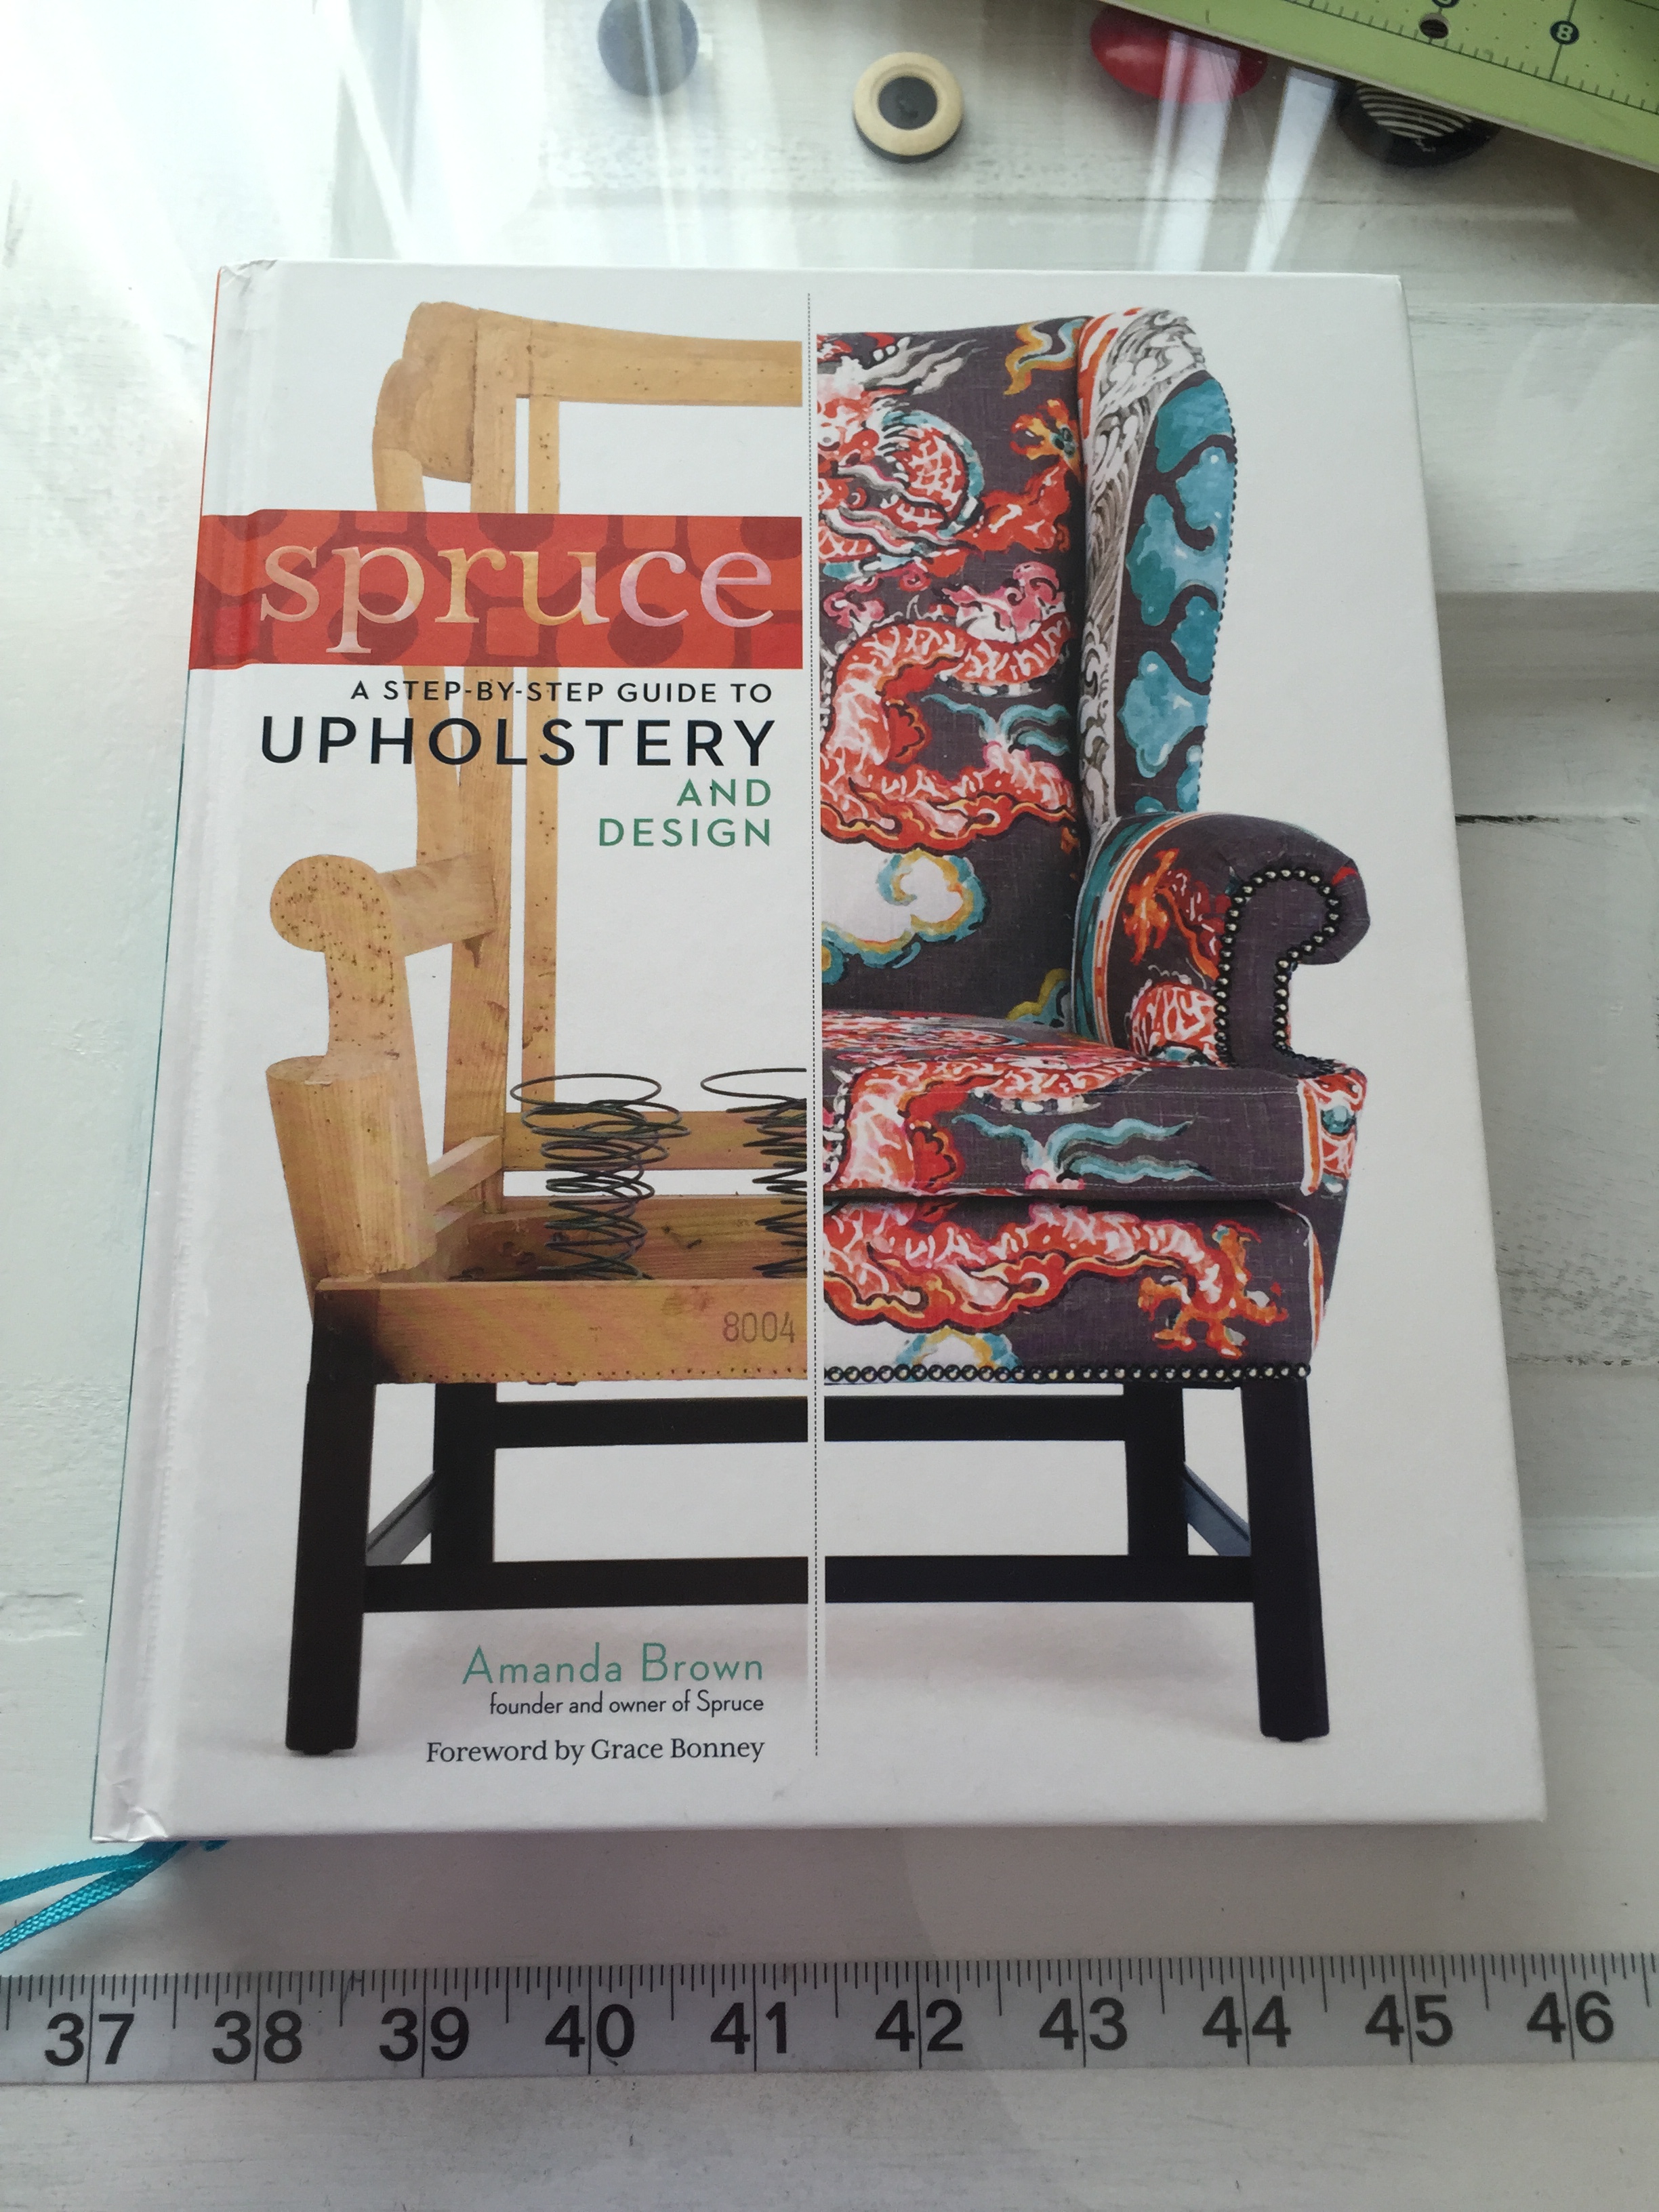
Next, I worked on the hood. I added just one thickness of batting to the hood. Layer purple fabric and batting together (baste if you would like) and sew right sides together down the center back. Trim, clip curves, press.
Then separately, sew the right sides of the gray fabric together down the center back. Trim, clip curves, press.
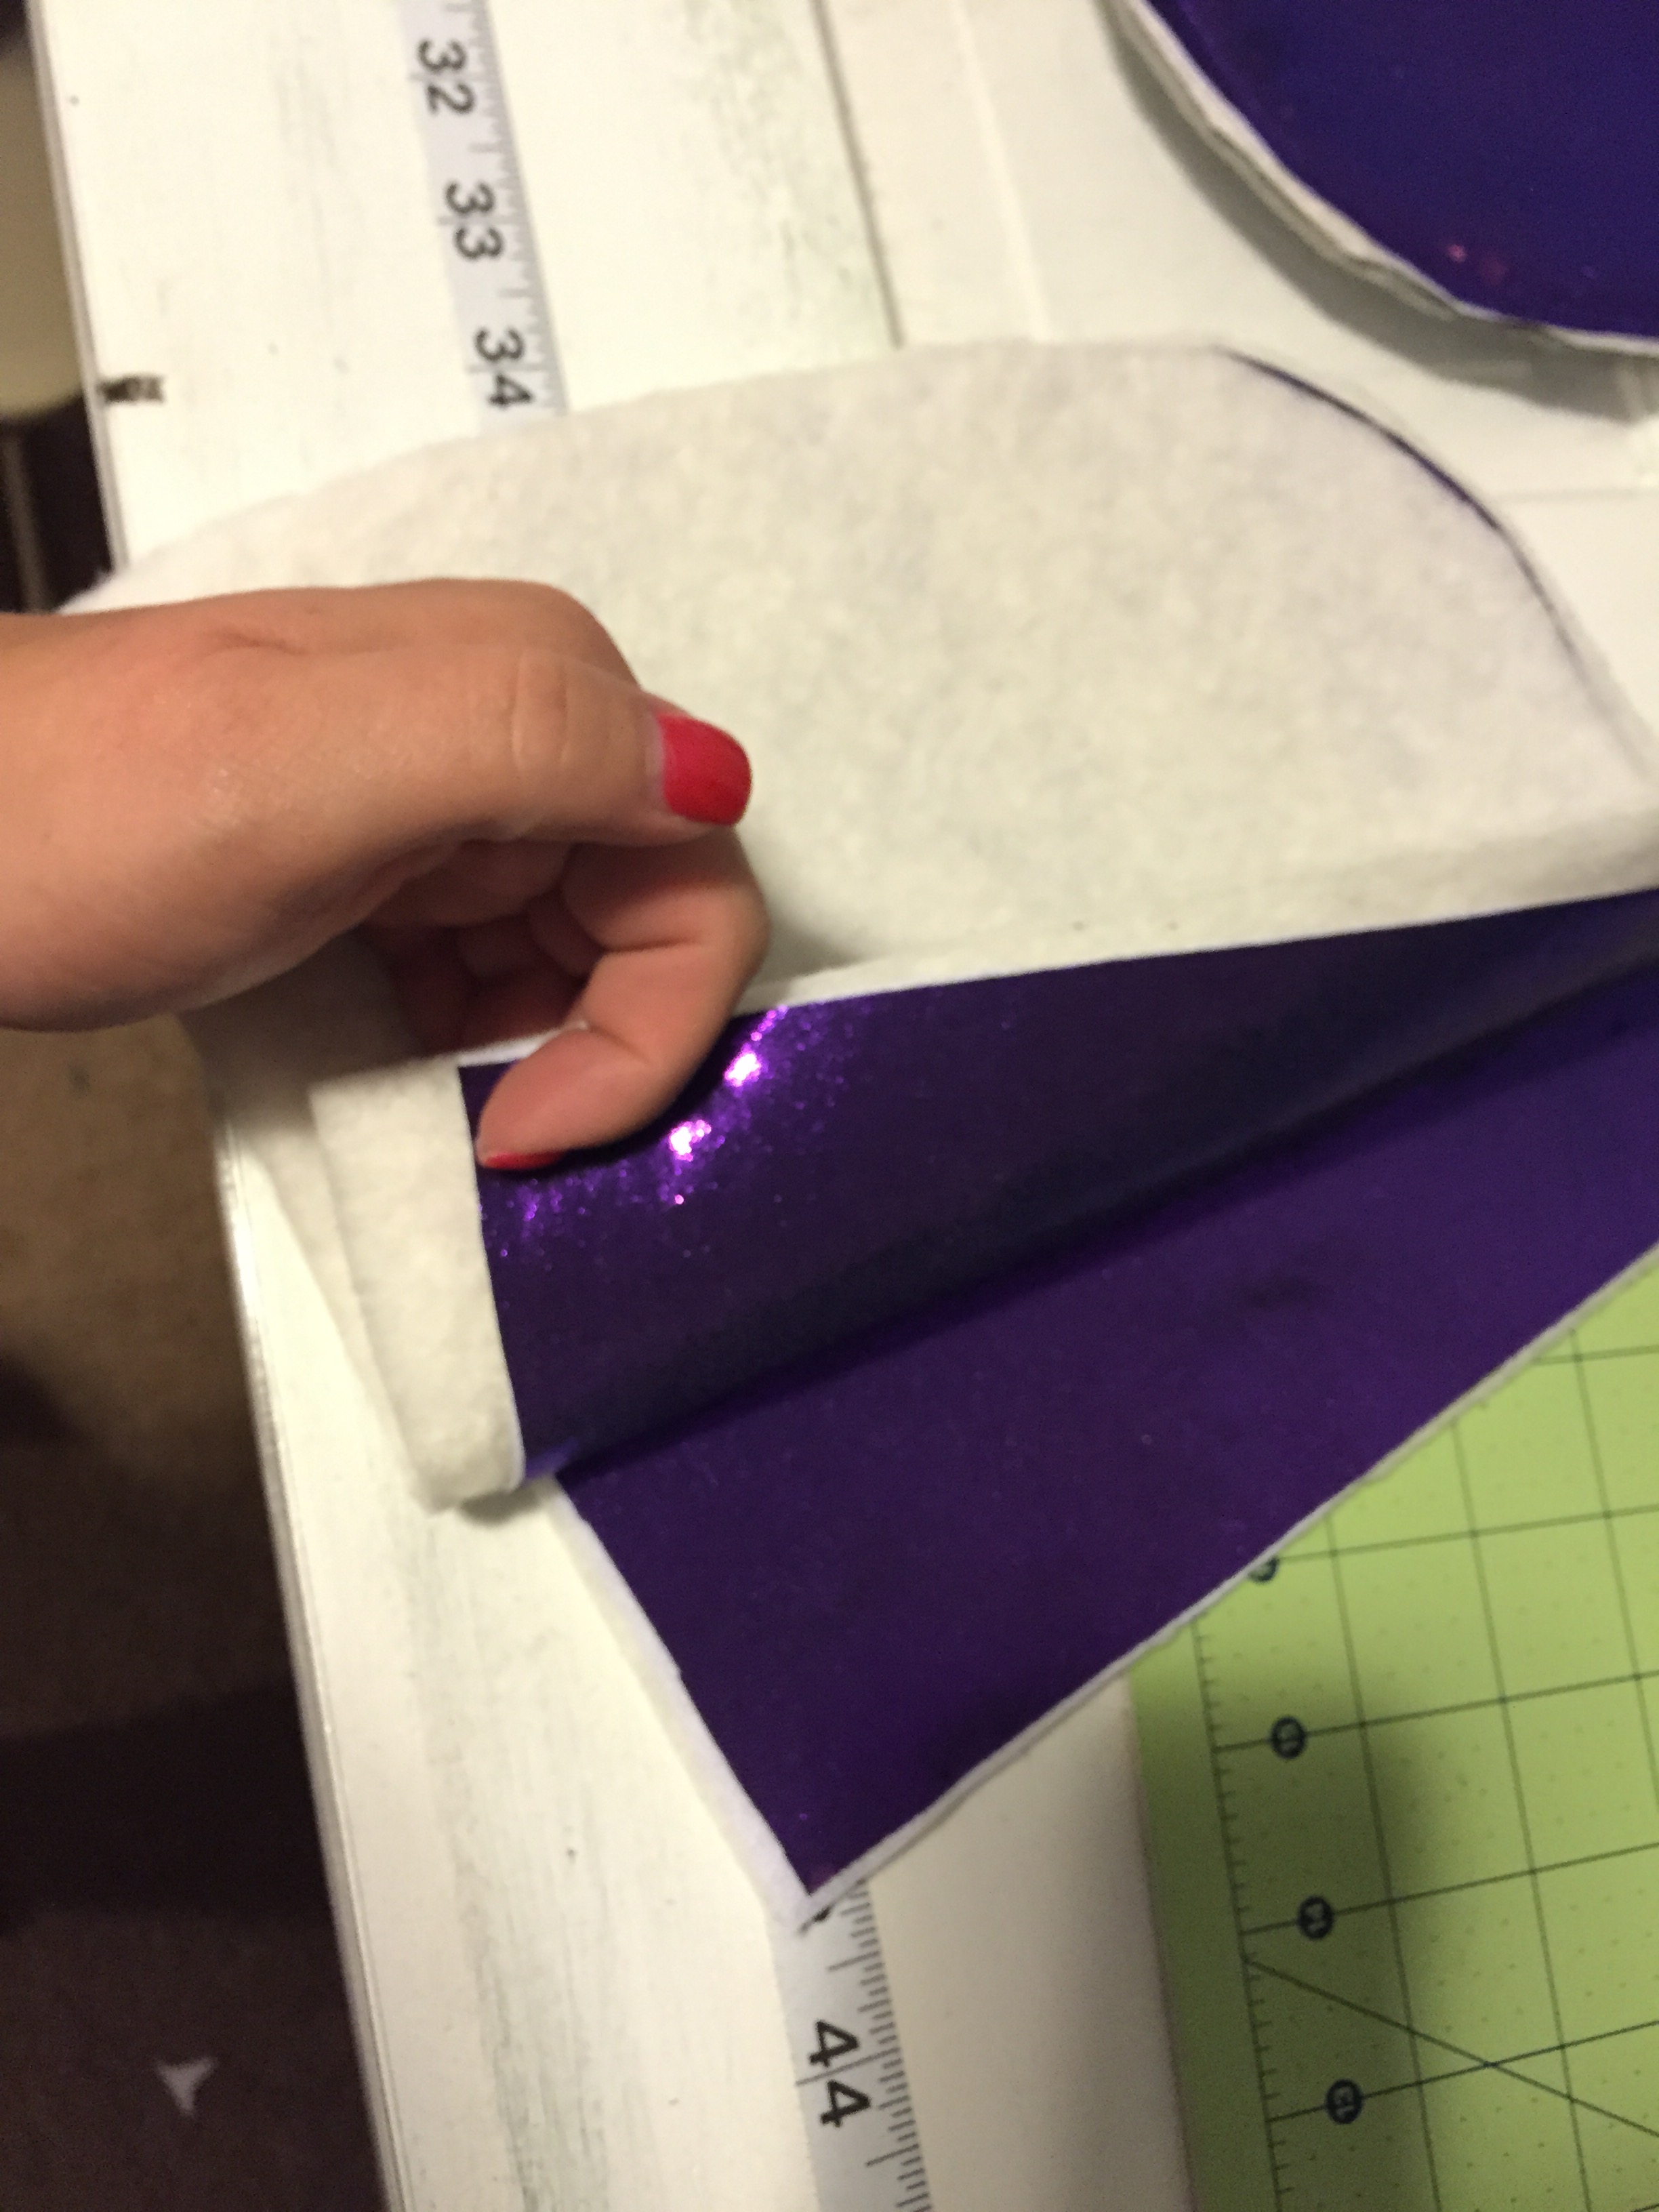
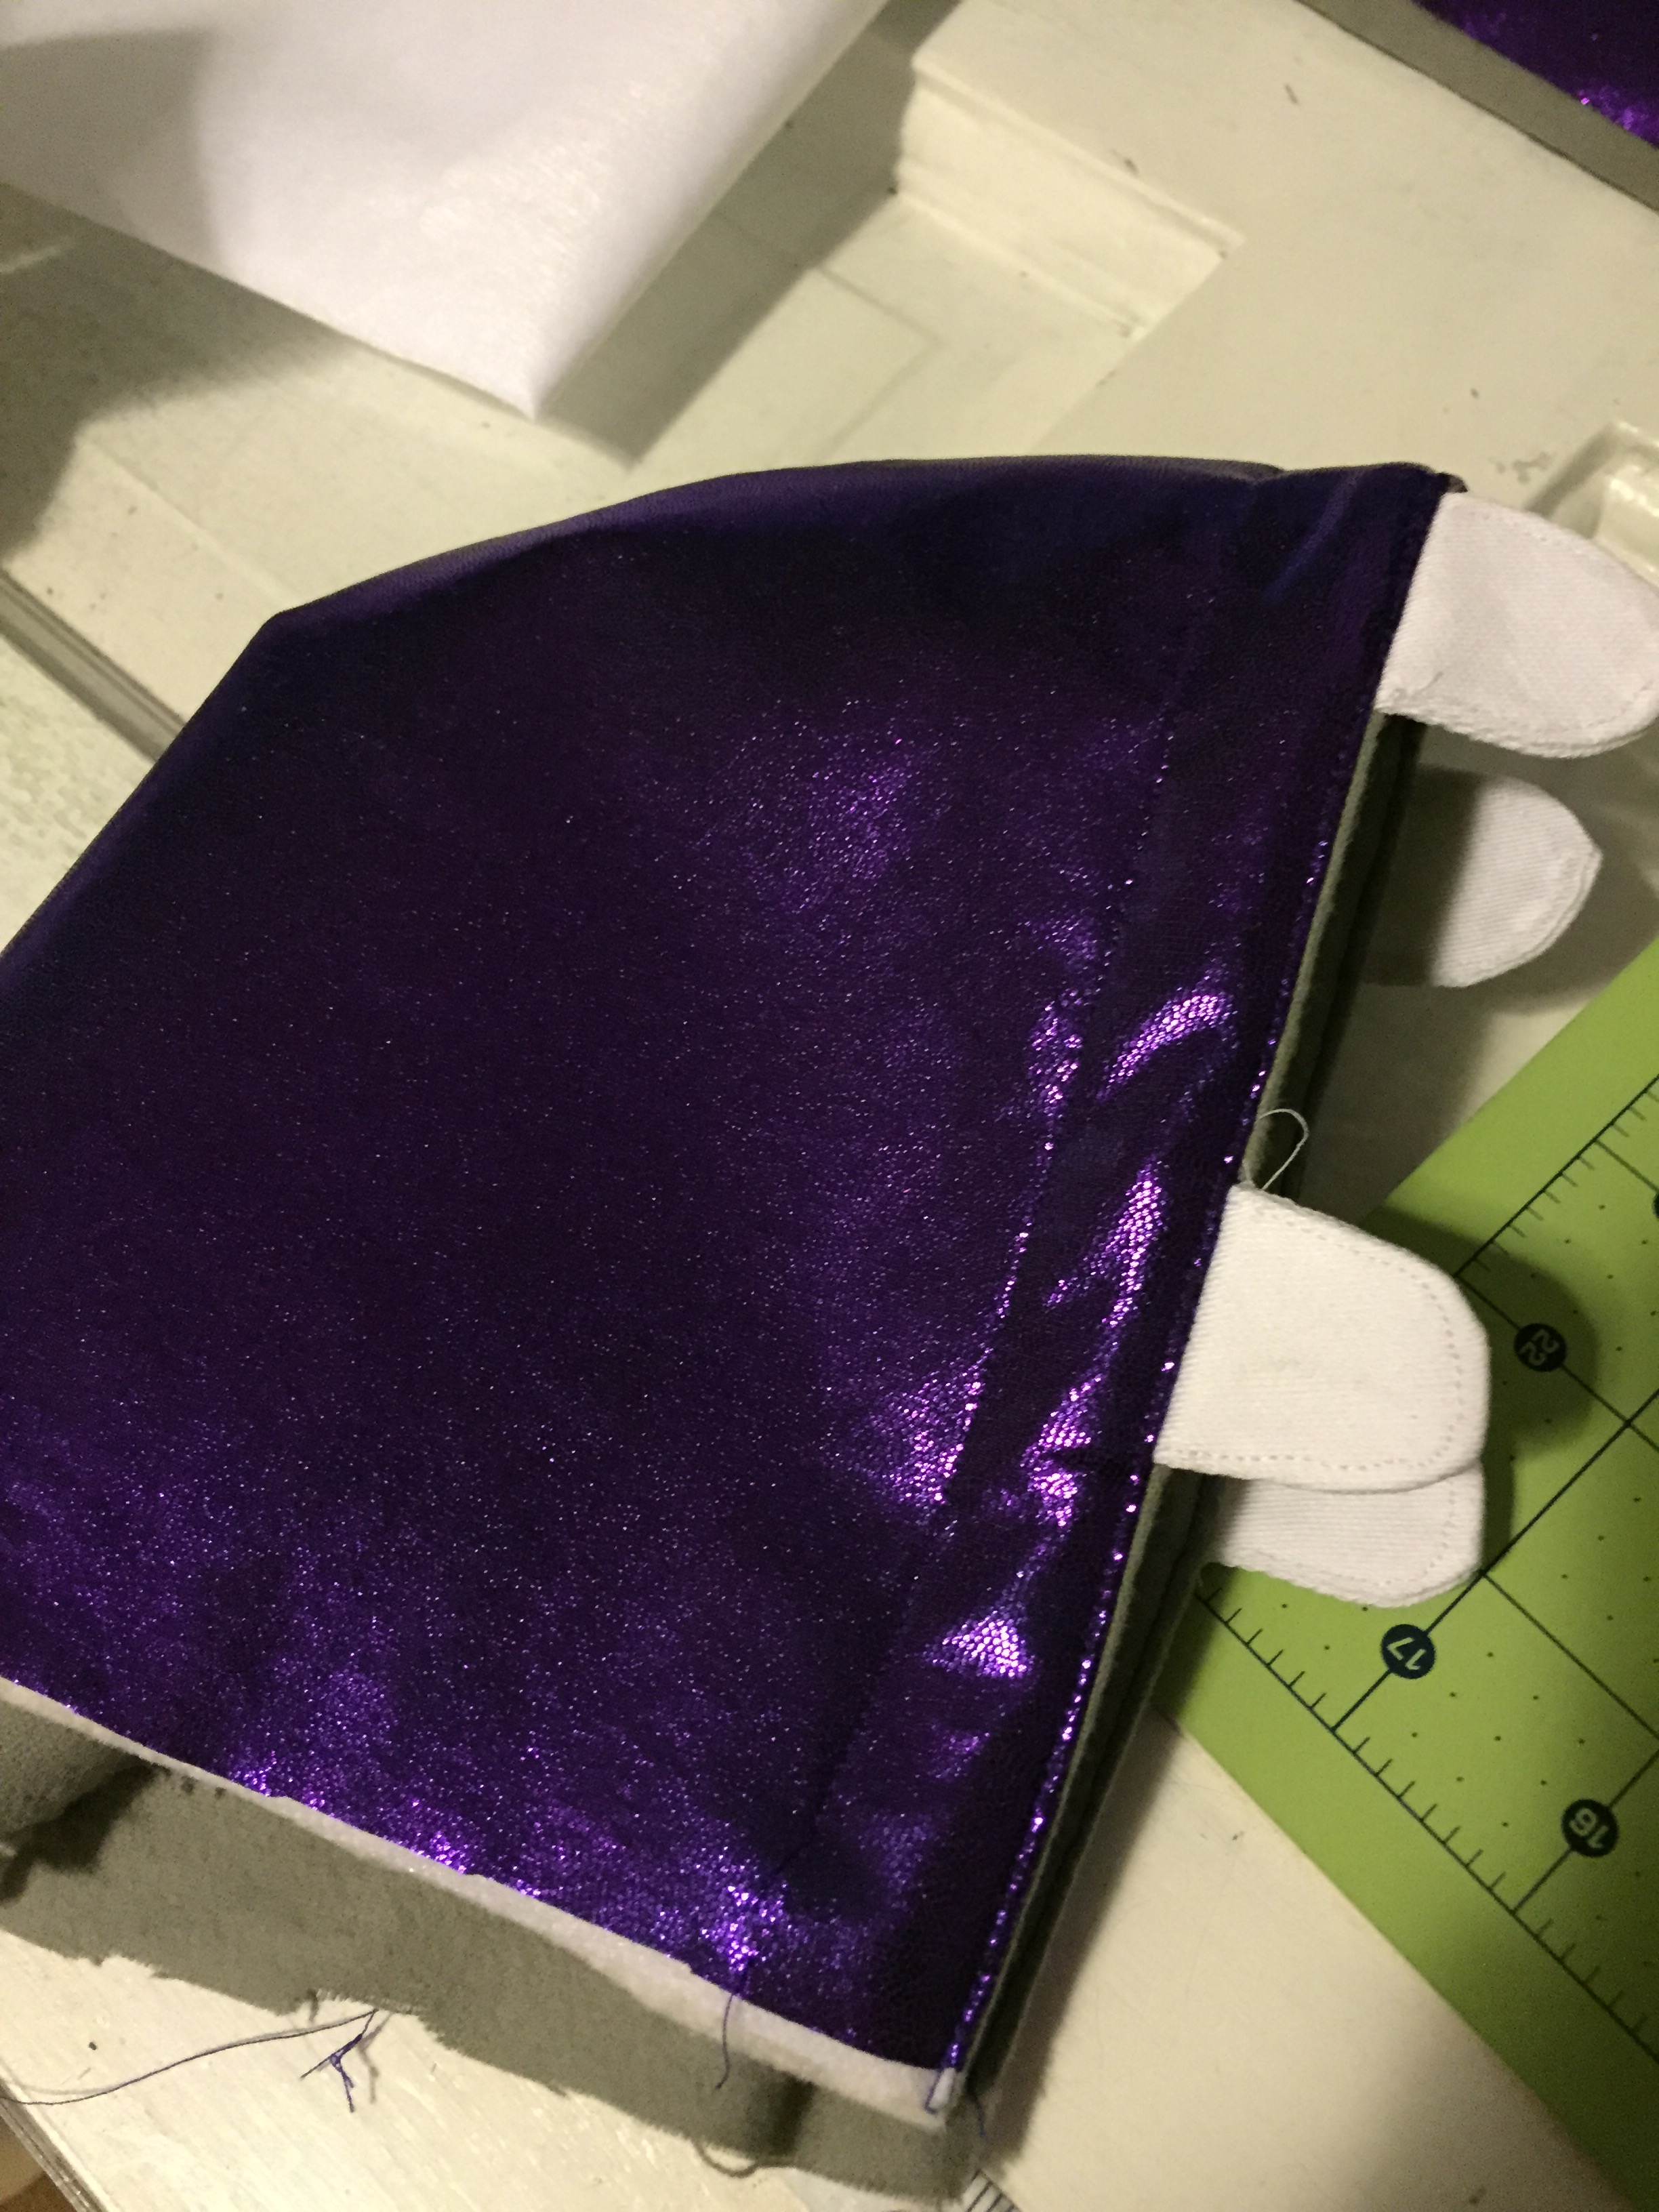
Then place right sides together of the purple and gray adding the teeth in between (you could baste the teeth to the gray fabric ahead of time) and sew together. Trim, press the teeth down.

Top stitch along the front edge of the hood. Then, about 3/4 inch from the edge of the top of the hood, top stitch across the face of the hood a channel where you can insert boning to give the hood structure. Slip boning in.
Set aside. Finishing the hood will be the final step.
Note: In order to get the teeth to stay down like I wanted, I put binding clips on the hood to reinforce good behavior. 🙂
We’ll finish Boo in Part III. Until then, happy creating!
–h