MASTER Bedroom wallpaper makeover

Believe it or not, not every DIY goes to plan. In fact, I find most do not. And even when you feel confident in your planning or taste or choices, sometimes they just don’t work out. This is such a tale.

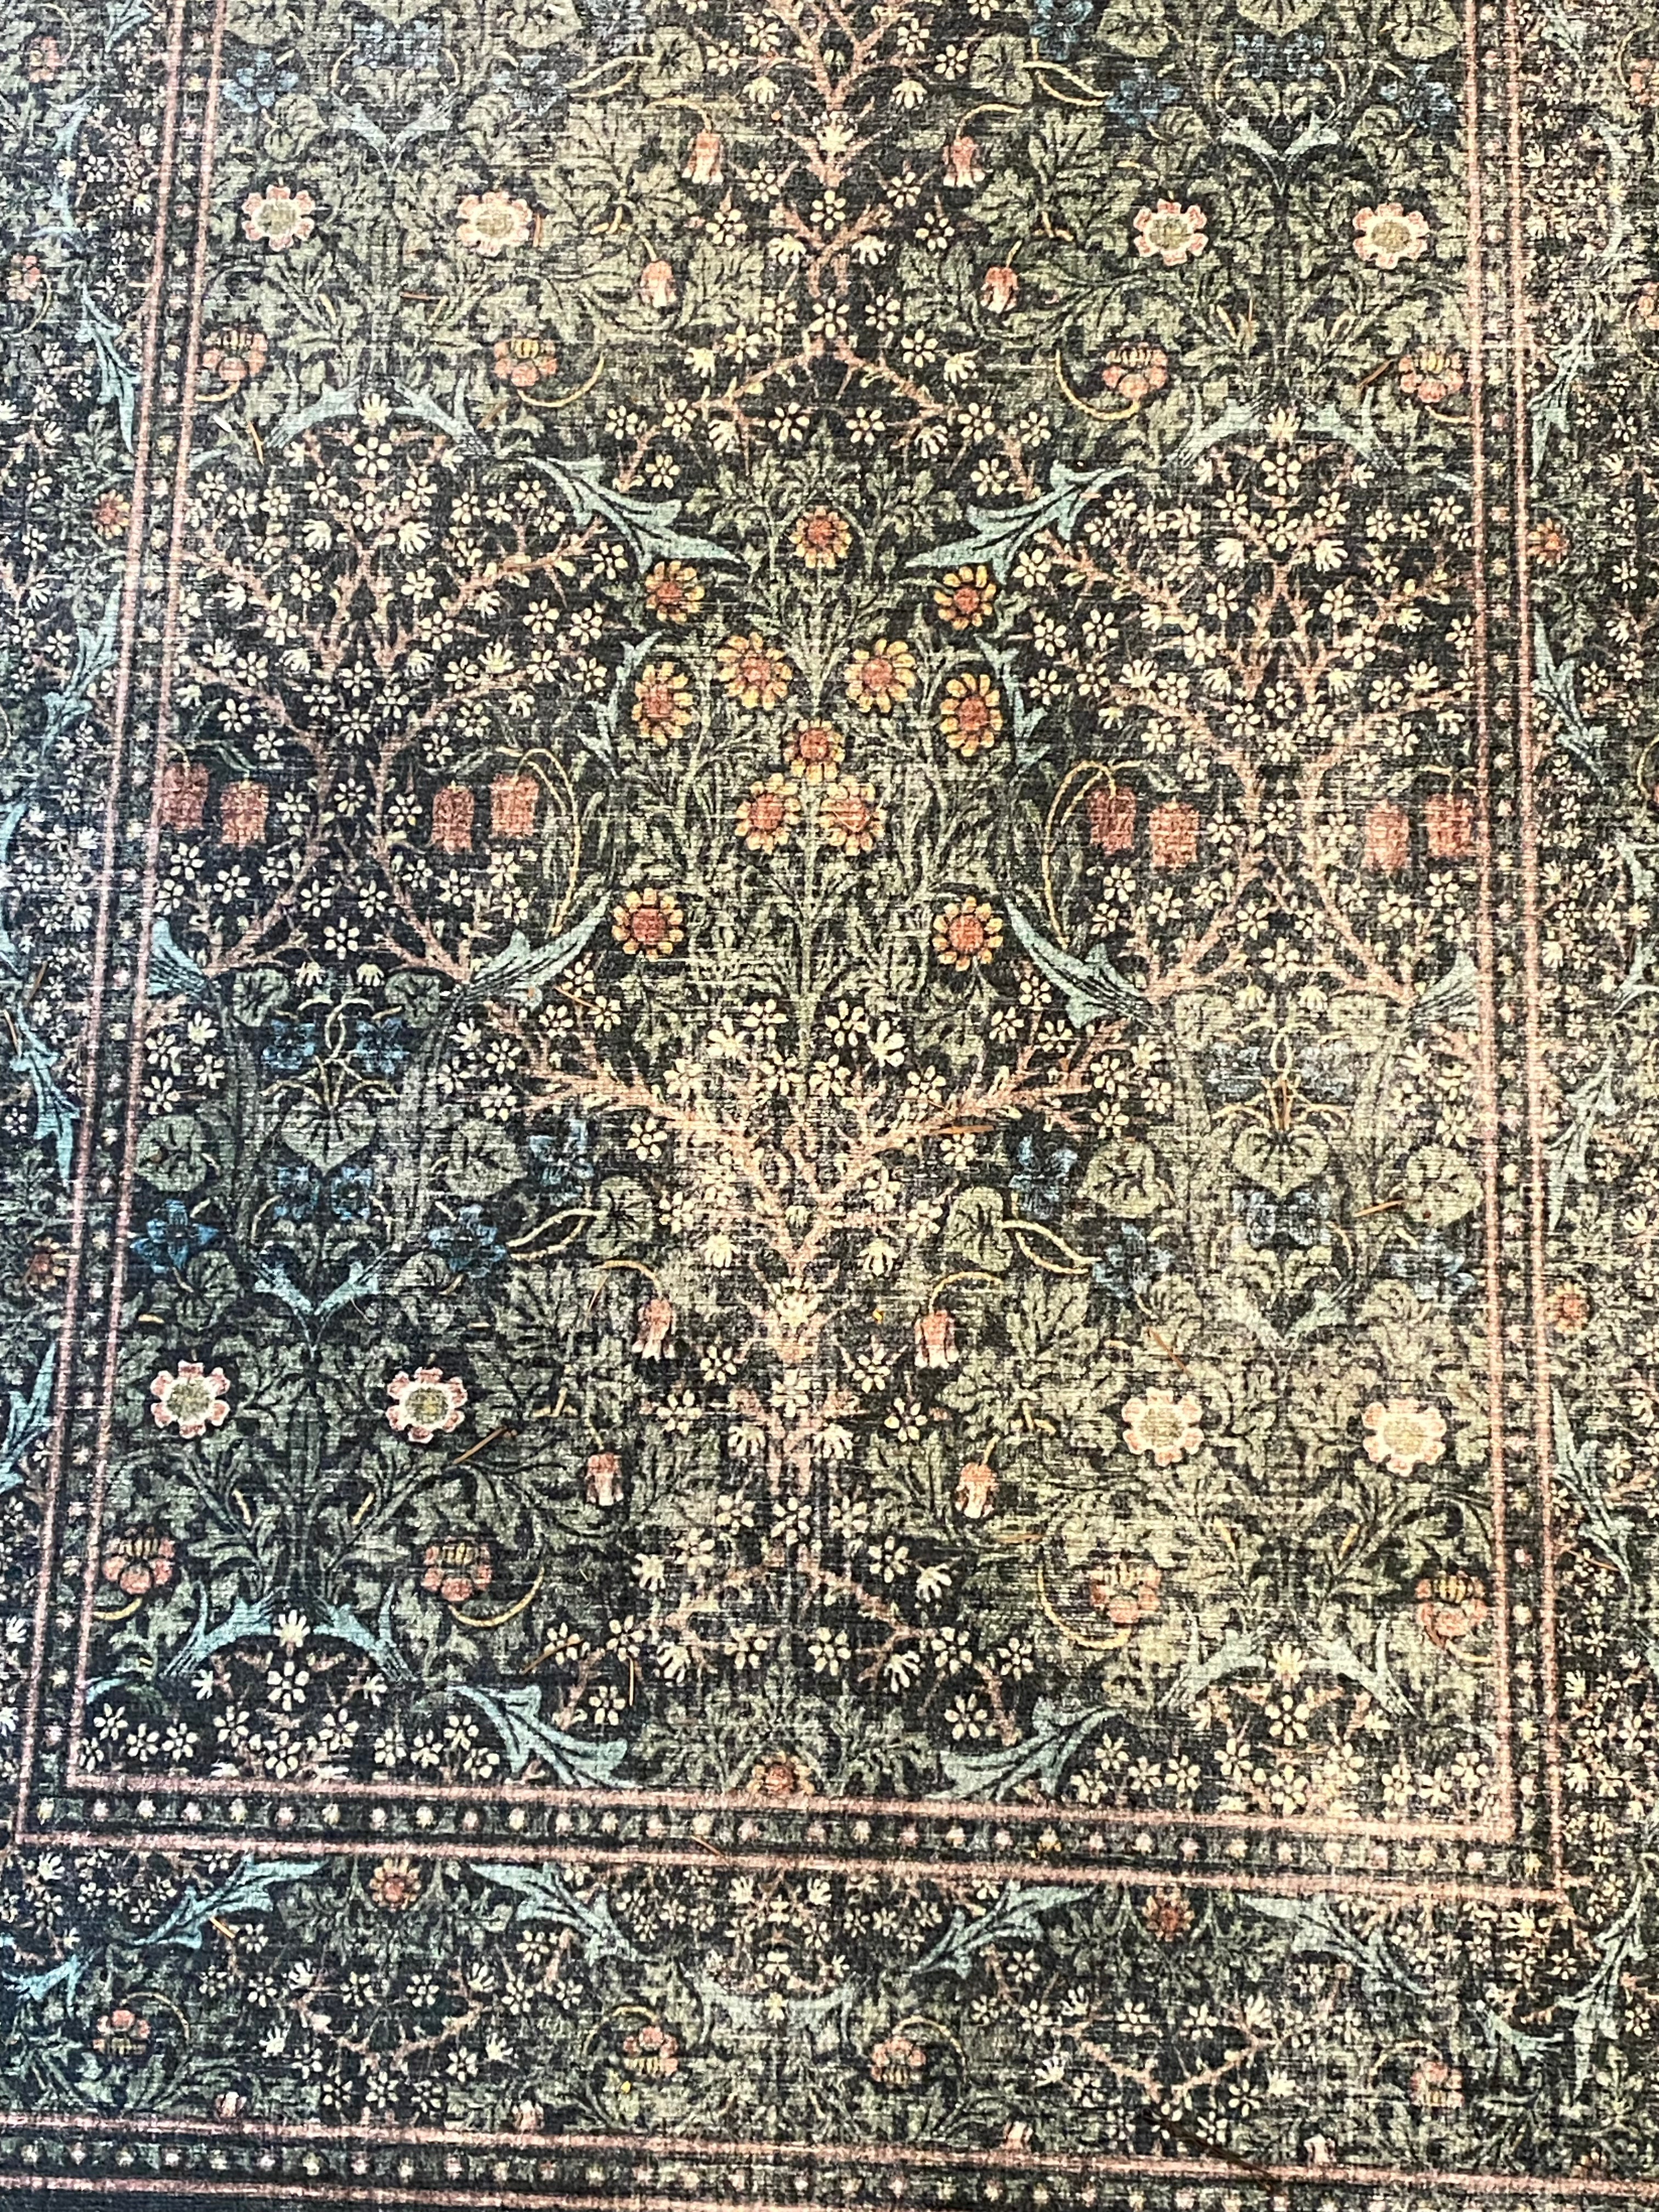
I bought this great Ruggable rug for my kitchen with a fantastic William Morris pattern, Blackthorn in Forest Green. I loved the pattern and immediately started thinking about what else we could do with it.


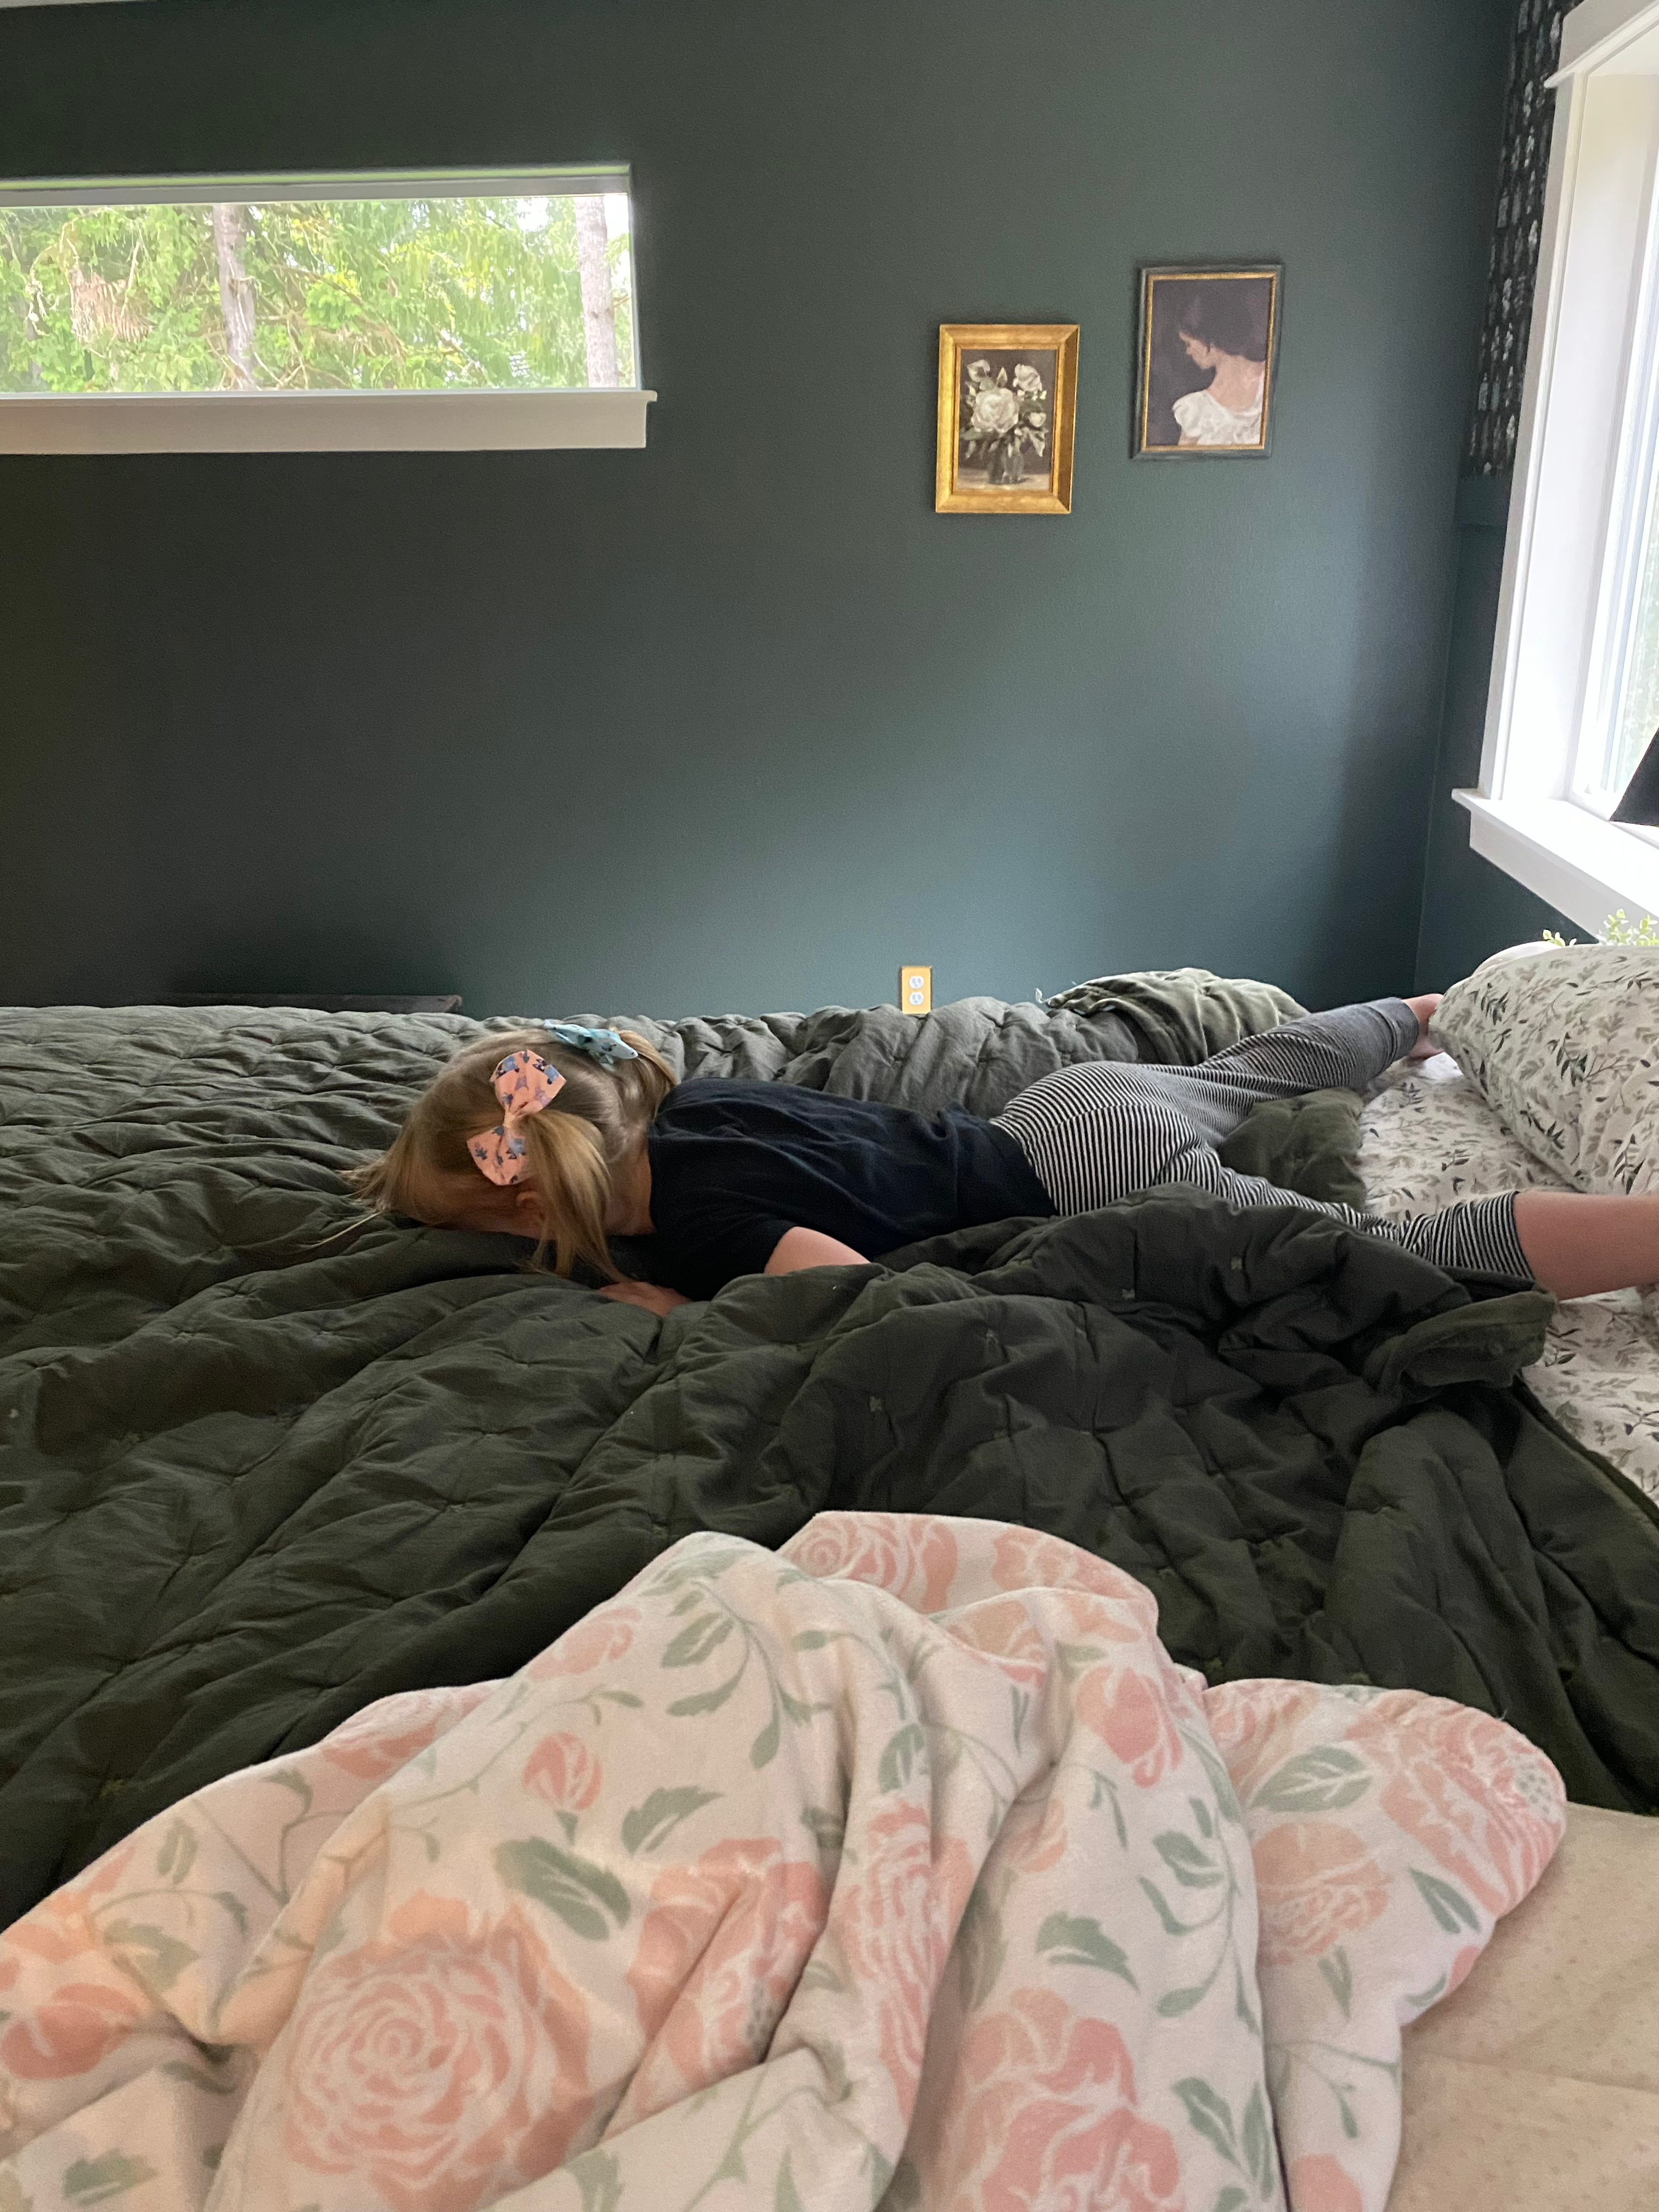
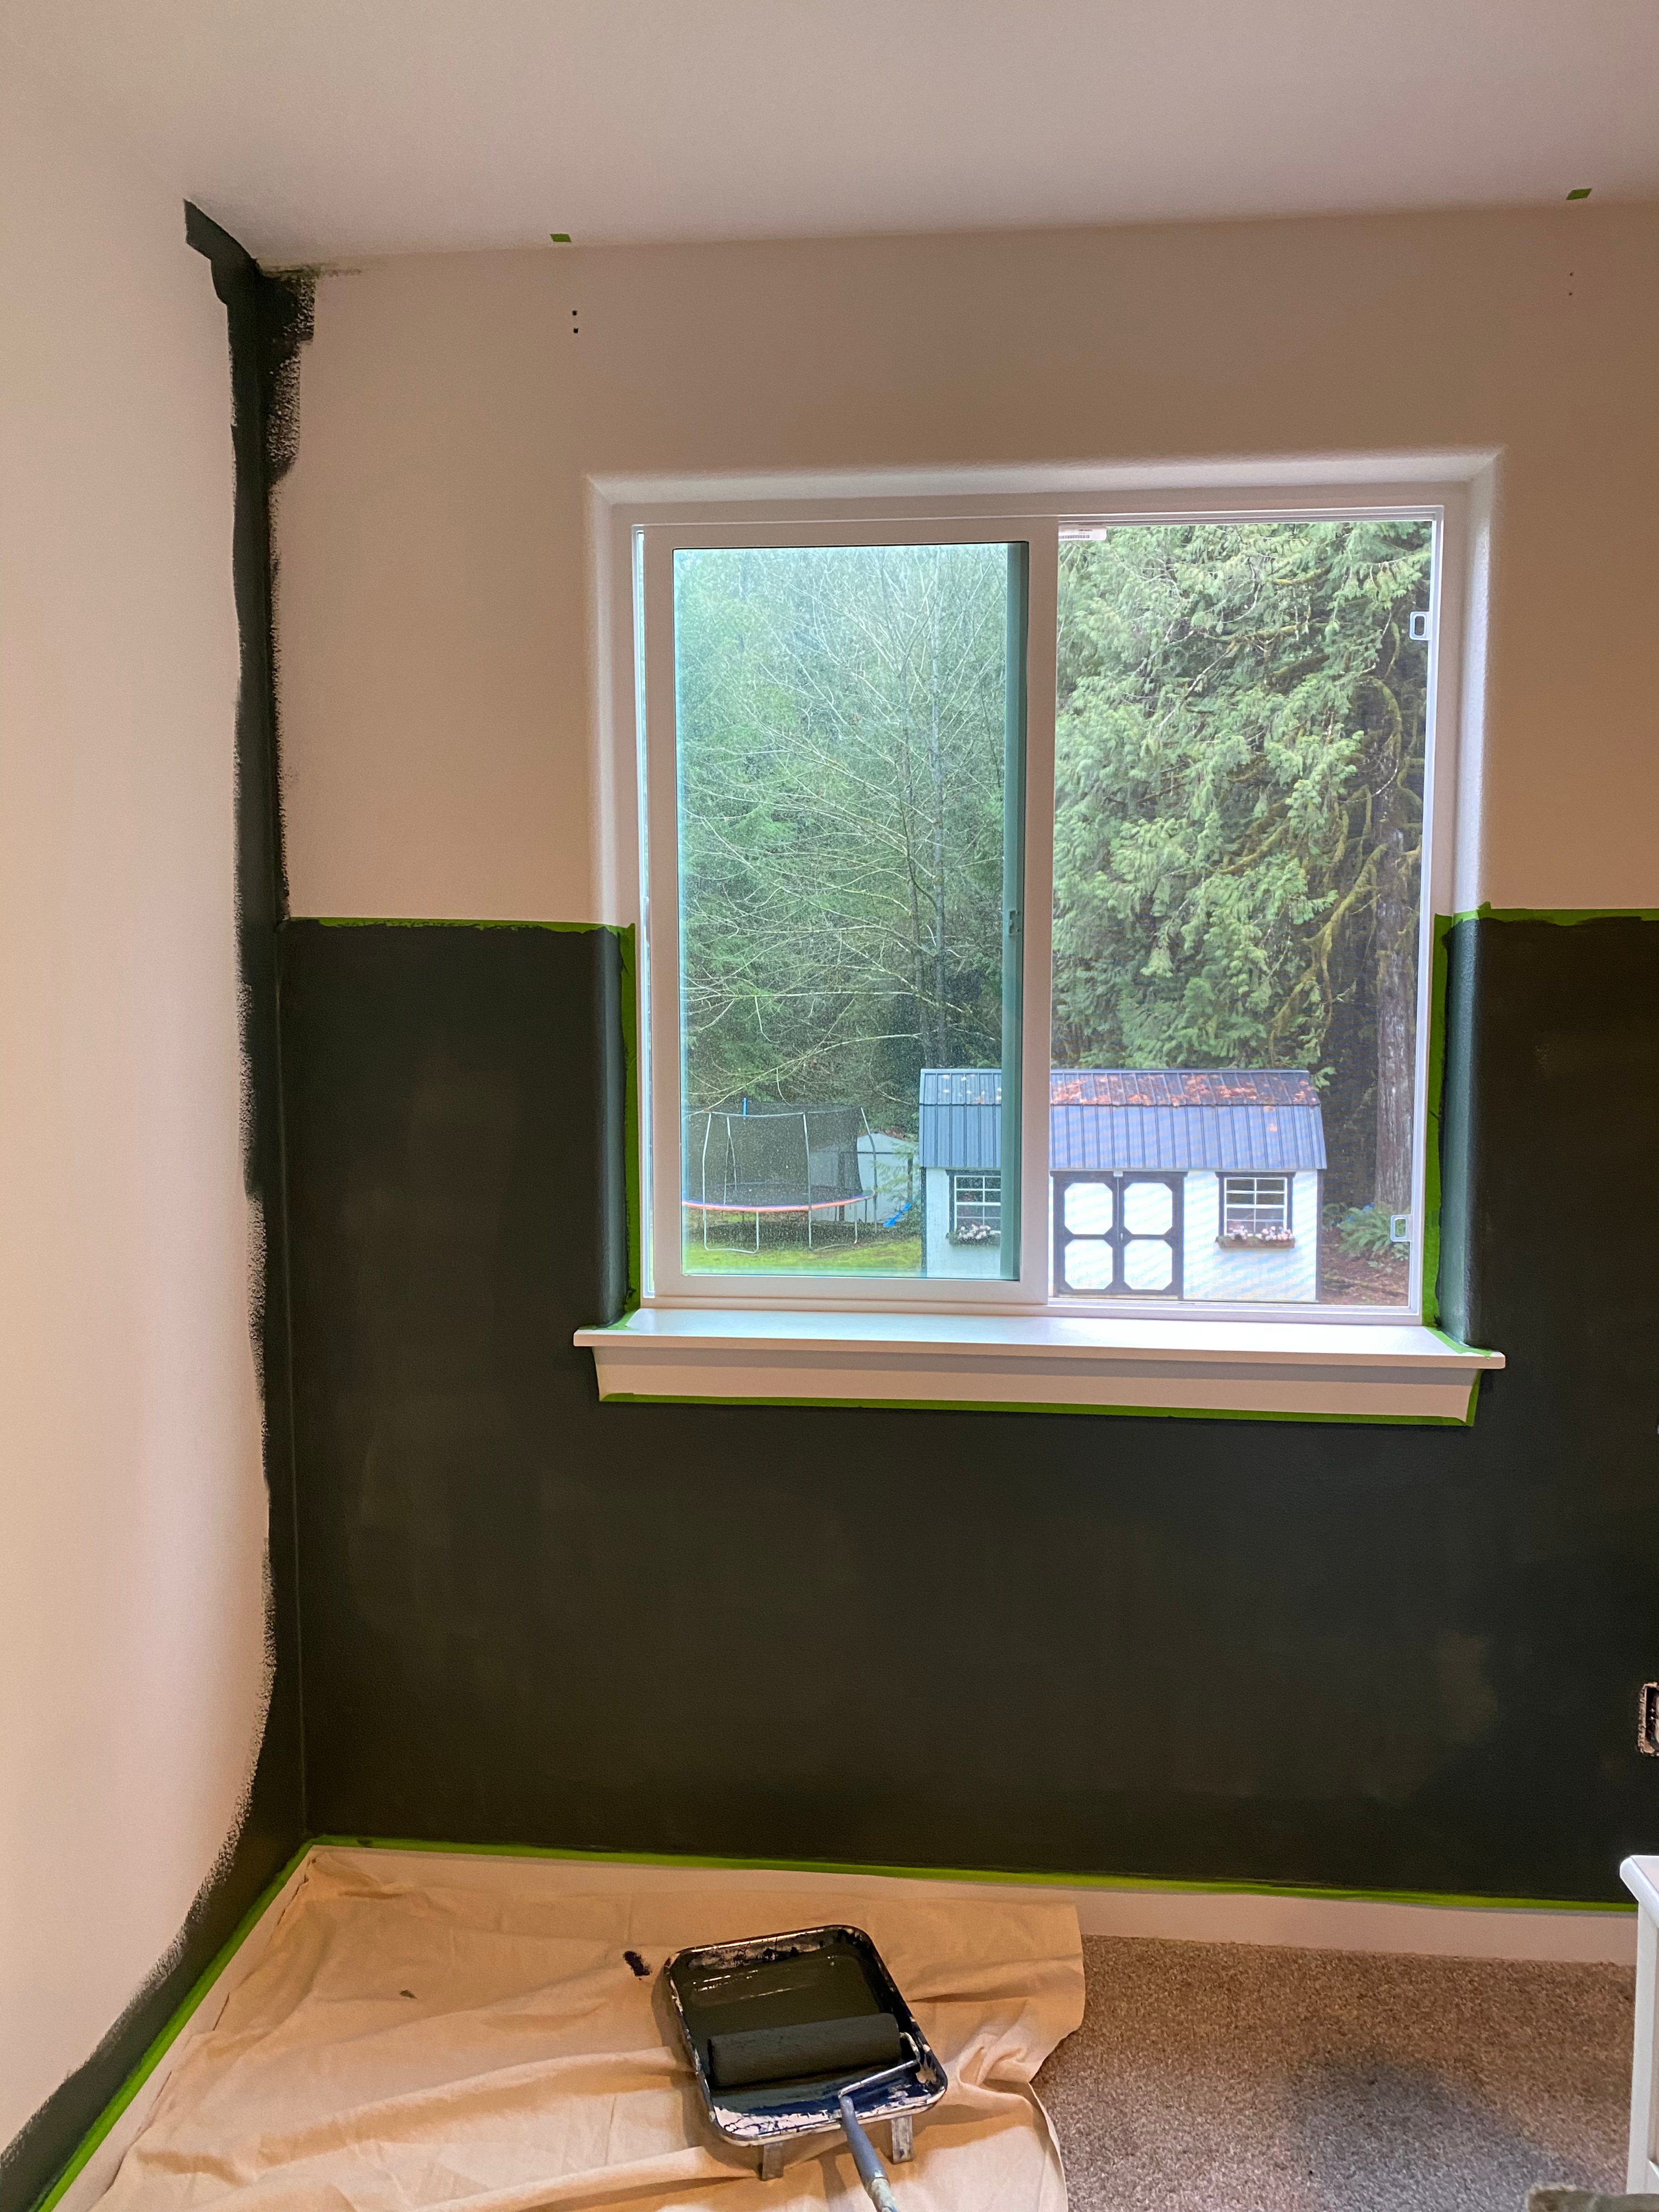
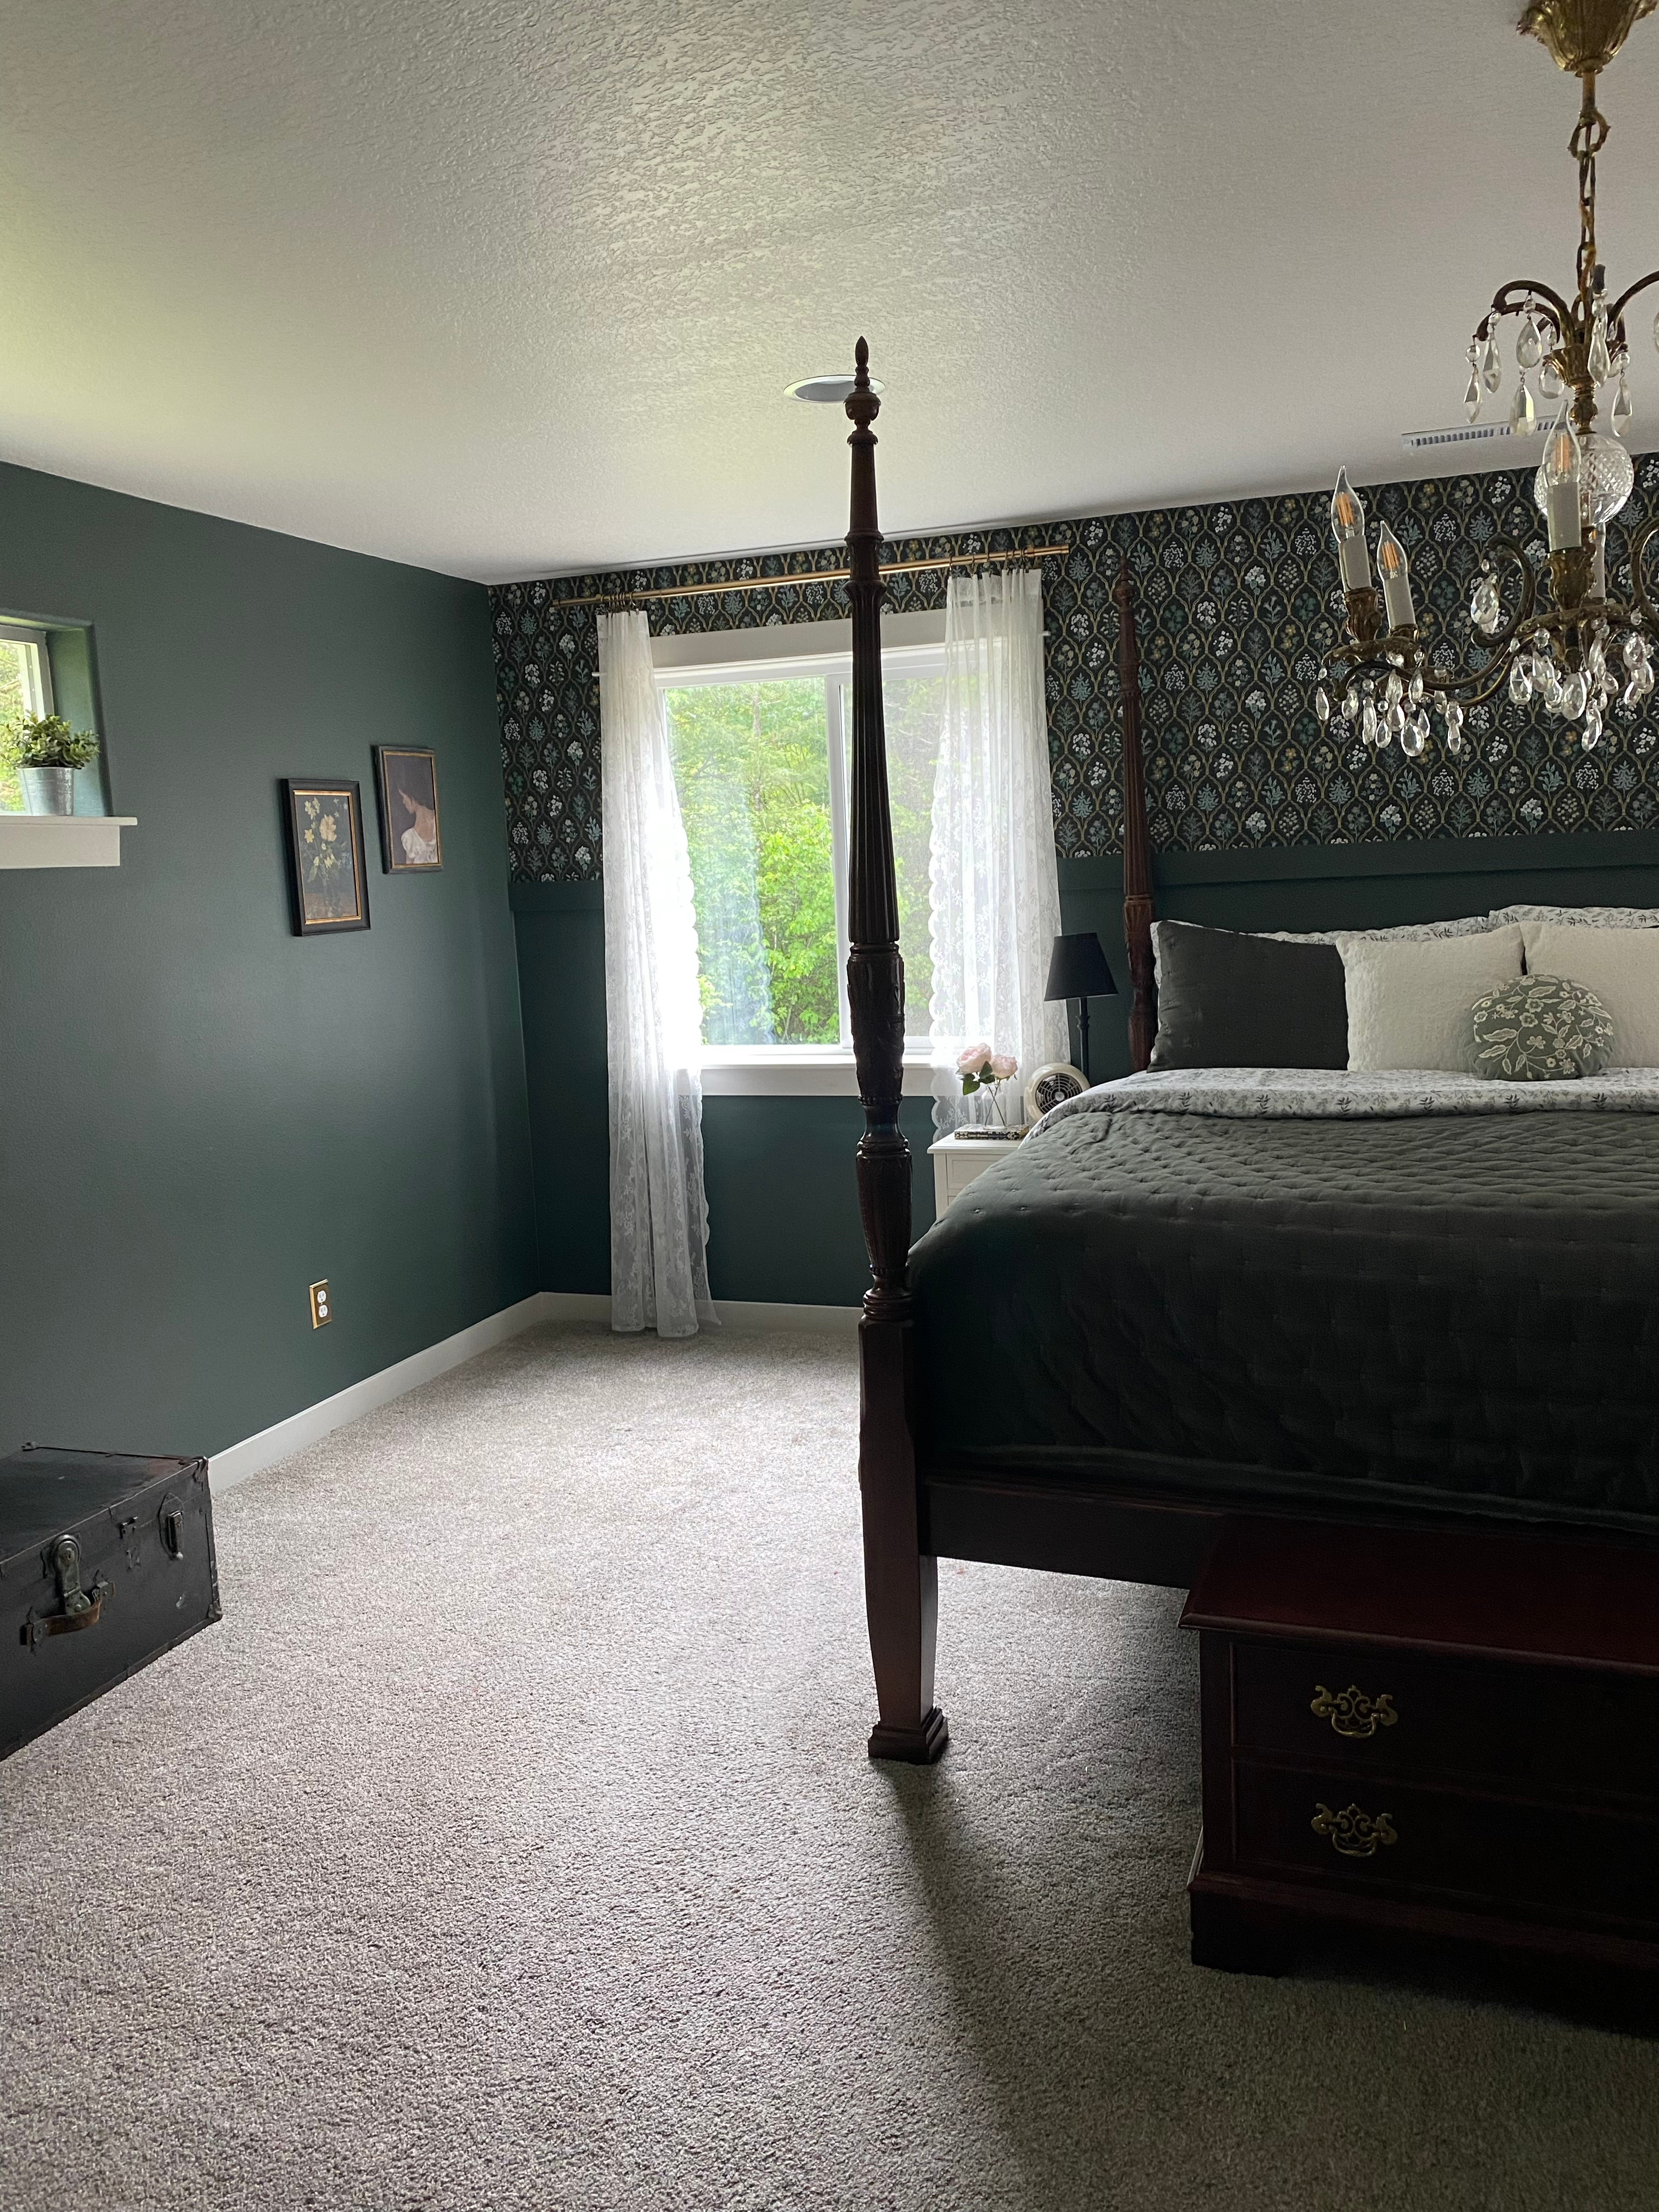
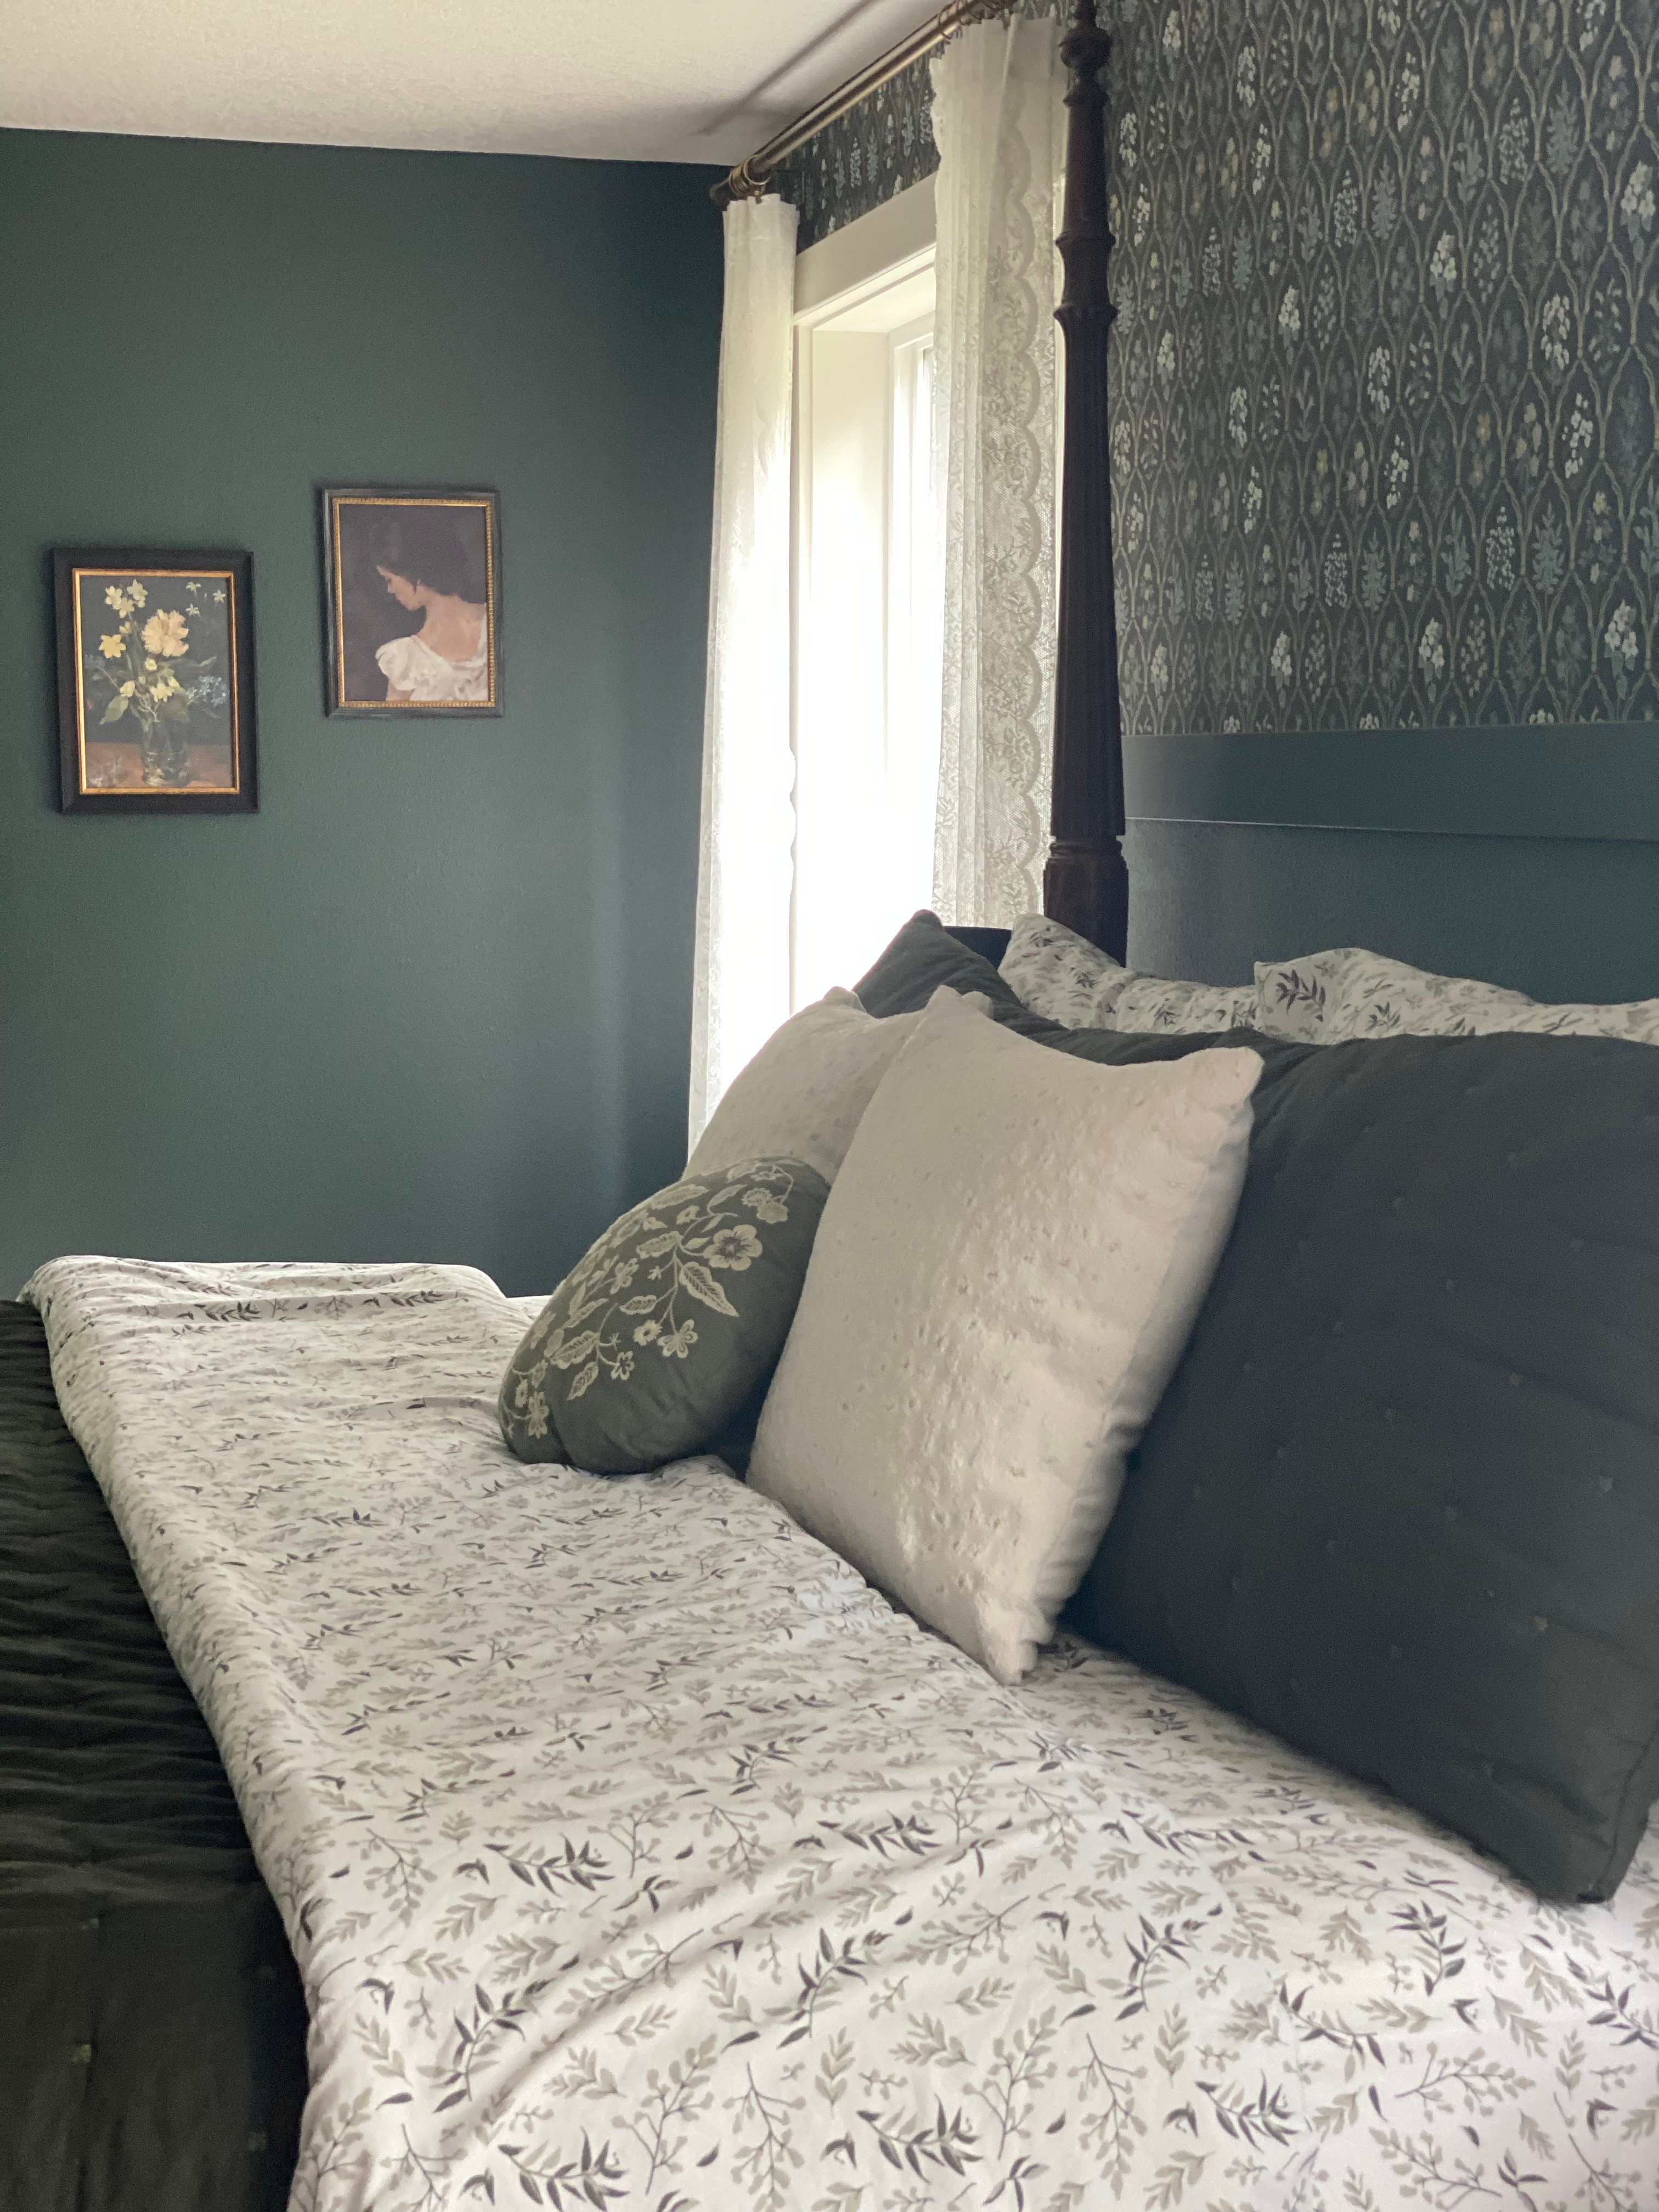
Meanwhilst, I was working on painting and planning decor for our master bedroom. In our last house, Ryan graciously allowed me to paint the walls a lovely cameo pink. And while I still love that color, I thought it might be his turn to have a favorite color, green, grace the walls. We chose a Magnolia color, 1905 Green. Their website describes it as “a slightly jeweled forest green.” I would say that is totally accurate. We both absolutely love the deep moody color. Our room gets a lot of natural light so the dark color works well. Home decor bloggers would tell you to pick your inspiration words for a space, mine were moody, romantic, and elegant. I tell you, waking up to this room drenched in sunlight, is just lovely.


Ok, so back to the rug pattern, I found the William Morris Blackthorn pattern available at Spoonflower and immediately started obsessing over just the right pattern and color to choose. (If you don’t know, Spoonflower has nearly an infinite number of patterns in just as many variations and options.) It’s dizzying to try to find just the right thing.

FULL STOP: This is where I should have ordered samples. But didn’t. Mistake. Always, always, always order samples of wallpaper. Did you hear me? Always order samples, no exceptions, no buts, no what ifs, always order samples. Please, learn from me.

I showed Ryan (who trusts me on these things) the wallpaper, and feeling slightly impulsive, ordered the wallpaper. It was impulsive and a mistake. I knew better, but just didn’t want to wait. It arrived and I didn’t love it. But I tried to convince myself I did love it. I tried so hard, I told myself if we put it on the wall I would love it more. Yes, just put it on the wall, that’s the solution.

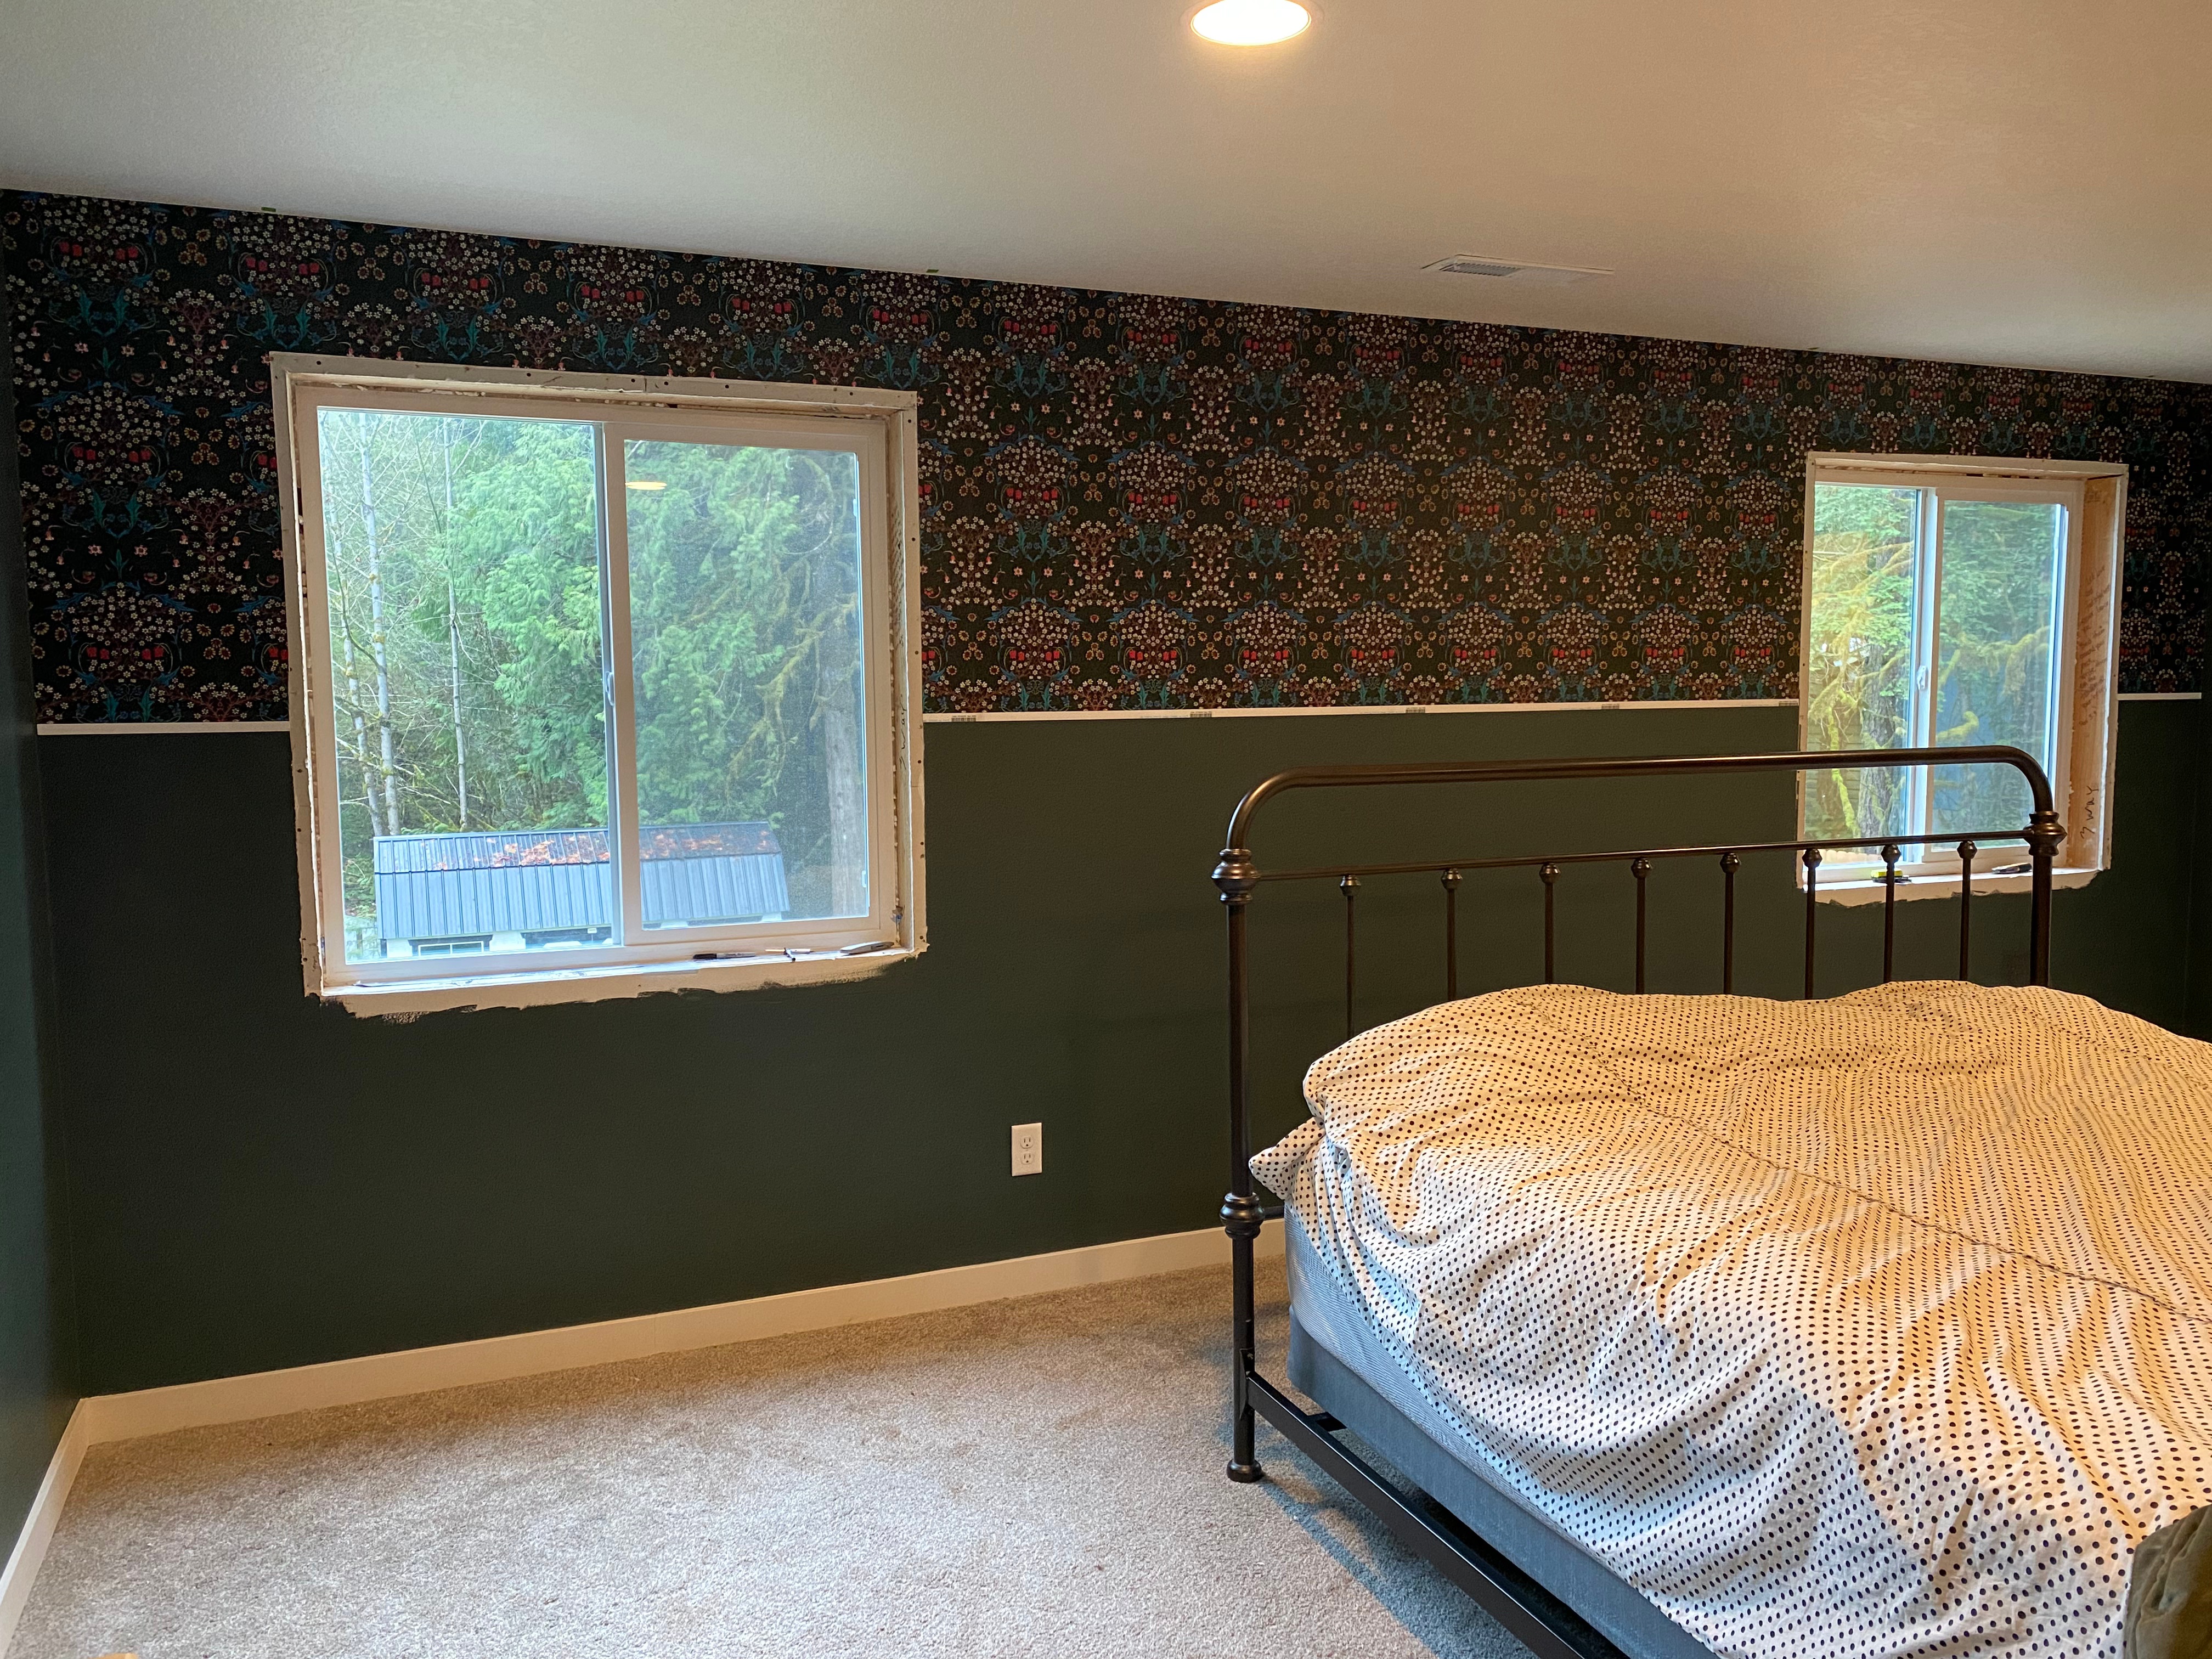
So, we put it up on the wall, the whole wall. I did not love it, the colors weren’t right, and the pattern felt too “cartoony” compared to the inspiration rug. I also did not love Spoonflower’s Peel-n-Stick. It was easy to put up, but started unsticking almost immediately. Weeks turned into months and I still did not love the wallpaper. And, it started coming up in several more places. I thought shamefully about the hasty, impulsive decision, completely my fault. And then, I remembered the wallpaper I originally wanted from Rifle Paper Co. I had decided it was too expensive, but it was the wallpaper I really loved.

ANOTHER STOP: It is worth it to wait for something you love, and invest a bit more money than to settle for something you don’t love and end up paying even more for it in the end. Which is what I did. Paid twice for wallpaper. Twice.

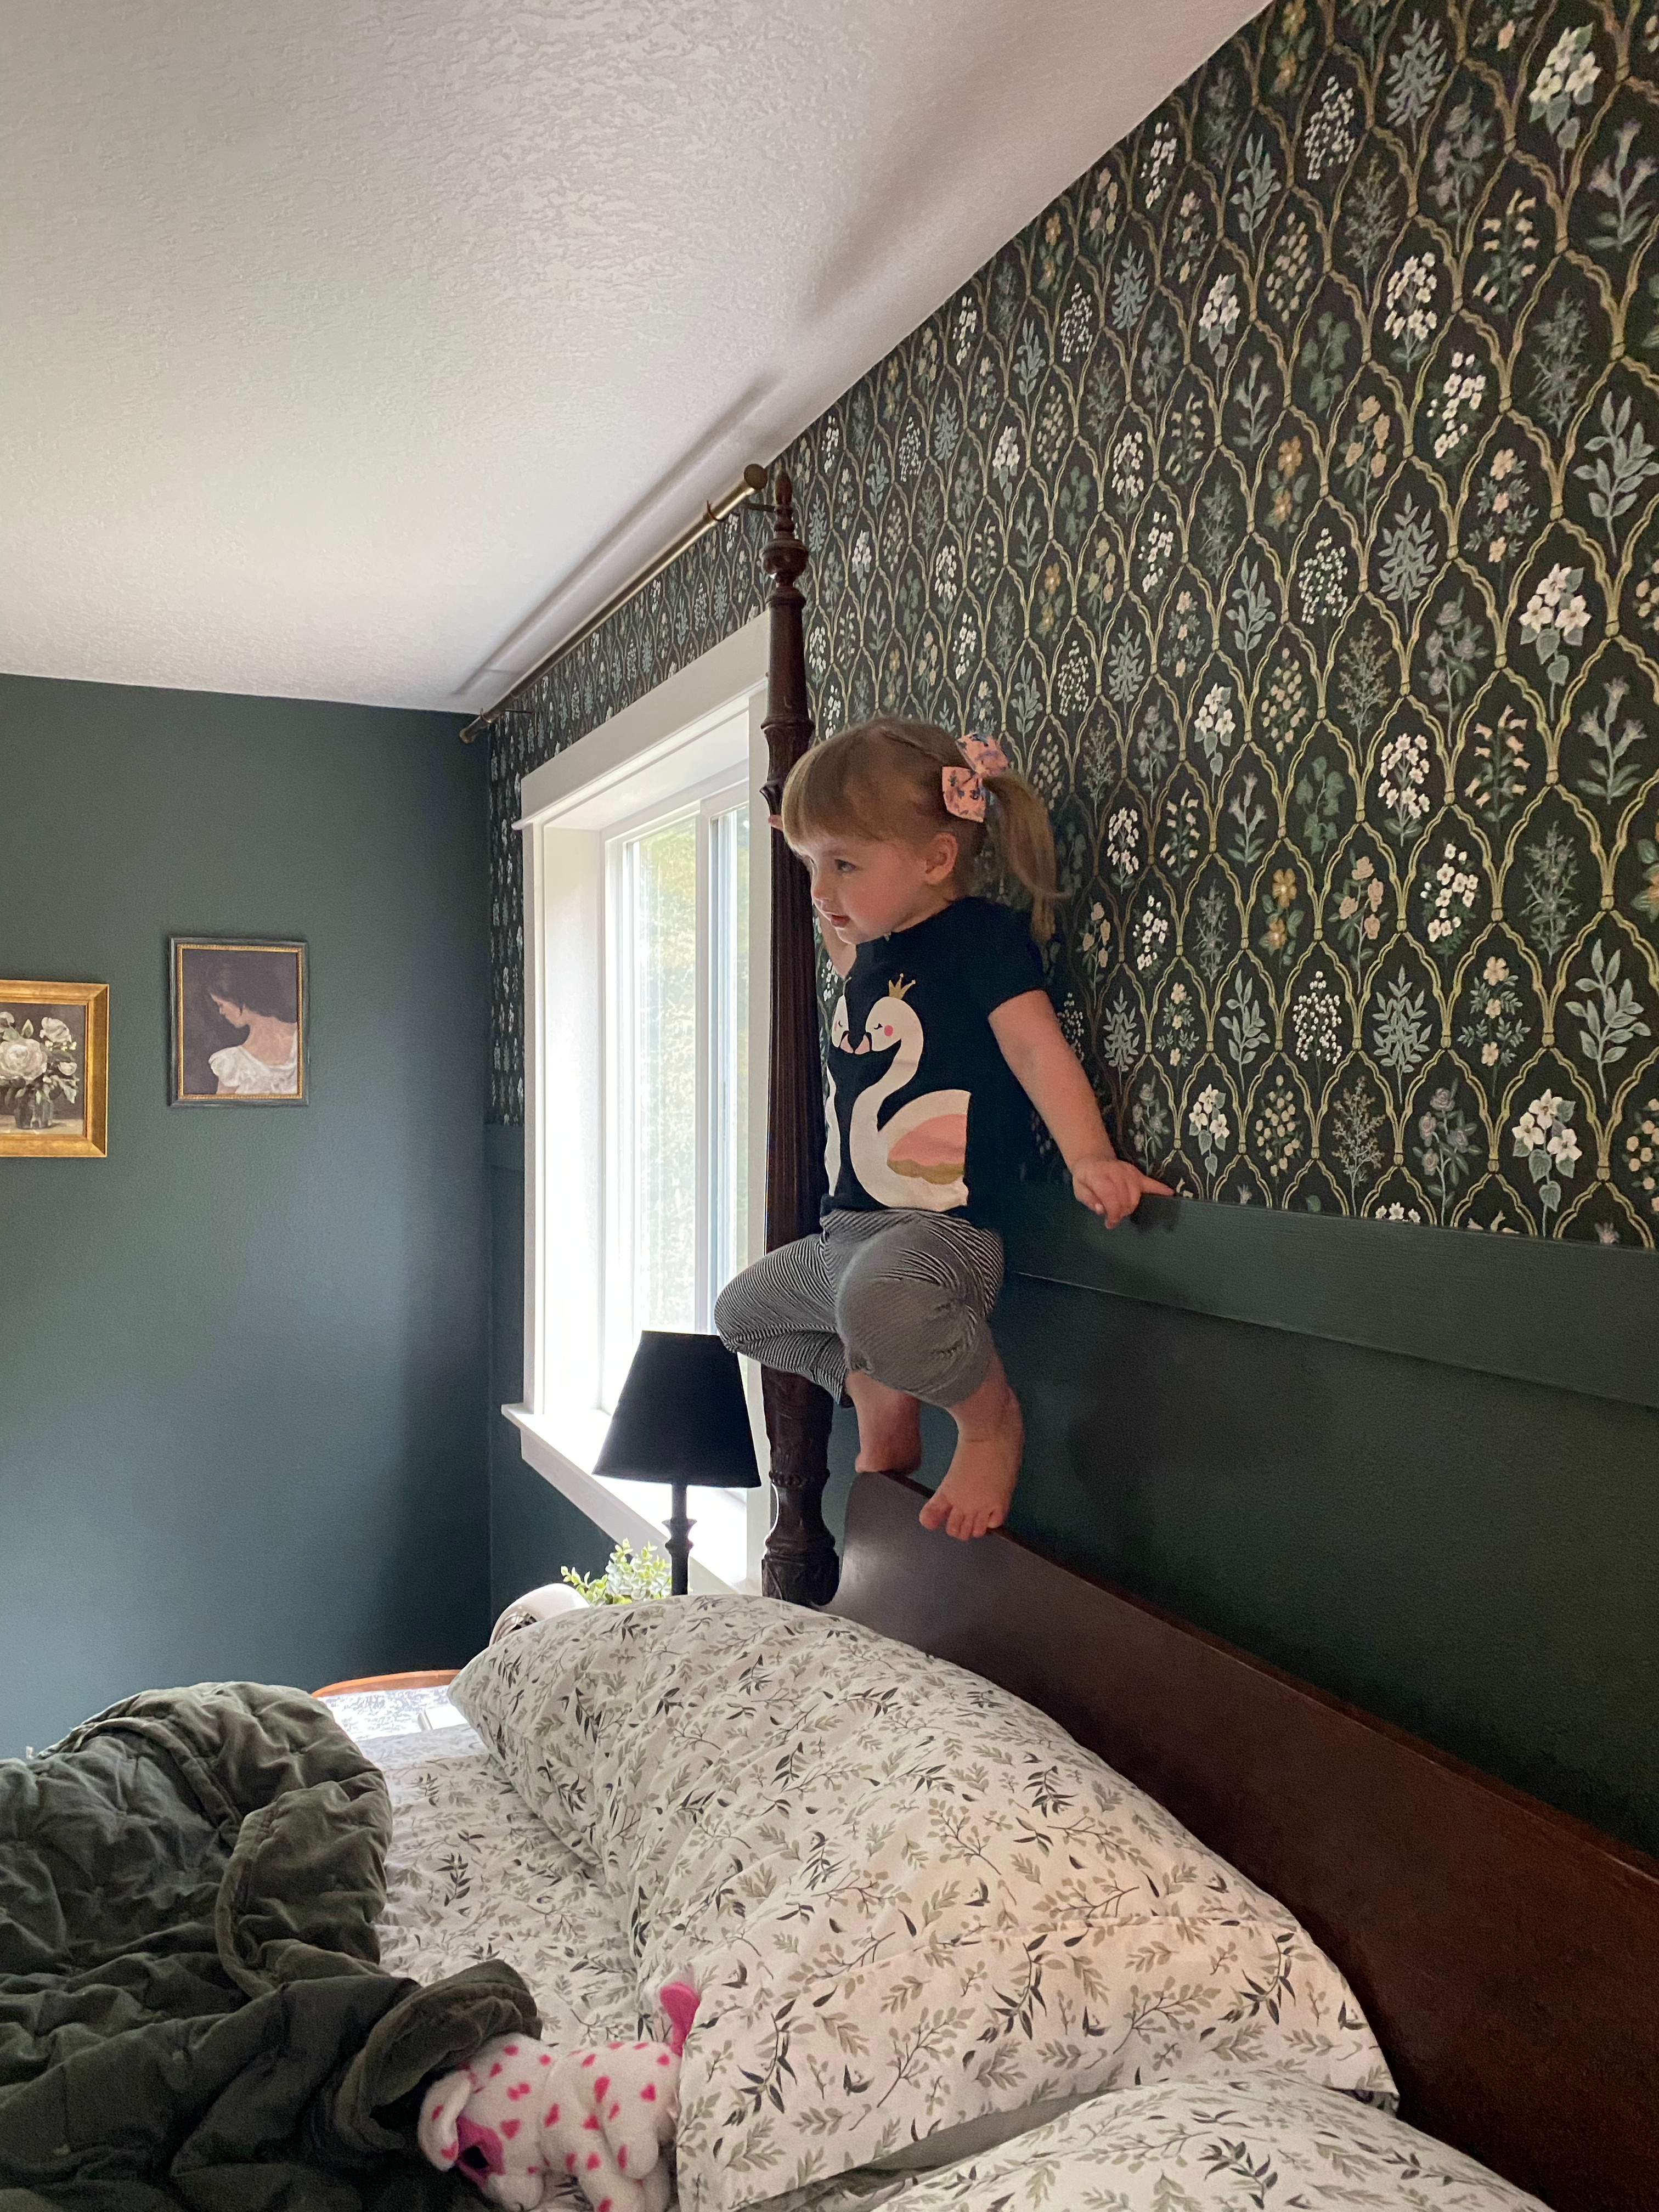
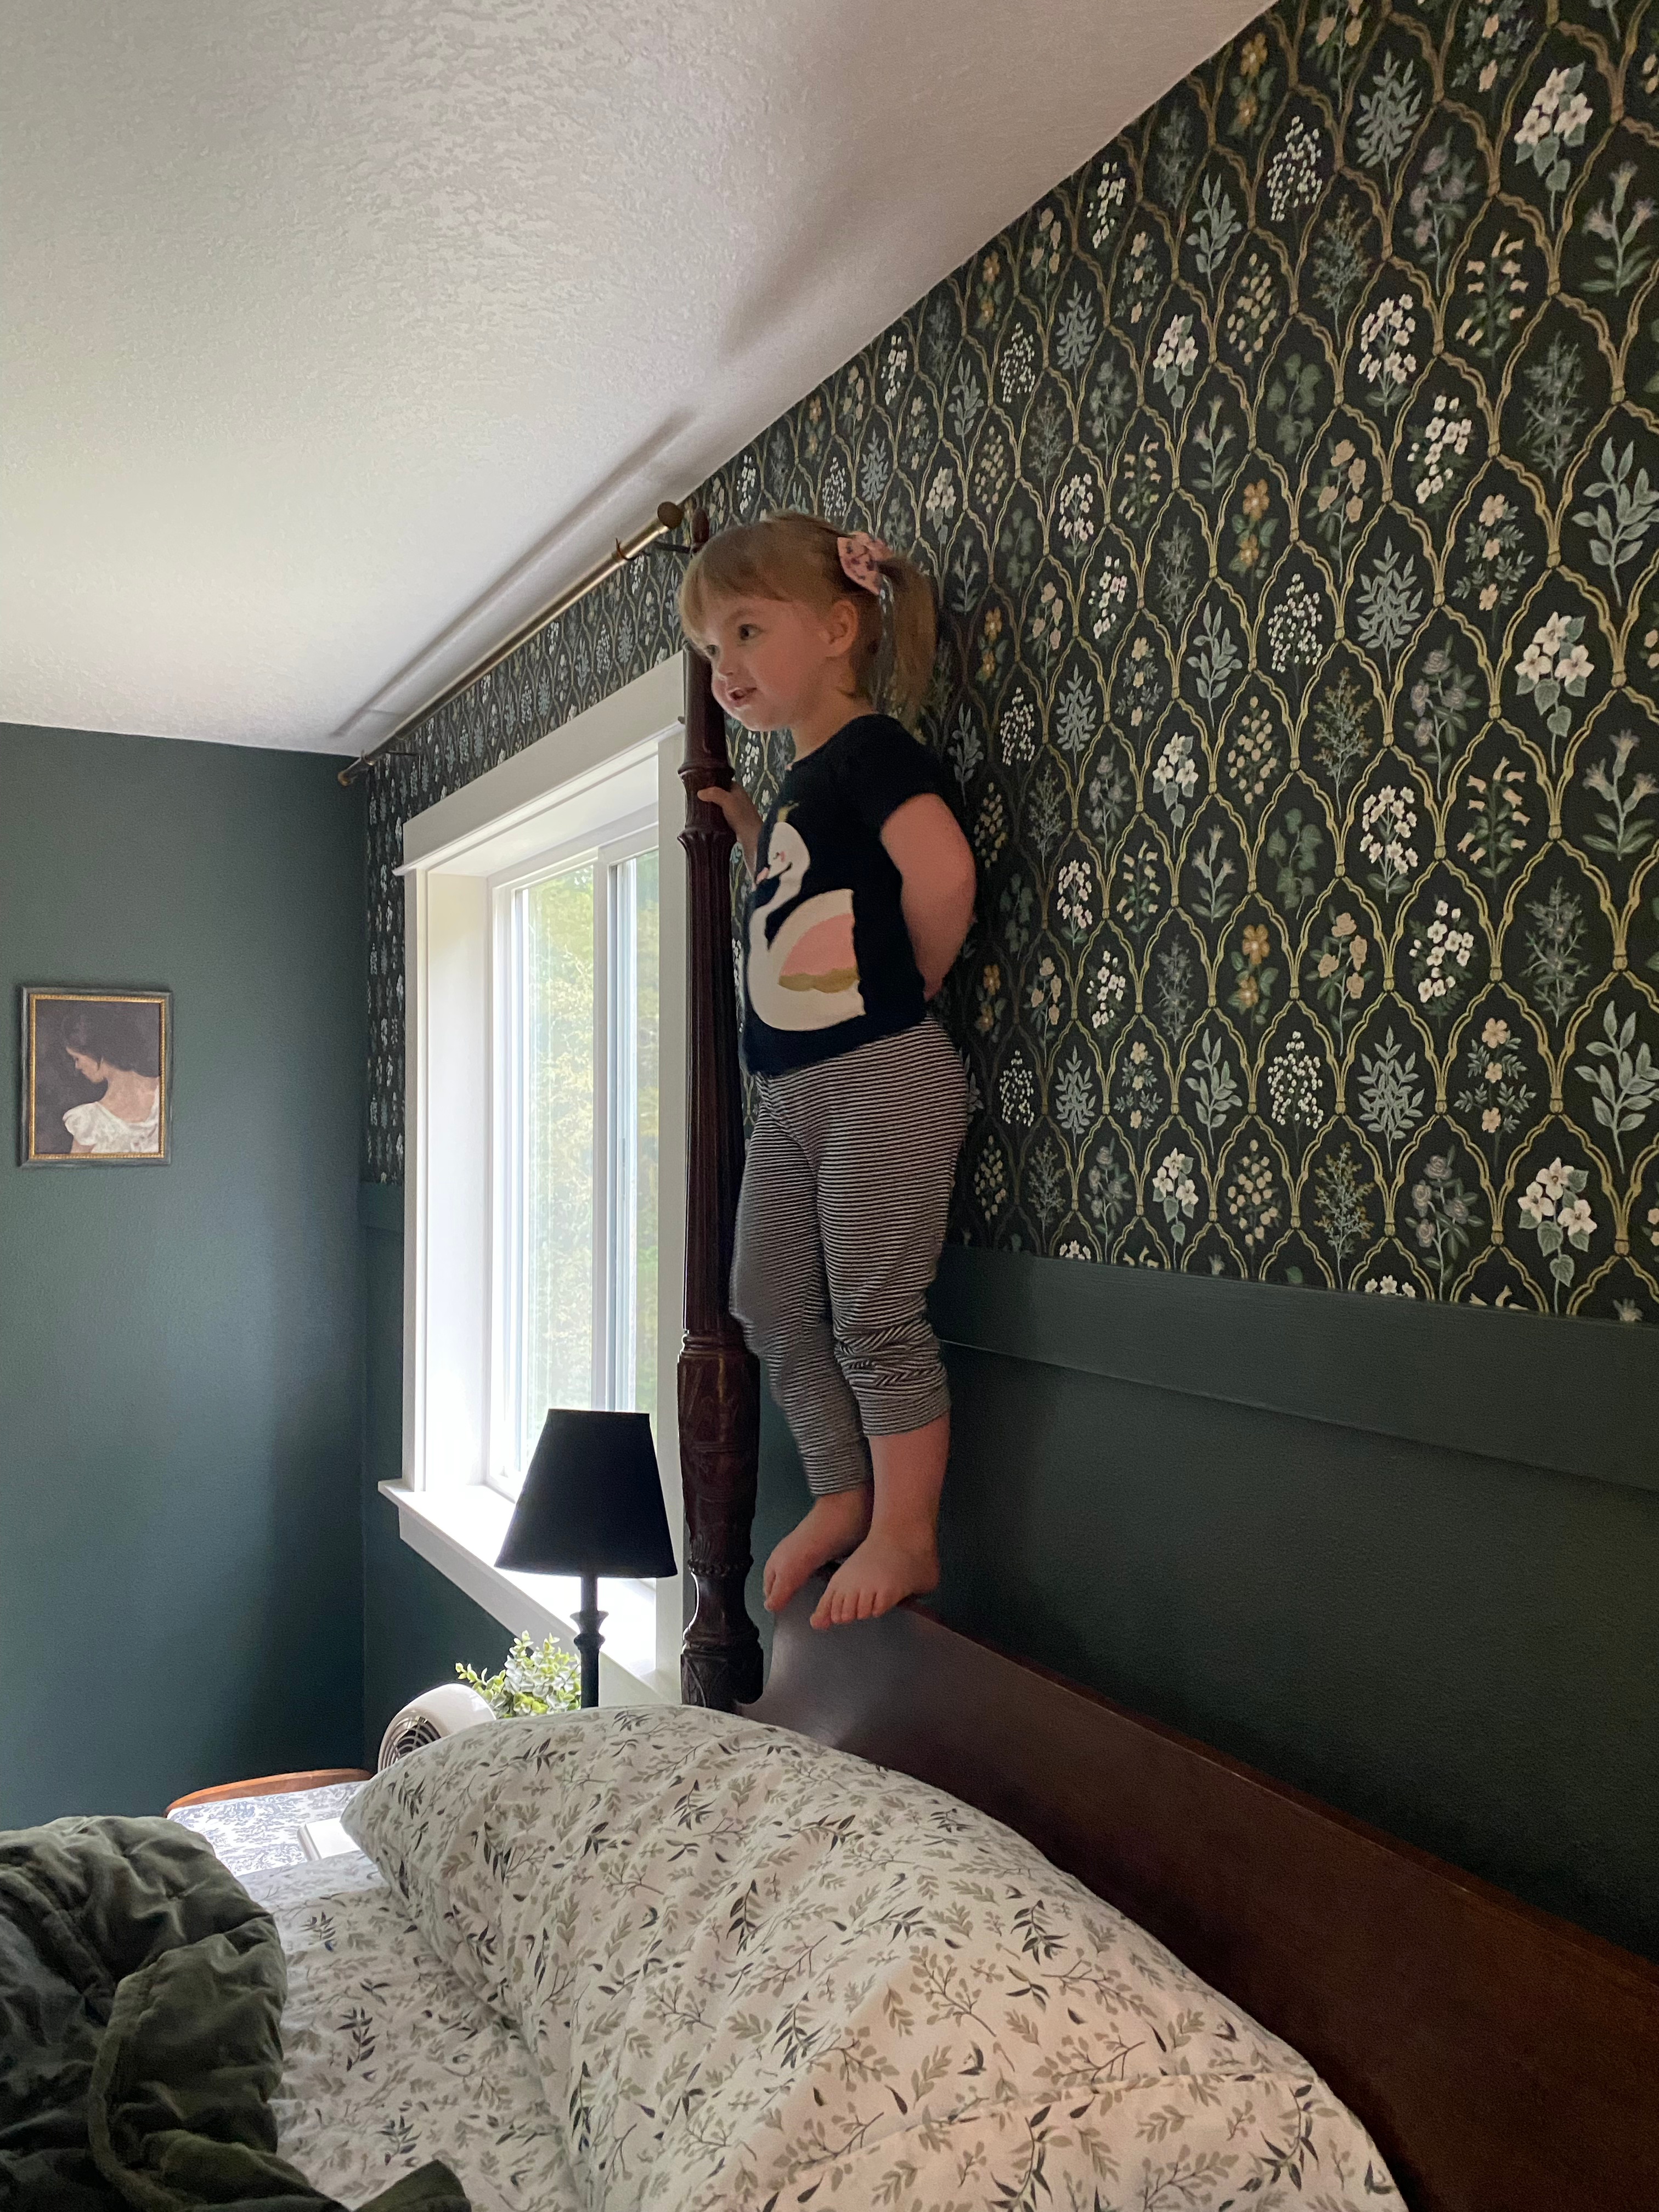
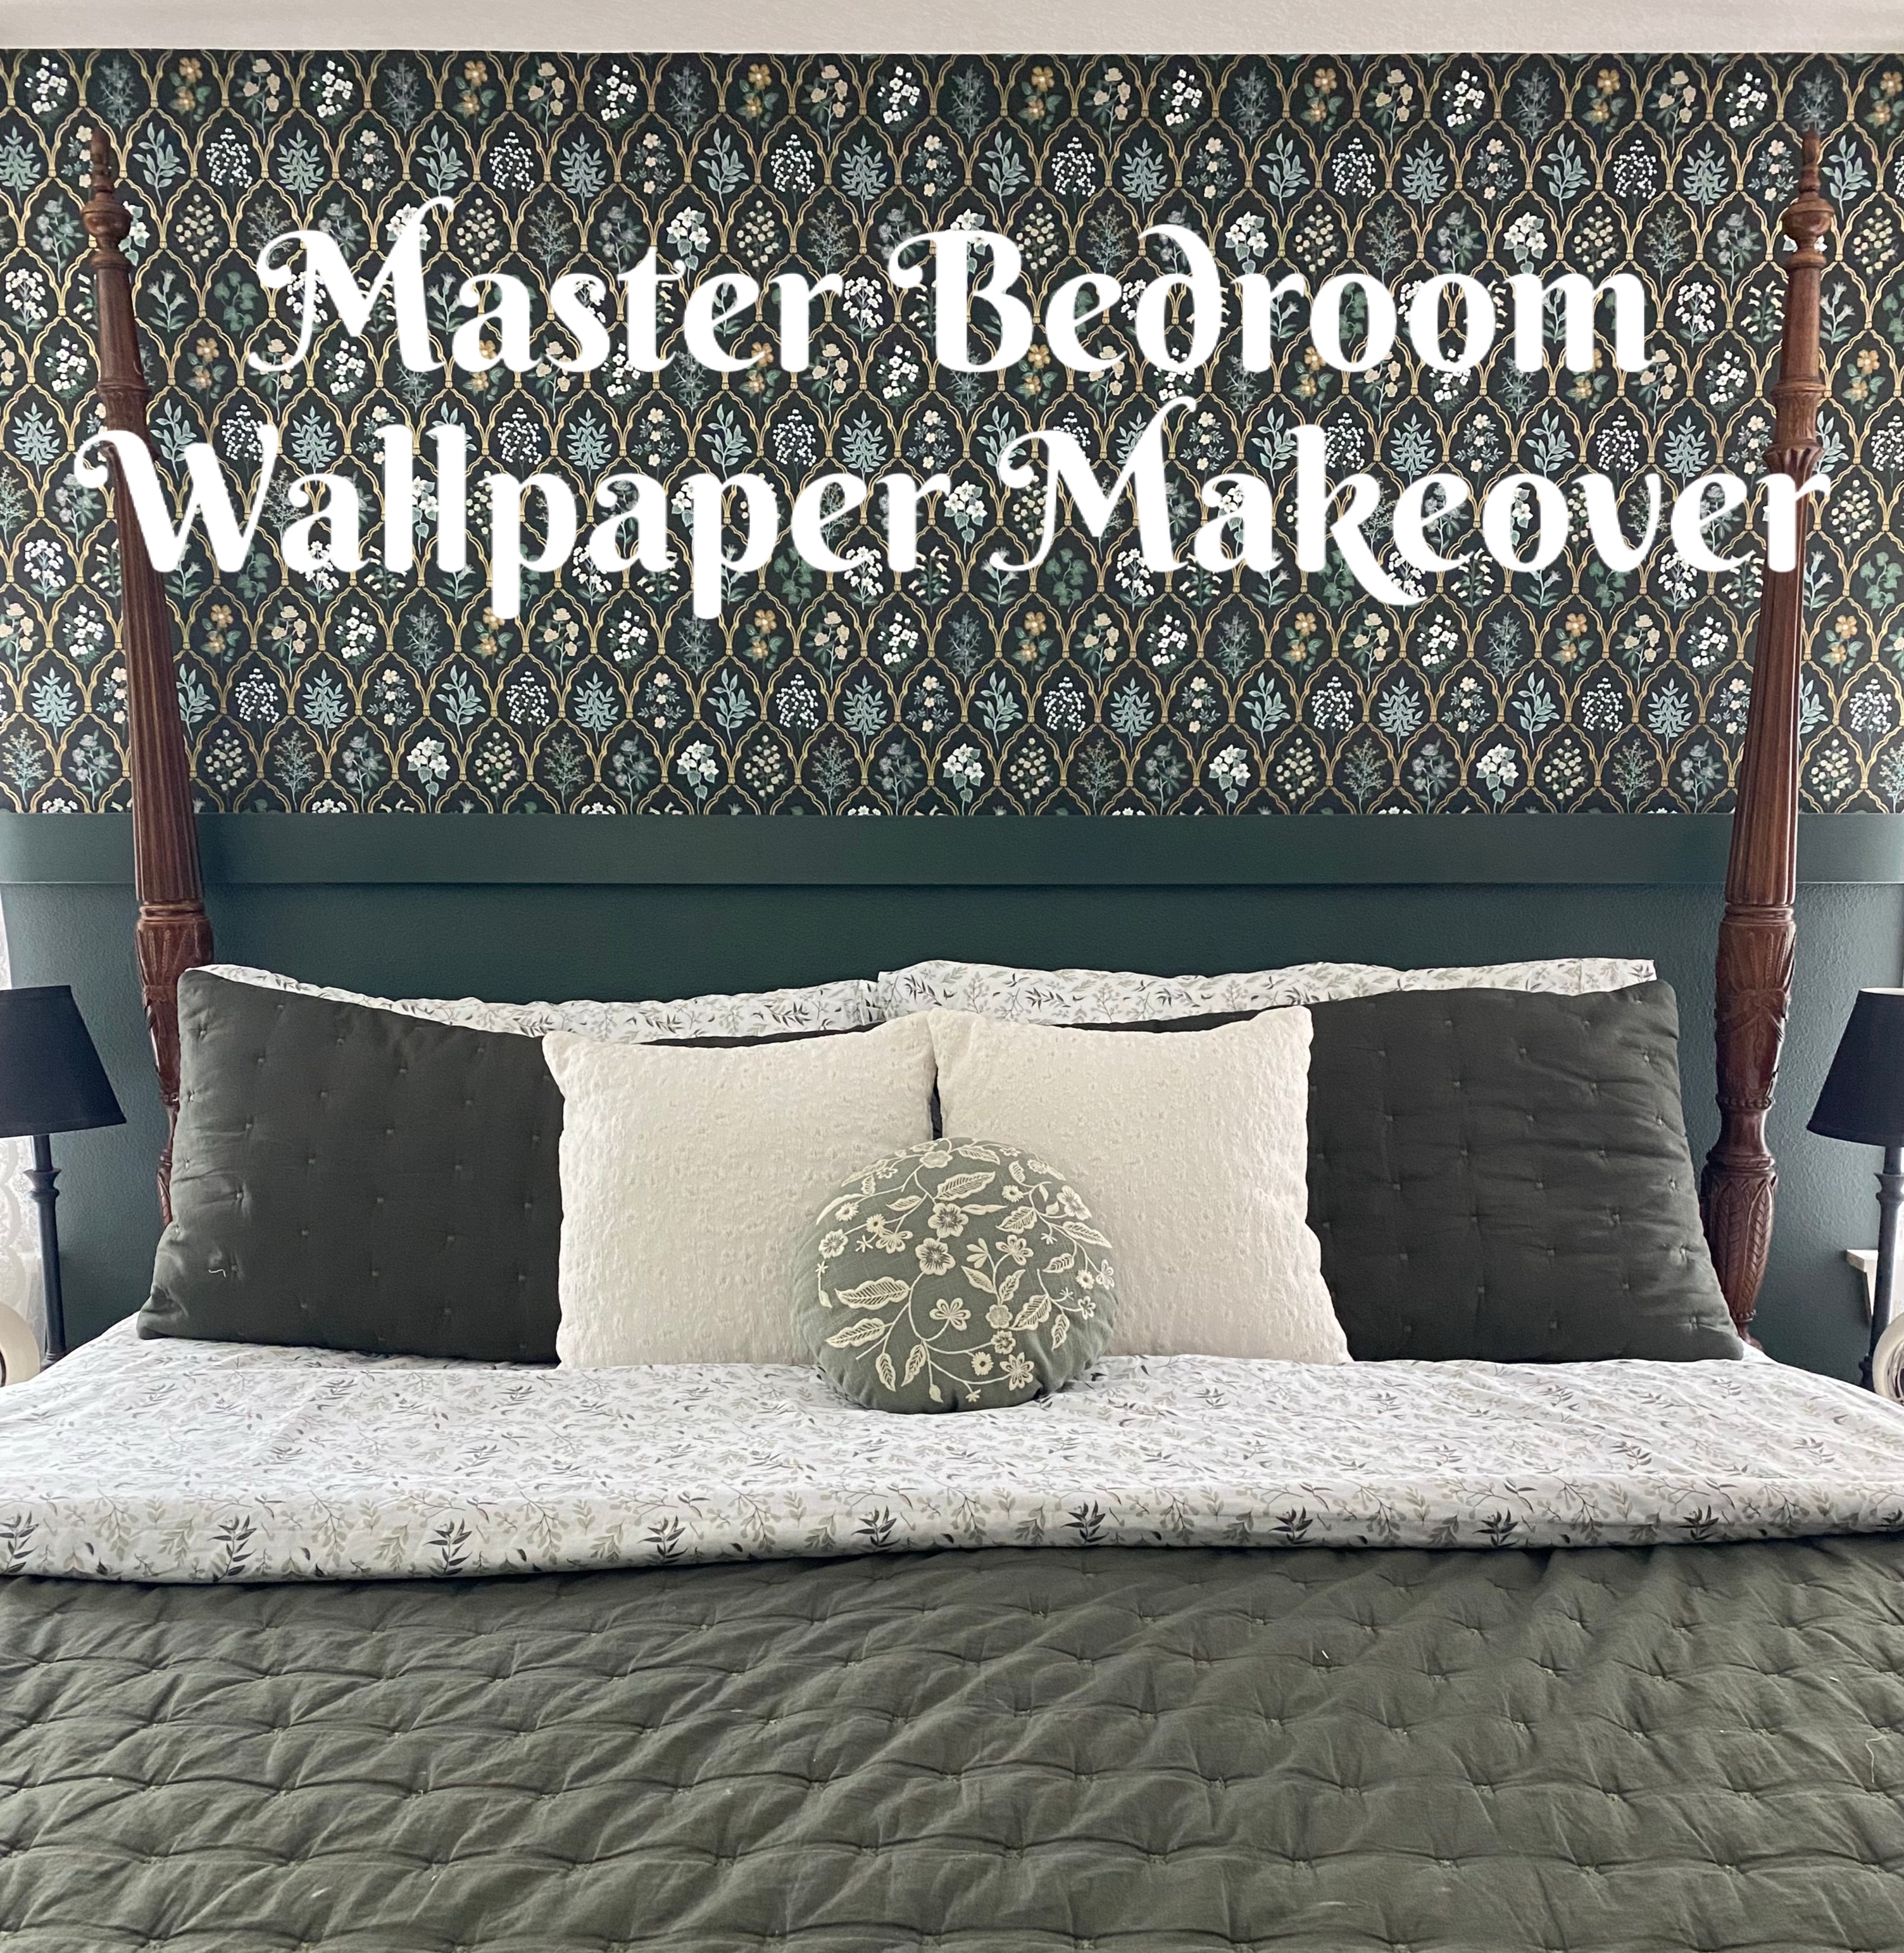
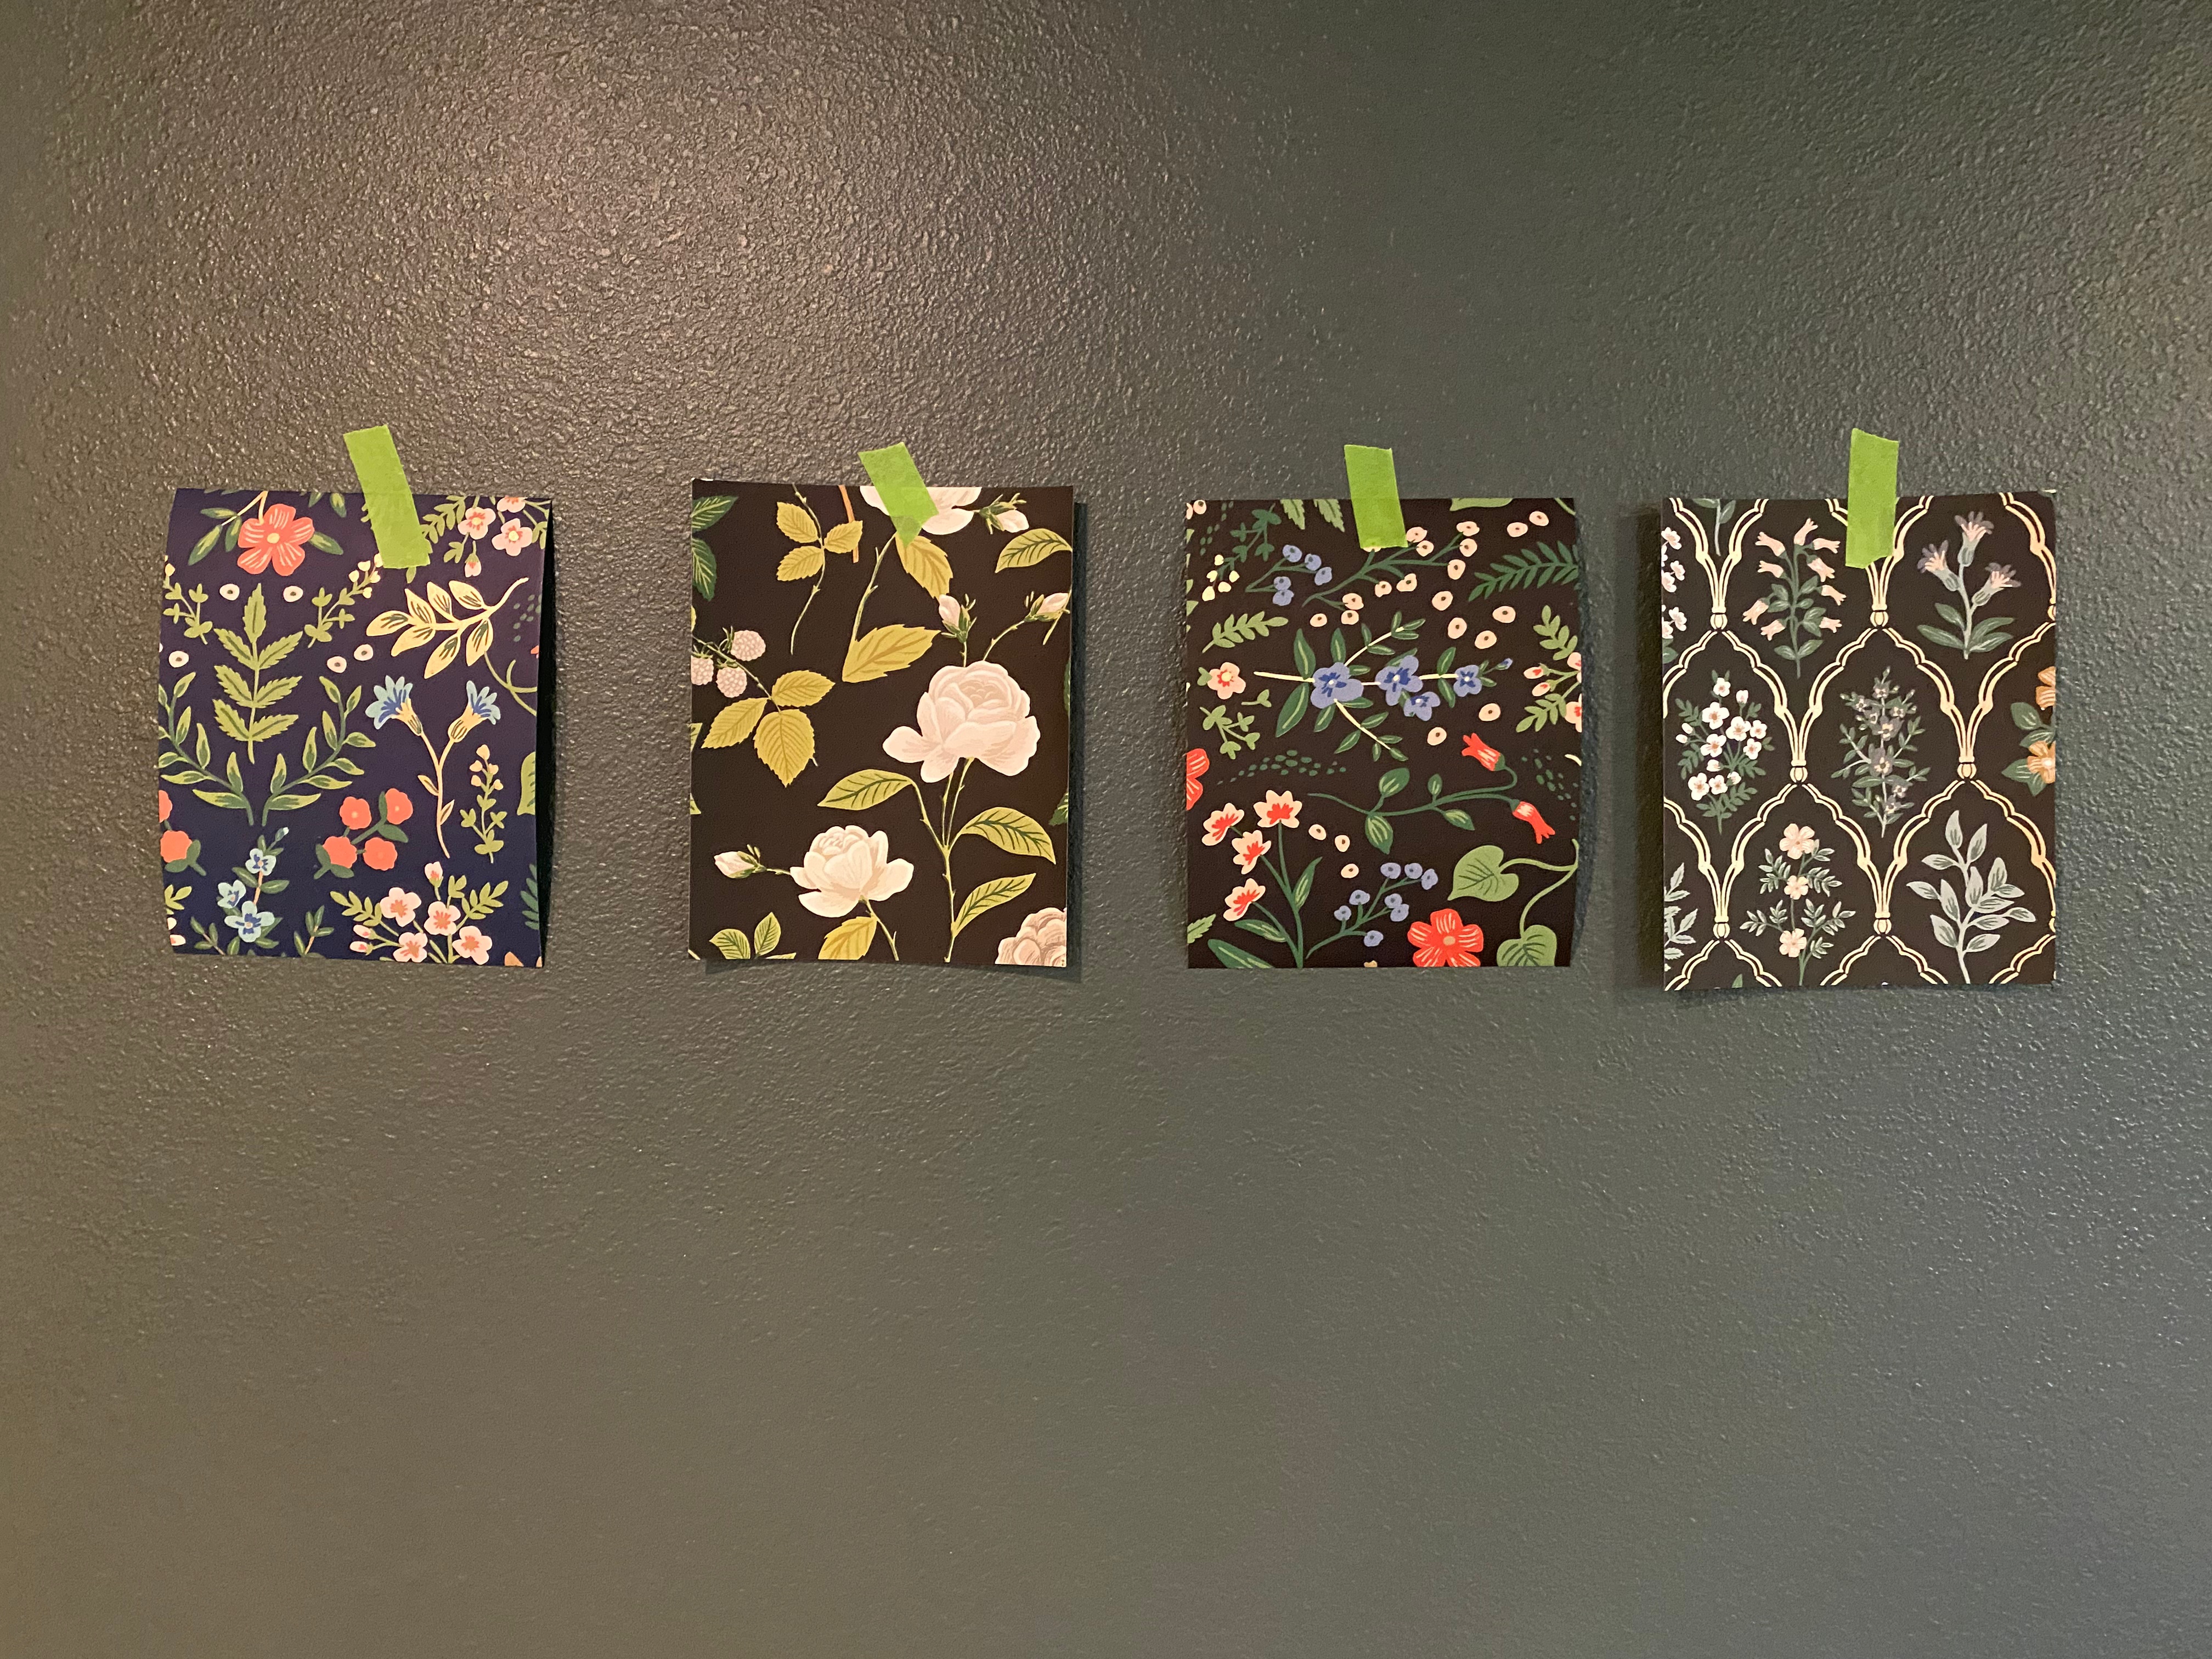
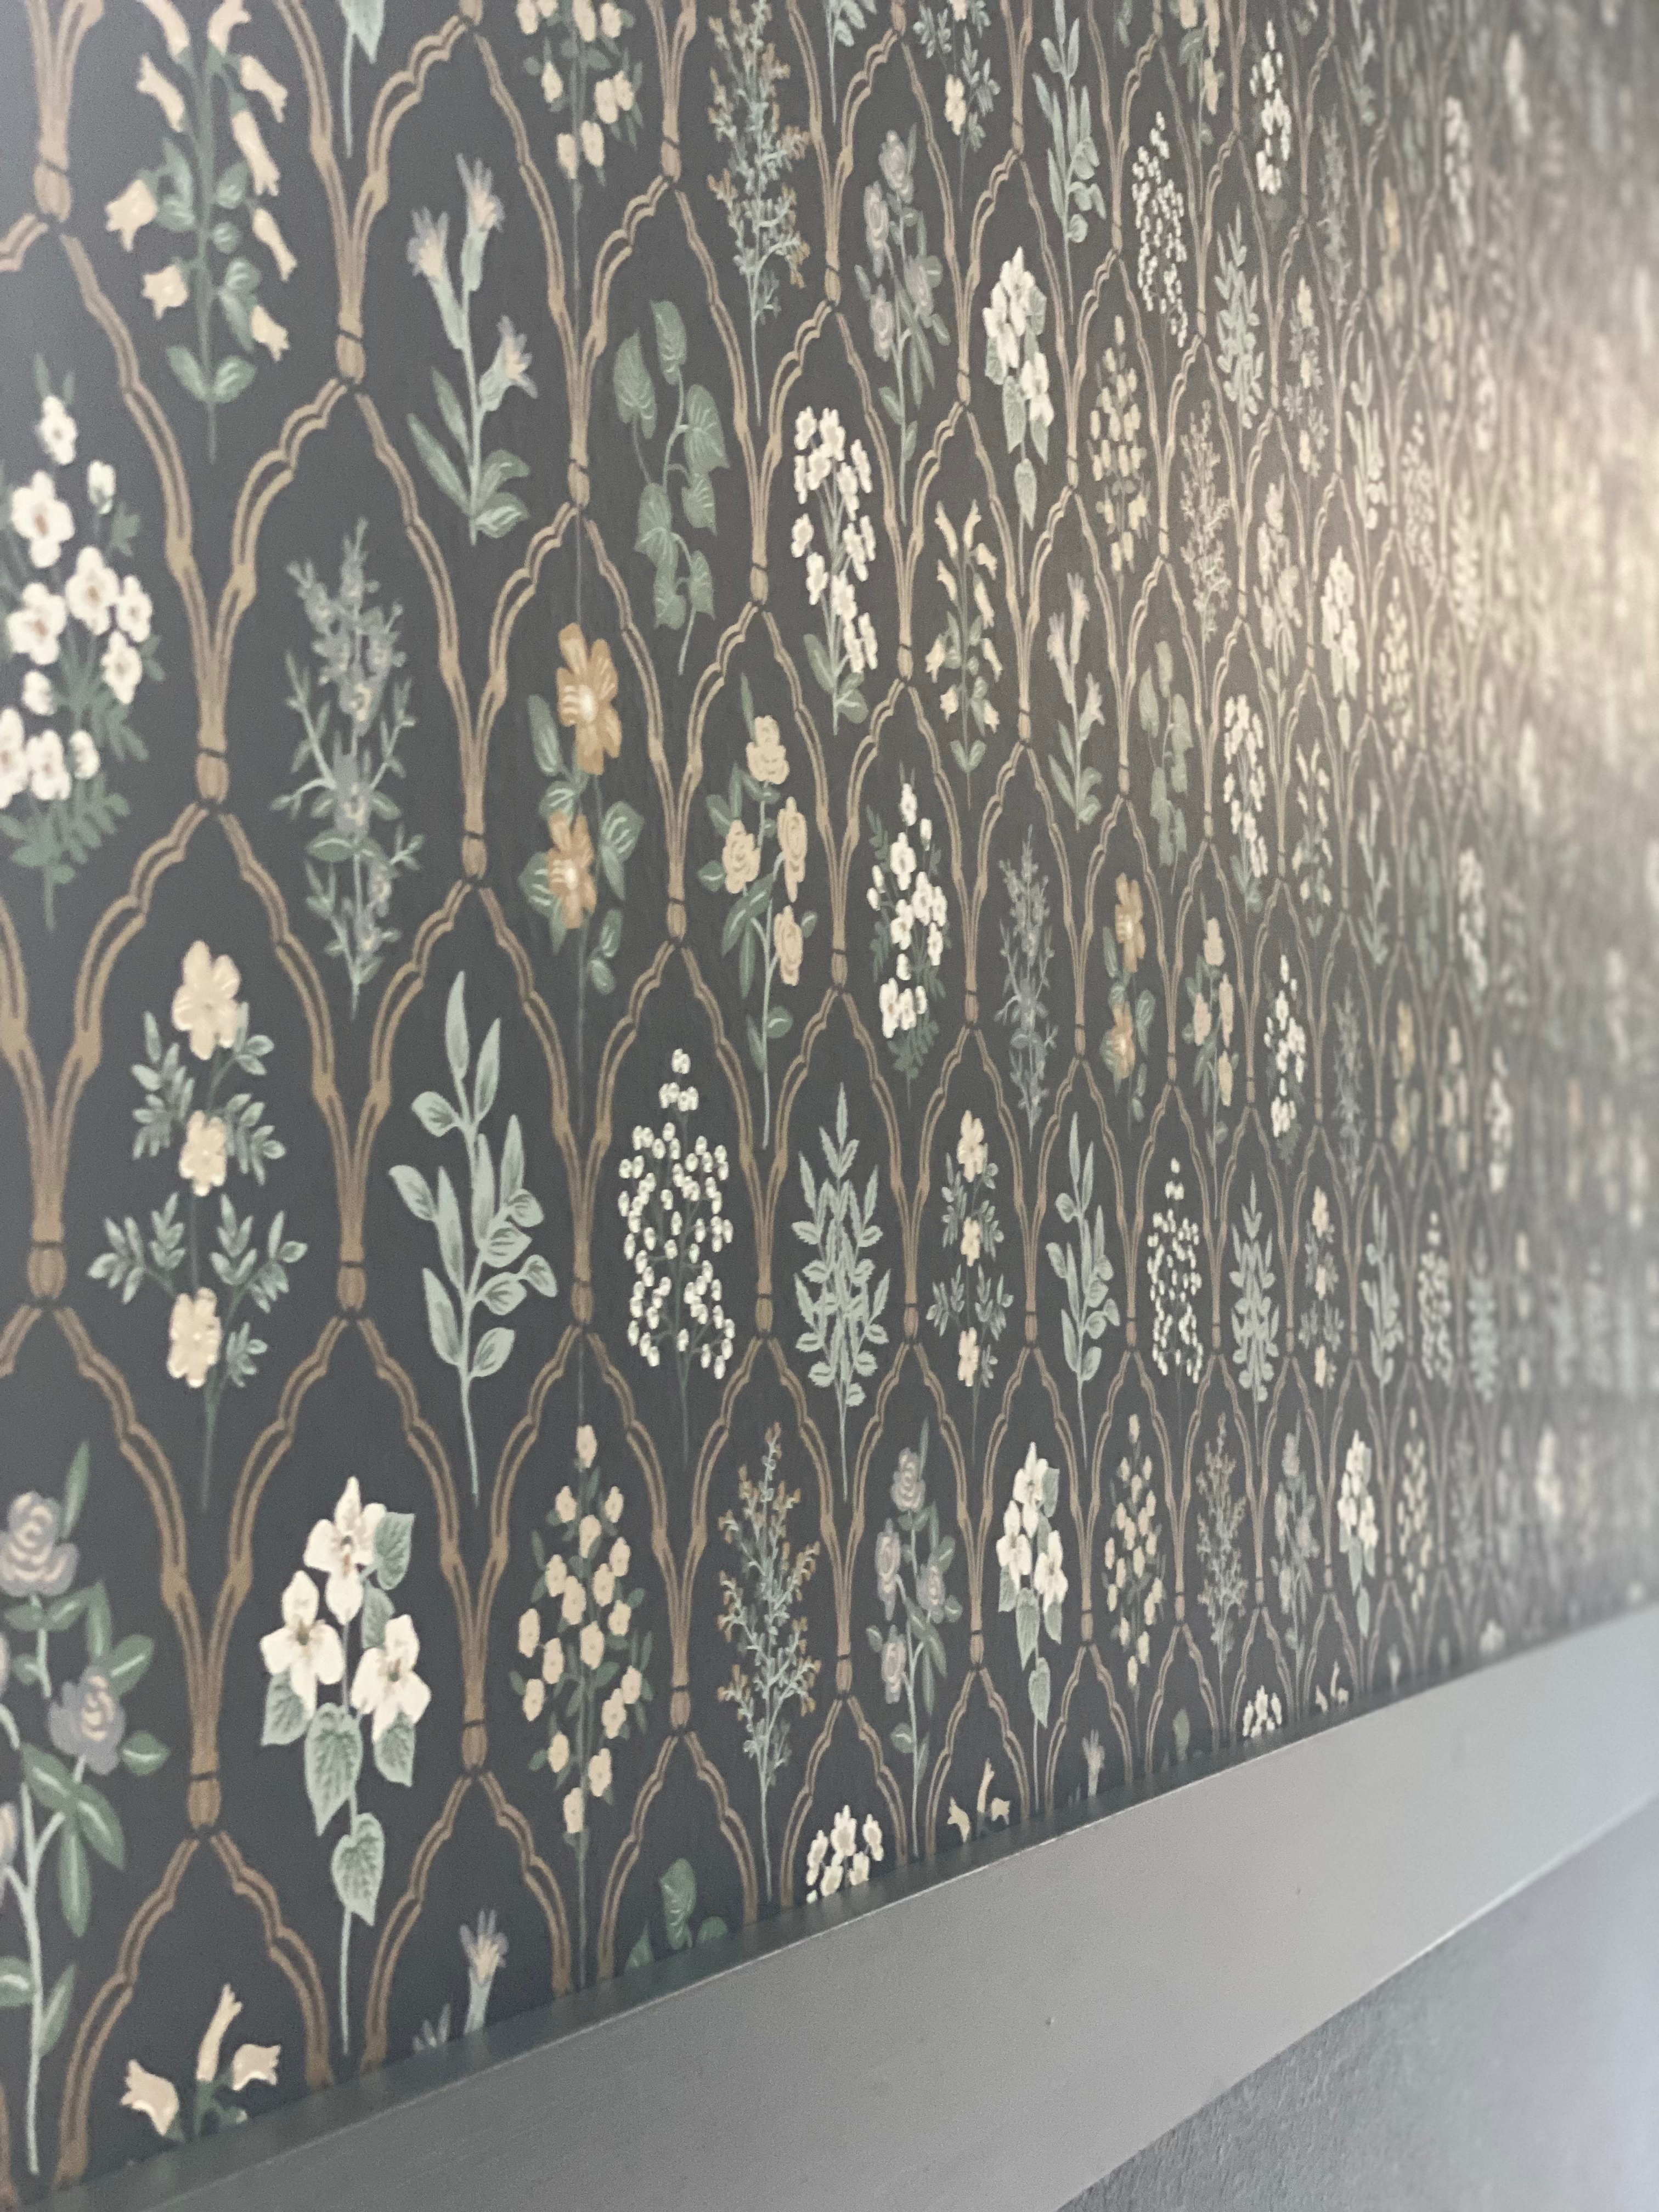
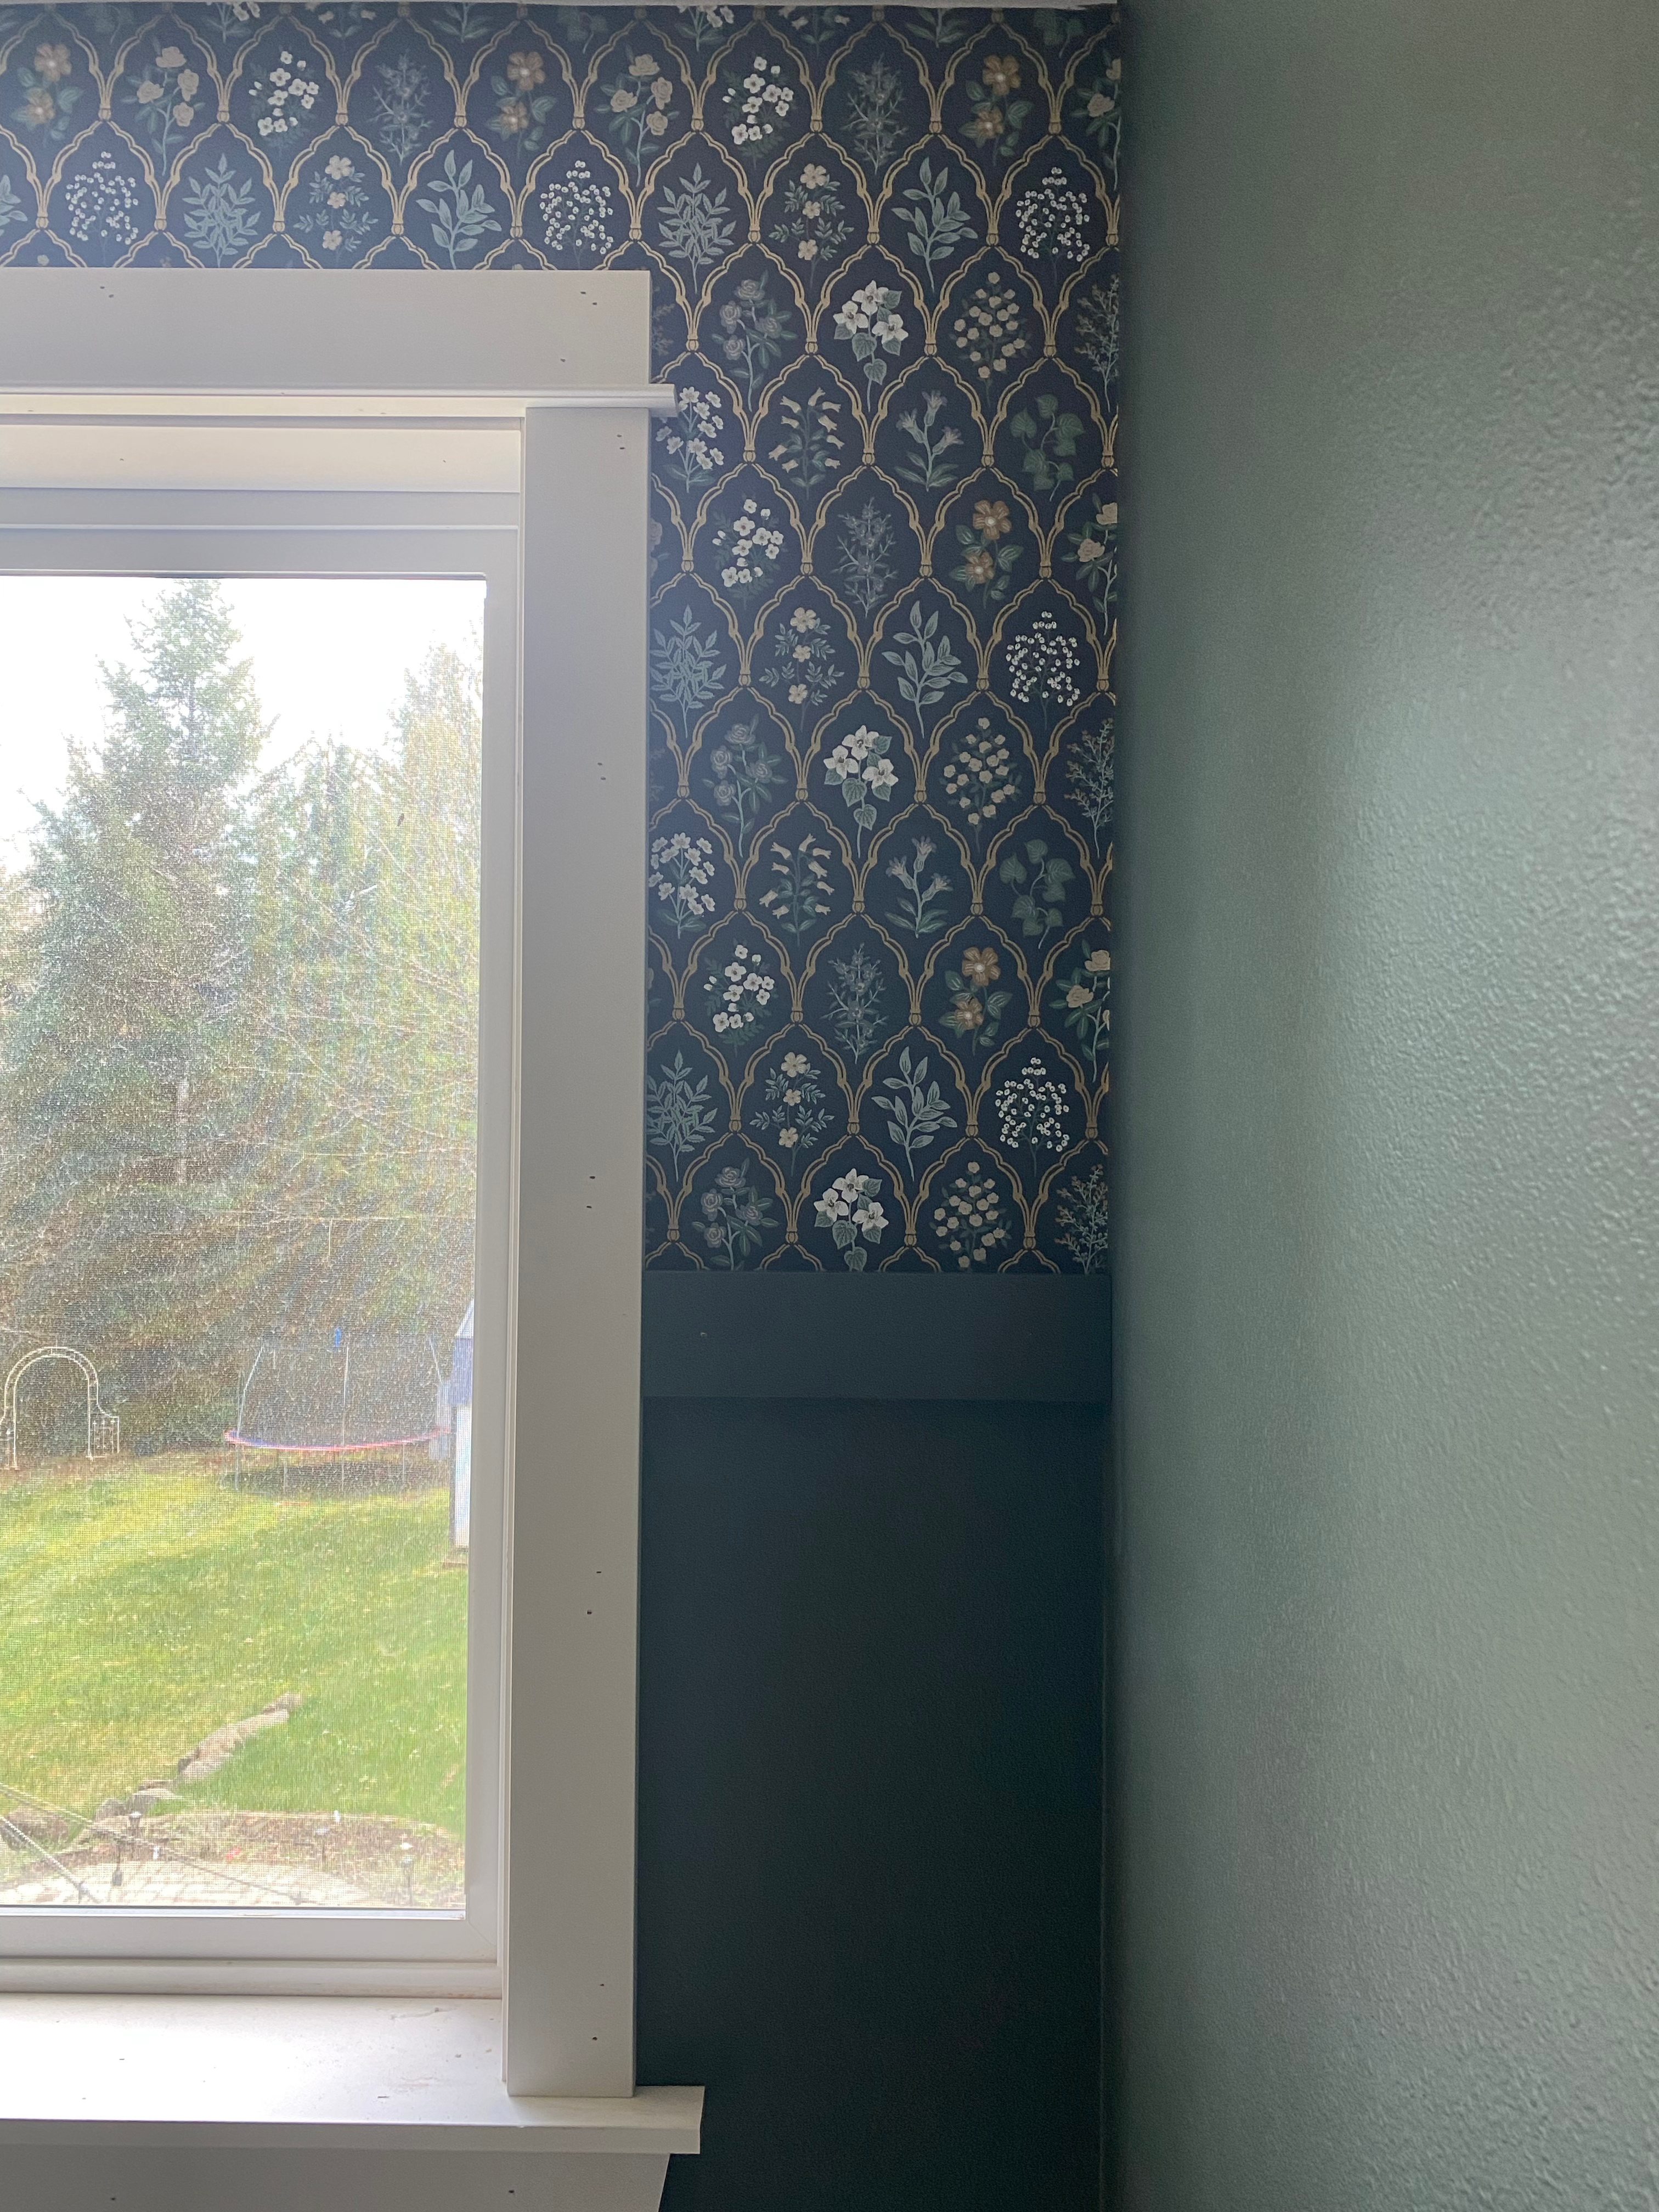
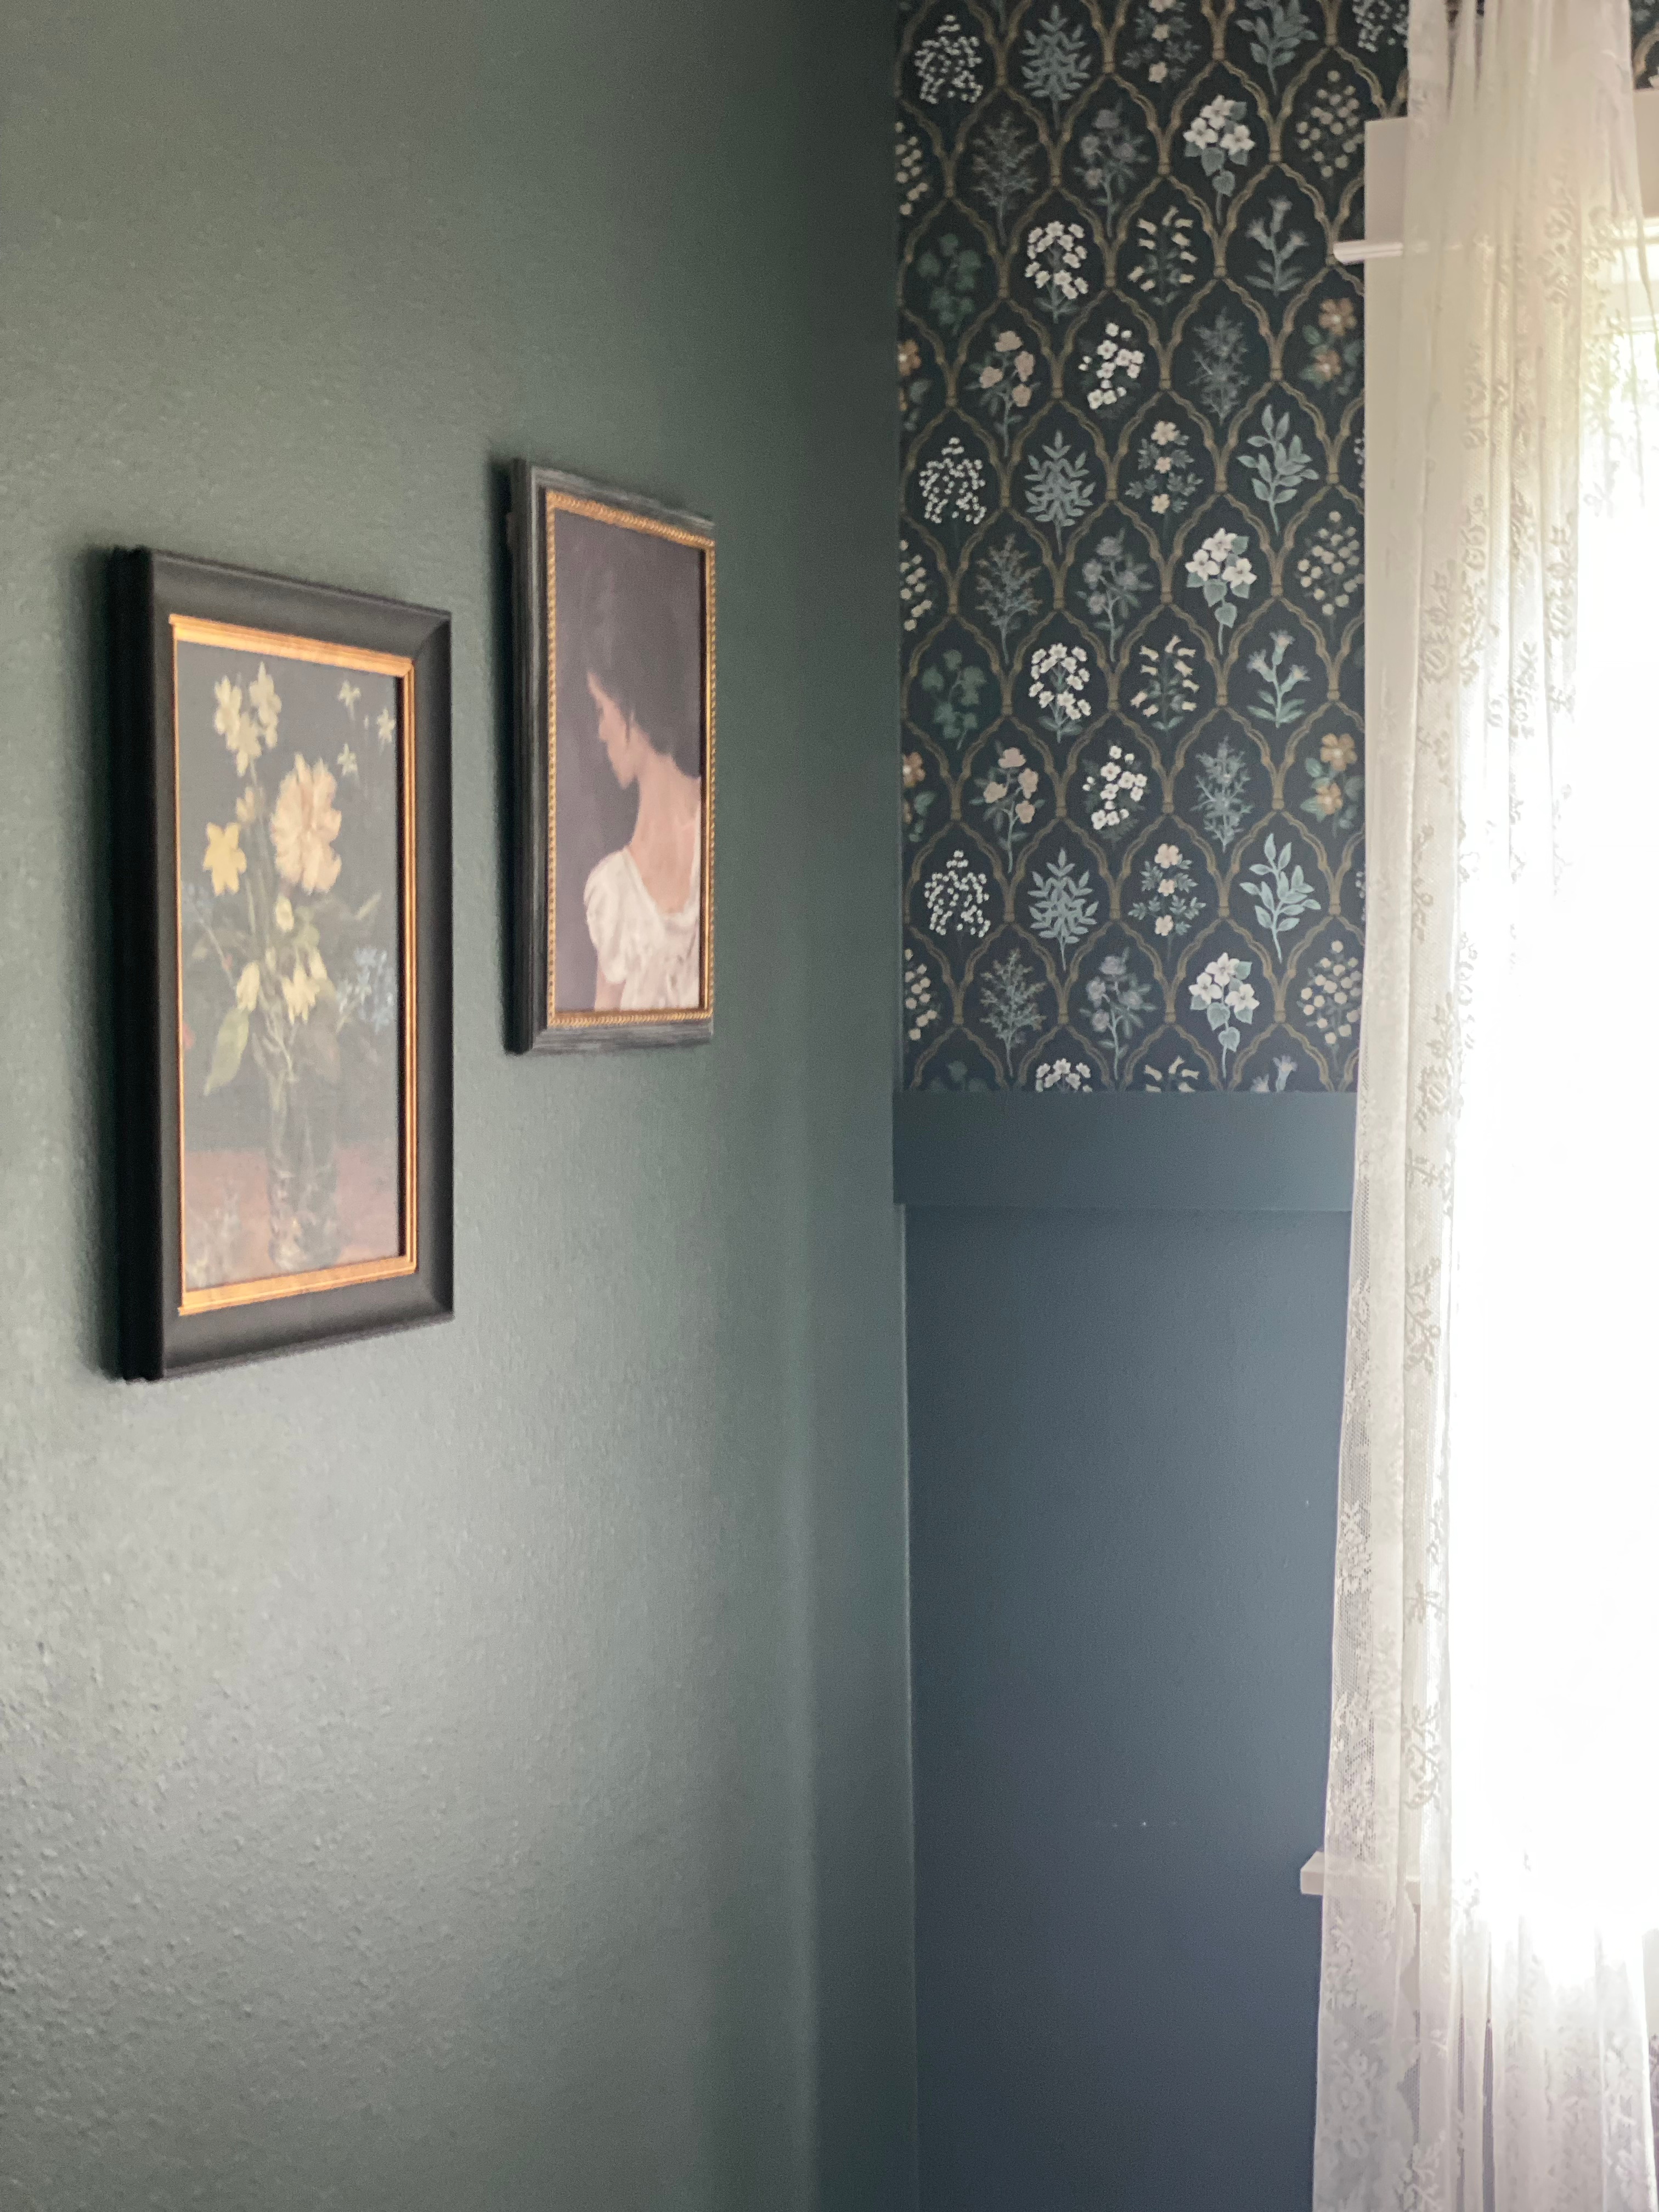
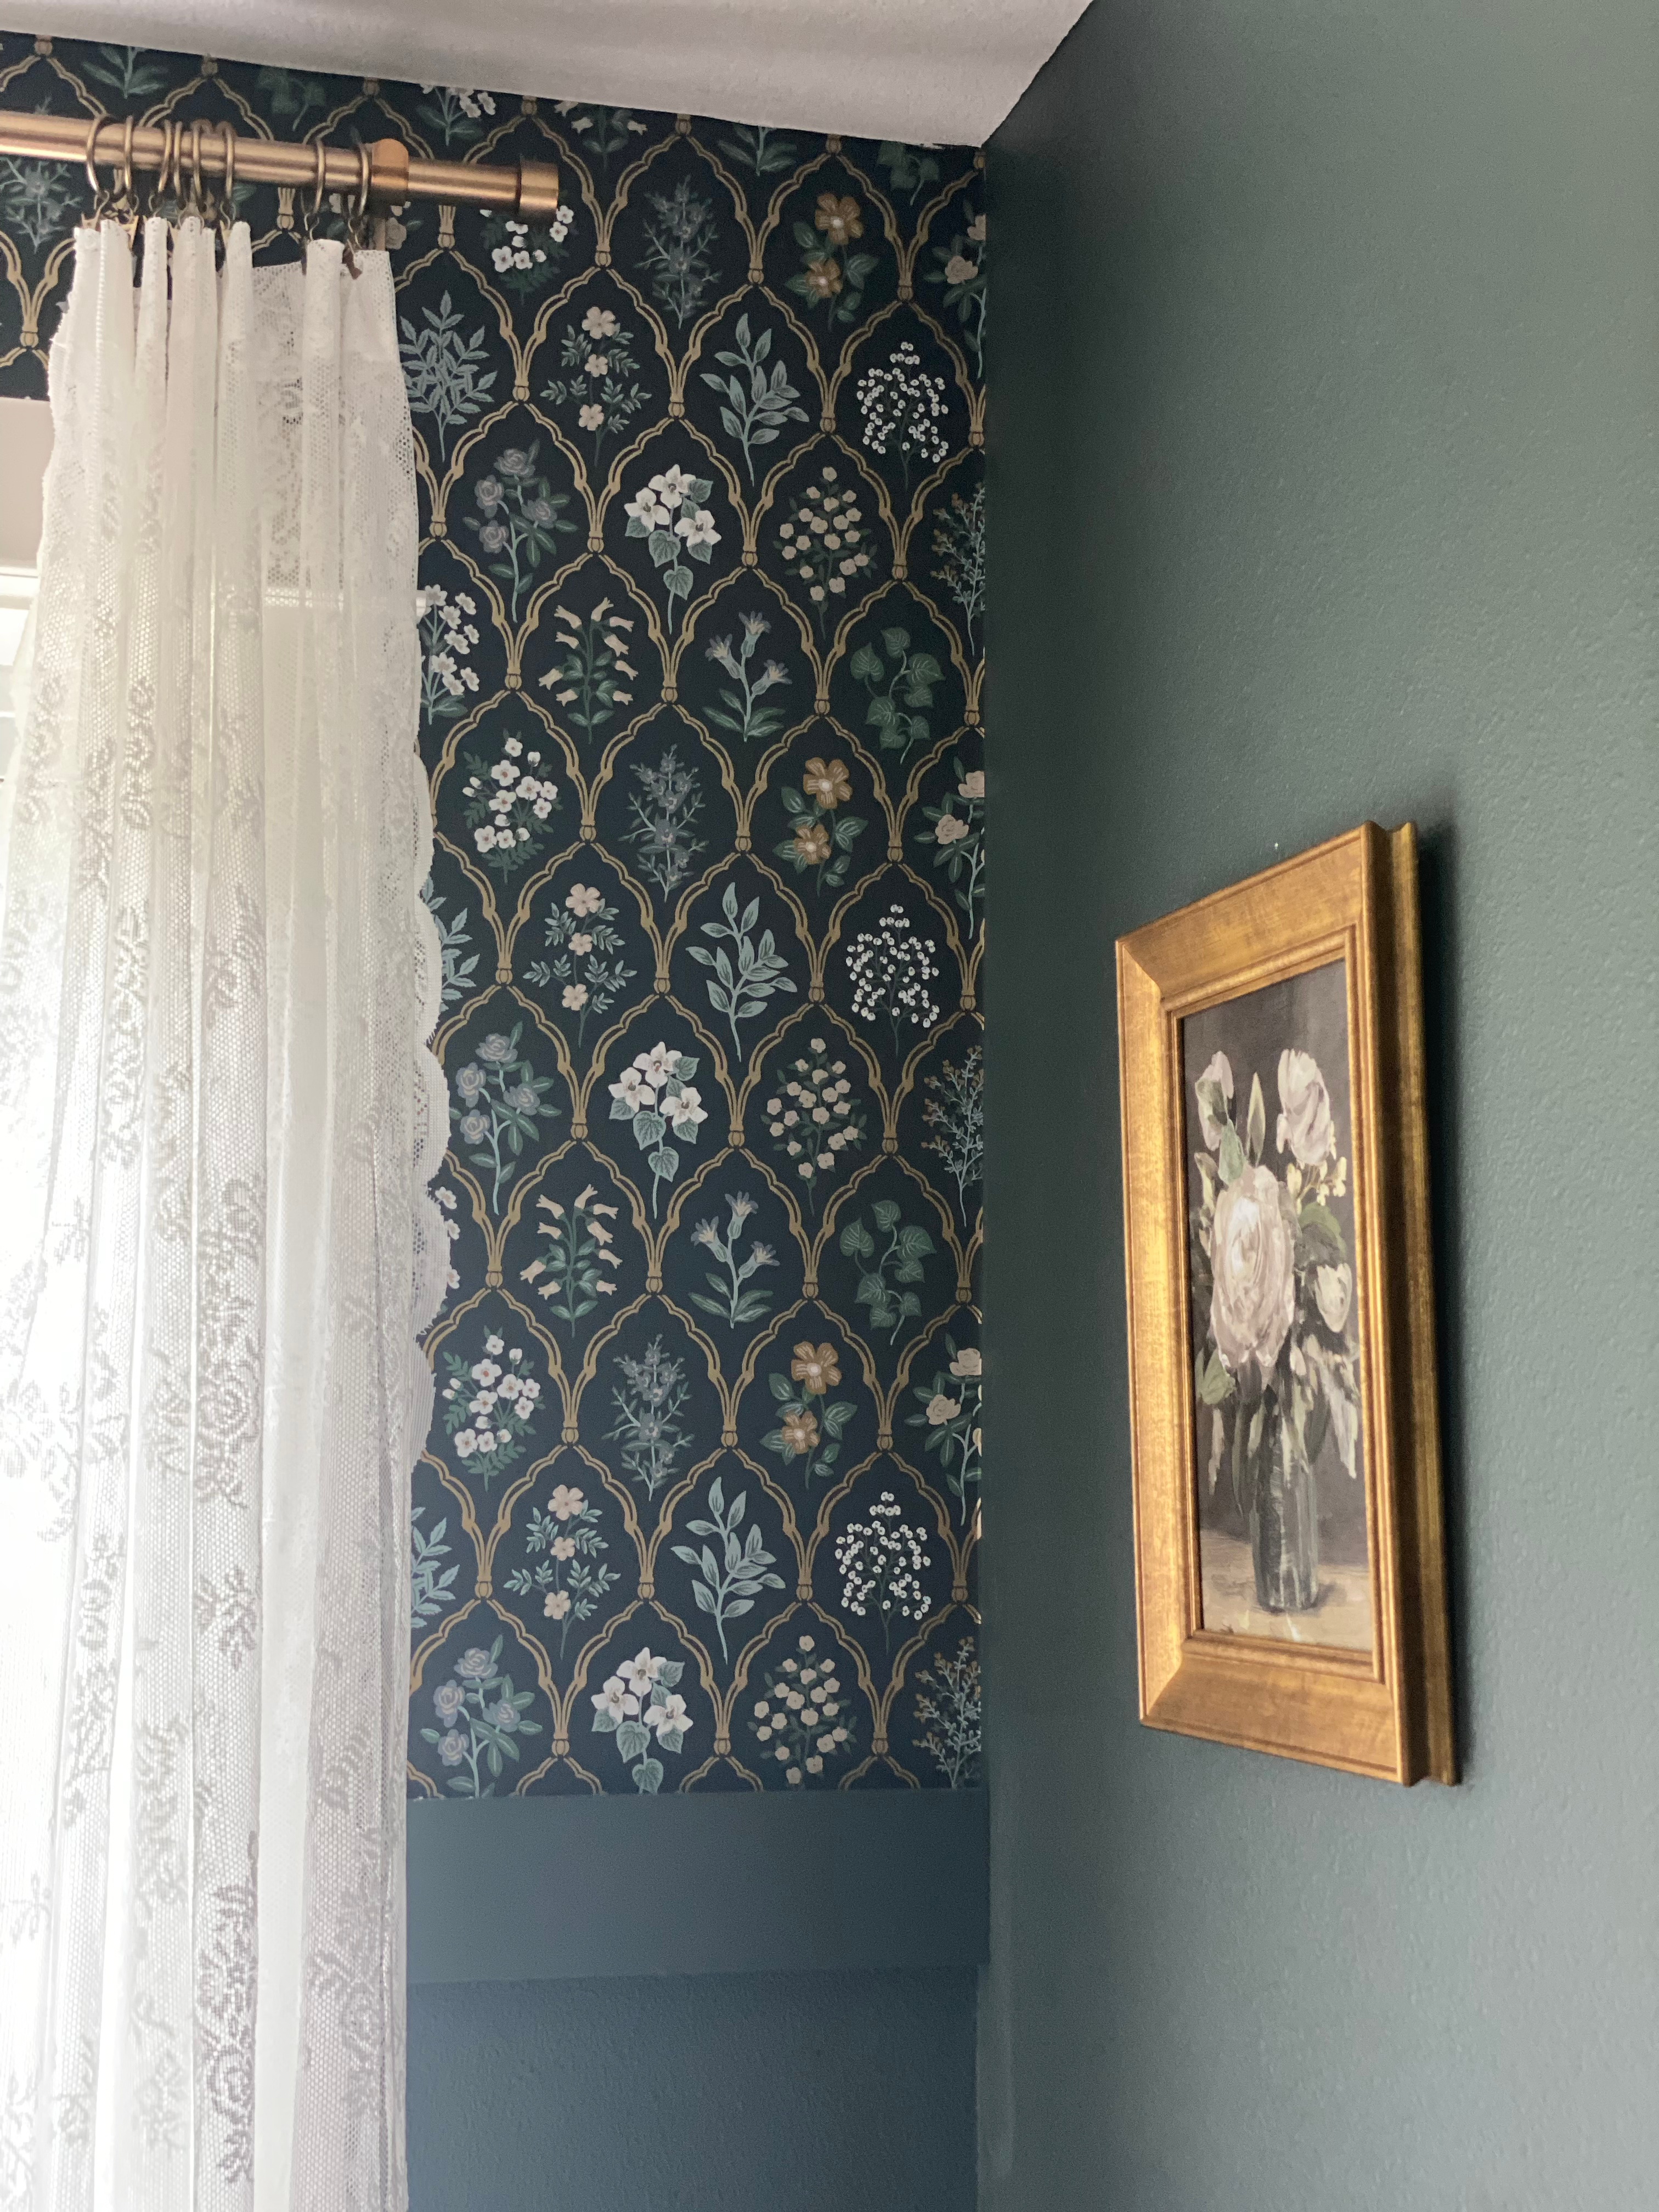
The more I looked at the wallpaper on the wall, the more certain I was that it wasn’t right and had to come down. I waited until Rifle Paper Co. was having a sale and splurged on the beautiful, dreamy, perfect wallpaper. AFTER I sampled several of their wallpapers in the room. The choice was unanimous, the Hawthorne wallpaper is gorgeous! Confusing right, Blackthorn vs. Hawthorne. Ha!!

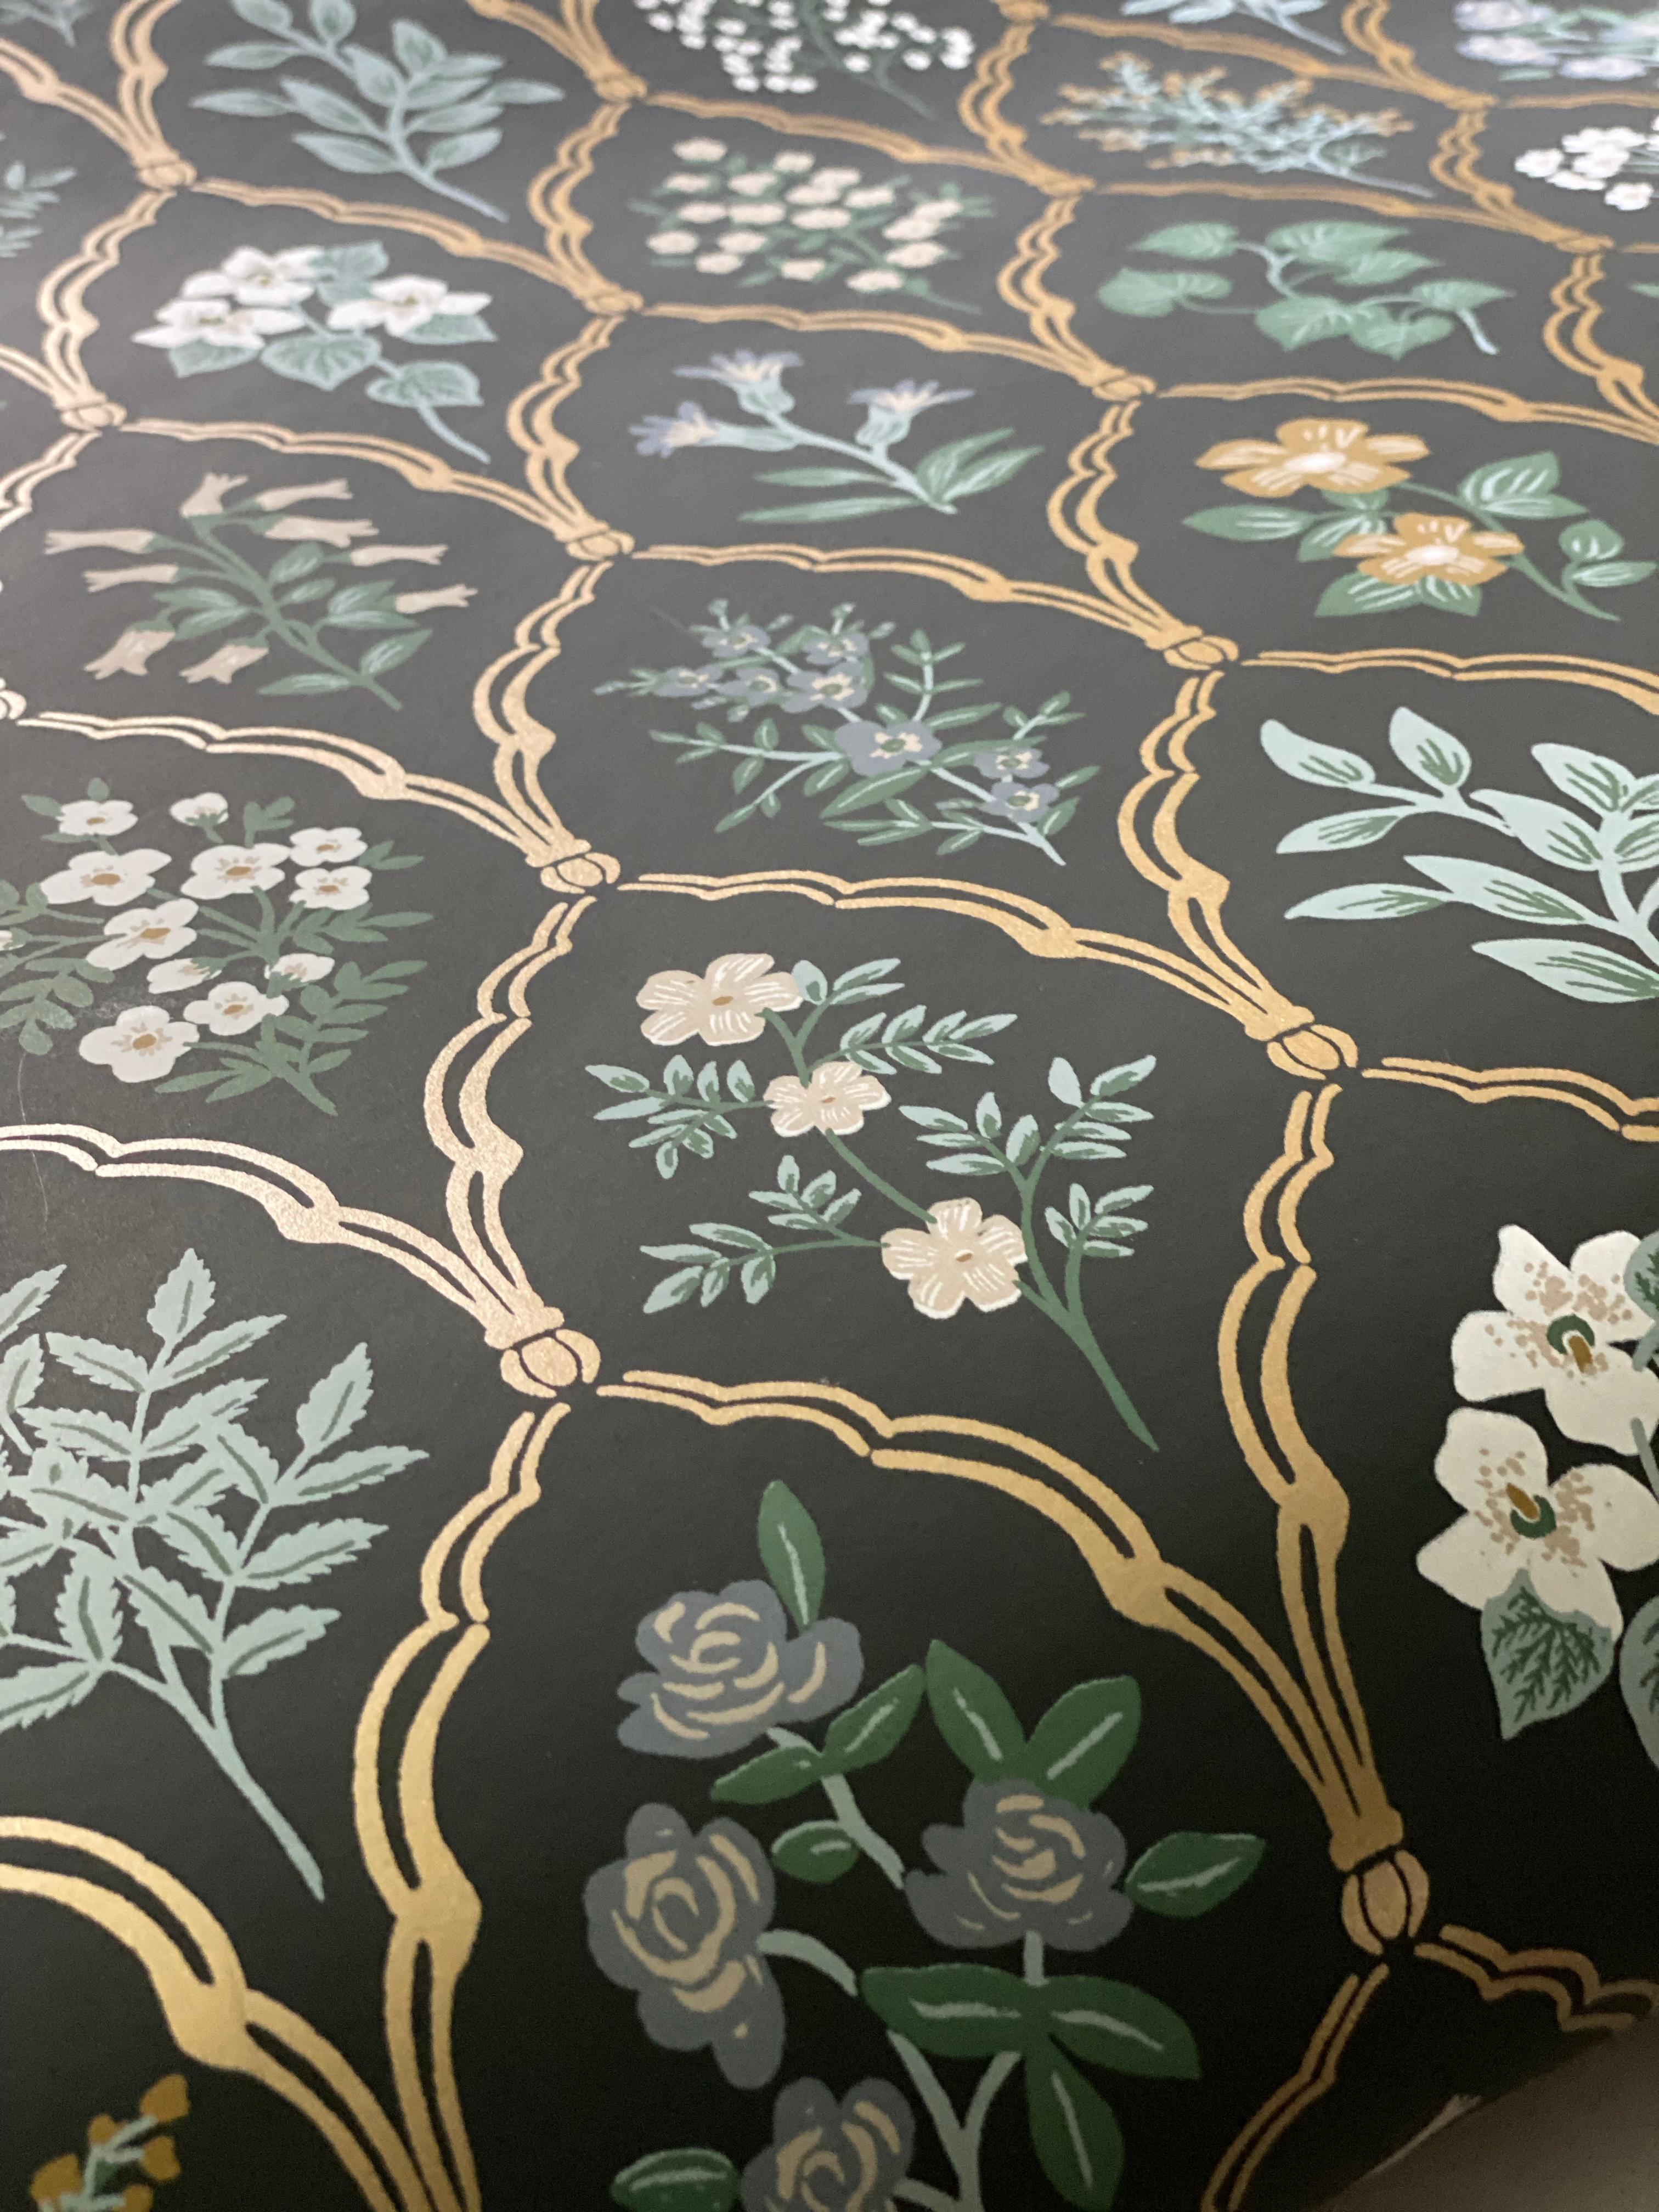
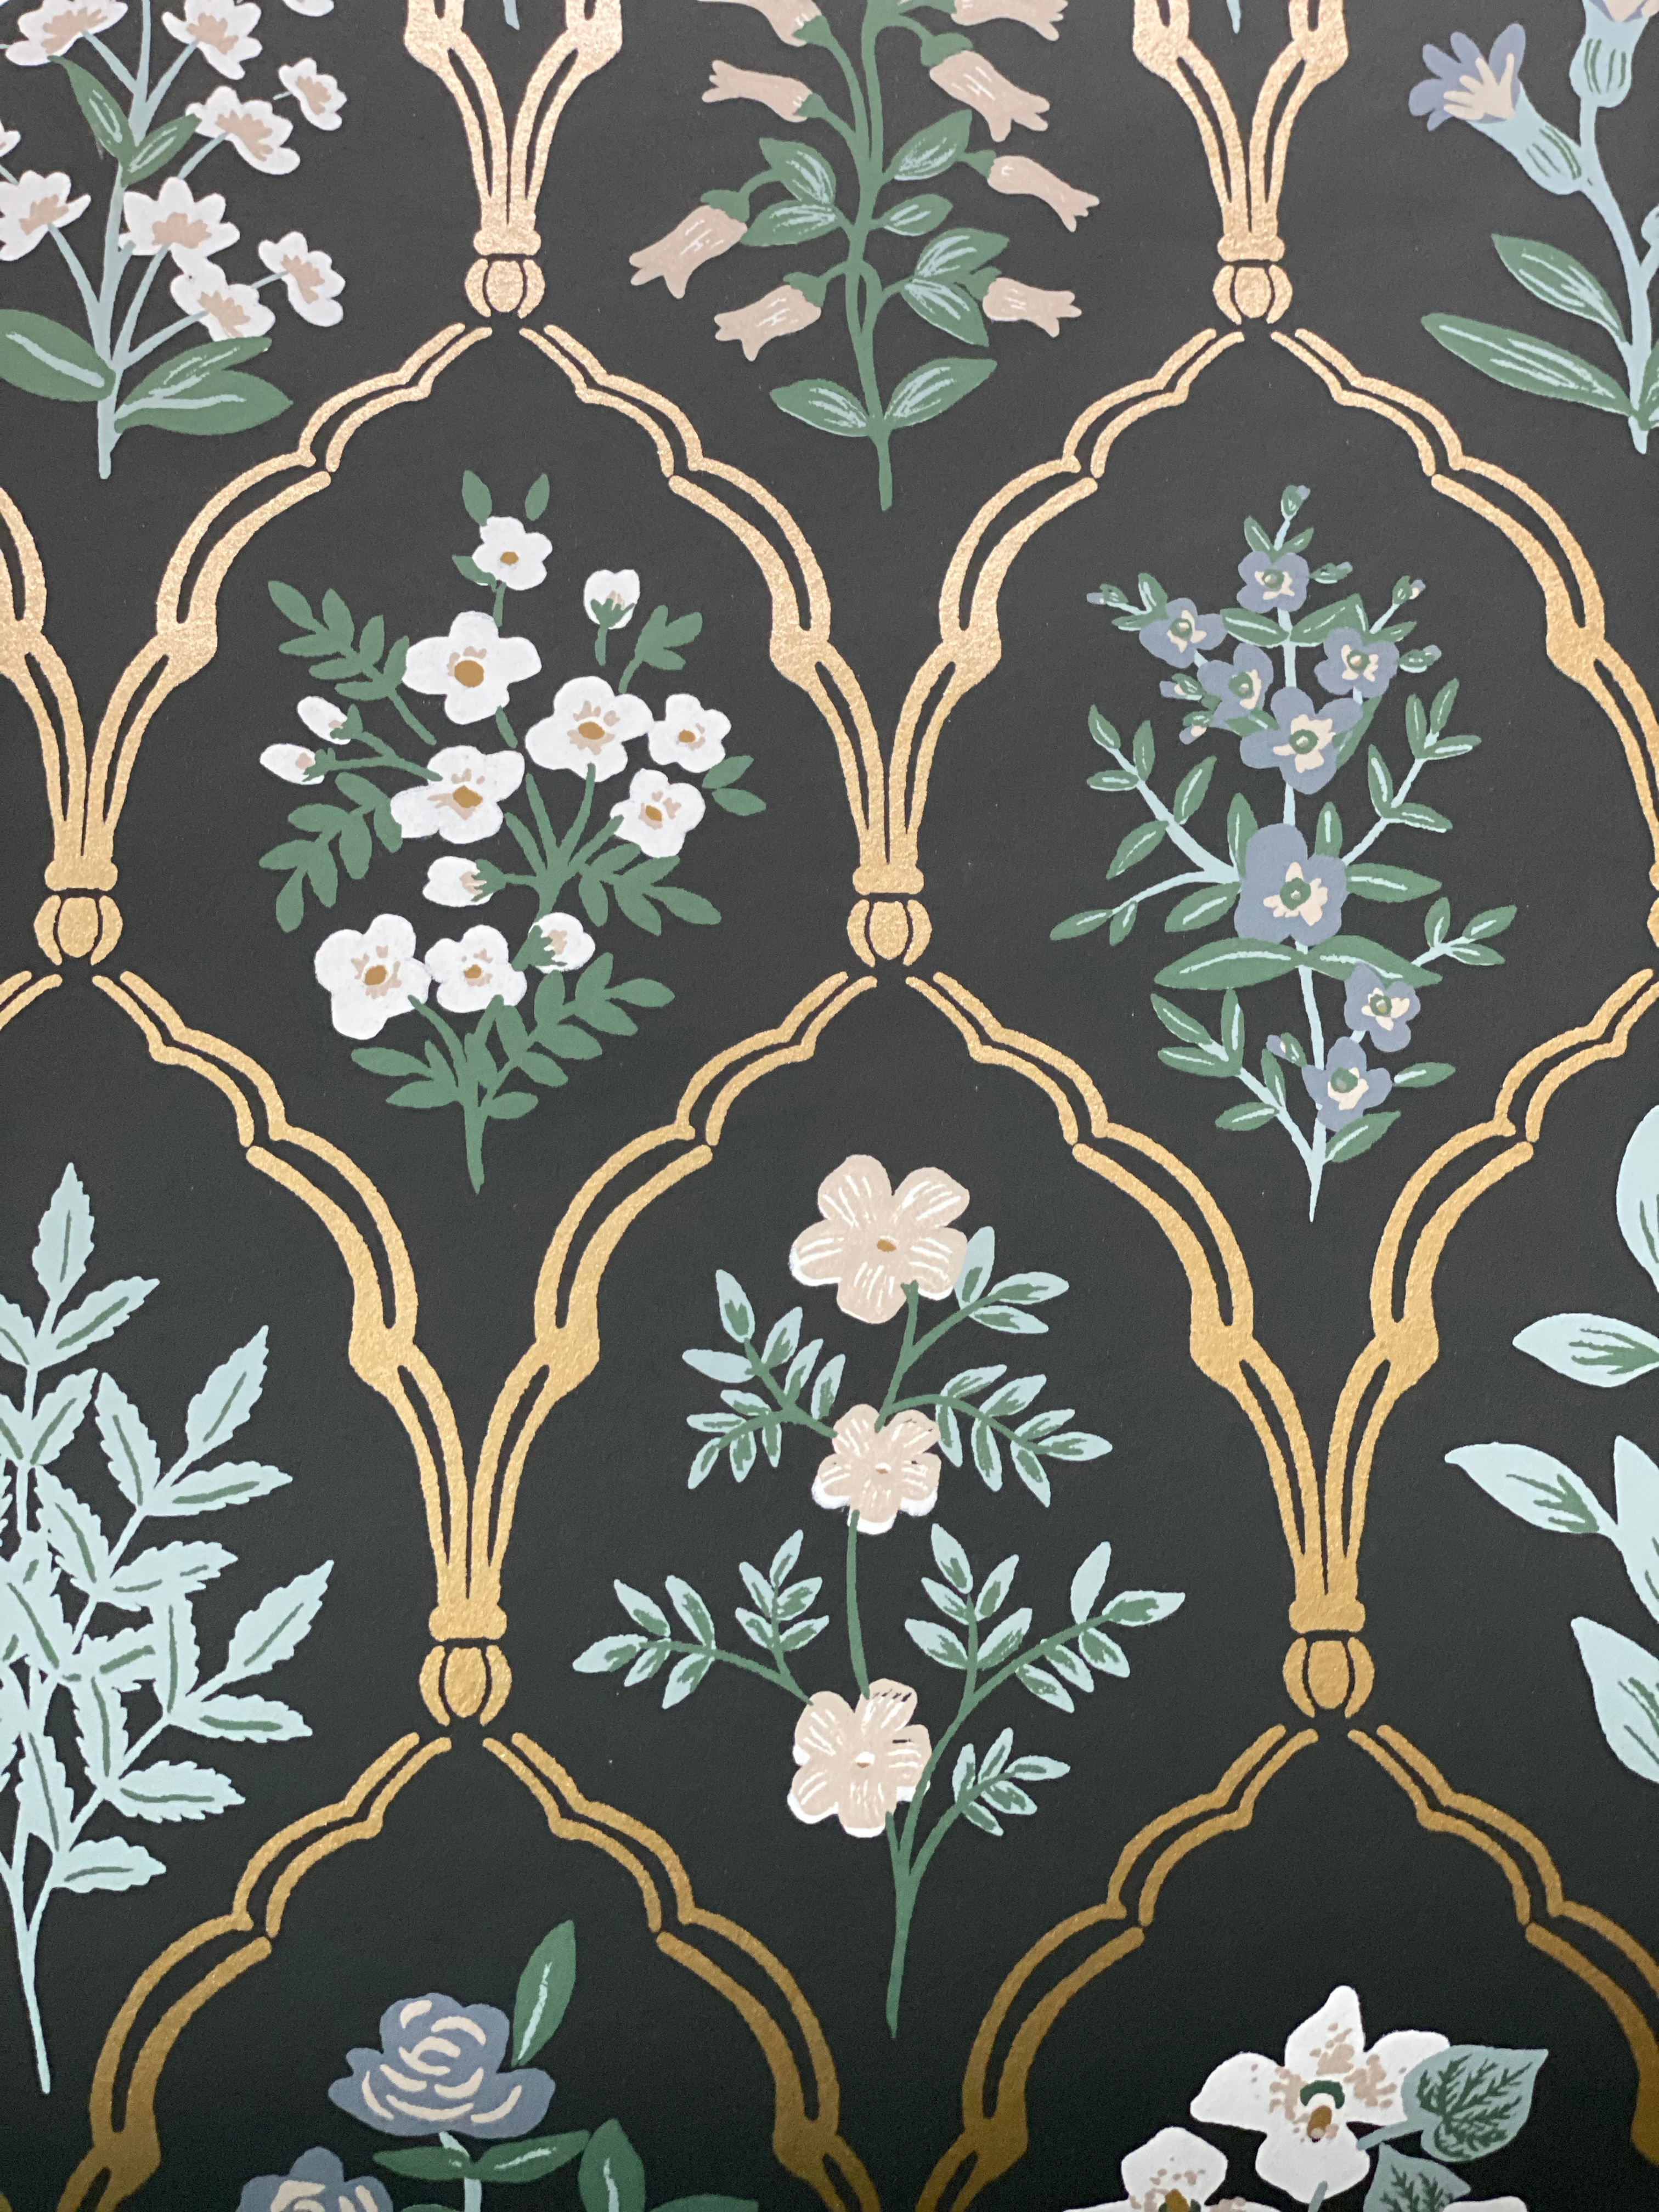
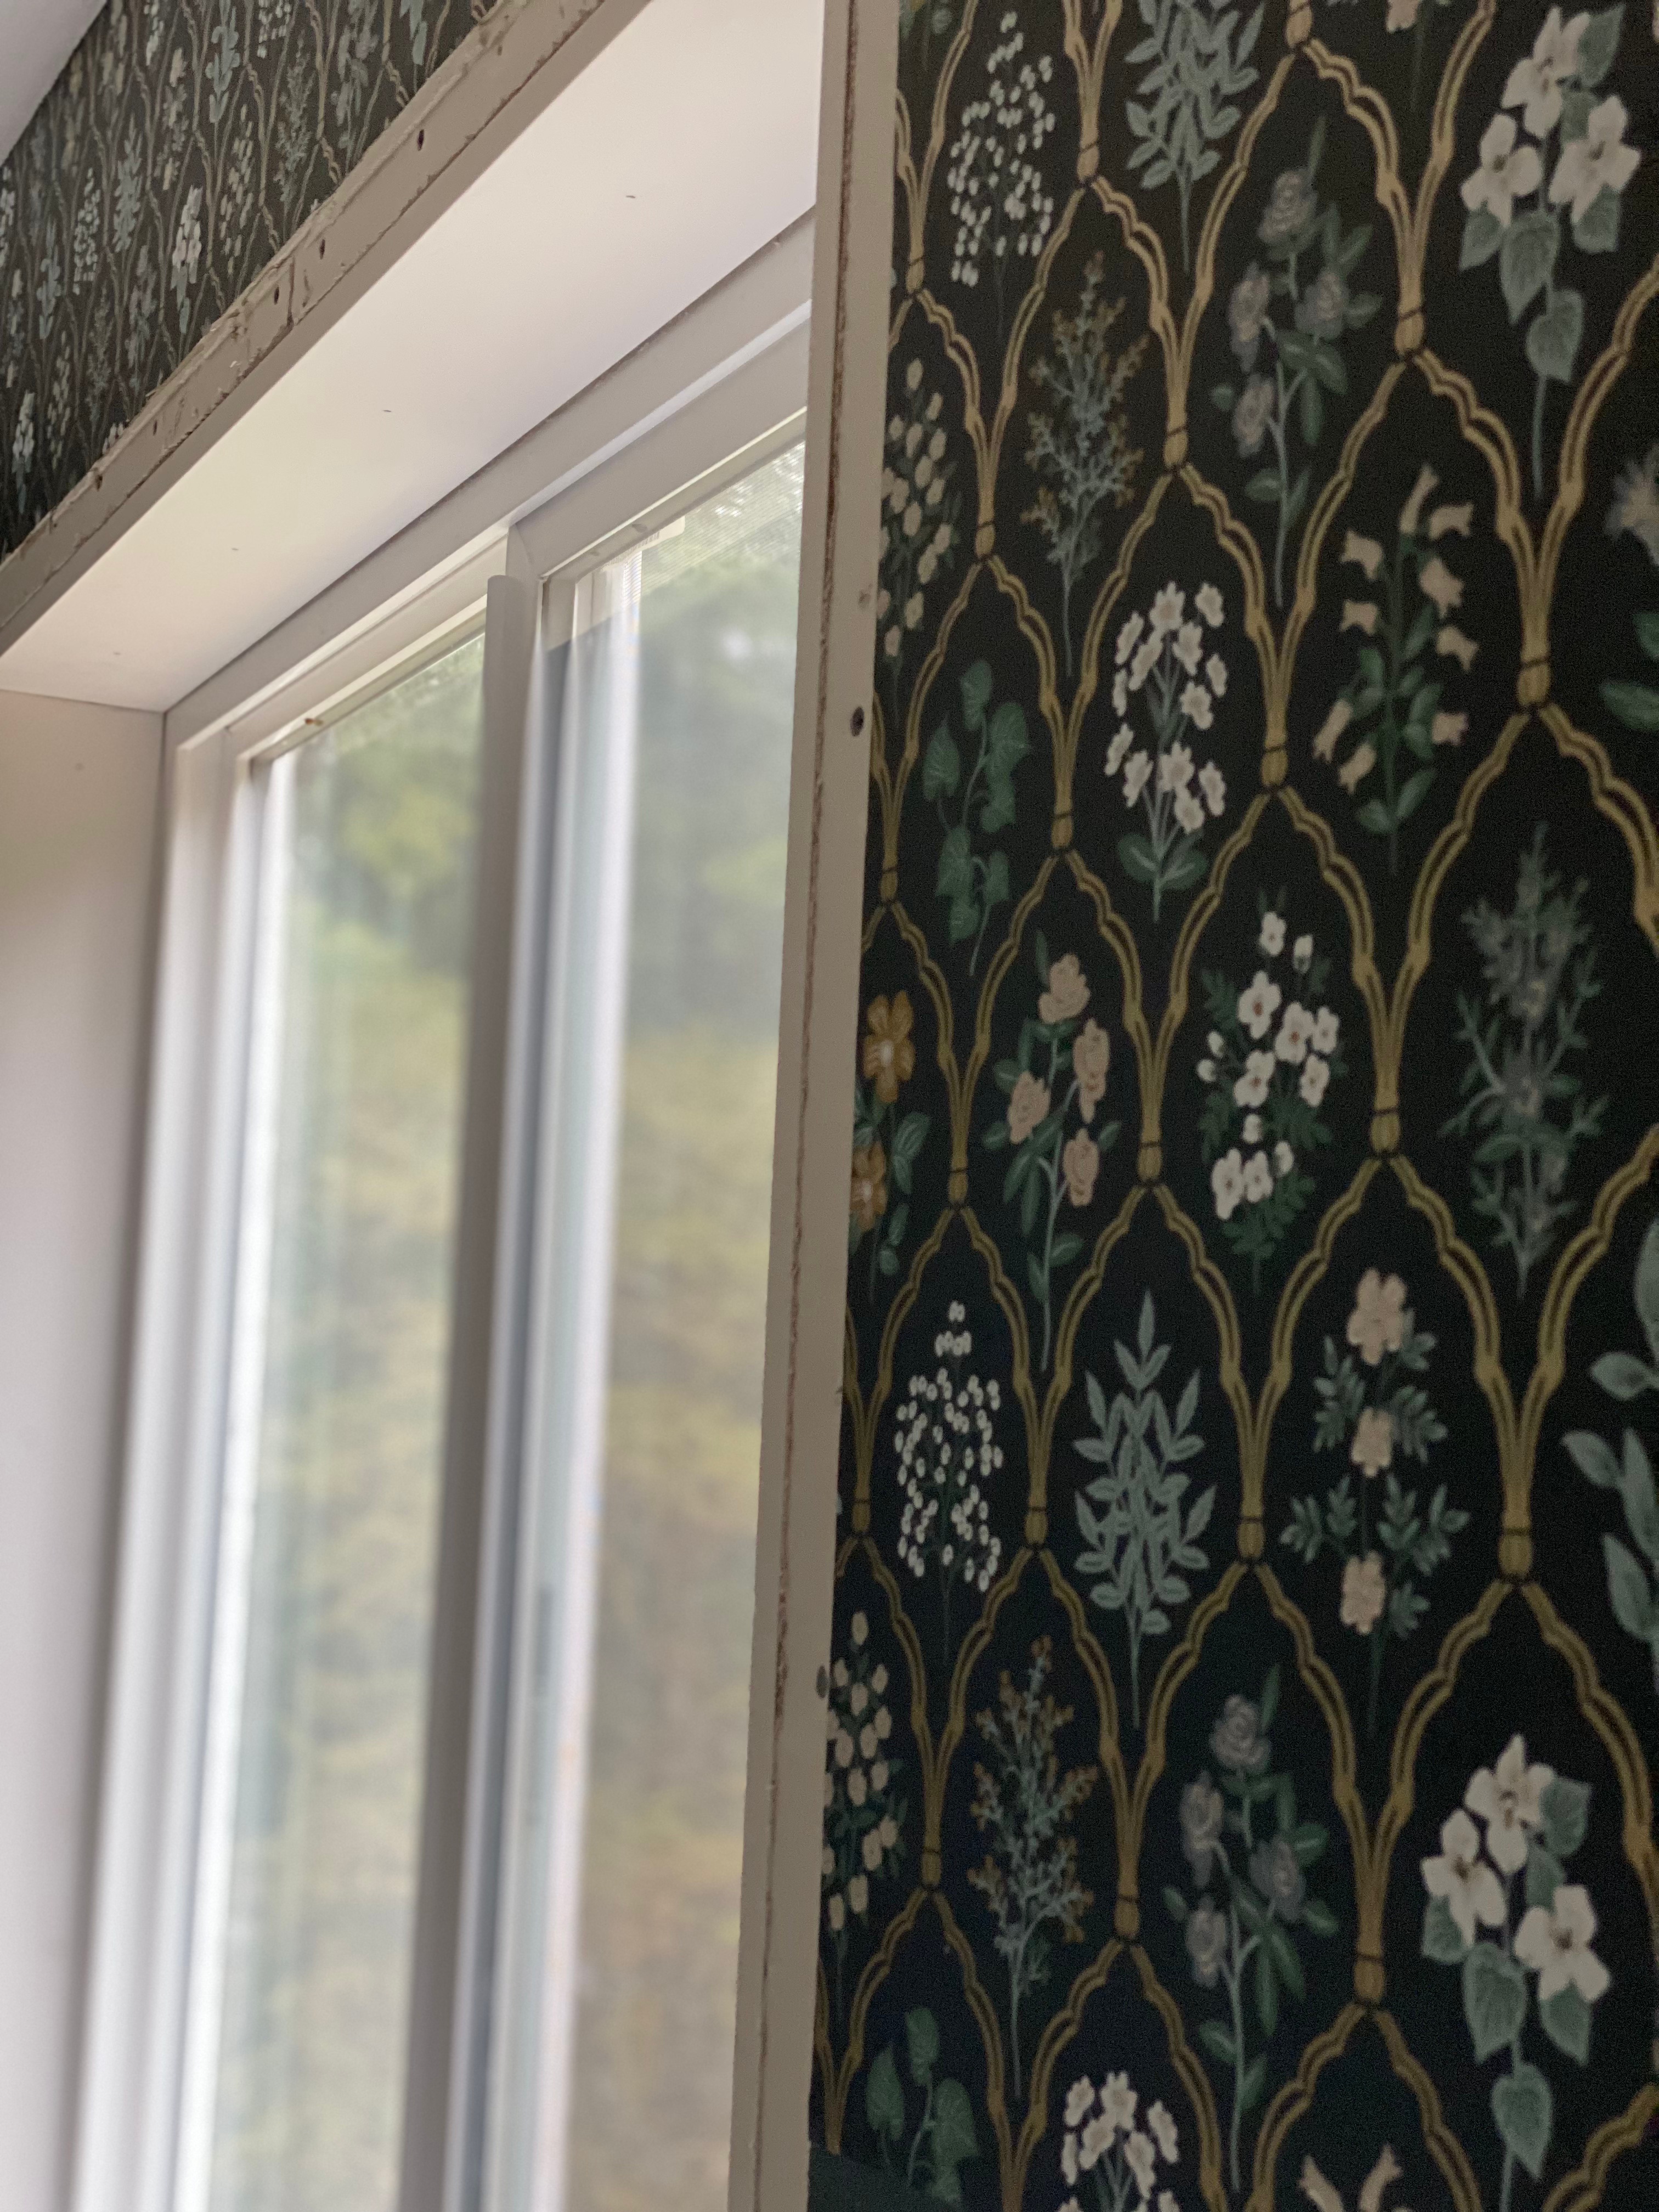
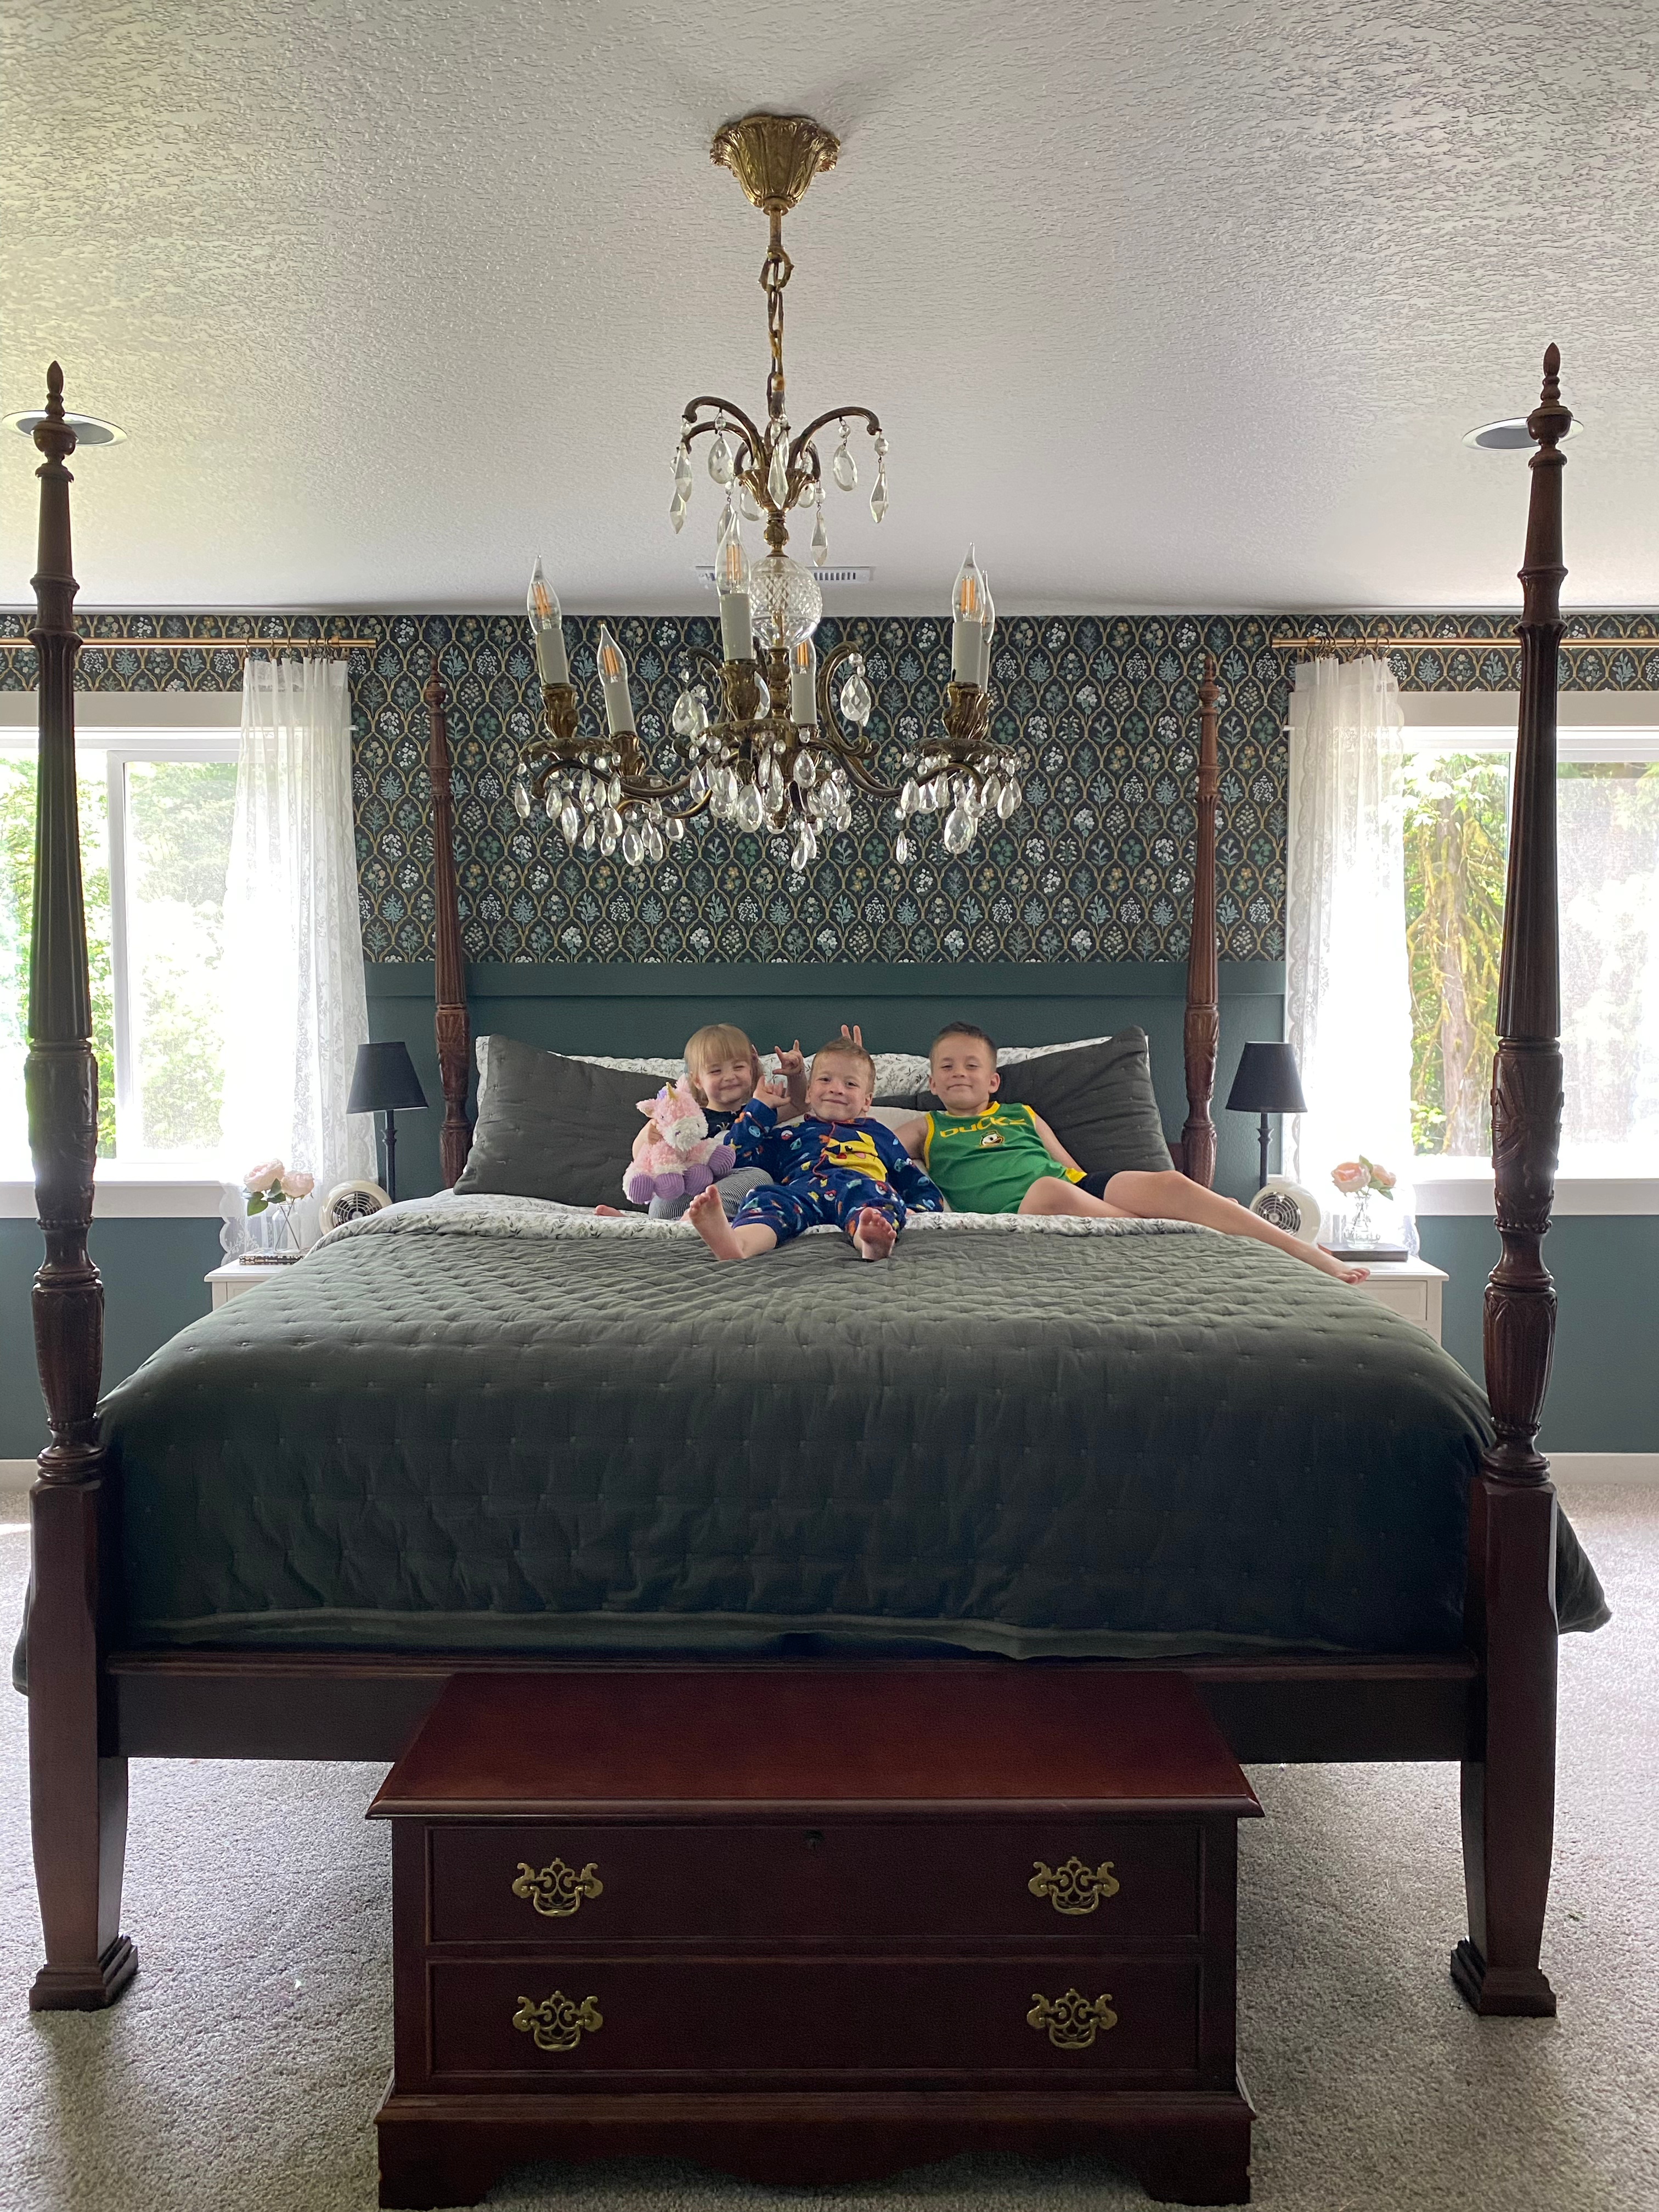
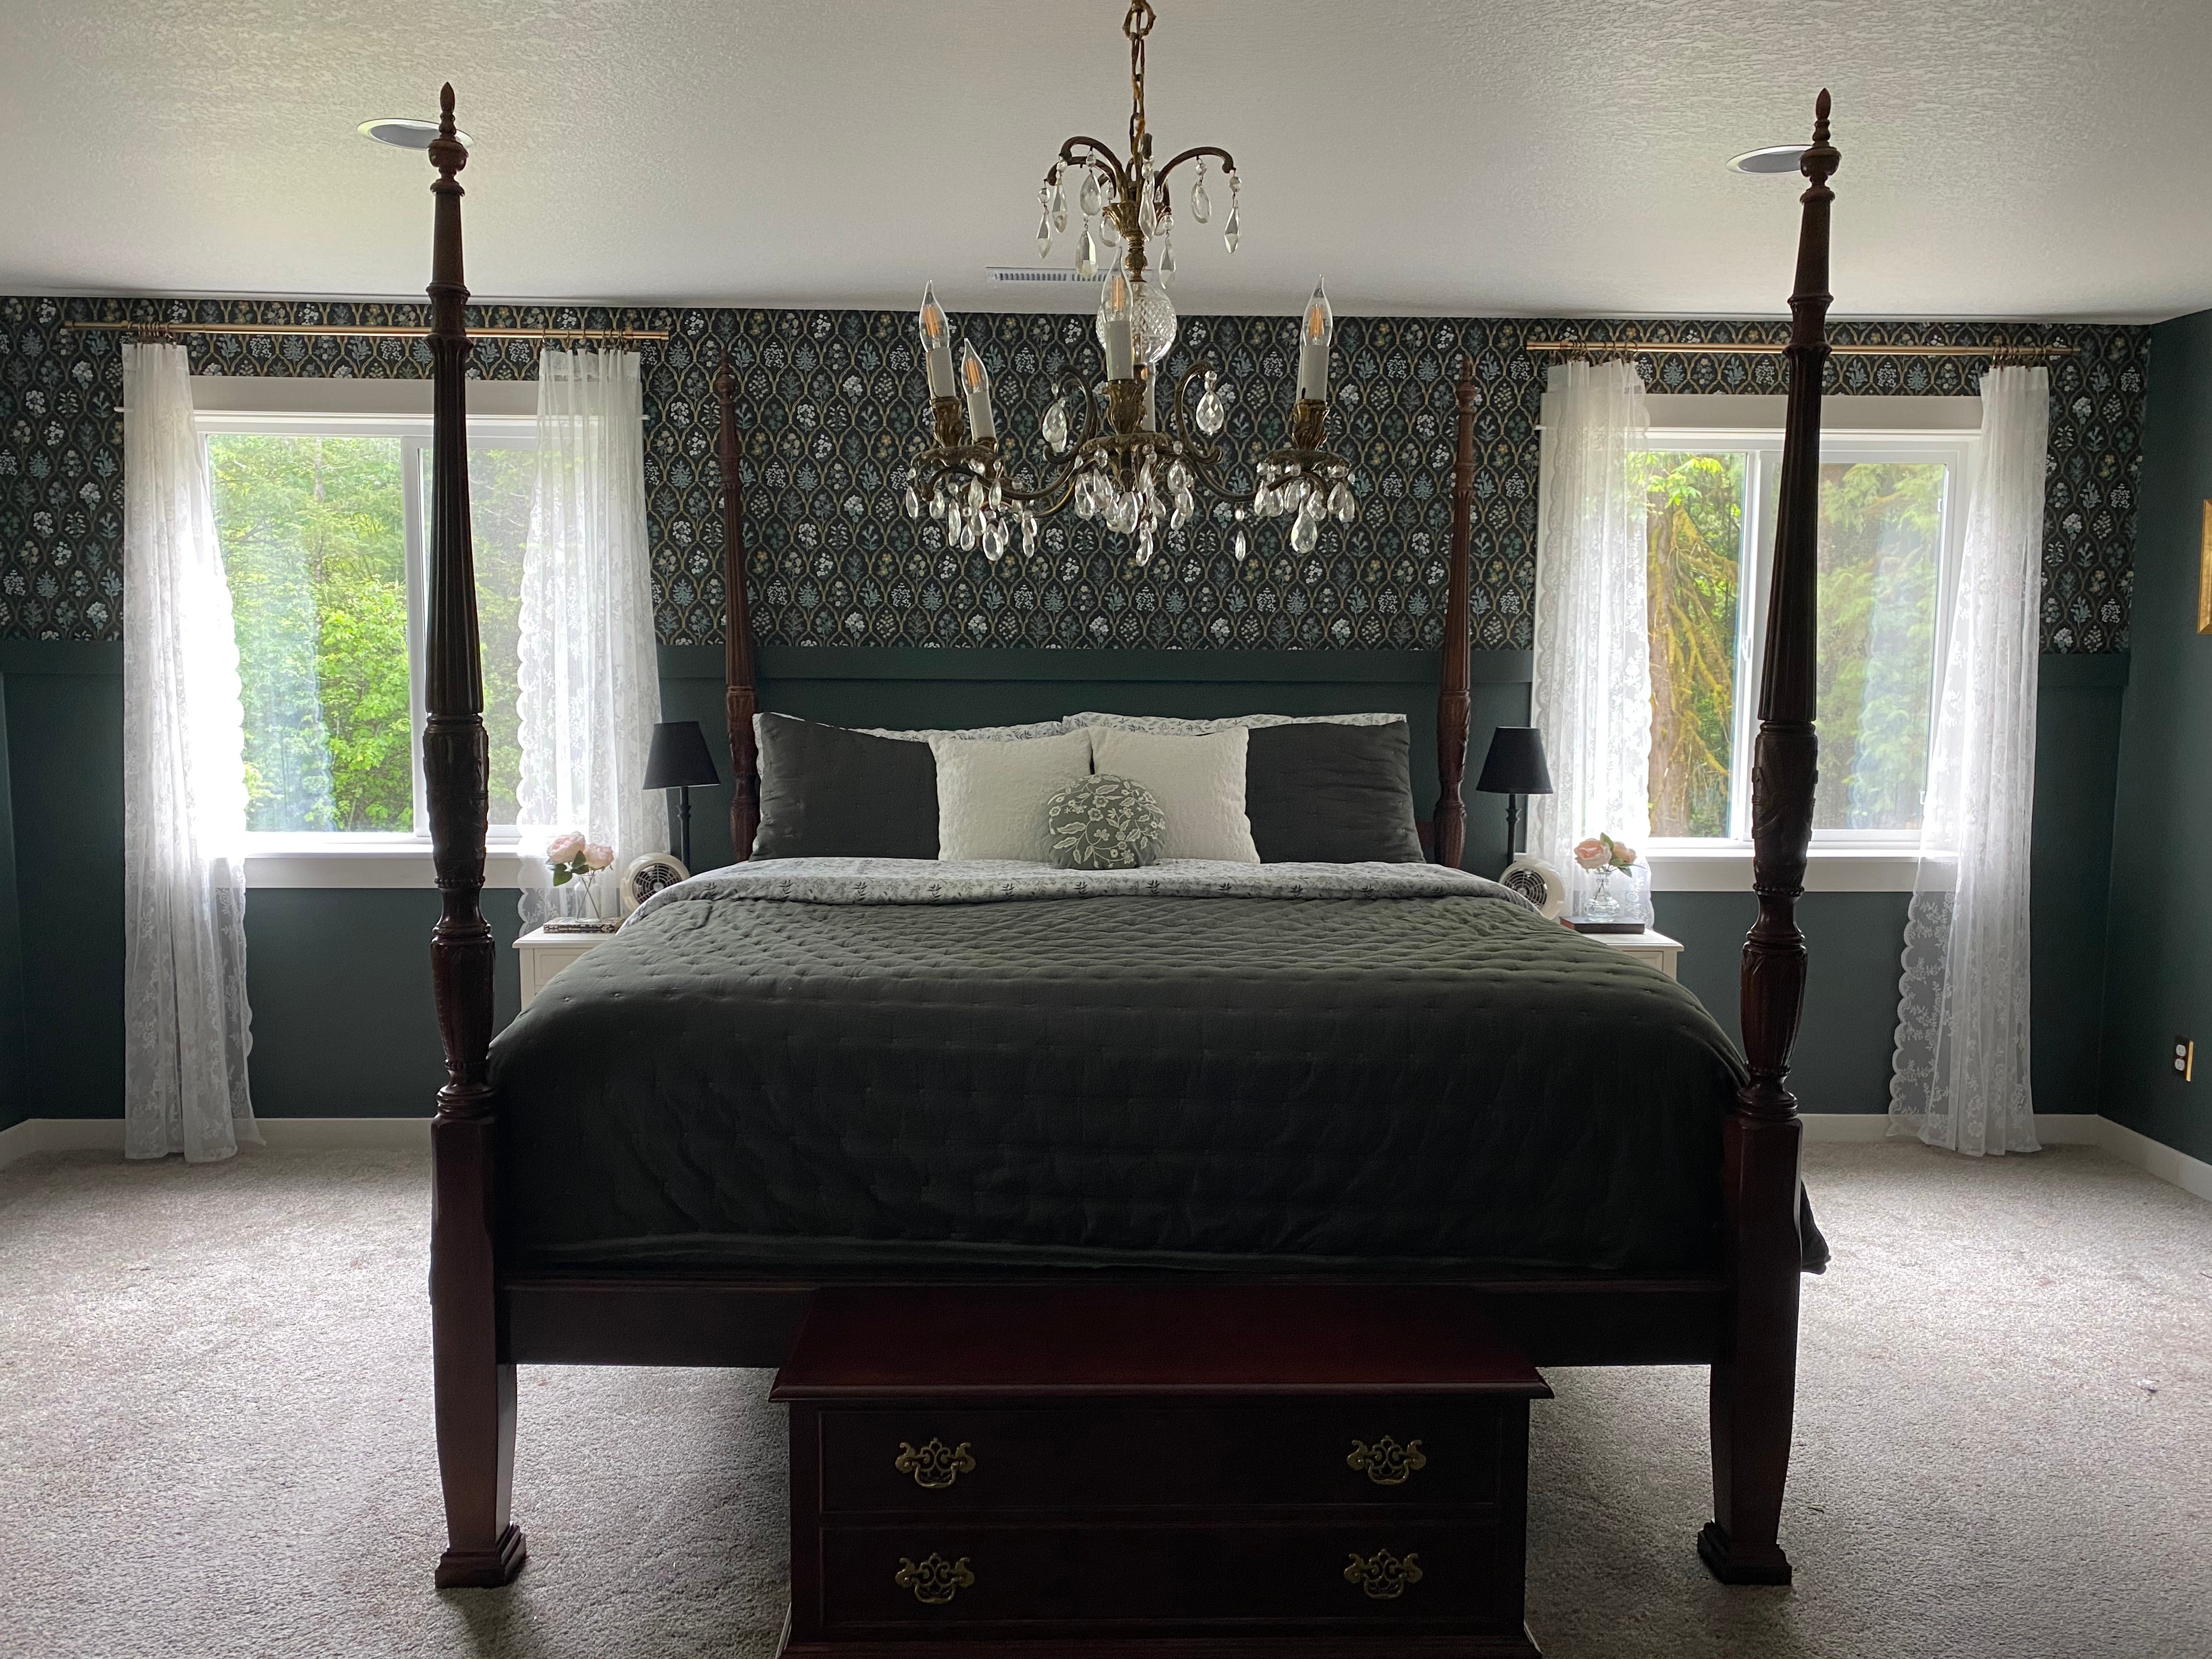
When I hung the right wallpaper, even though I had to add paste to it and it was much more challenging, it felt right. Every strip and every swipe of glue was worth the effort for this beautiful paper. When it’s right you know. And when it isn’t, the same is true. Trust your gut. Listen to it on creative projects (I can’t speak for it on bigger stakes, but on DIYs, yes ;-)). Ryan added trim to the windows, and we added trim along the bottom edge of the wallpaper for a finished look. (We always have little helpers hanging around, especially if there is a ladder involved, like a moth to the flame.)

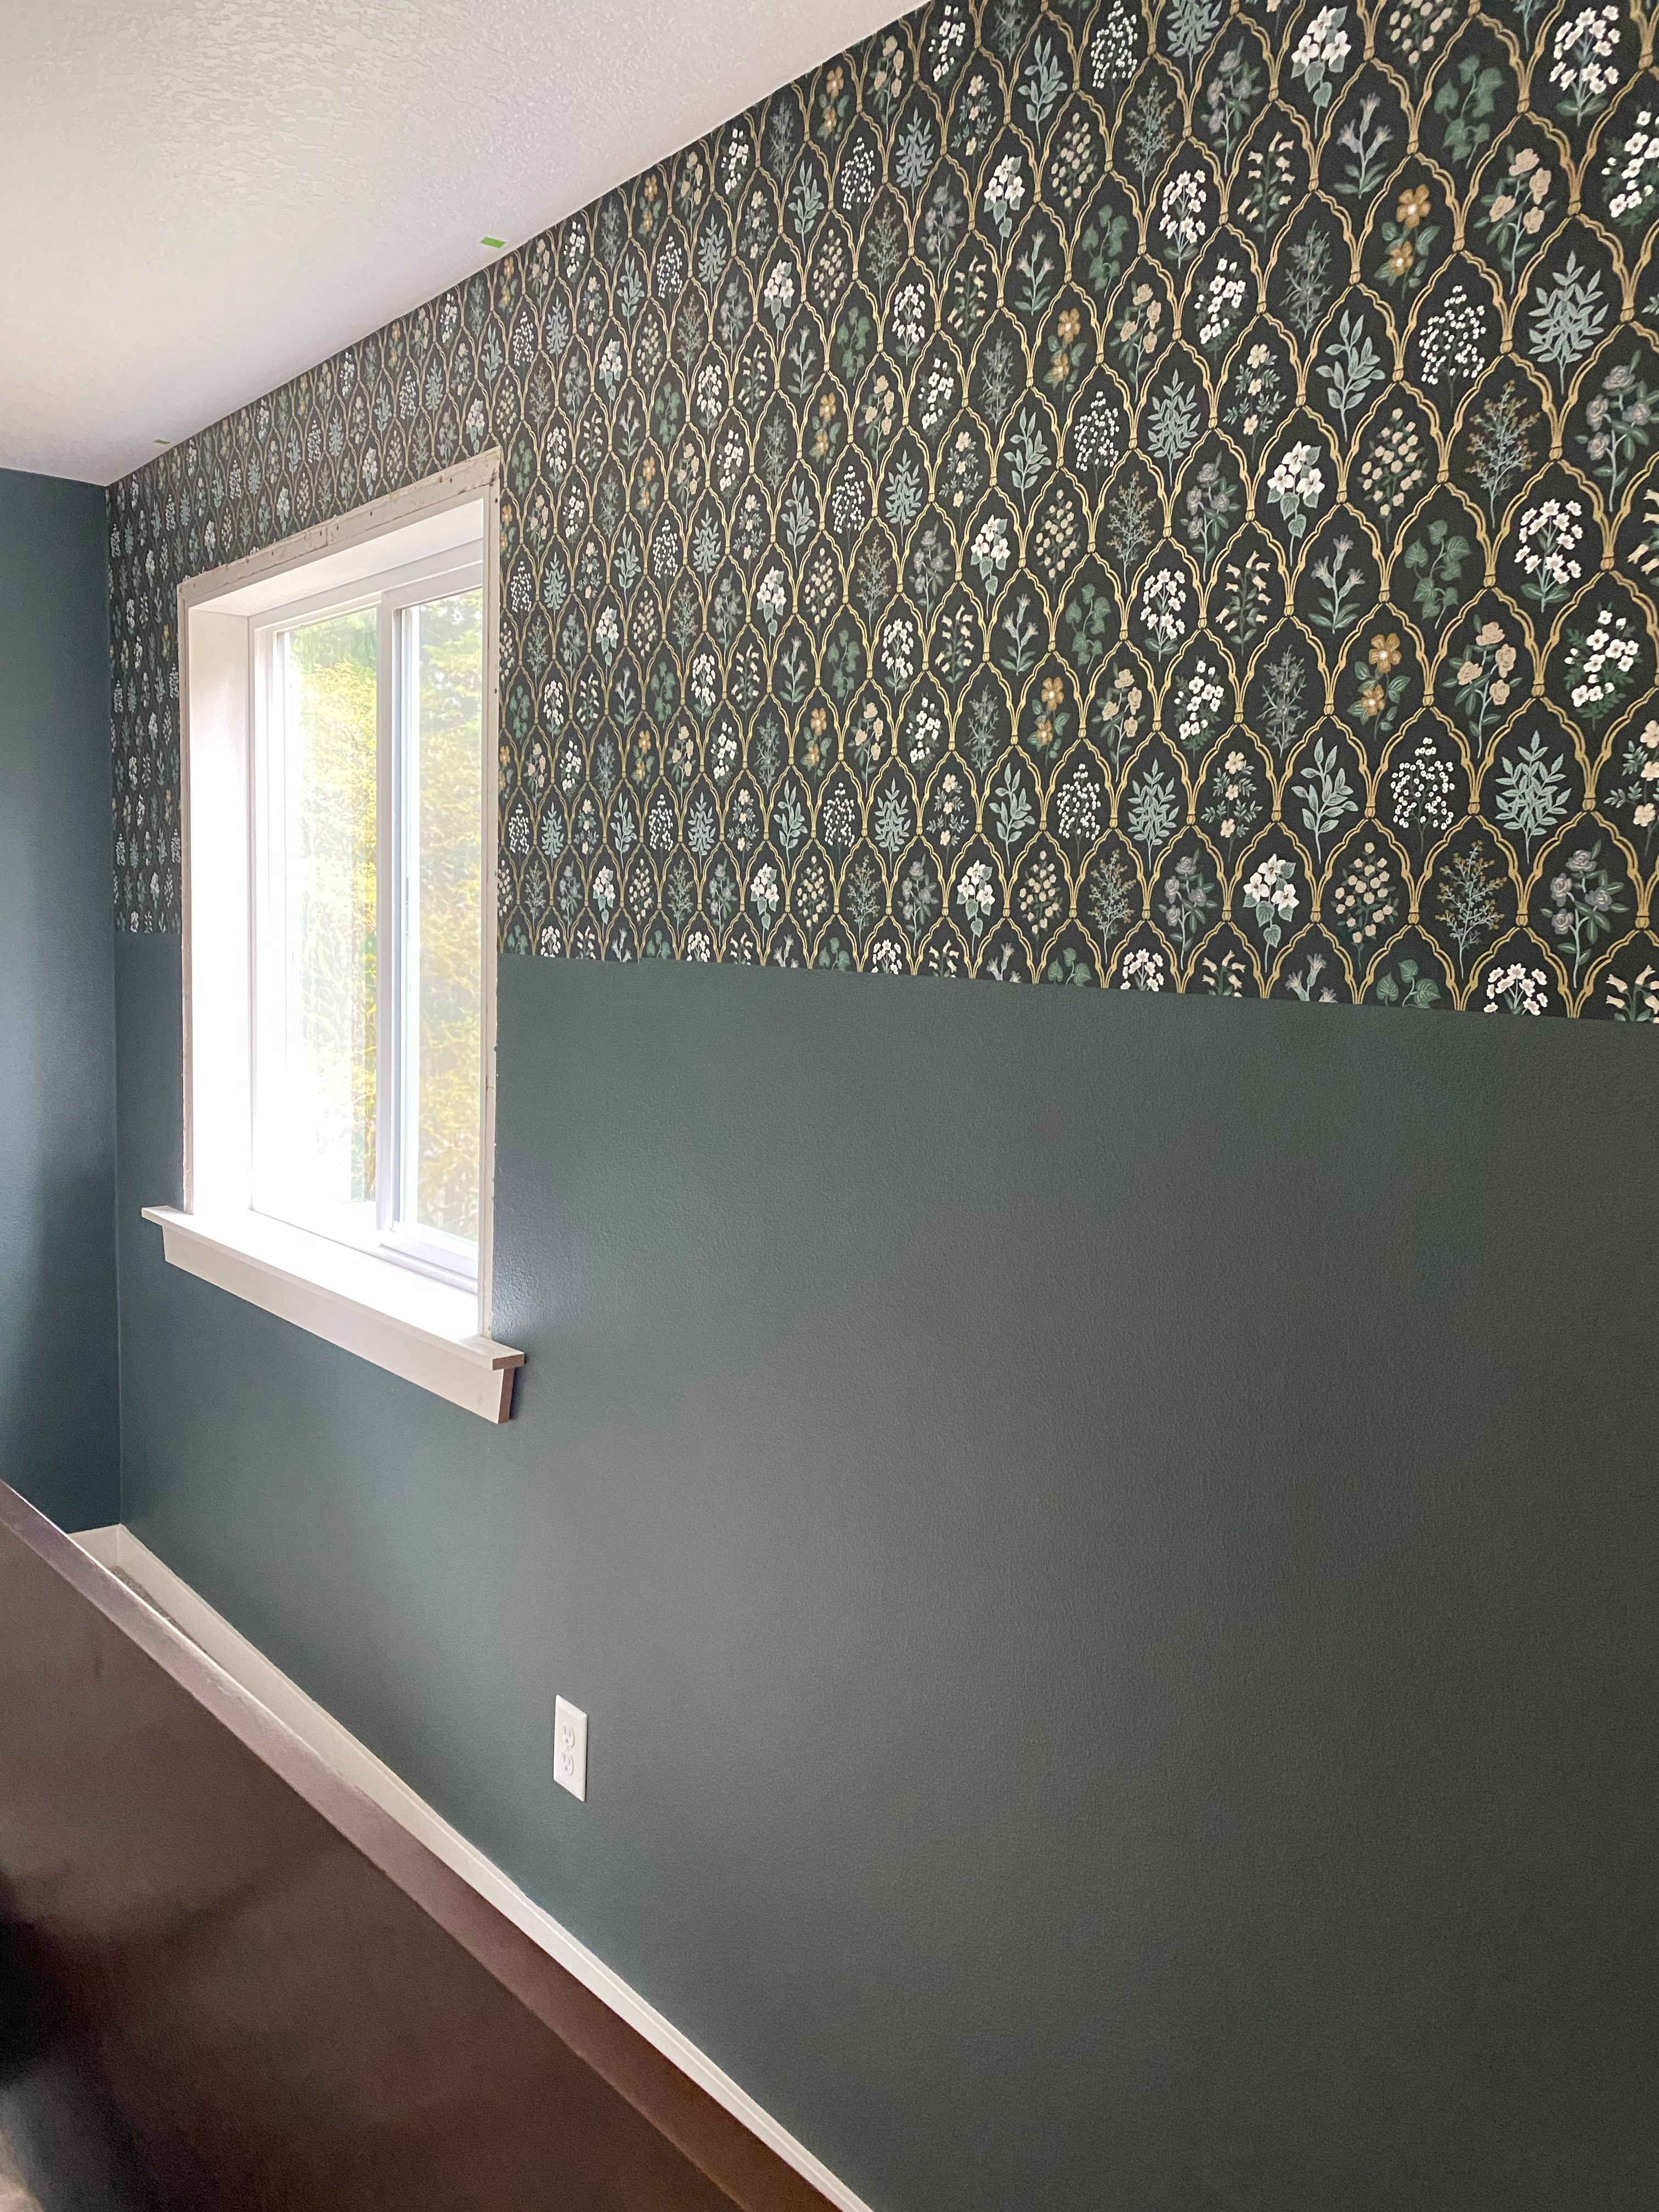
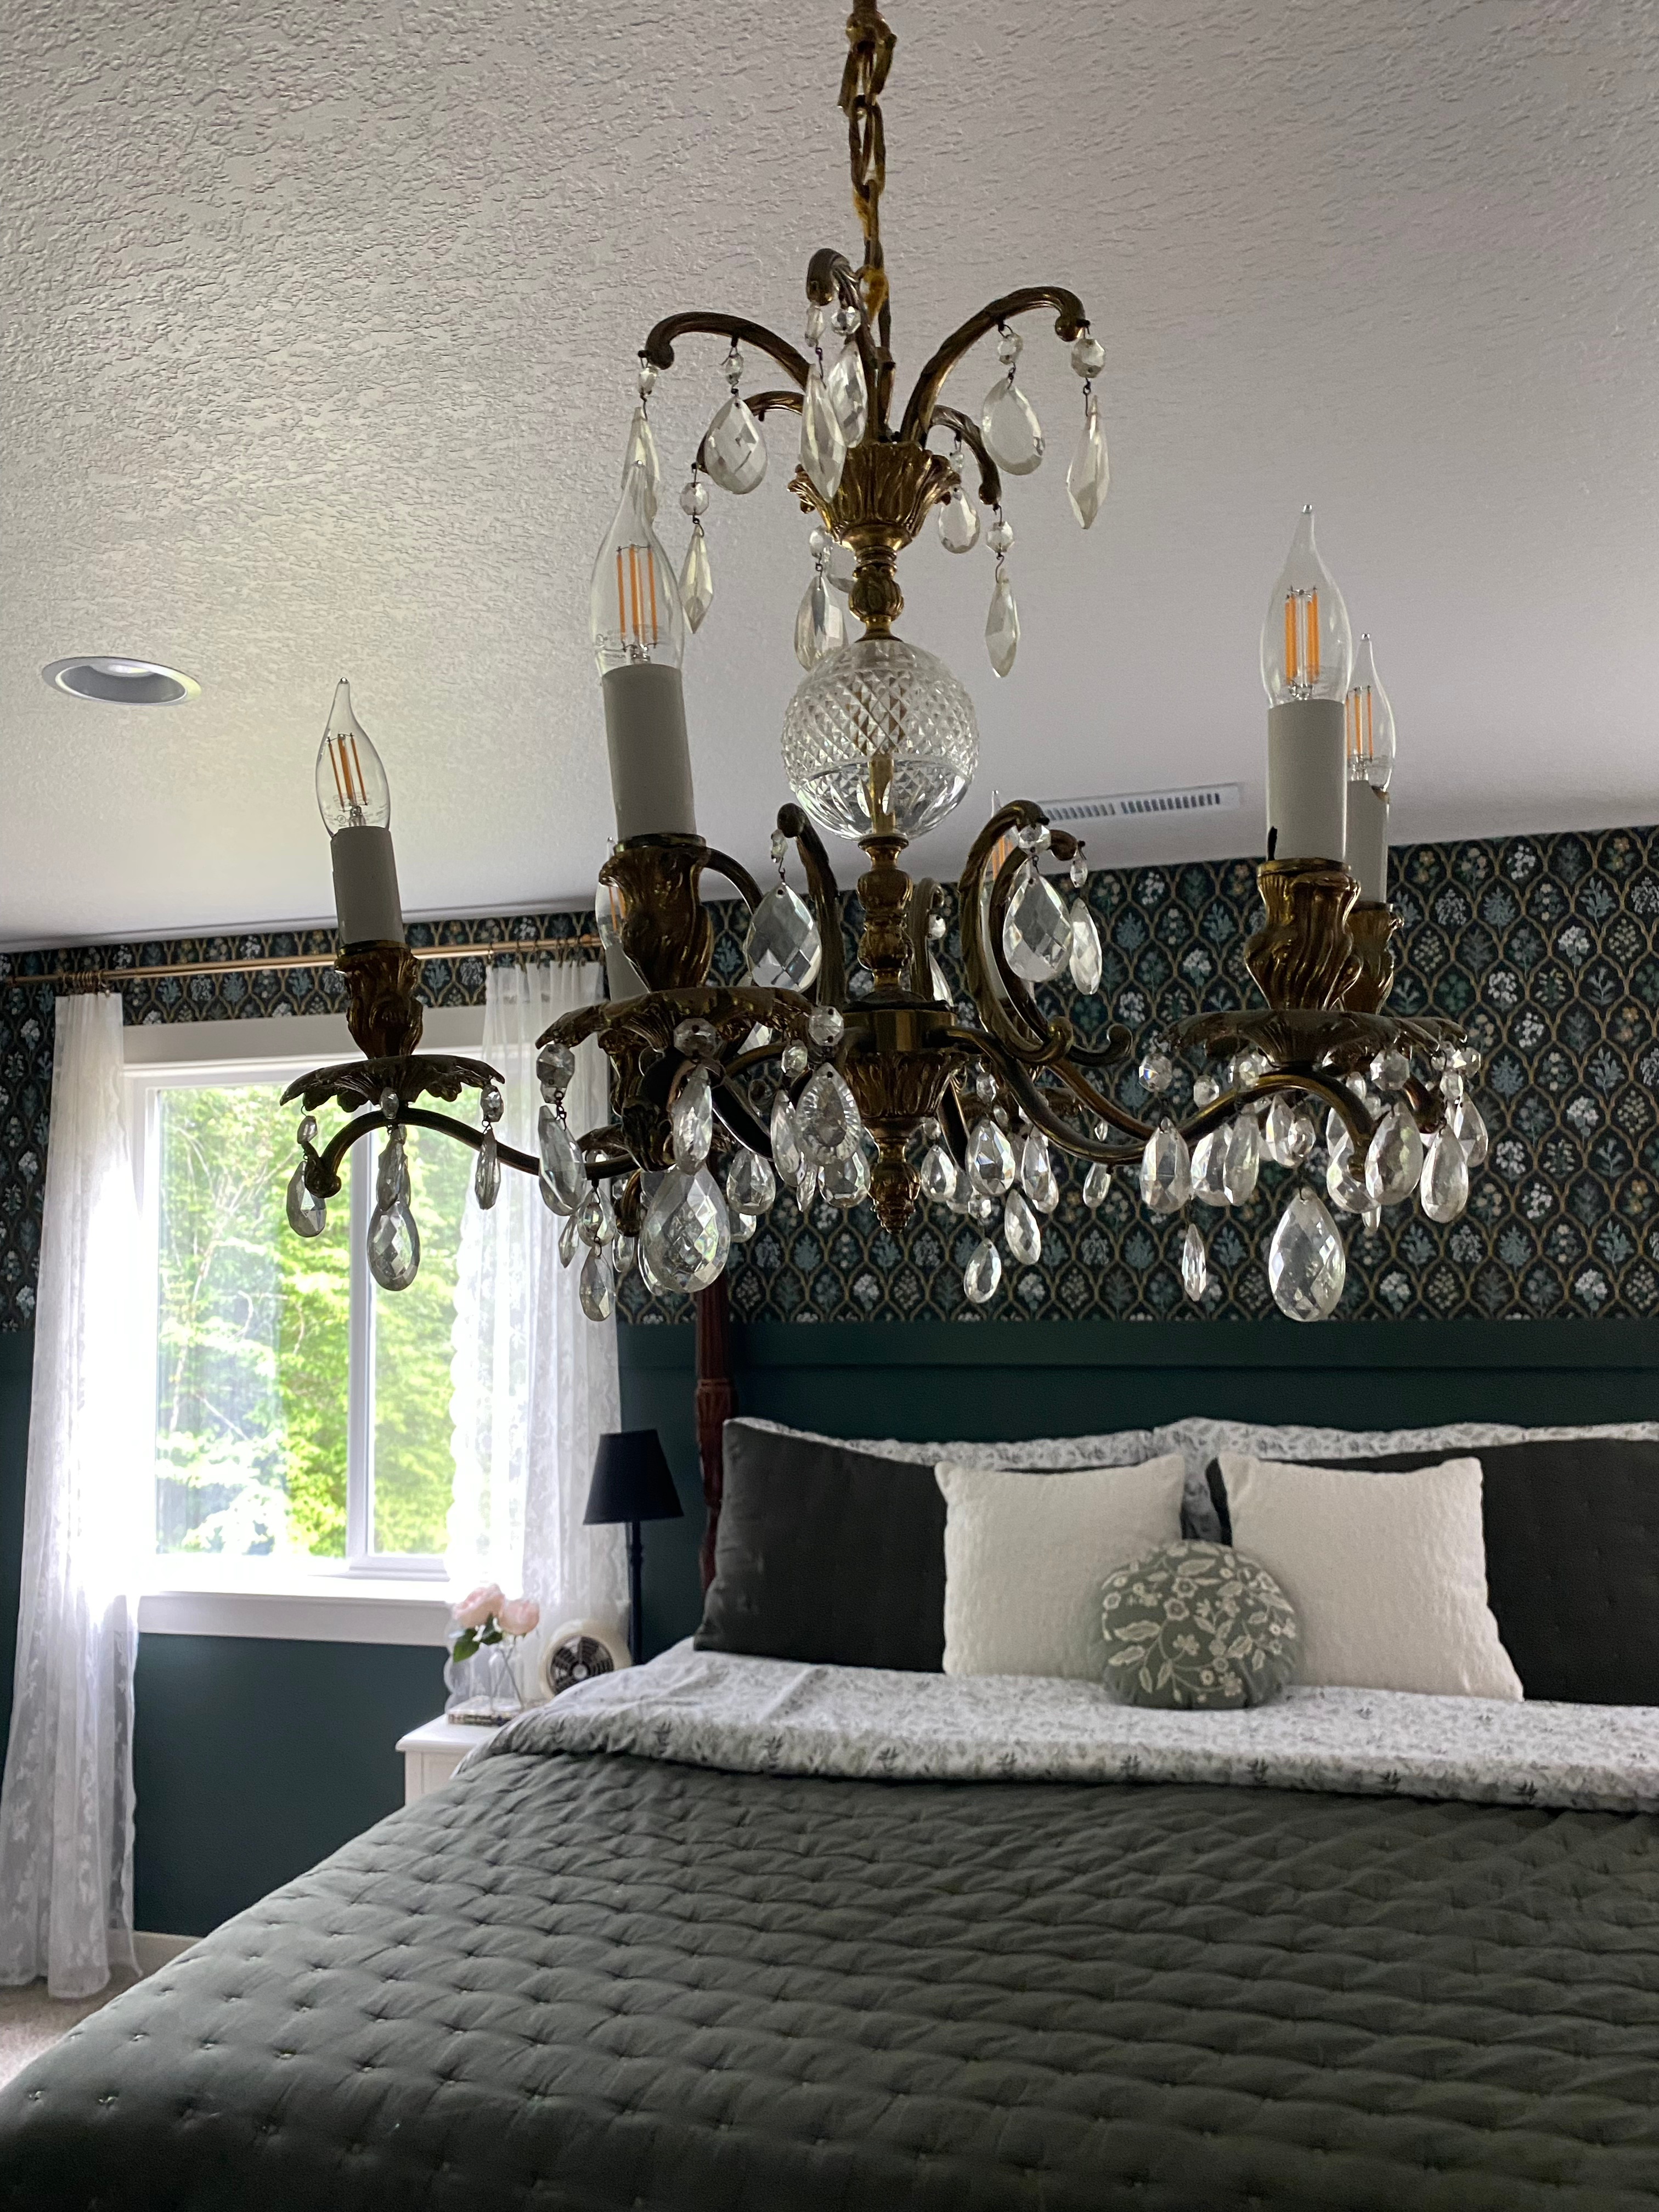
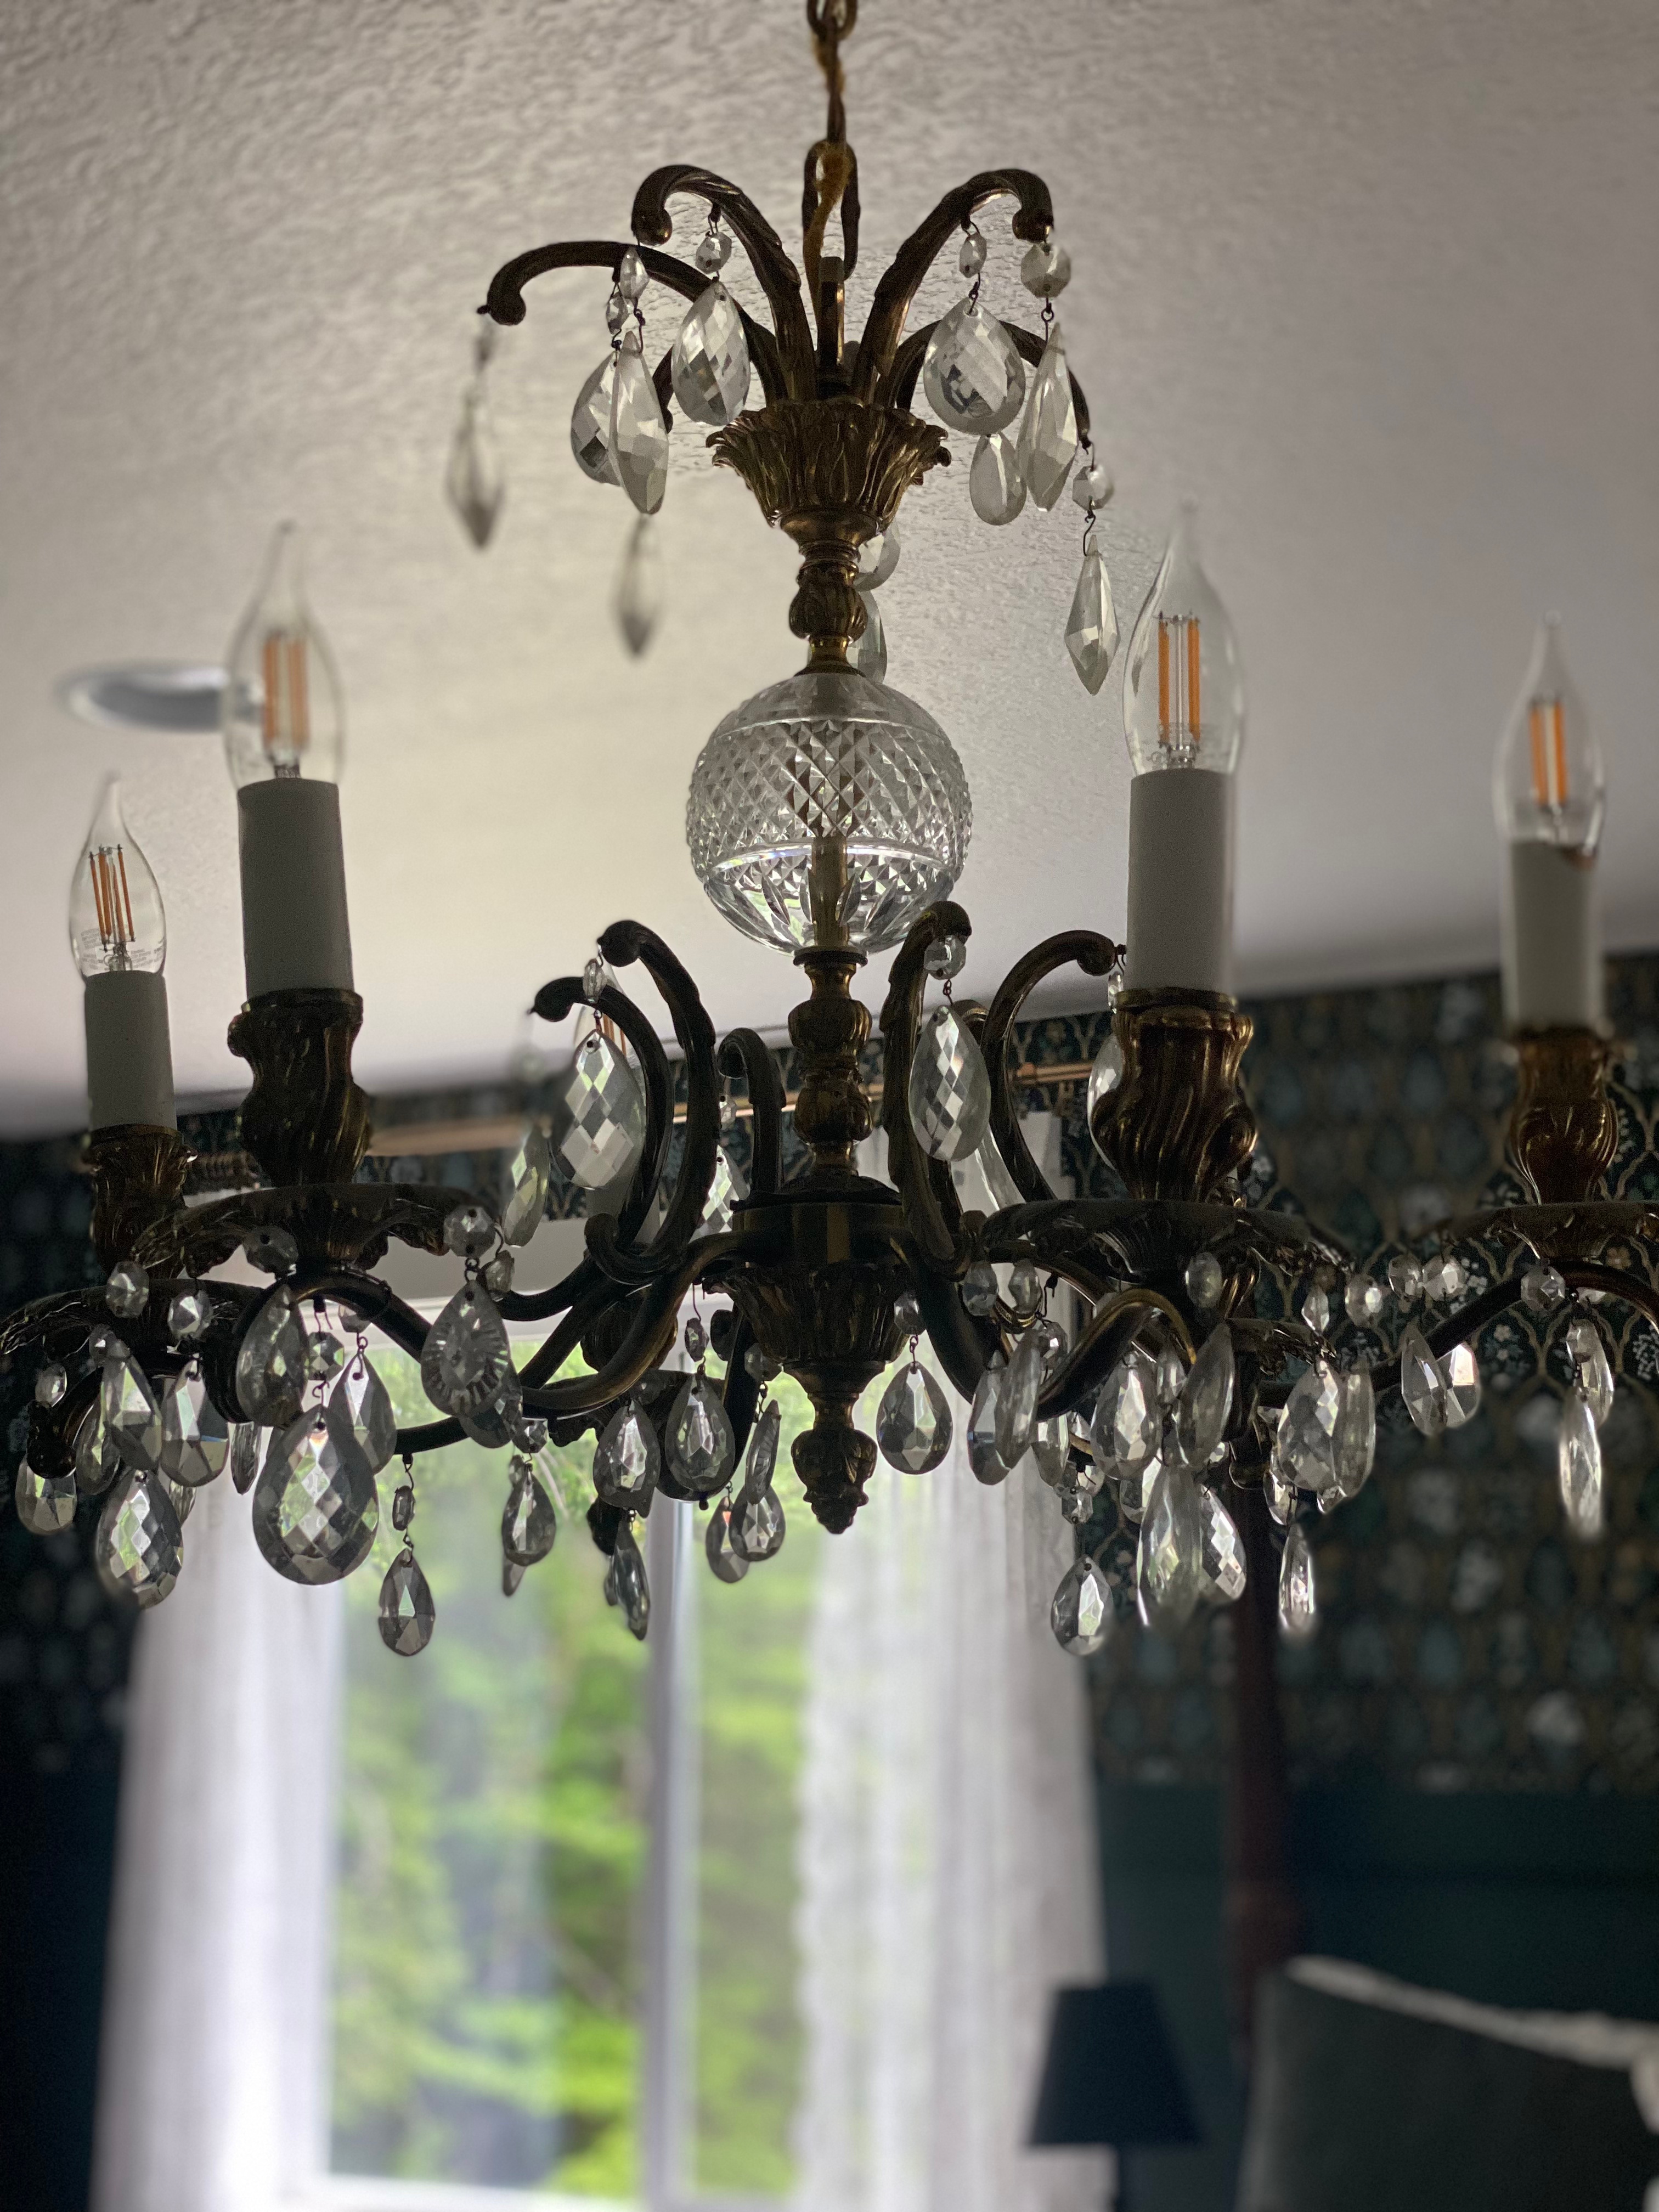
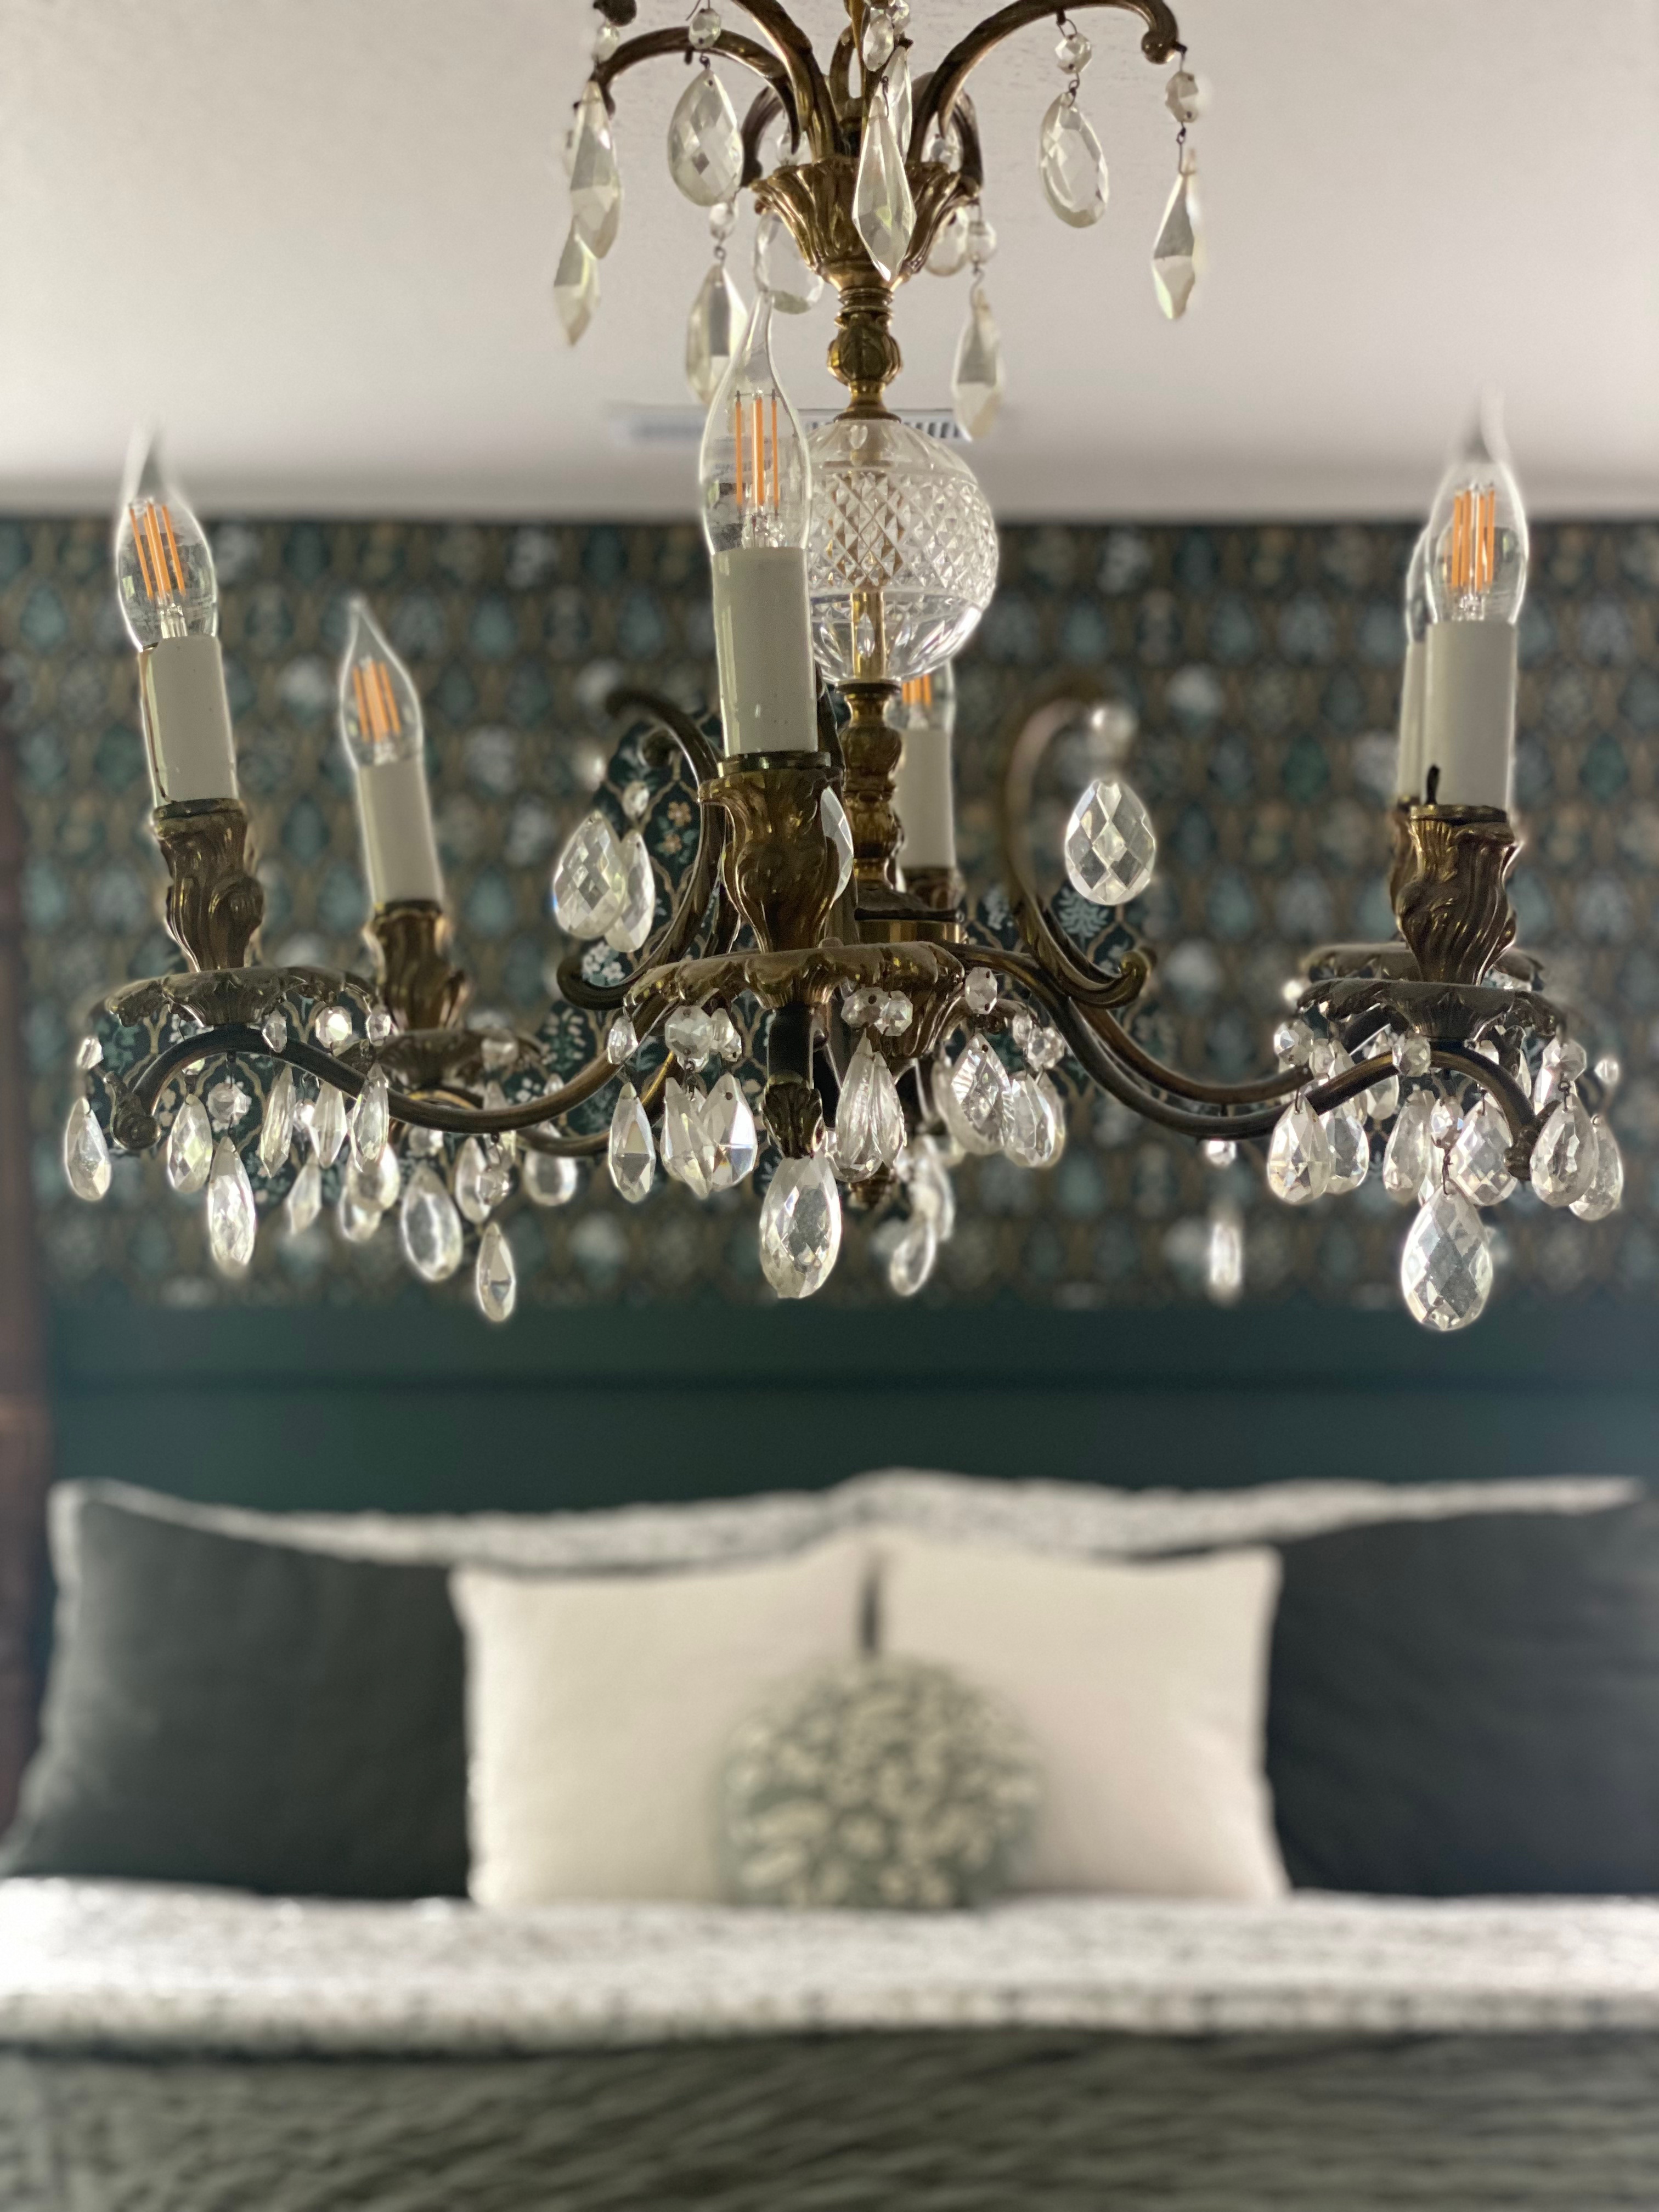
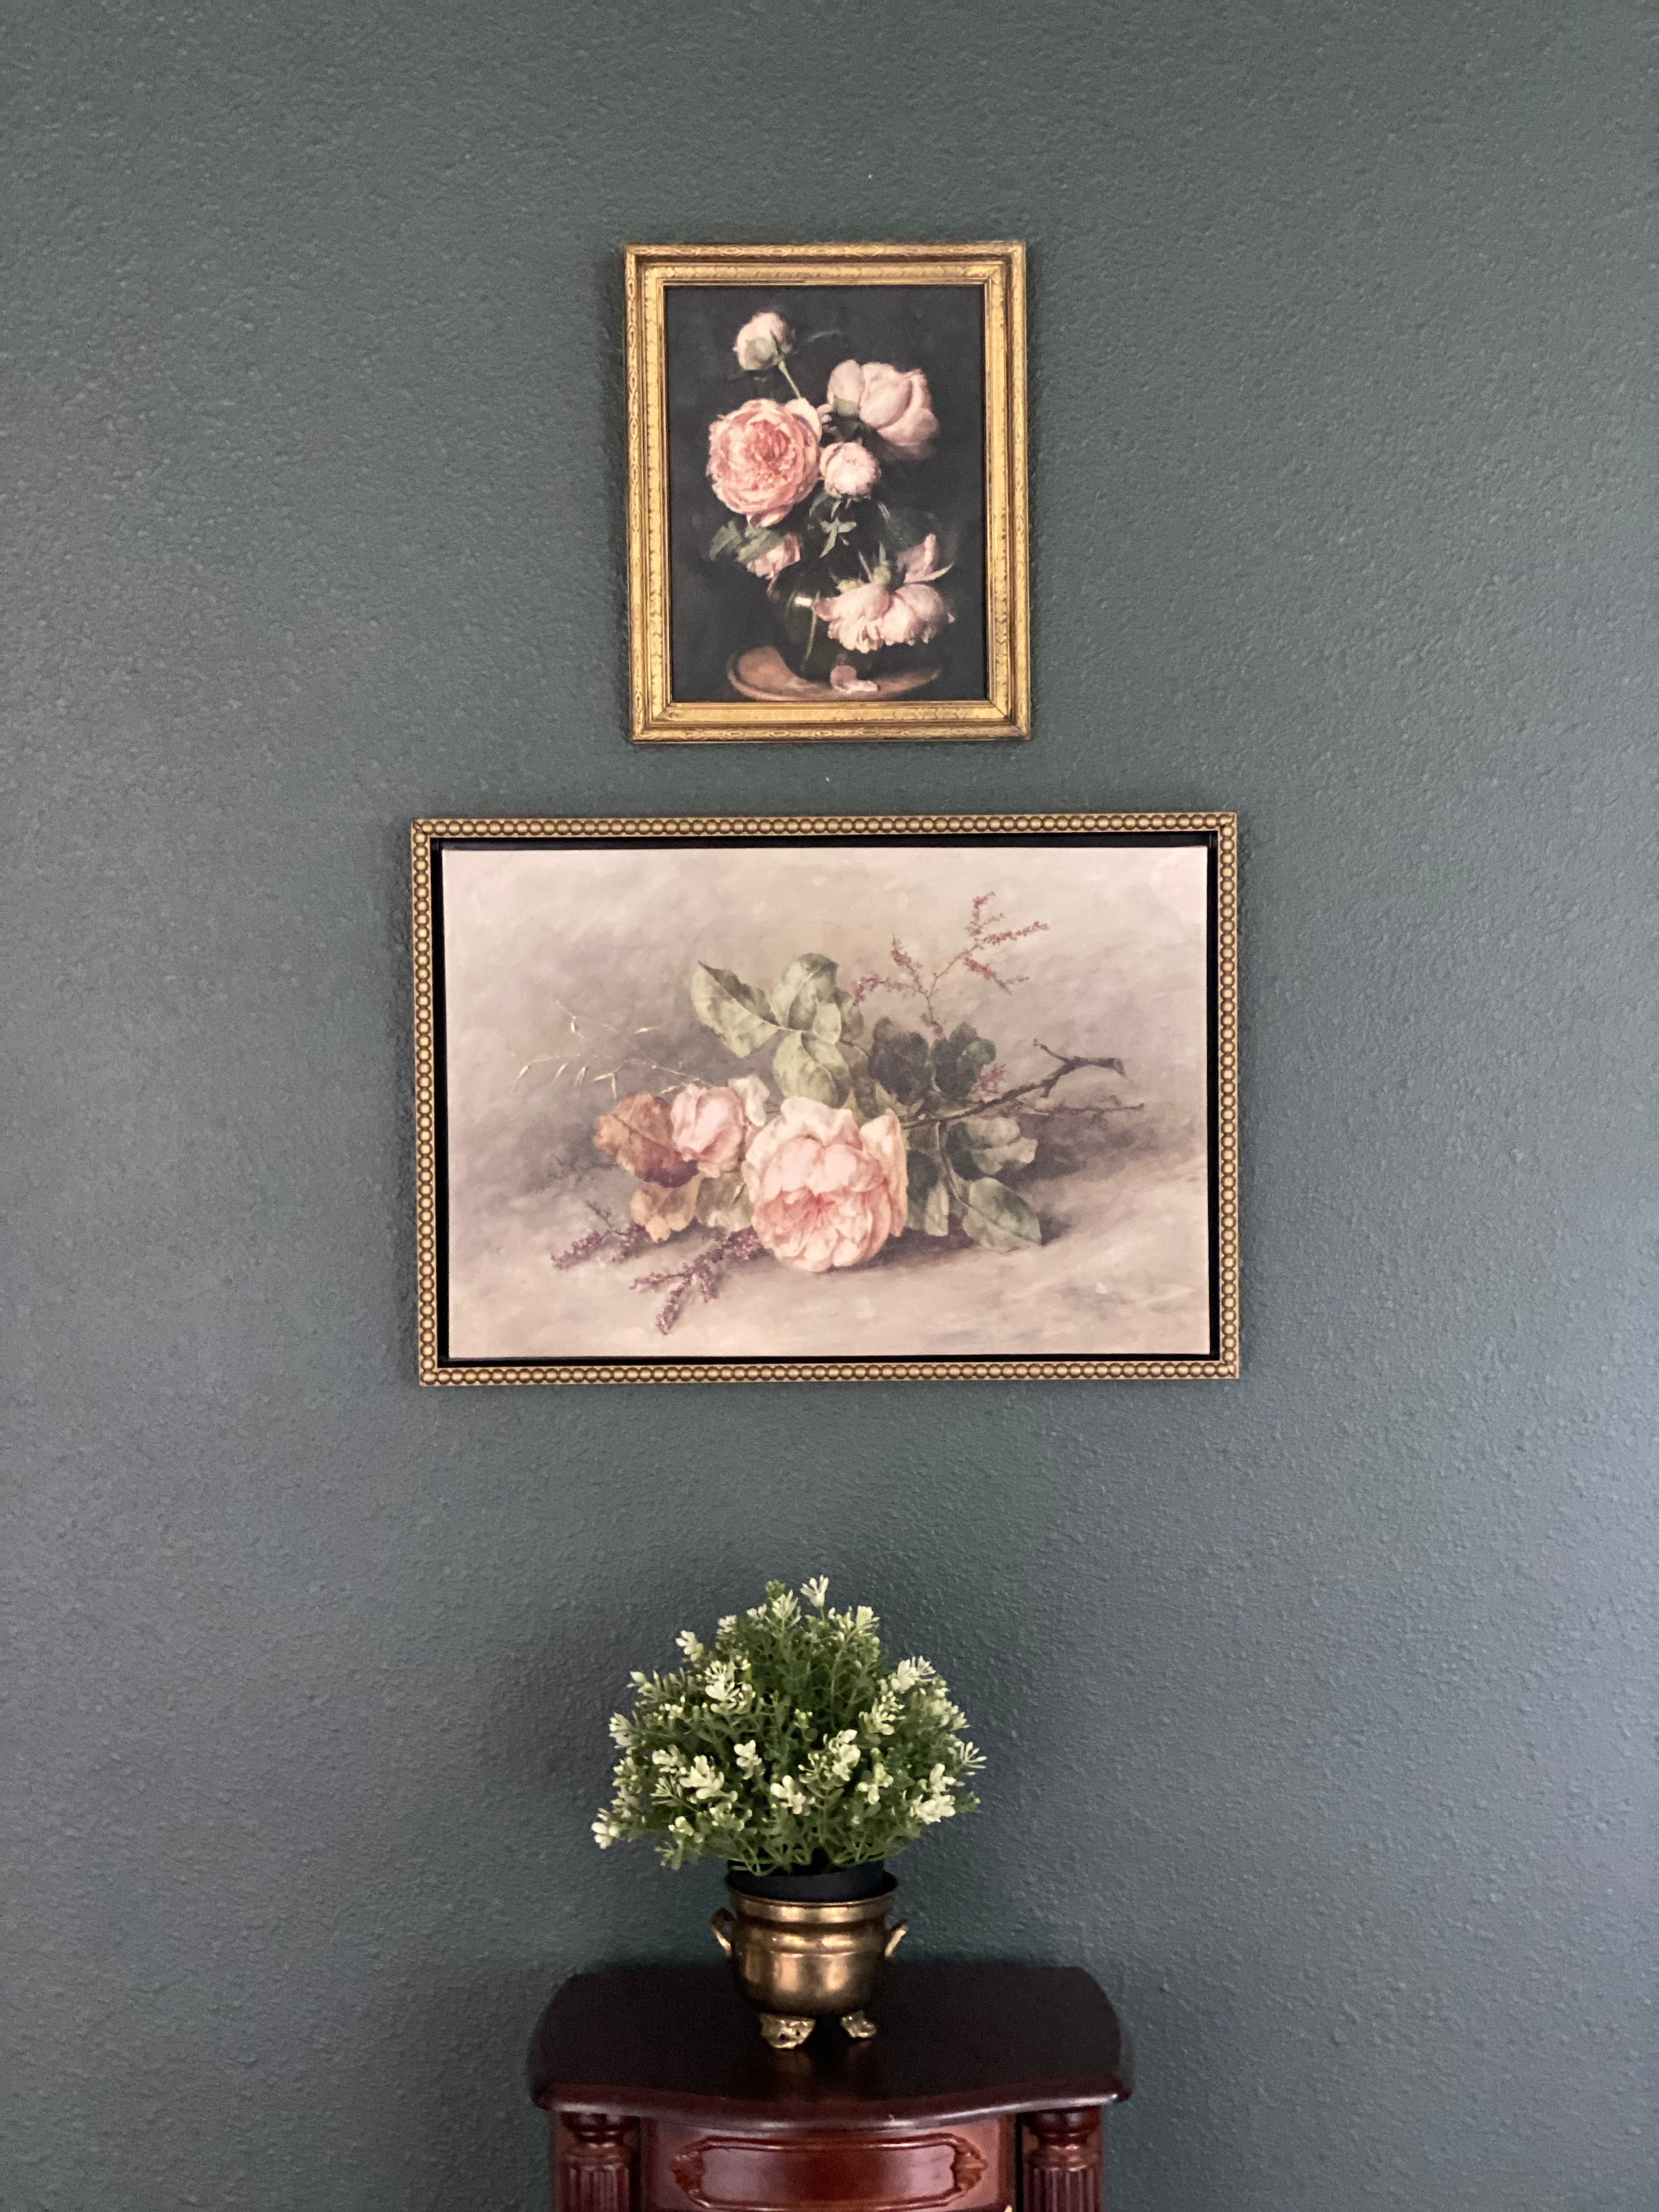
We are so very pleased with the outcome of our room makeover. We included some fun Facebook Marketplace finds along the way, like a four-poster bed and a brass chandelier. I found artwork that coordinated well at Target, Hobby Lobby, and Etsy. And of course, pillows and bedding (Pottery Barn, sadly, they don’t have this quilt anymore).

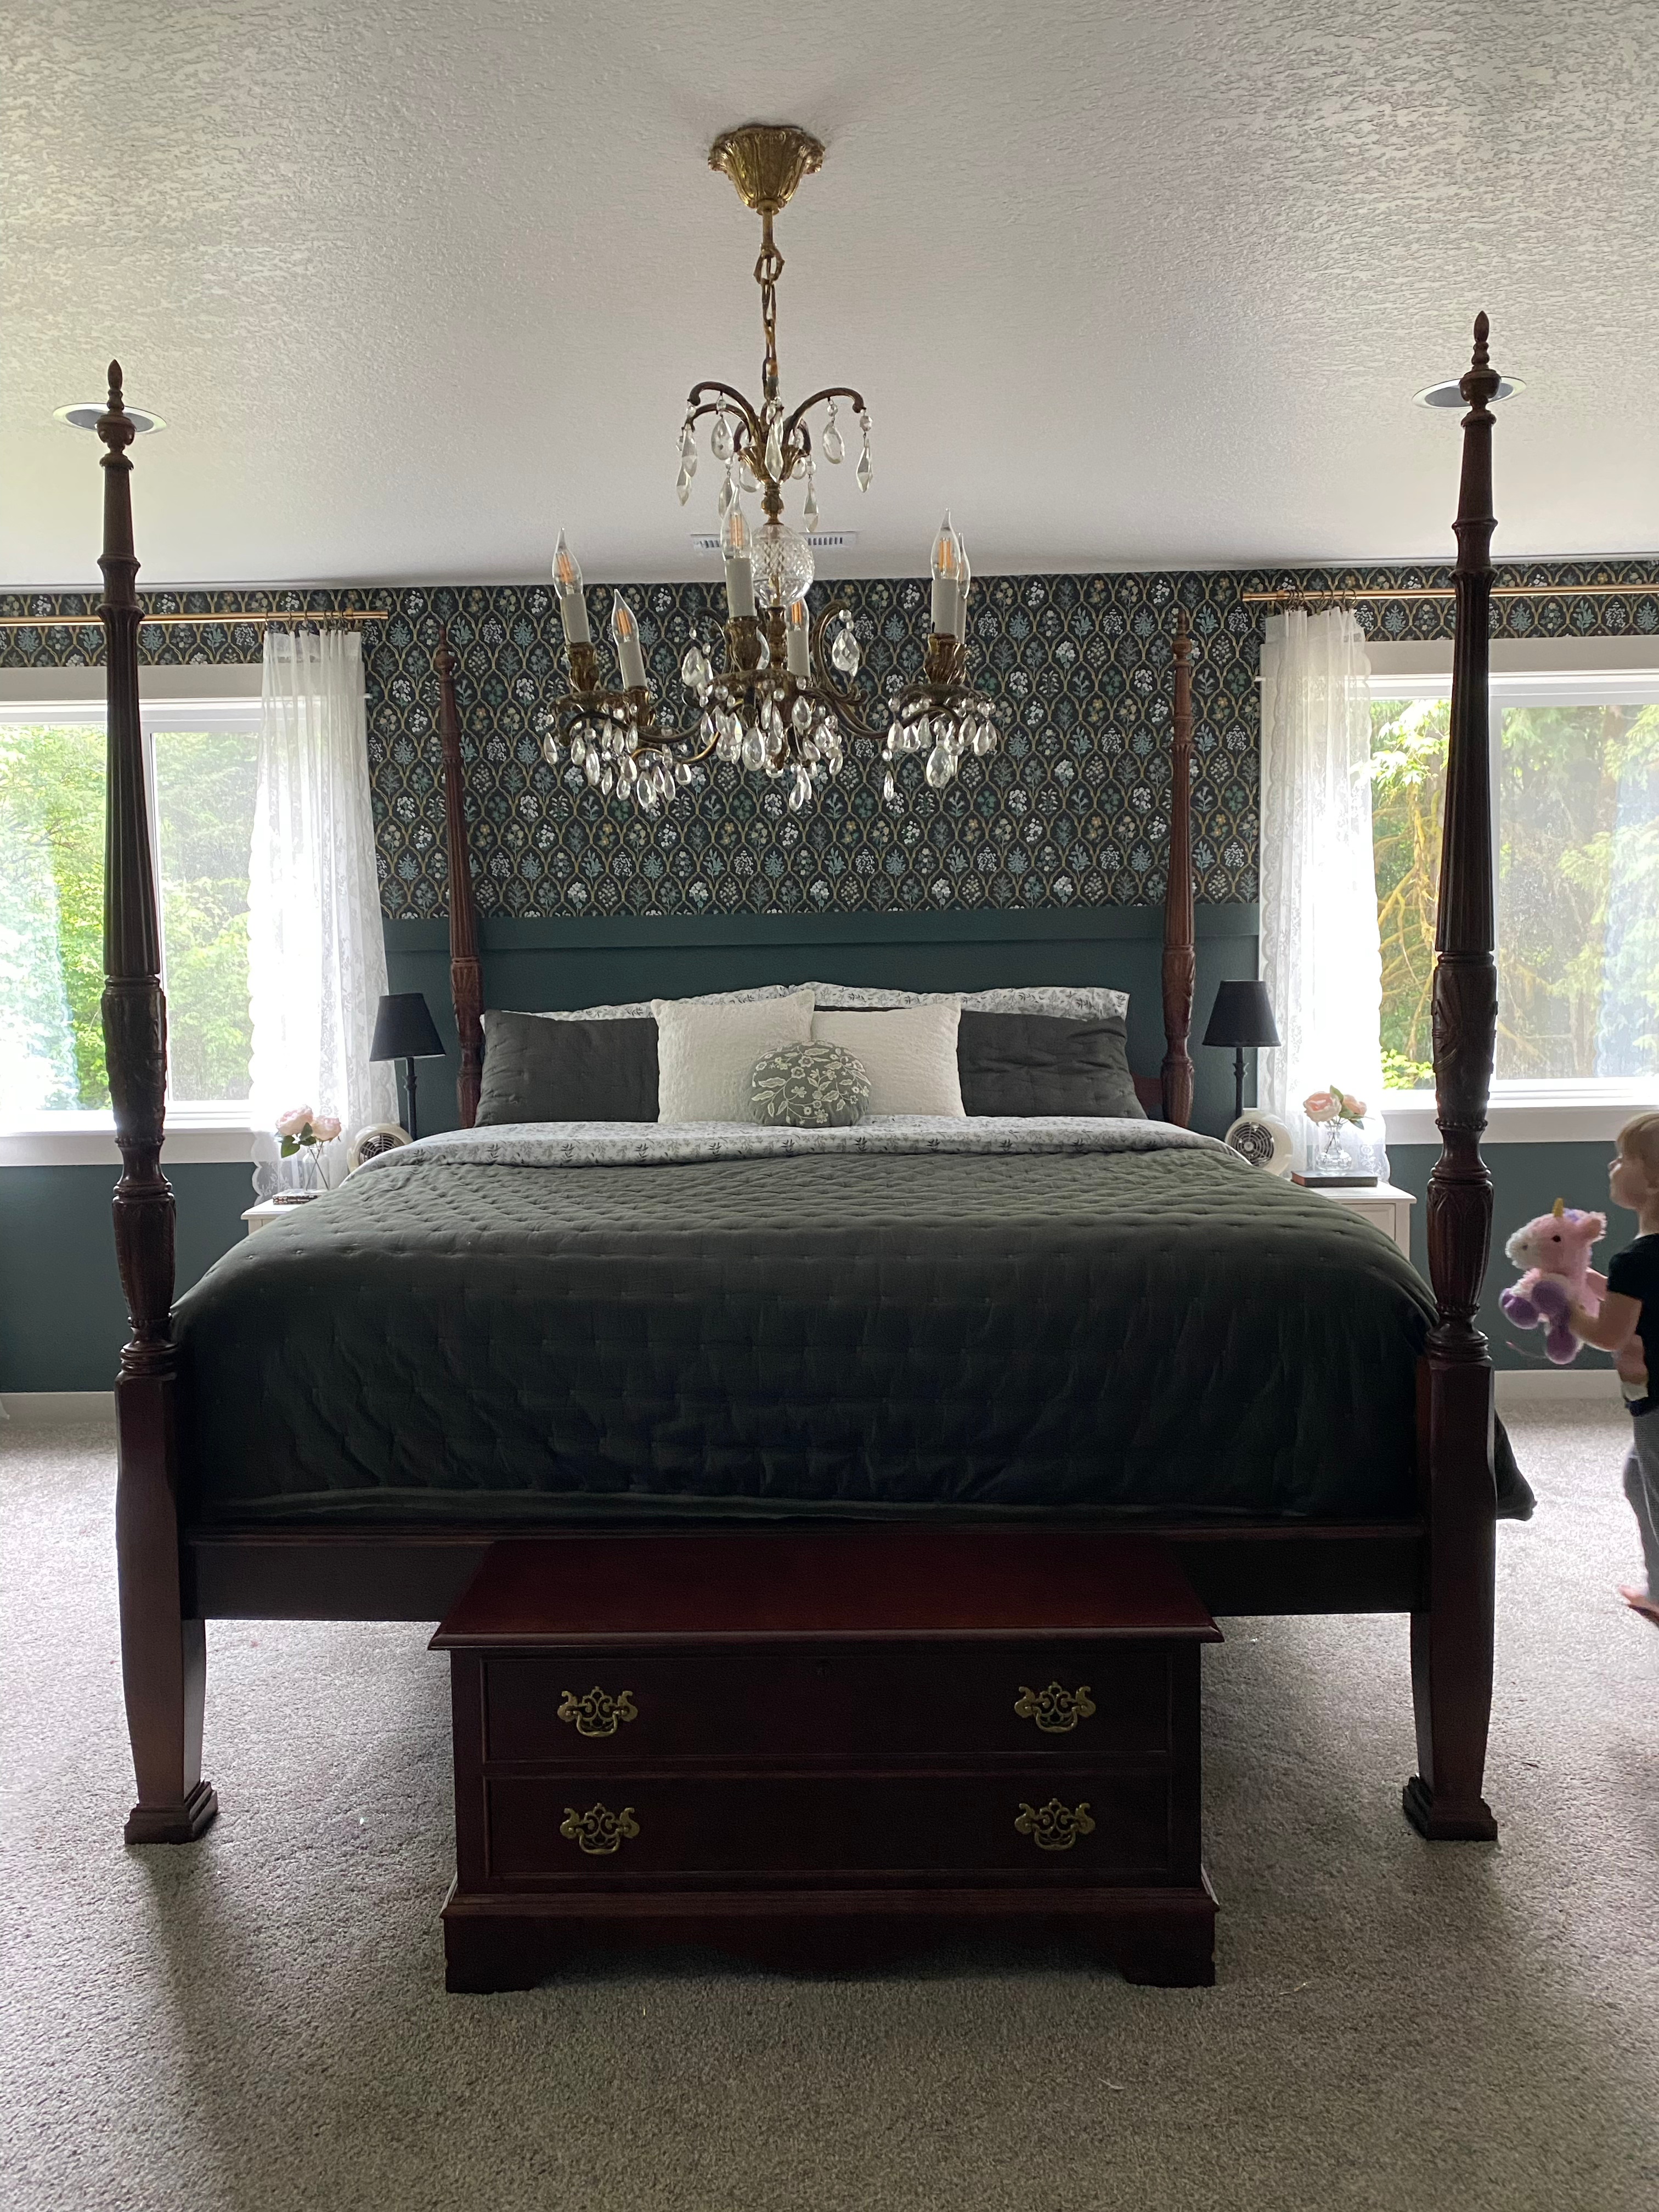
And for those who love good before and after:

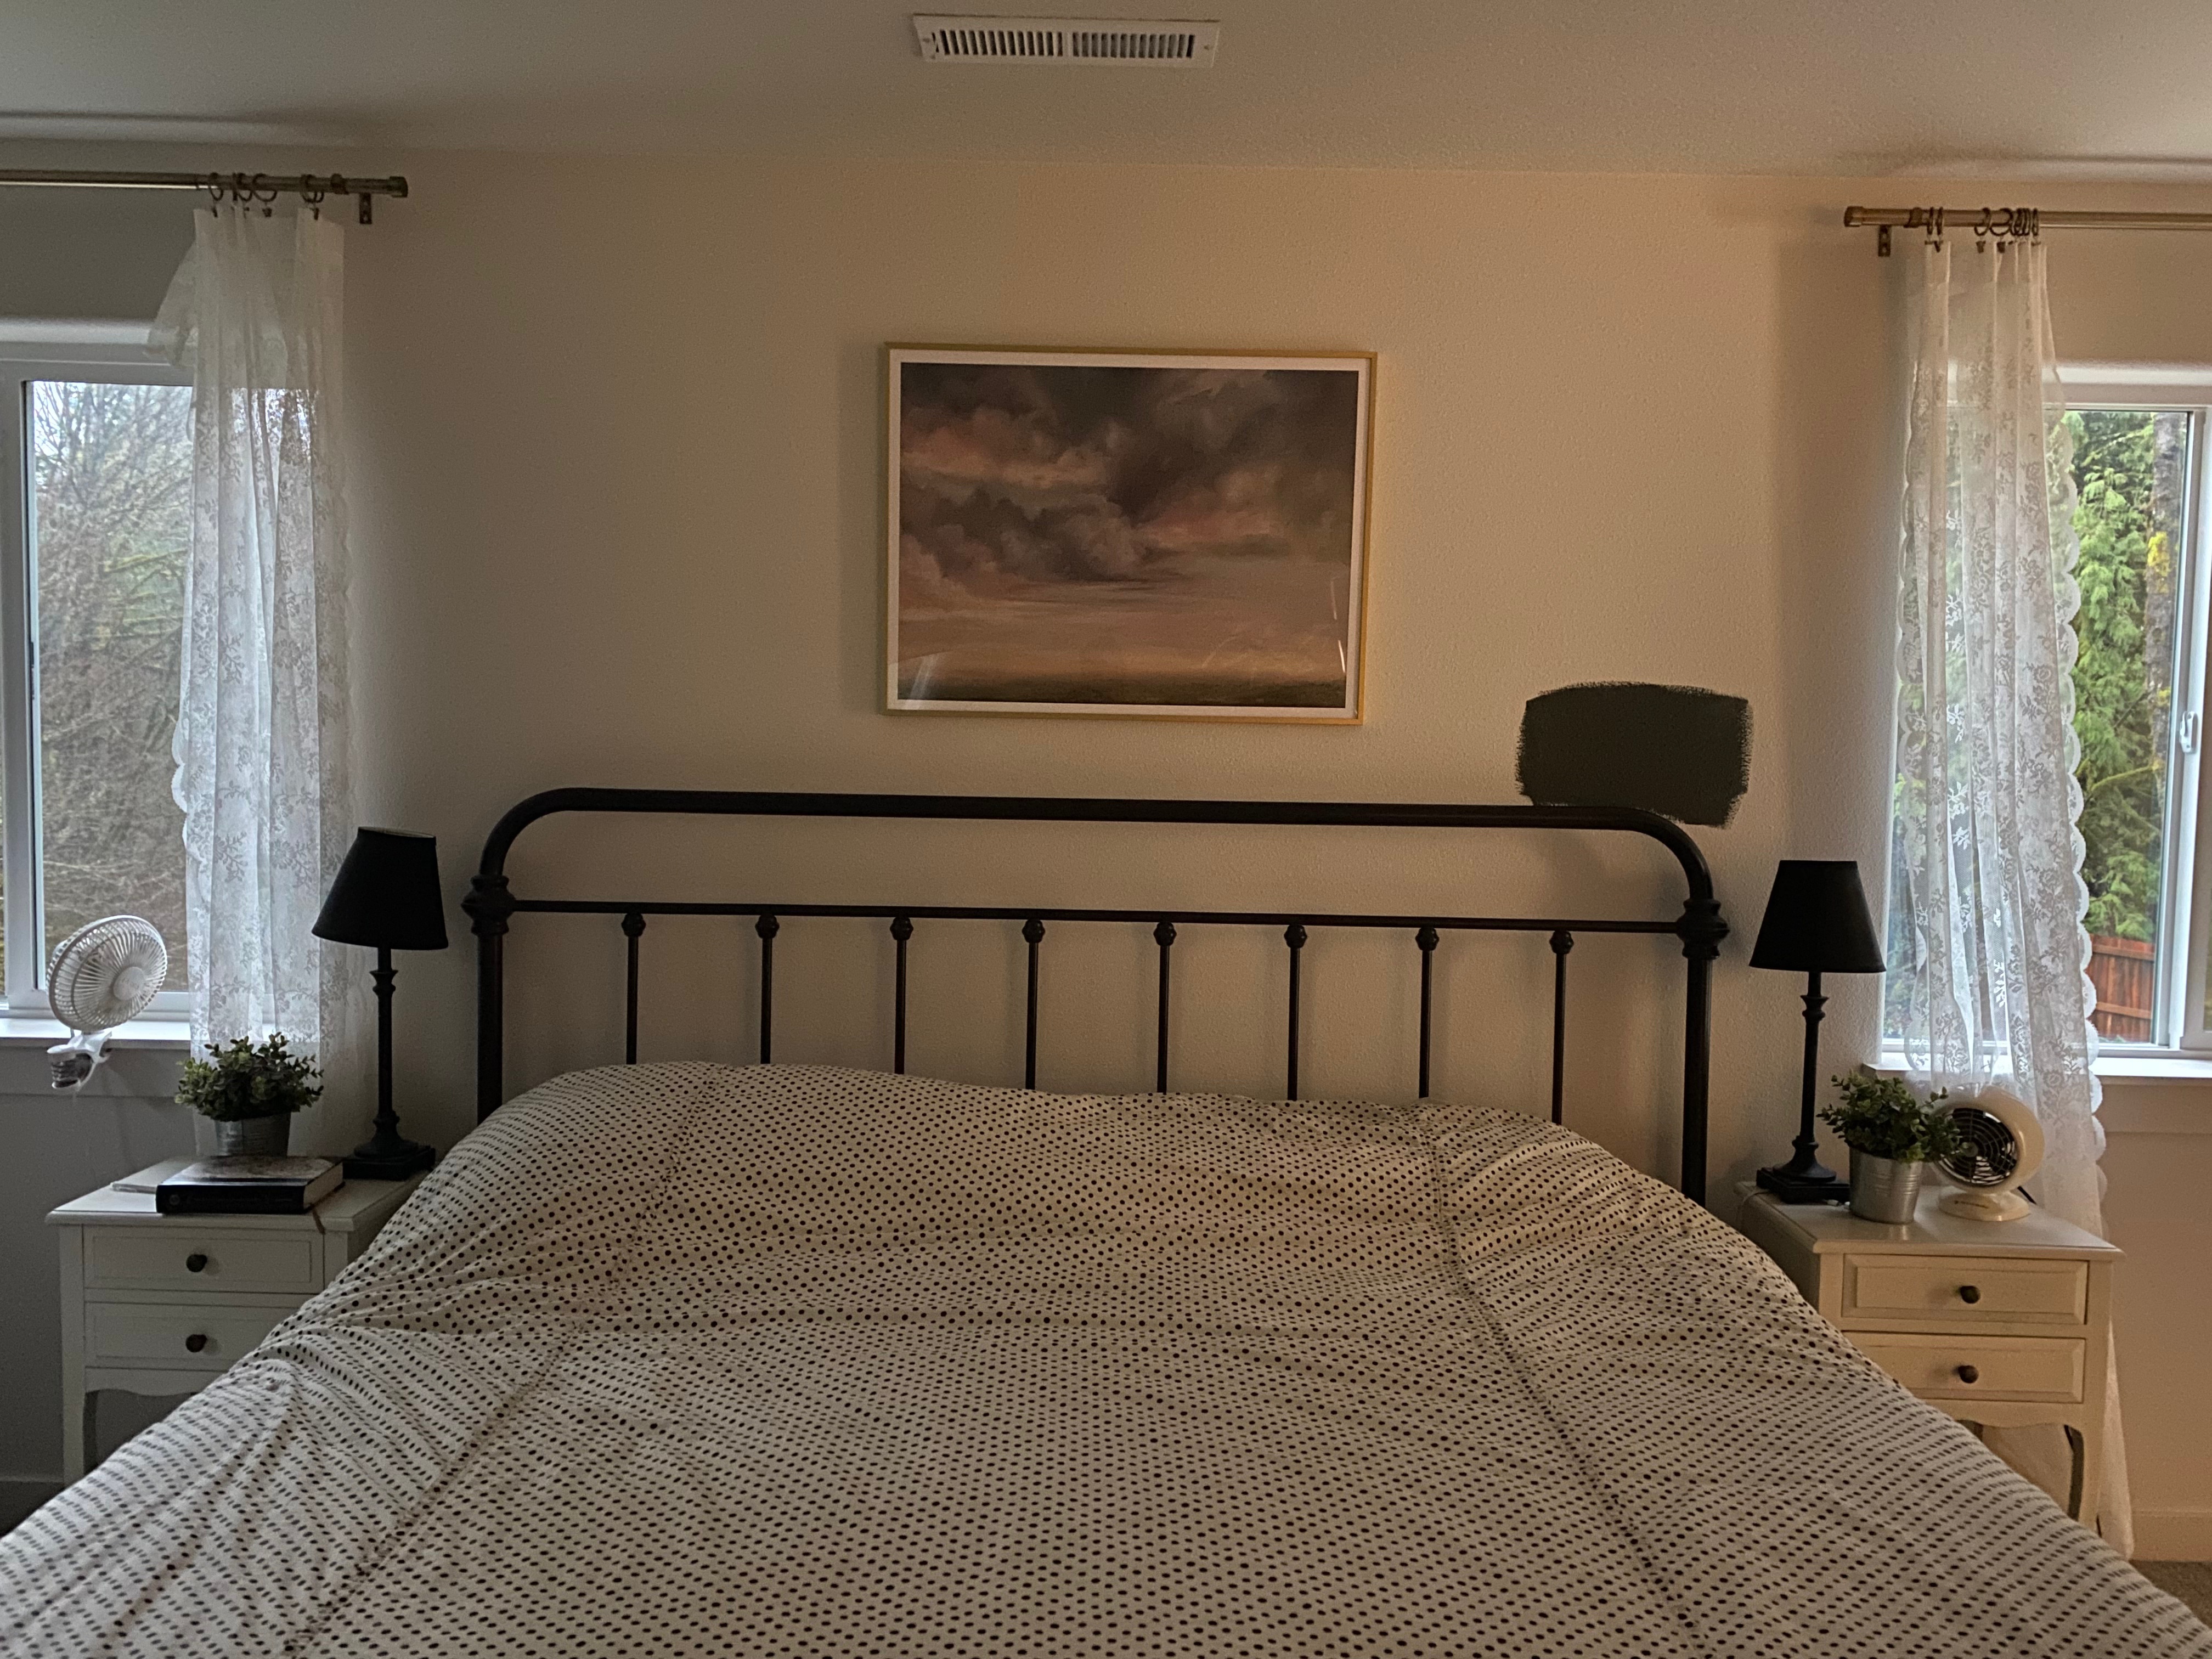
All this to say, not all DIYs go the way you want them to. In fact, in my experience, most do not. Maybe patience is the lesson? Maybe sometimes admitting defeat and starting over? Maybe you don’t have to be a DIY genius every time? Maybe always sample wallpaper? Or maybe just don’t get discouraged if it isn’t Pinterest-Perfect or Insta-worthy, trust what you love.

XO,
h

SOURCES:
Target
Portrait
Floral
Floral with gold frame
White leopard pillow
Green embroidered pillow (which gave me the idea for my next DIY, stay tuned…)
Sheets

Hobby Lobby artwork
Floral
Bow (actually in our bathroom, but too cute not to share)

P.S. The kids may be loving this makeover too. 😉

DIY Reclaimed Wood/Barn Door Baby Gate

I’m not sure how it happened. One day Kyrie was scoot/rolling, then literally the next day, she started crawling. Oh-no! We probably should have started baby proofing months ago, but now is good too, right?!?

So we have been rearranging furniture, moving things around, but the real problem is the stairs. And yes, she has discovered them and seems to look at them as some sort of challenge. She has a rather determined personality (that doesn’t sound familiar at all), so we need a baby gate, like yesterday.

Baby on Stairs

So funny story, I thought we should run out to Target a buy a baby gate right away. But Ryan suggested we build our own gate instead. Hey, shouldn’t I have been the one to suggest that? 🙂 He did some searching online and found some ideas we liked and came up with the plan…

Barn Door Baby Gate Plan

Part I – Construction

Materials/Tools:
Reclaimed Wood (from a deconstructed pallet)
Wood Screws (1 1/4″)
Orbital Sander
Measuring Tape
Square
Circular Saw or Miter Saw

How to (Ryan):

1. I started by cutting out the pieces:

  • 2 outer frame side pieces: 30″ long, 5 1/2″ wide
  • 2 0uter frame top pieces: 23 1/2″ long, 5 1/2″ wide
  • 9 back pieces: 30″ long (various widths due to the wood available)
  • 1 long “X” piece: 30 1/4″ long, 5 1/2″ wide, cut to a “V” on each end. I put this piece over the outer frame, and used the square tool to help mark and determine where to cut.
  • 2 short “X” pieces: 12: long, 5 1/2″ wide, again cut to a “V” on one end. See above.Reclaimed Pallet Wood

2. Sand like crazy. Because this is a baby gate, we went for an extremely smooth finish. Started with 80 grit and finished with 180 grit. I spent a lot of time getting each piece perfectly smooth as the goal of this door is safety. Look at the difference…

Barn Door baby gate construction

3. In order to keep the screws hidden, I assembled it essentially from the back forward. So the outer frame side piece was screwed to a back piece (from the back side). Then I grabbed another back piece, snugged the two back pieces up, and screwed into the outer side piece. Then I lined up the outer frame top and bottom pieces, and screwed them to the back pieces. Then continued with the back pieces all the way across, finishing with the other outer frame front piece.

Barn Door Baby Gate Construction

4. Next I flipped over the door and fitted the “X”. Again, screwed it in from the back.

Barn Door baby gate construction (4) Barn Door baby gate construction (3)

Note: I pre-drilled all the holes before putting the screws in to prevent the wood from splitting.

Part II – Painting

Materials/Tools:
Jewel Shabby Paint (chalk paint)
Hazelnut reVax Shabby Paint
Black Matte Spray Paint
Paint Brush
Sandpaper (60 grit)
Sponge

How to:
Like every other DIYer out there, I have discovered and love chalk paint. You don’t have to sand or prime your project, and it gives this great matte finish. It looks great!

Shabby Paint Jewel and Hazelnut reVax

1. I decided I wanted an extra layer of black paint under the Jewel color to add some dimension when I distressed it. So I started by spray painting the entire piece black. I really didn’t worry about great coverage except on the edges and corners. But I did use an entire can of spray paint.
Barn Door Baby Gate black spray paint

2. After letting it dry I painted my first coat of Jewel Shabby Paint, let dry and added a second coat. The chalk paint really goes far. I used about 5 ounces of paint total. Flipped the door over and did the same on the back (2 coats). Pretty!

Barn Door Baby Gate Jewel Chalk Paint

3. Now is the part I love/hate. I took out the sandpaper and started distressing the door. After the beautiful coat of paint, it always makes me a little sad at first, but I love the look after it is all done. I paid special attention to the areas of the door that would normally experience wear and tear — corners, edges, etc. There is no real science to it, you just sand areas until you like the way it looks. You’ll notice some areas the black paint shows through, and others I sanded down to the wood, again, all personal taste.

Barn Door Baby Gate Distress Jewel Shabby Paint  Barn Door Baby Gate Back Distressed

4. The final touch is the product they call reVax, I applied it as recommended with a damp sponge. It is a great topcoat for durability, and in this case, I used it to deepen the color and add to the distressed look of the piece. Seriously, the Hazelnut reVax was like magic, I was so excited to see it go on, it gave the Jewel a more greenish color which is exactly what I wanted. I la la LOVE this color combo!!

Barn Door Baby Gate back distressed with Hazelnut reVax  Barn Door Baby Gate Distressed with Shabby Paint Hazelnut reVax

Part III – Installation/Finishing

Materials/Tools:
Hinges
Barrel Bolt
More wood screws
2 Trim pieces (30 3/4″ x 1 1/2″ x 5/8″)
Antique glass doorknob

How to:
1. Almost there! We started by cutting our two trim pieces, which will be mounted to the wall on either side and the door will connect to. On the top, cut a 45 degree angle (this just makes it look a little more finished). Then we painted them to match our wall color.

Trim Piece Barn Door Baby Gate

2. Attach the hinges to the gate and hinges to the first trim piece (prior to installing them on the wall). Remove the pins from the hinges so that the trim piece can be attached to the wall without the weight of the gate. Once the trim piece was secured to the wall (we were sure to find a stud and used 2 1/4″ screws), we lined up the hinges on the gate and reinserted the pins.
Barn Door Baby gate hardware
Note: The screws pictured here were used to attach the doorknob.

3. Next, we attached the second trim piece to the other side of the wall (again 2 1/4″ screws into a stud).

4. Attach the barrel bolt approximately 1″ from the top of the door (on the back), then extend the barrel and mark the spot to drill into the trim. Drill and done.

5. Attach the glass door knob (I spray painted the plate of the antique doorknob black).

And…done! Phew!

Barn Door Baby Gate DIY

–h & r