
As it turns out, my design style has become more traditional over the years. I love a good vintage chandelier or vintage sconce or really anything old and steeped in history!
In our new house, we have a lot of blank walls… still. It can be hard to know how to tackle those blank walls and expensive to fill them. Add to that a builder-grade house with only a little charm, the challenge is real! Enter DIY Picture Frame Molding.
Here we go!
Step 1: Math, a lot of math
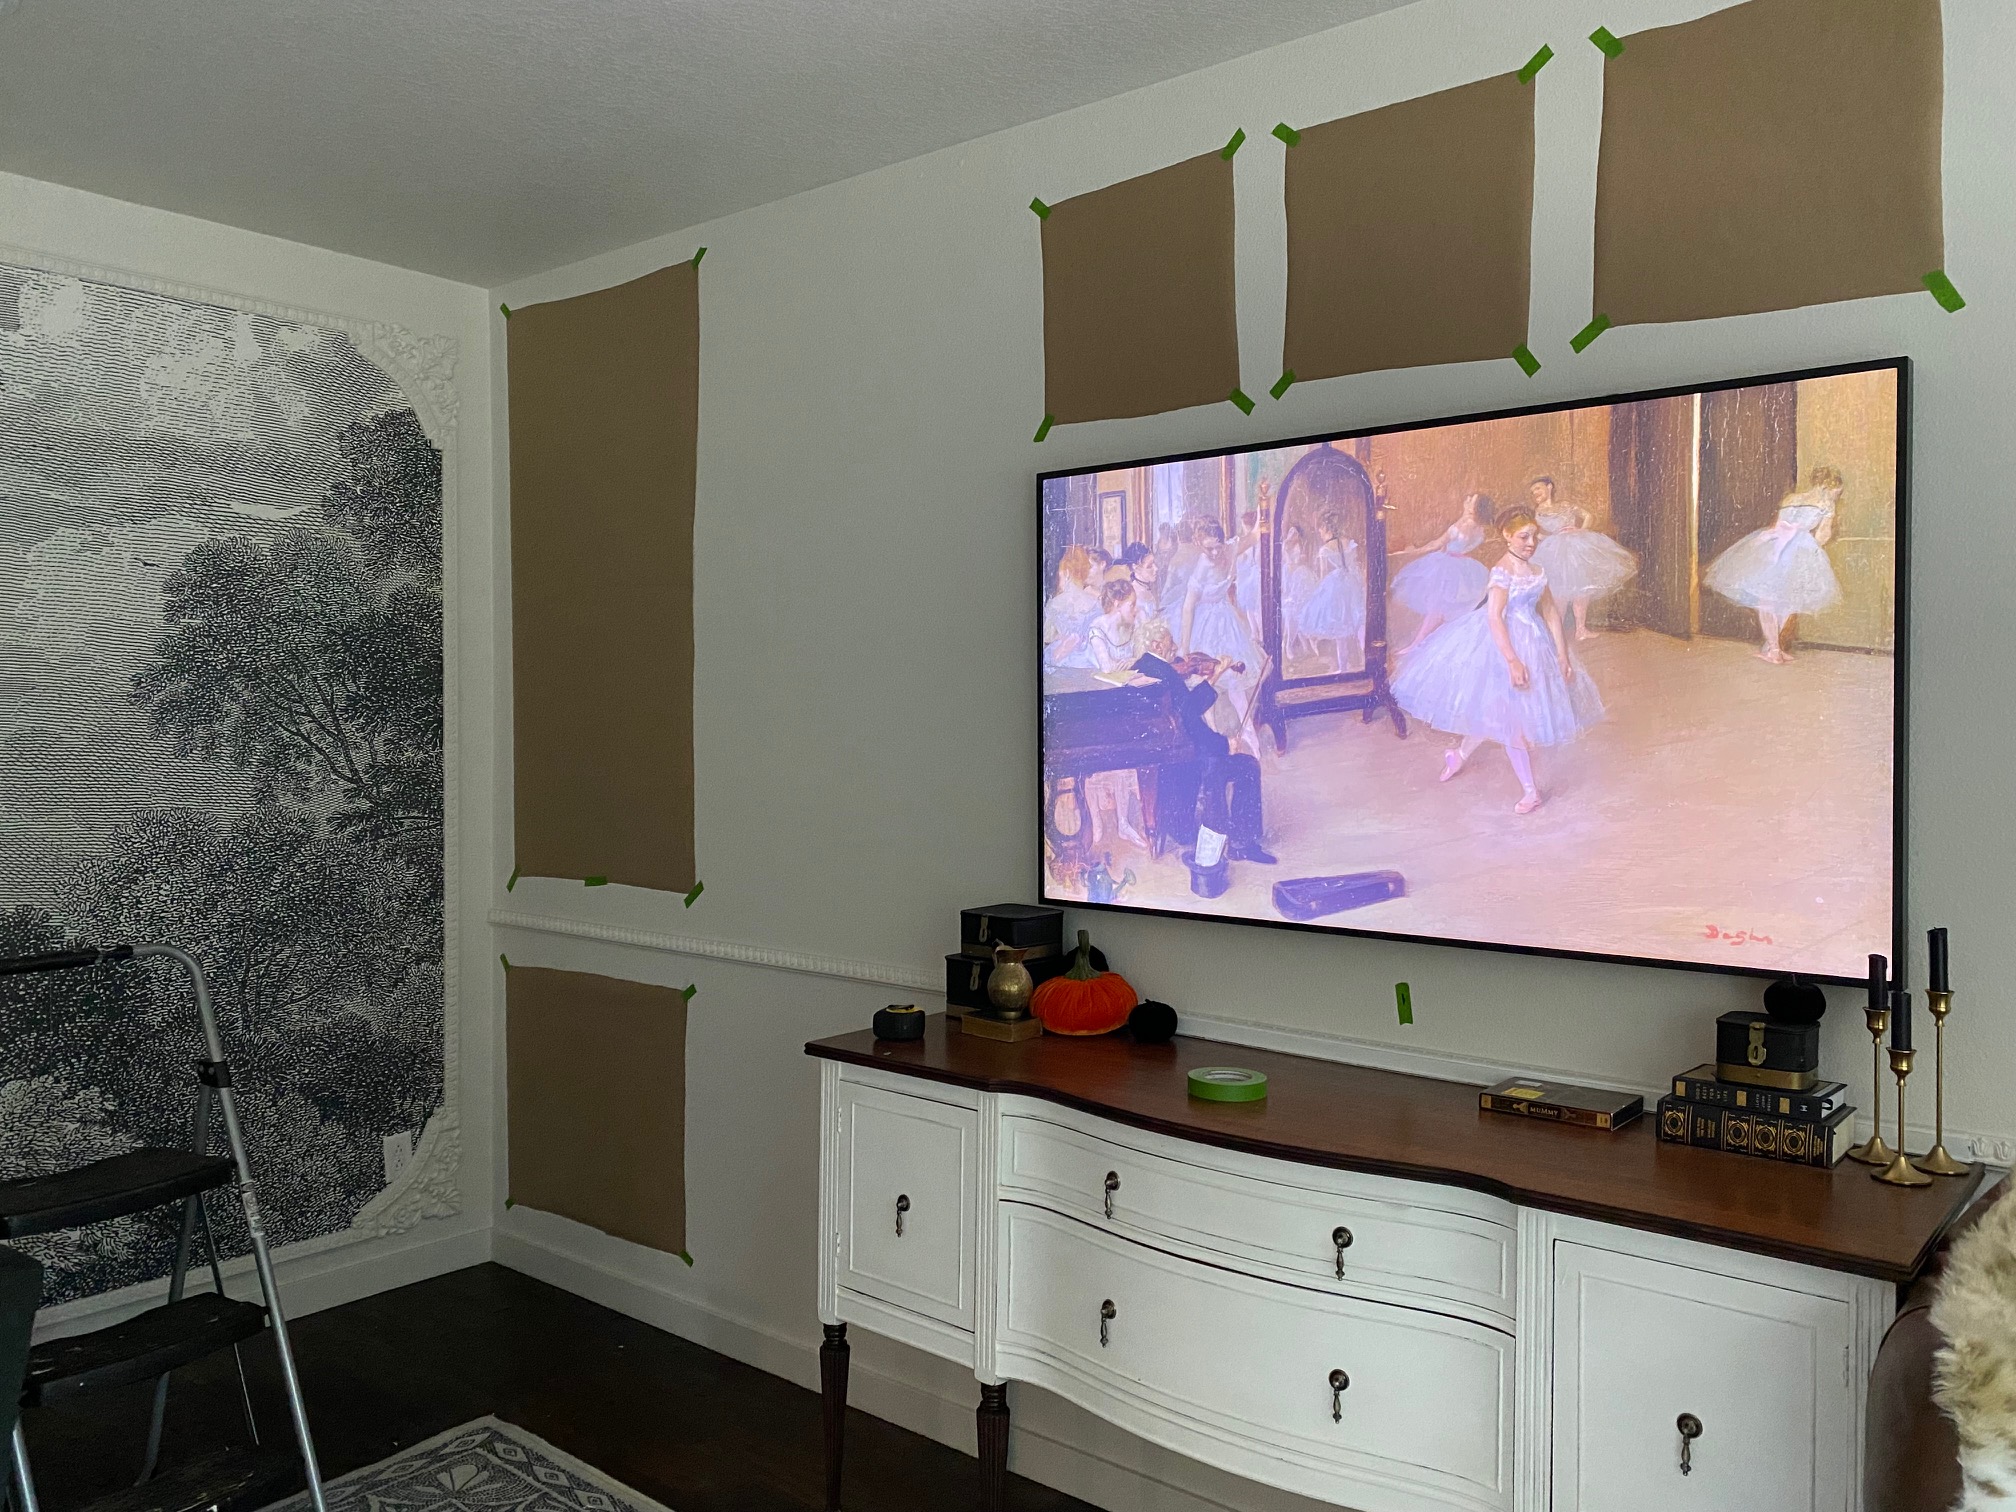
You’ll want to measure your space to determine the correct size and spacing for your molding. I knew I wanted an odd number across the room so I factored that into my measurements. Take the width of your wall and divide it by the number of frames you want, you also need to allow room for spacing between the frames, between the wall and the frames, and the molding itself (whoops, forgot about that at first). After I had my measurements down, I decided to cut out some templates from butcher paper (you could also use wrapping paper) to visualize everything.
Step 2: Cut your pieces and install
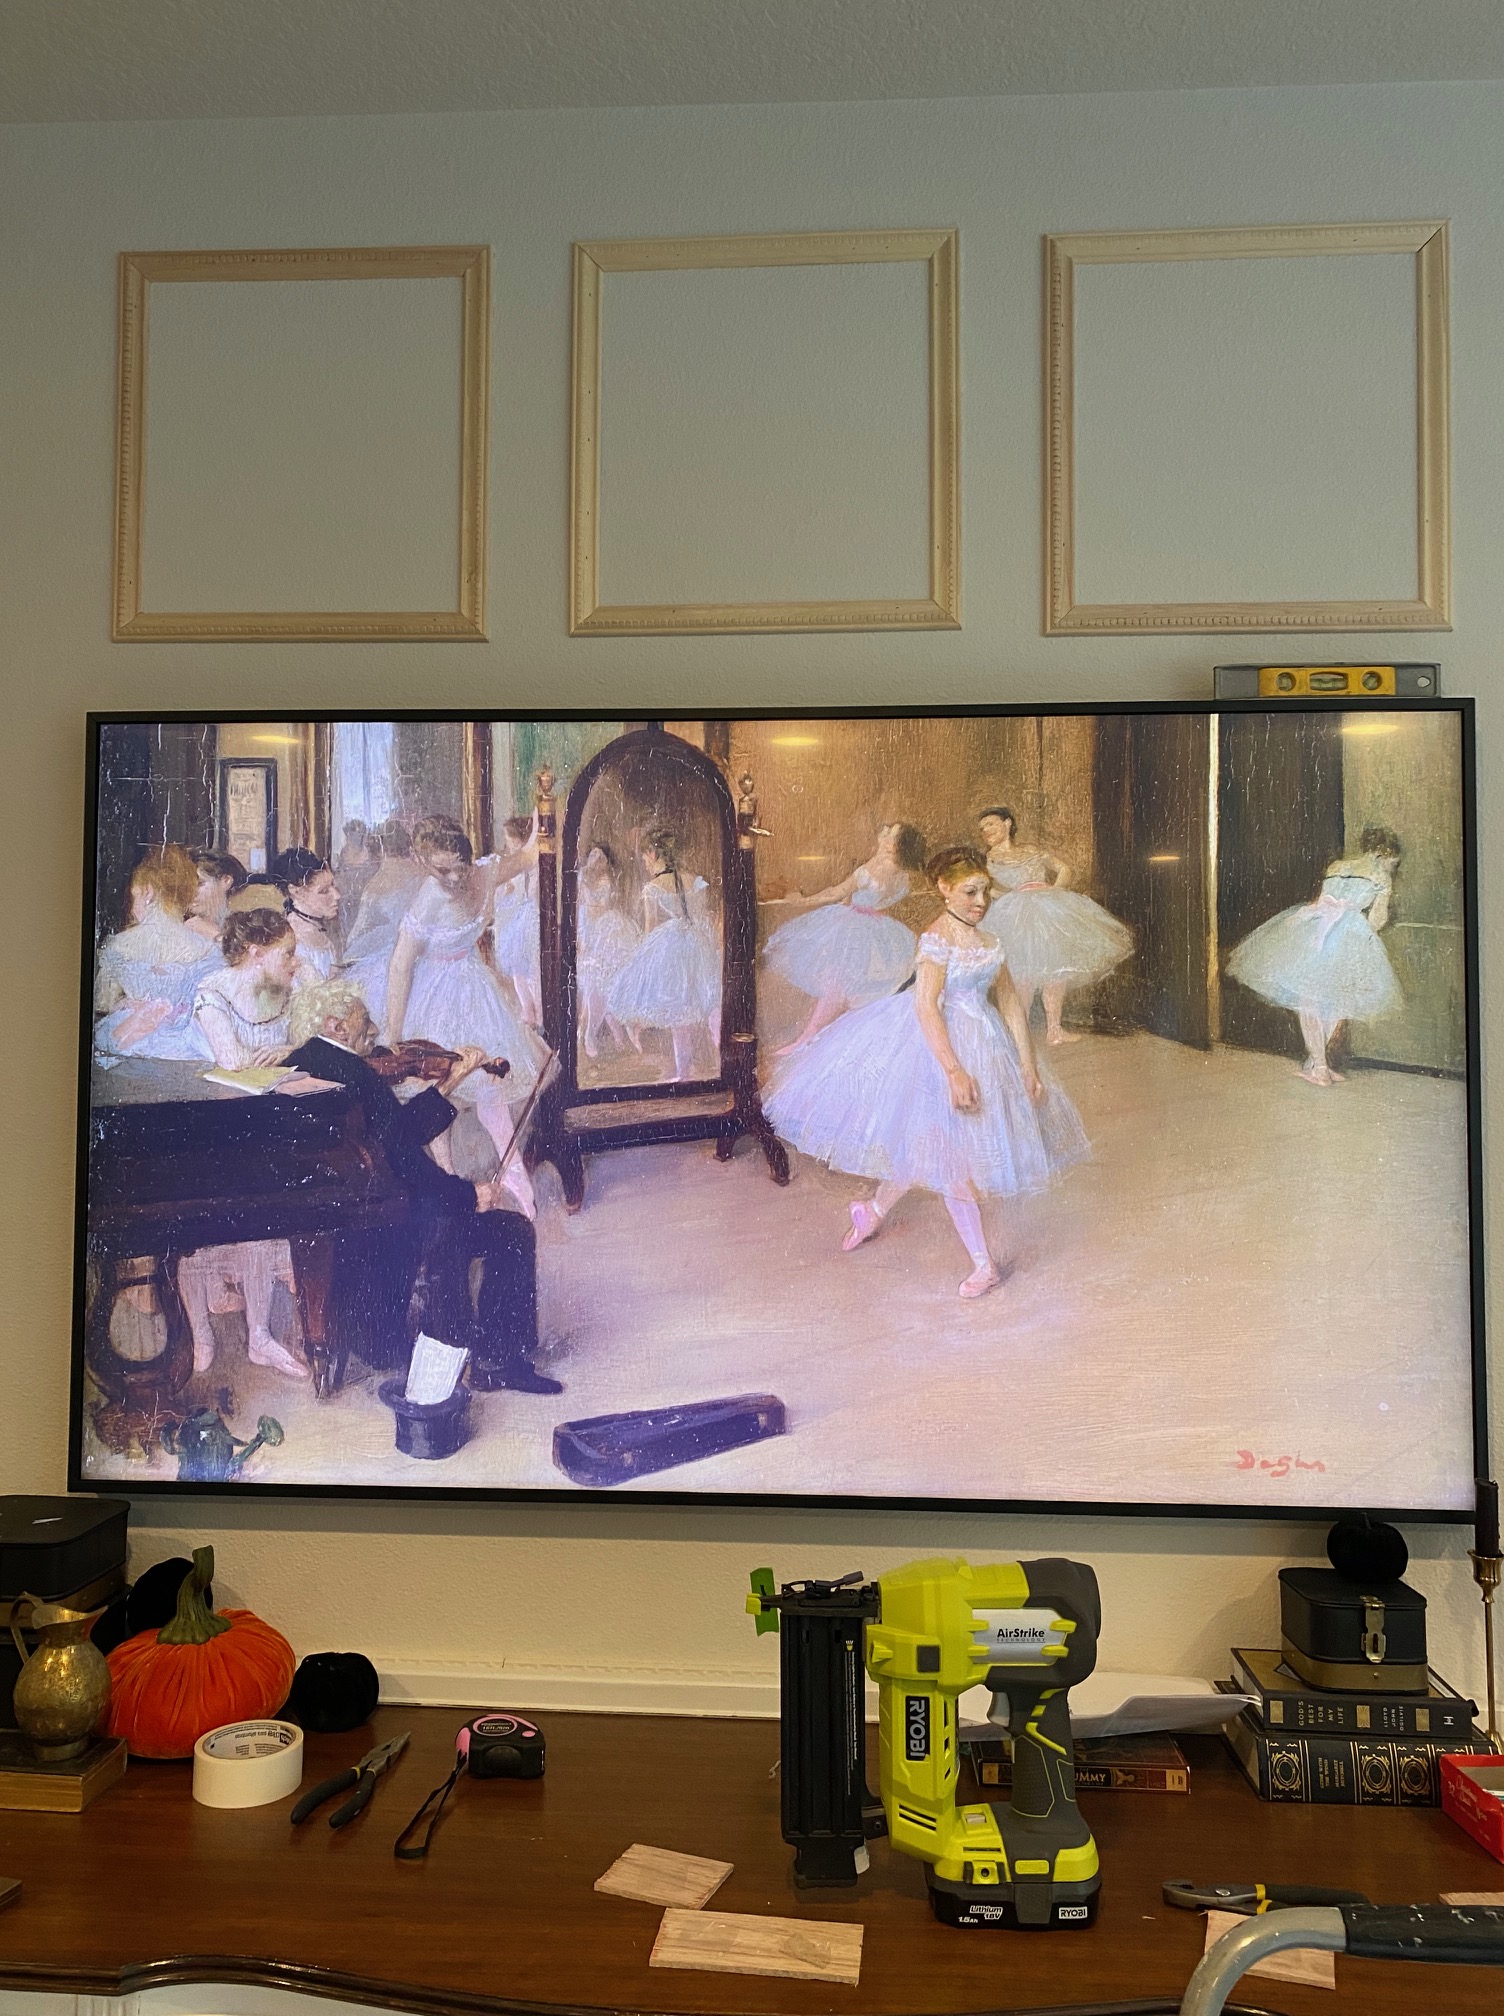
Ryan and I approached this as a team. He was cutting out pieces while I was installing with this brad nailer. Starting in the middle of the wall, I used a combination of measuring tape, level, and small guides we created to find just the right spot to hang the trim. I installed each picture frame in full before moving on to the next one. Then one to the left of center, then one to the right of center, etc.
Step 3: Get help
As quick as the divide and conquer method went, when I got to the large picture frames, I did need a second pair of hands. I didn’t want the molding to bow or shift as I installed it, so Ryan and I worked together to make sure those long pieces were as straight as possible.
Step 4: Second row
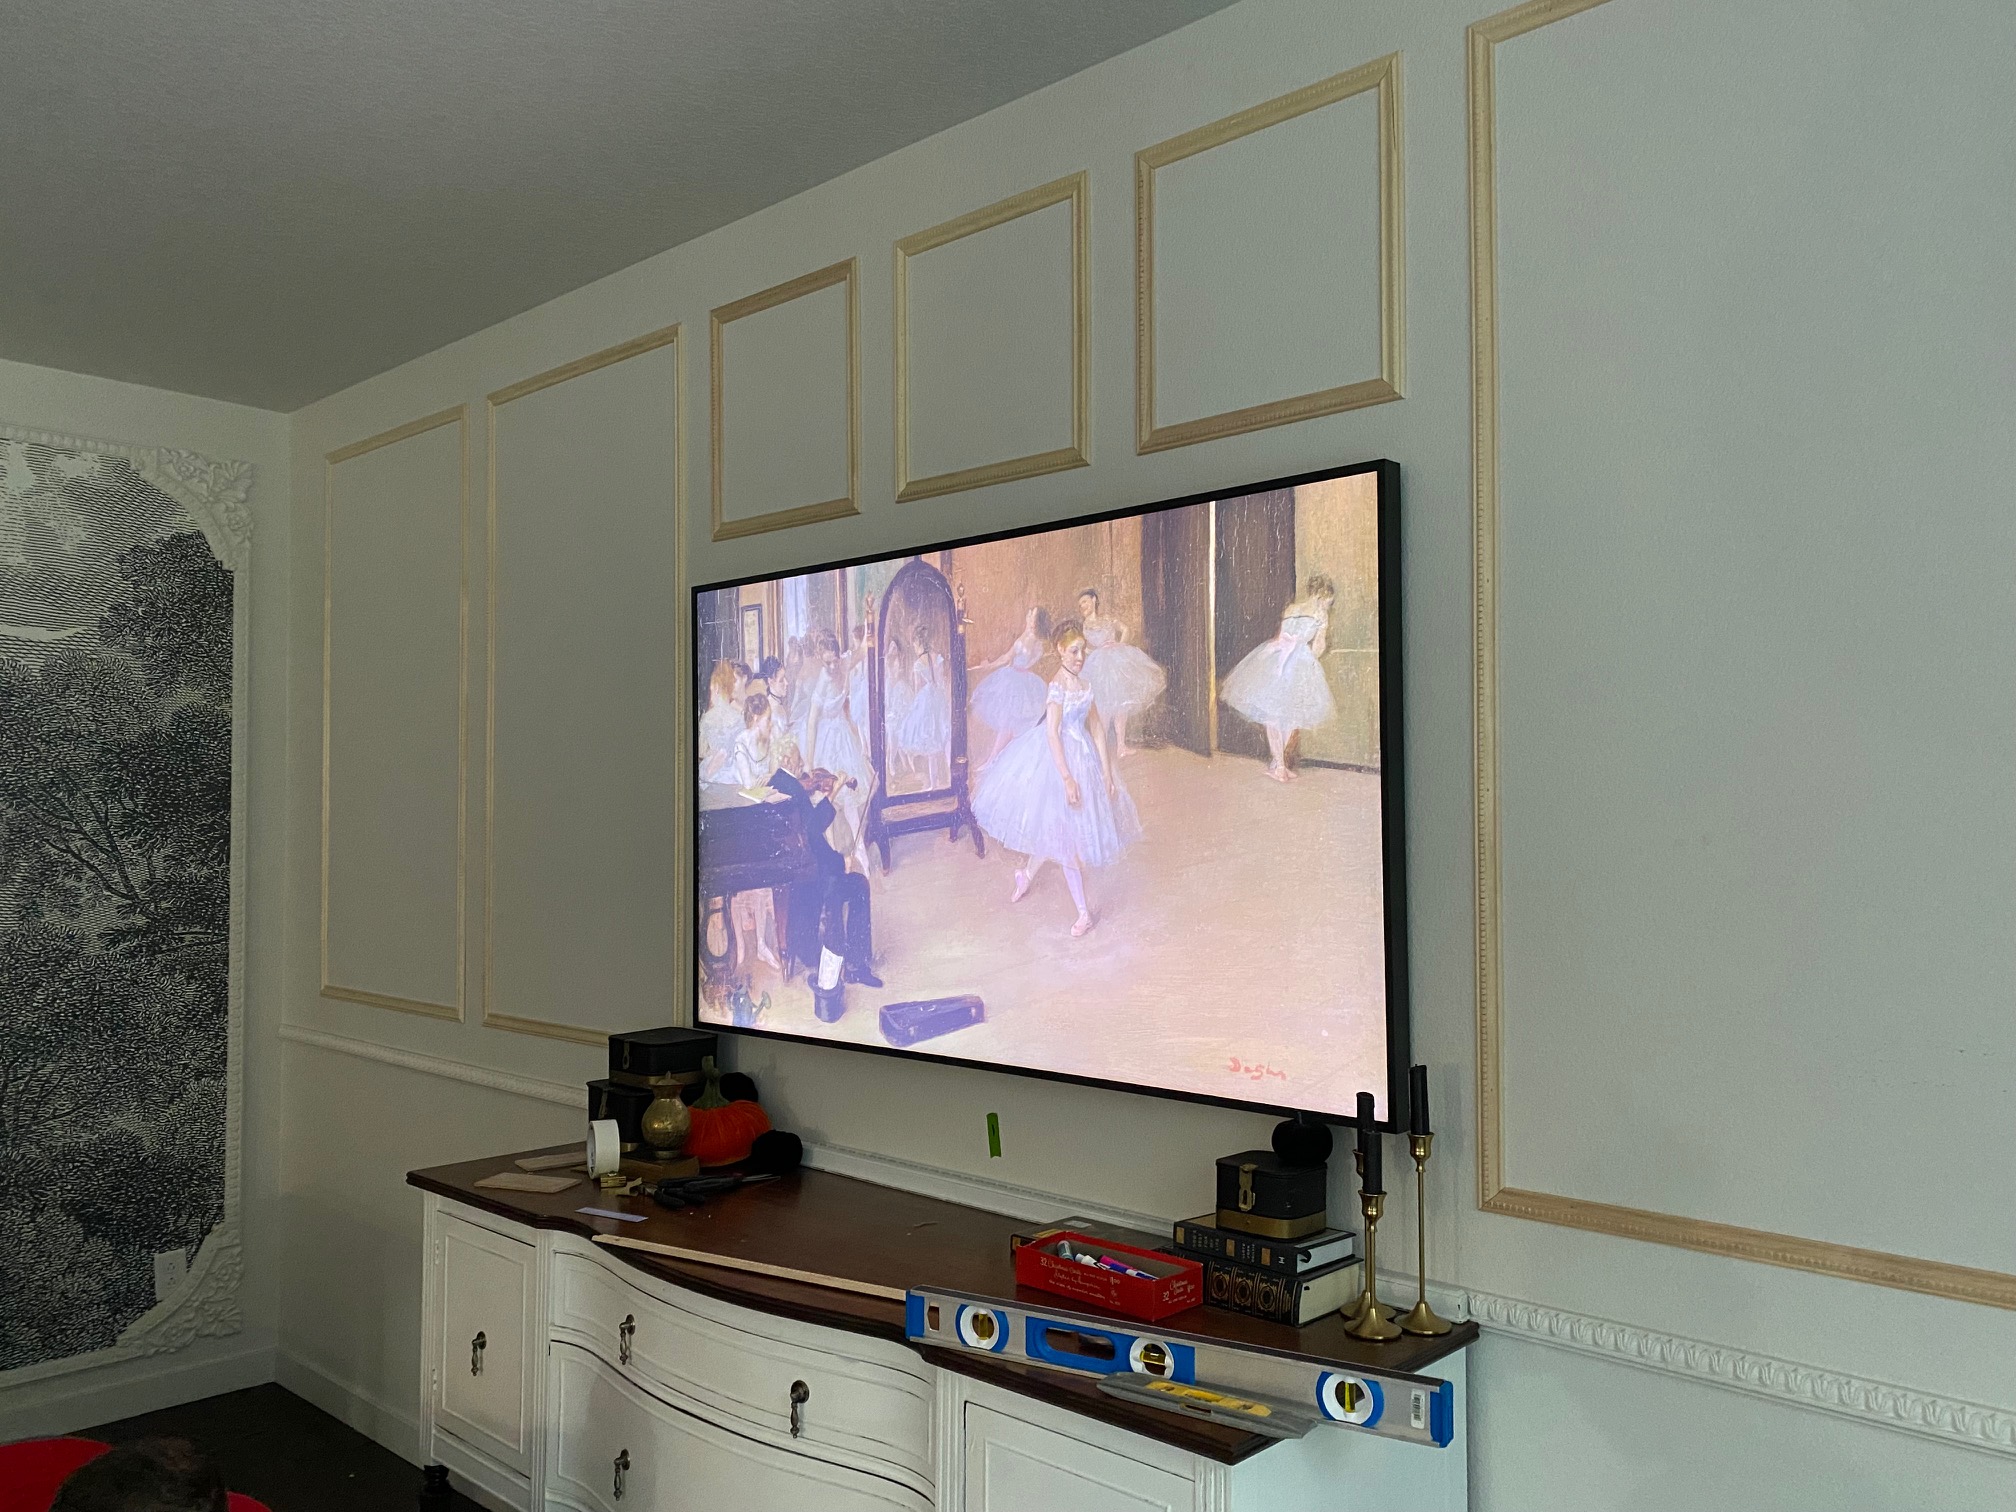
After doing all the molding above the chair rail, I moved to the row under the chair rail. In this case, I could just line up each frame with its buddy on the top row.
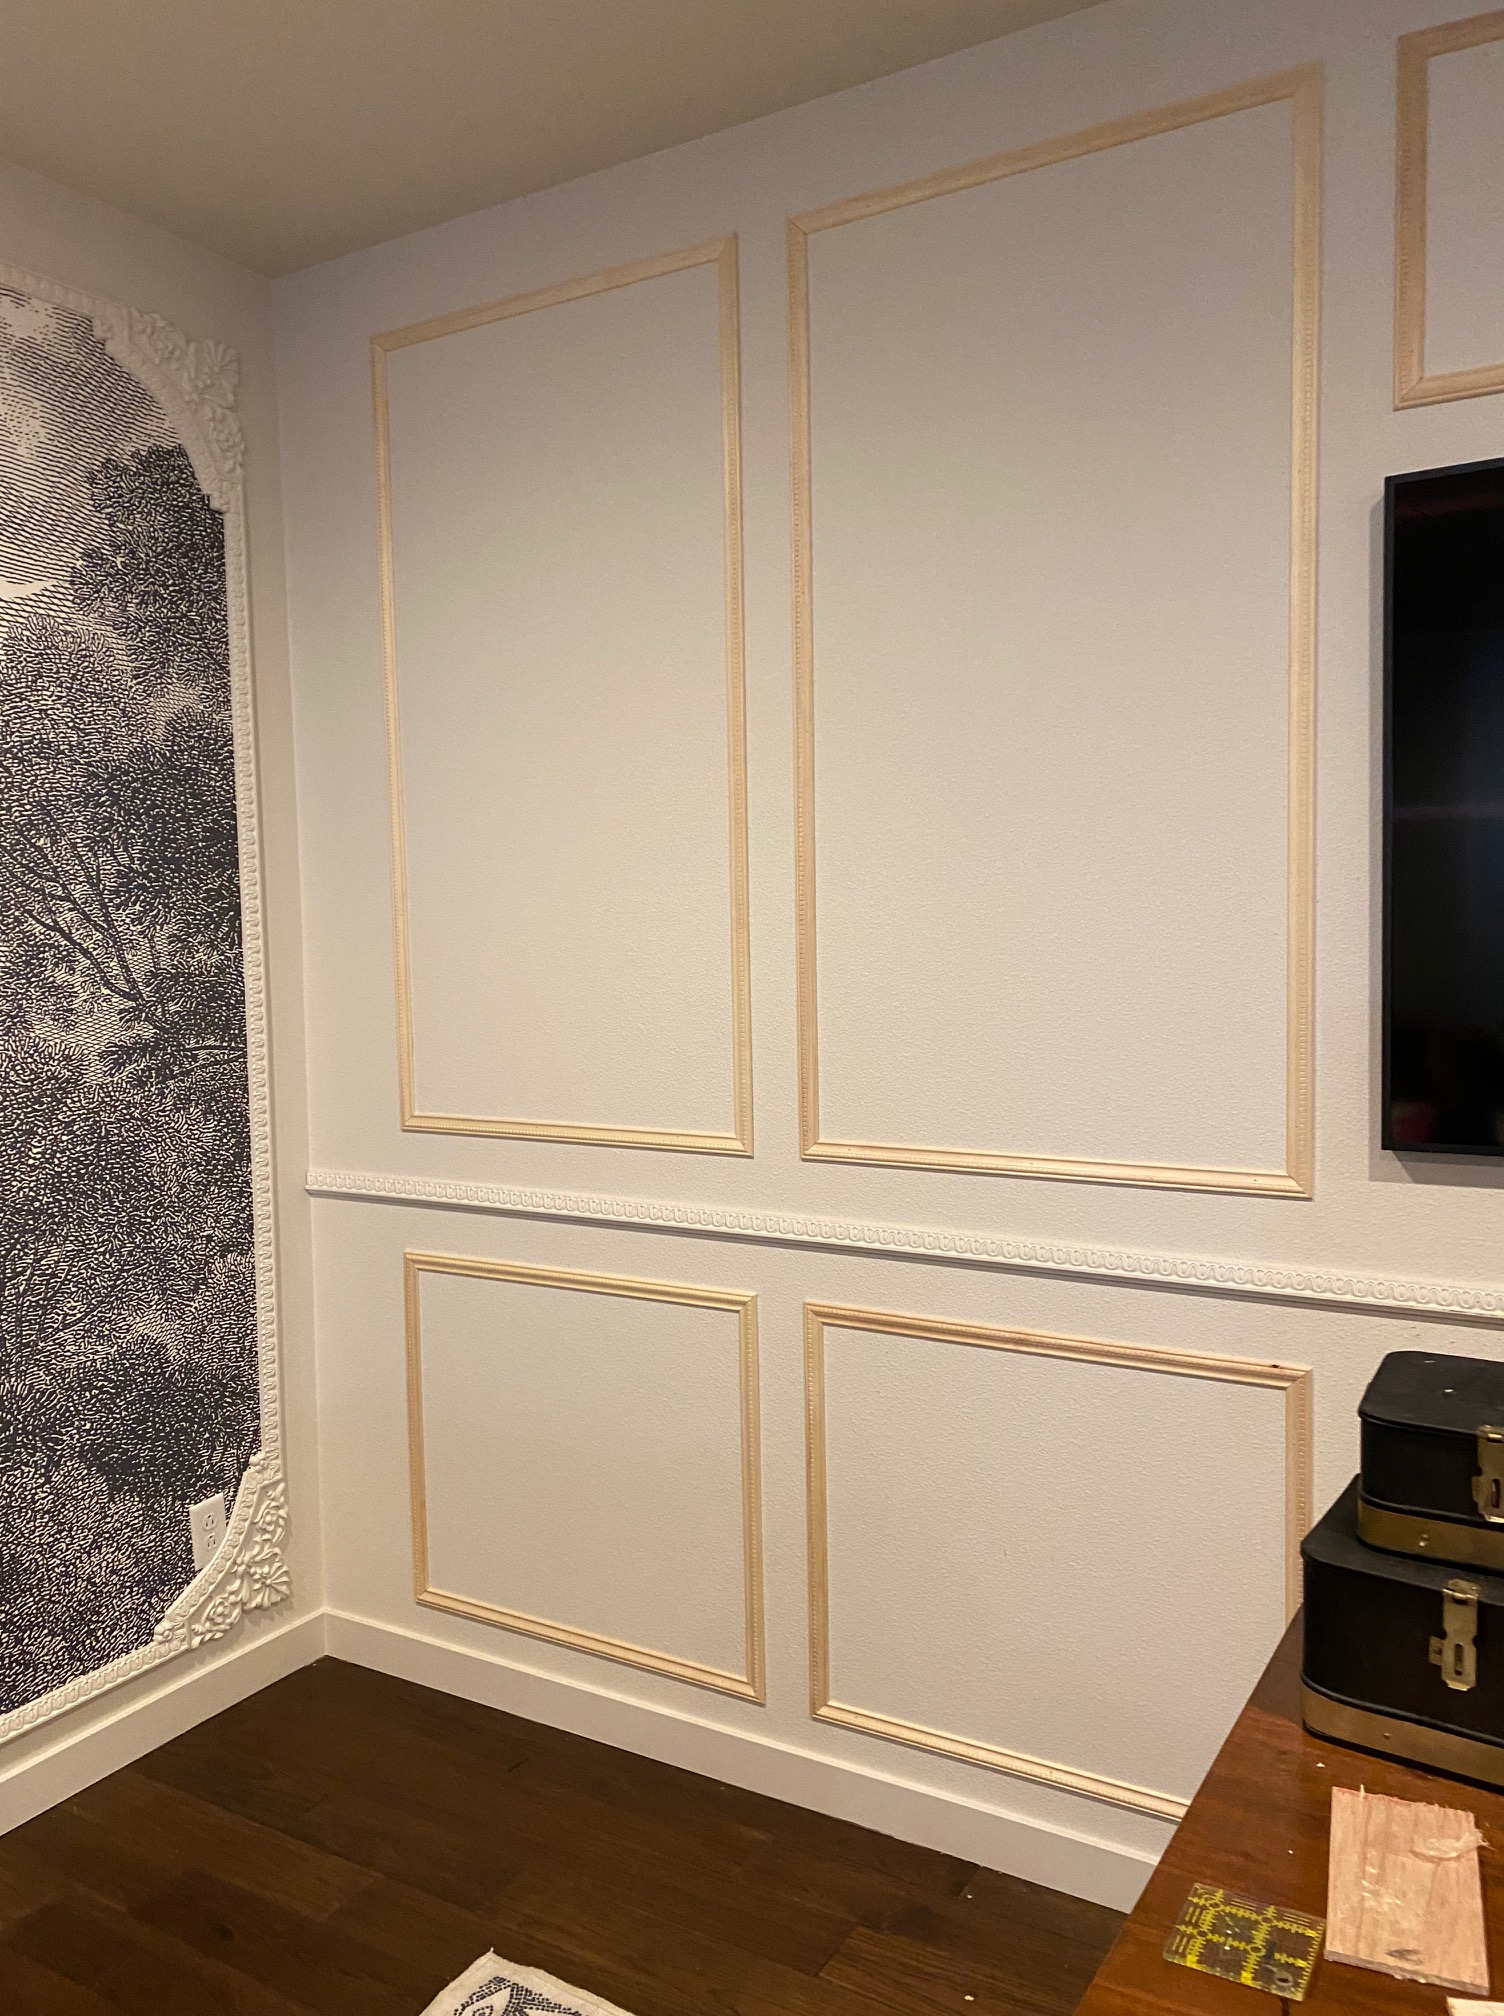
Step 5: Fill holes and paint
Once we were happy with the placement of all the molding, we filled the nail holes and painted the trim to match the walls (SW Origami White).
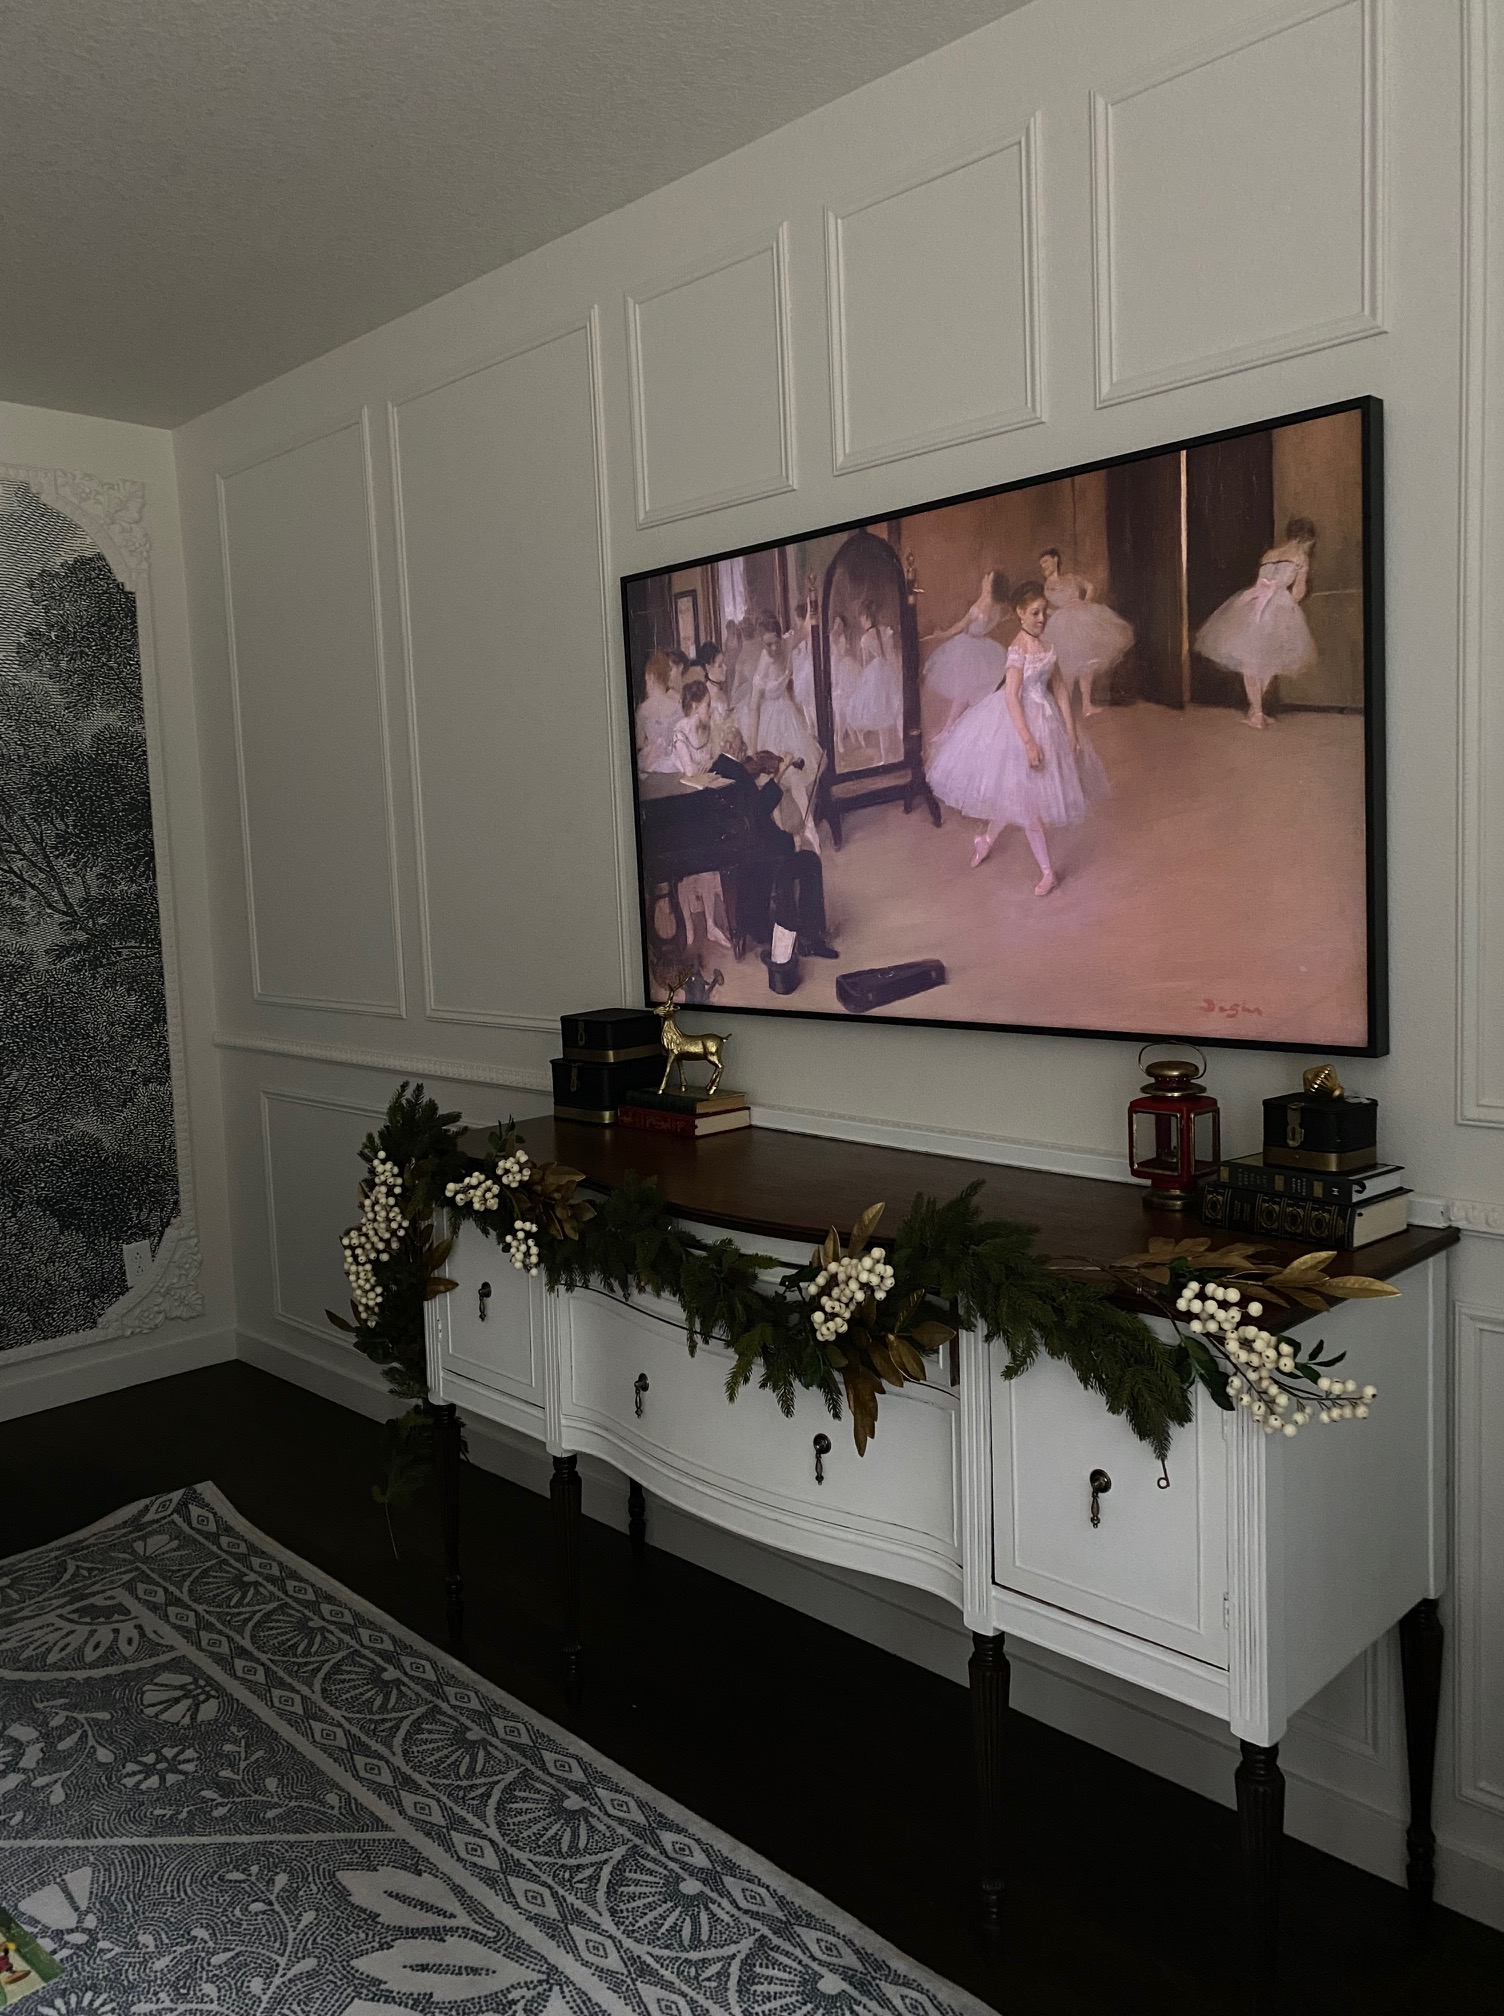
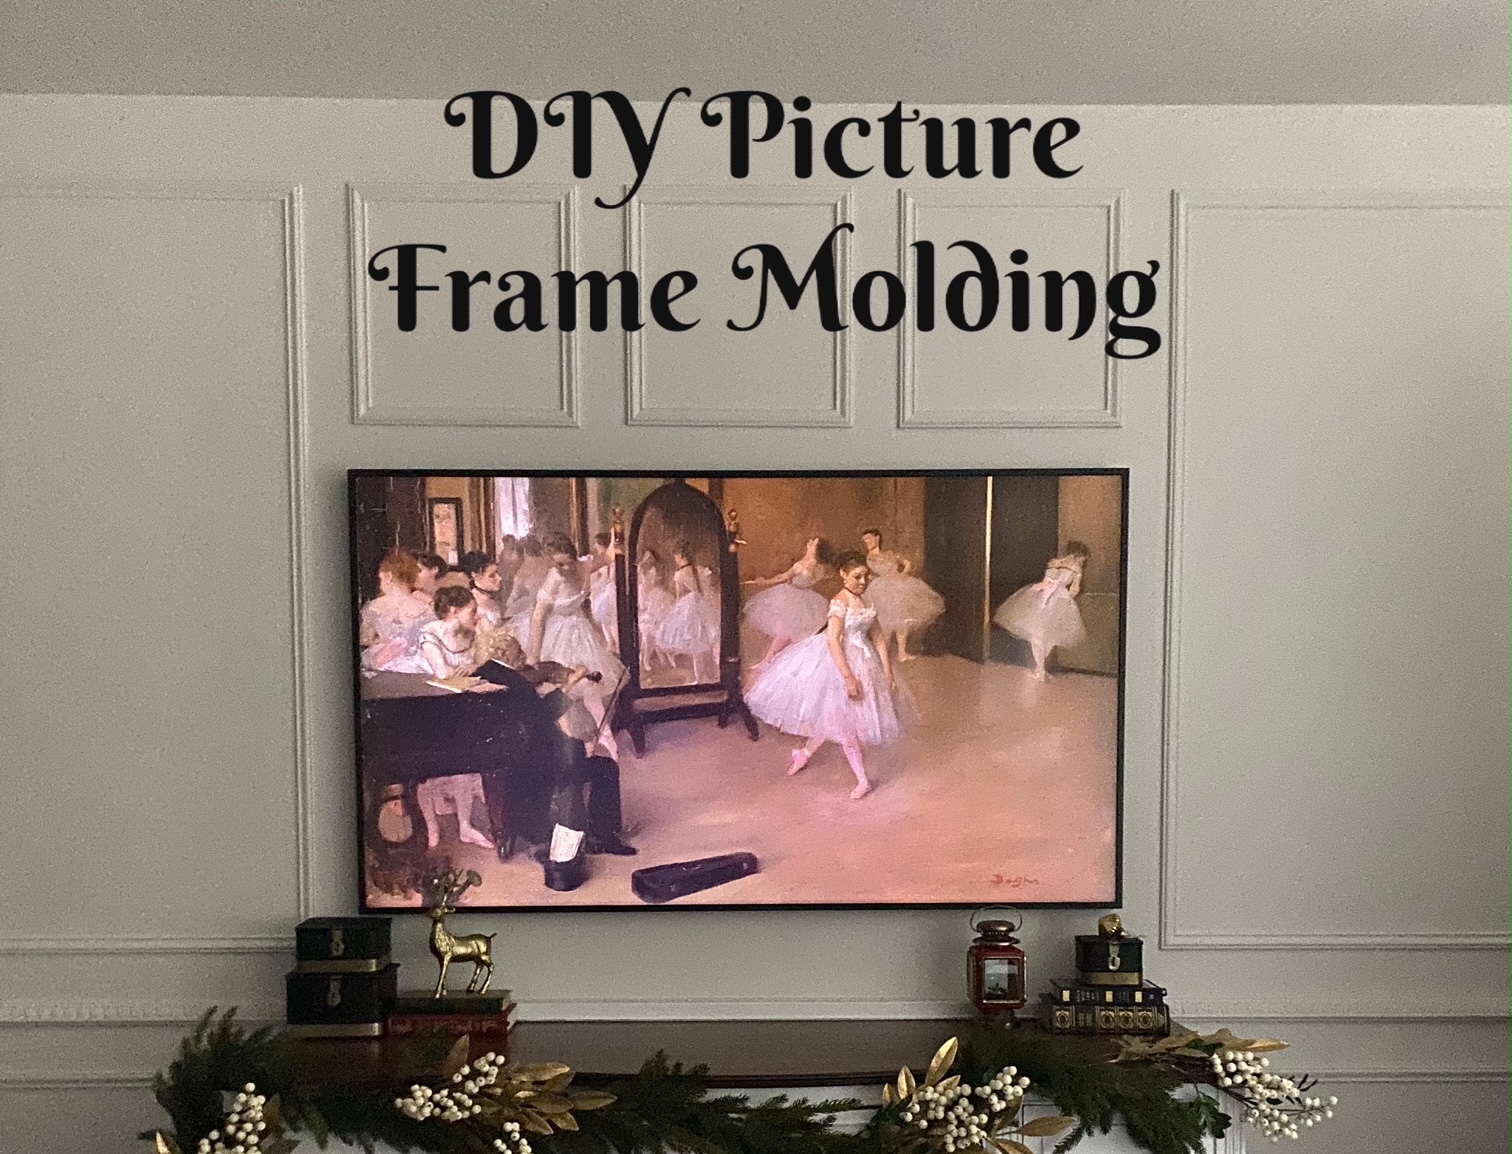
Step 6: Voila!
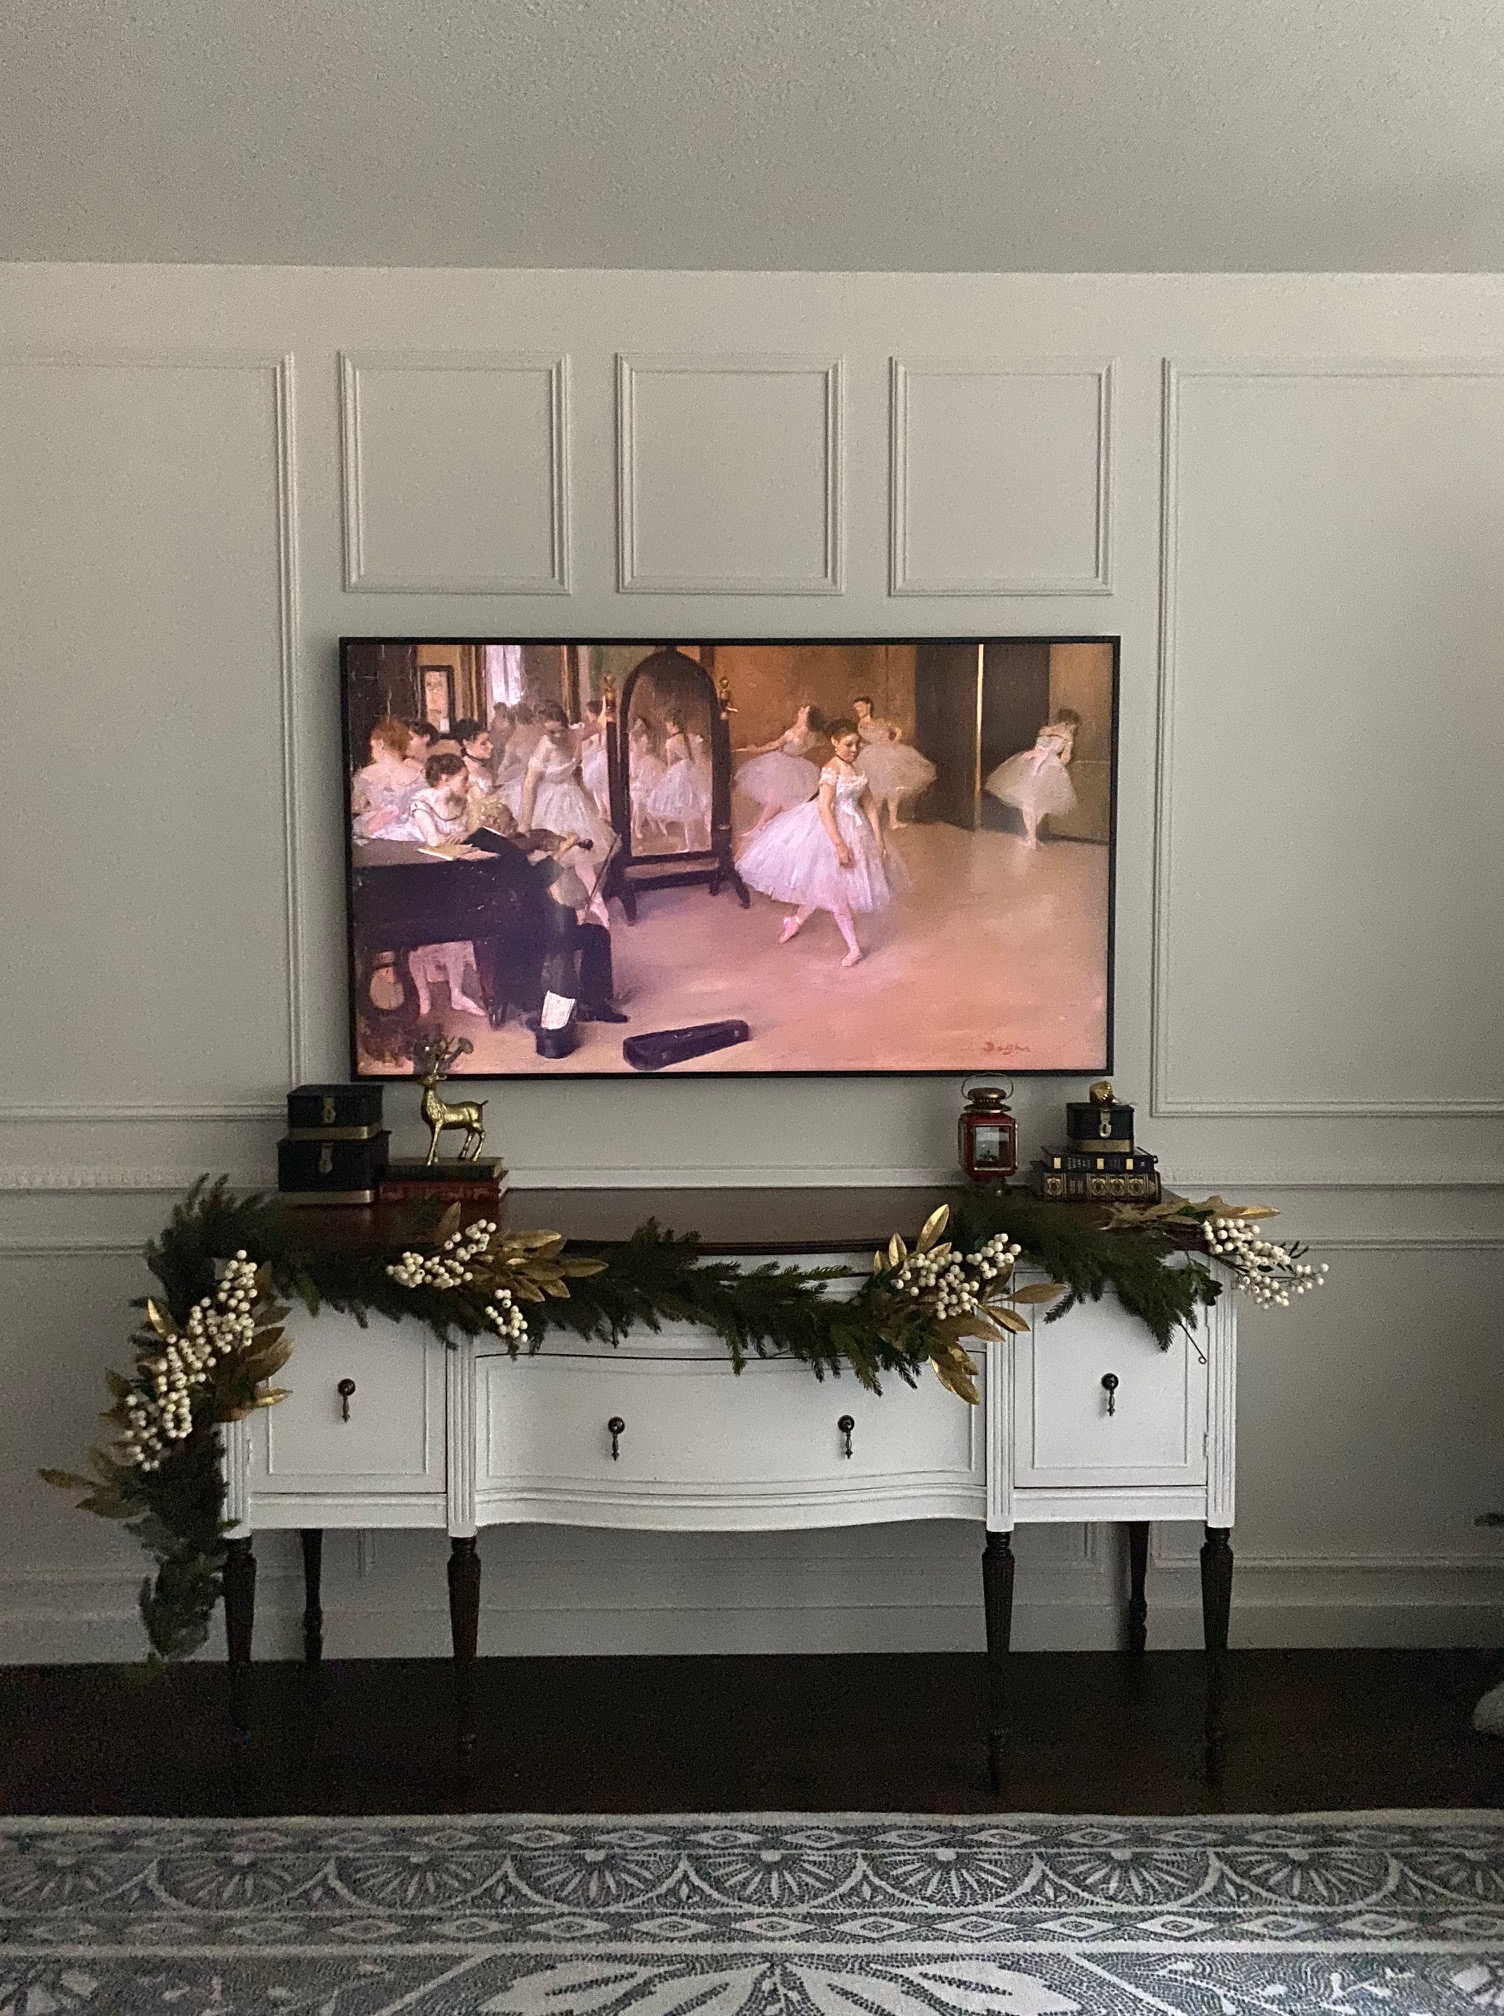
Sit back, relax, and enjoy a job well done and a wall that isn’t quite as blank anymore. (More to come!)
XO,
Heather