I’m not sure how it happened. One day Kyrie was scoot/rolling, then literally the next day, she started crawling. Oh-no! We probably should have started baby proofing months ago, but now is good too, right?!?
So we have been rearranging furniture, moving things around, but the real problem is the stairs. And yes, she has discovered them and seems to look at them as some sort of challenge. She has a rather determined personality (that doesn’t sound familiar at all), so we need a baby gate, like yesterday.

So funny story, I thought we should run out to Target a buy a baby gate right away. But Ryan suggested we build our own gate instead. Hey, shouldn’t I have been the one to suggest that? 🙂 He did some searching online and found some ideas we liked and came up with the plan…

Part I – Construction
Materials/Tools:
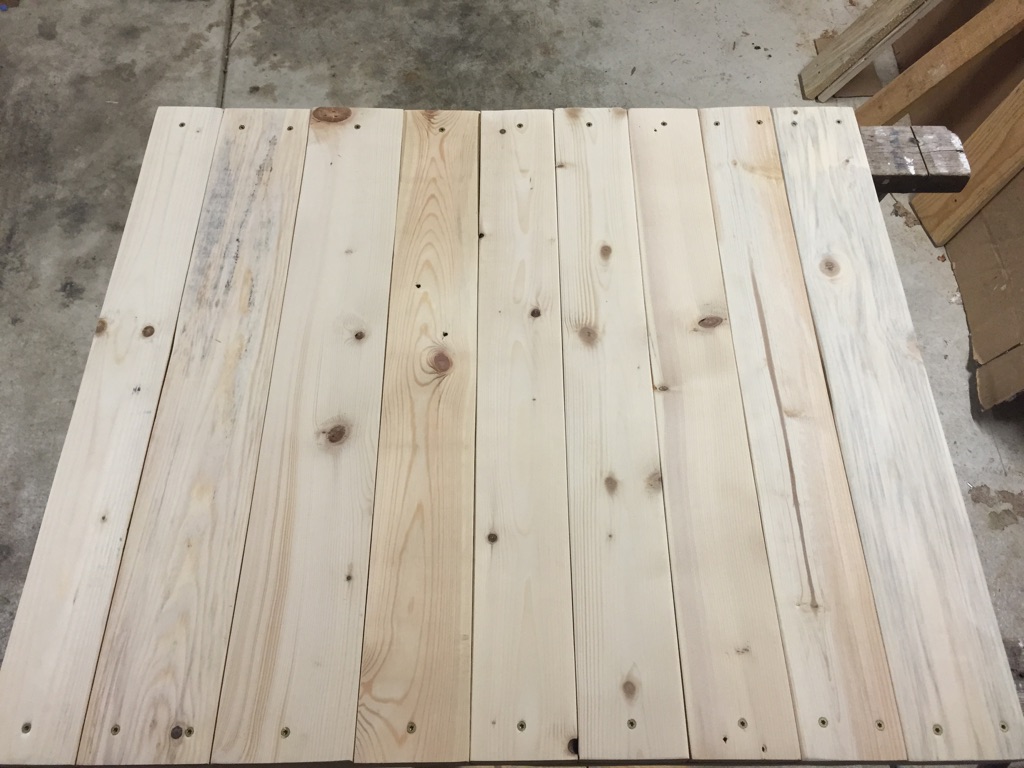
Reclaimed Wood (from a deconstructed pallet)
Wood Screws (1 1/4″)
Orbital Sander
Measuring Tape
Square
Circular Saw or Miter Saw
How to (Ryan):
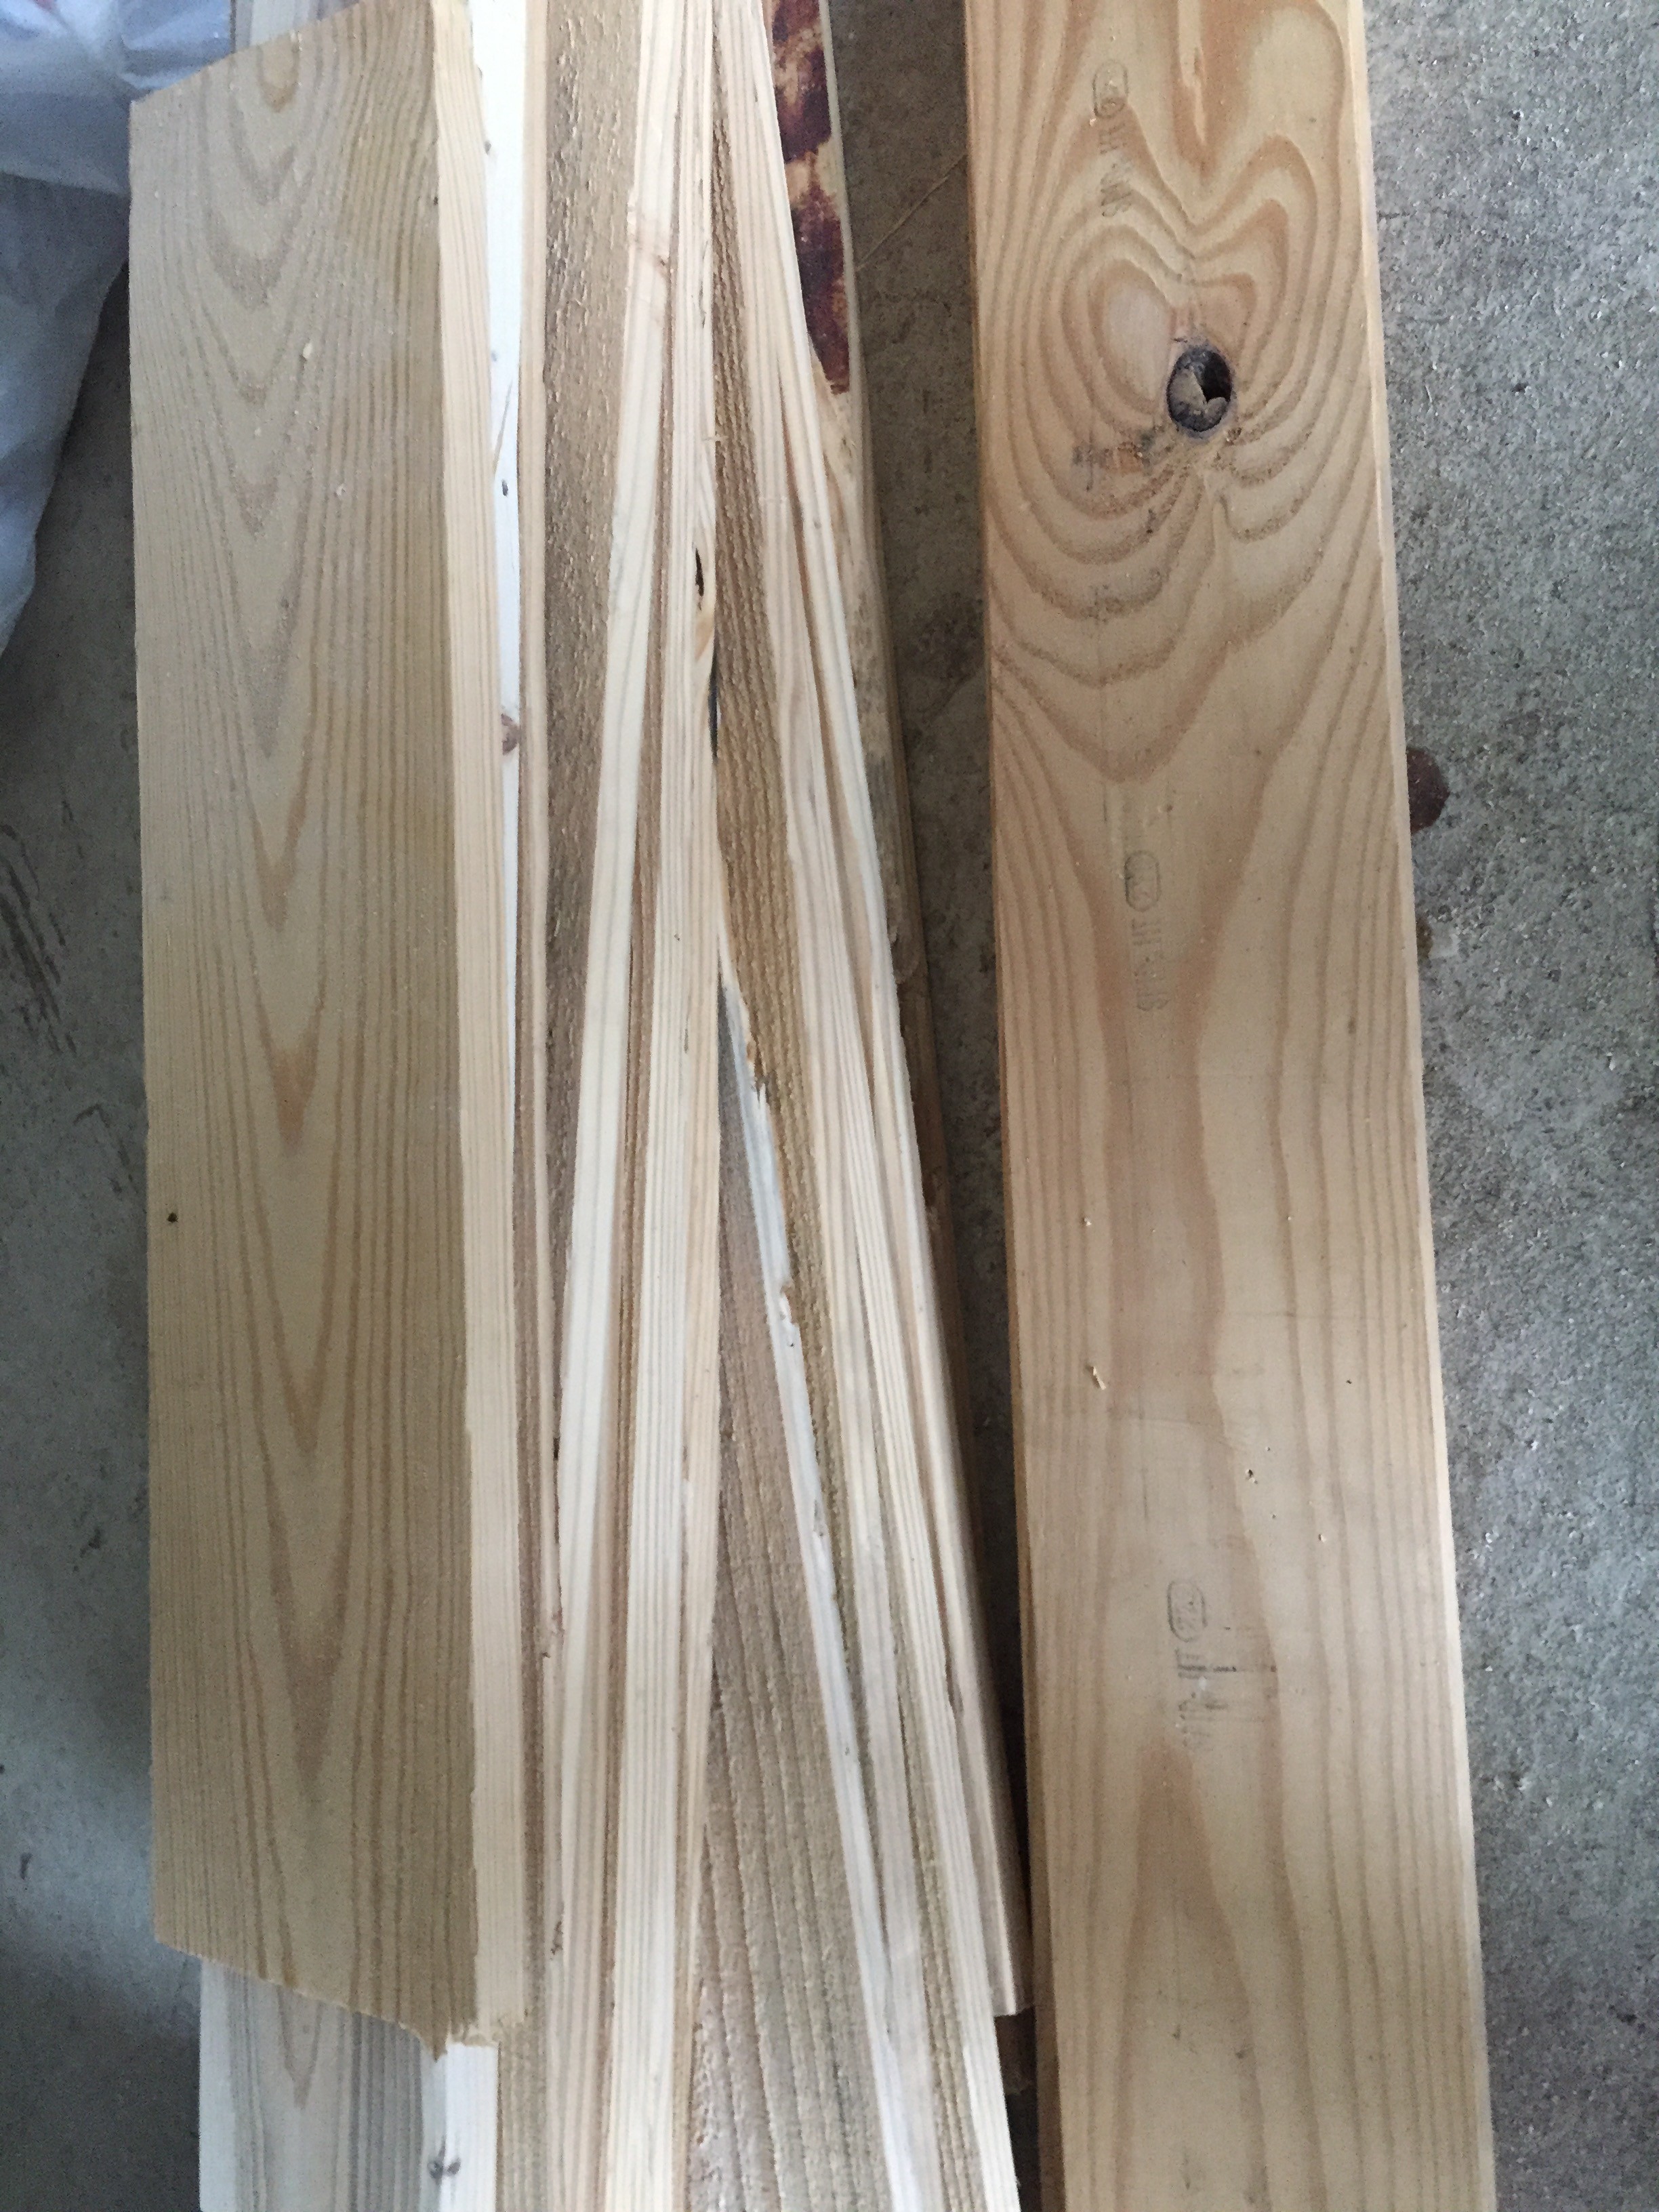
1. I started by cutting out the pieces:
- 2 outer frame side pieces: 30″ long, 5 1/2″ wide
- 2 0uter frame top pieces: 23 1/2″ long, 5 1/2″ wide
- 9 back pieces: 30″ long (various widths due to the wood available)
- 1 long “X” piece: 30 1/4″ long, 5 1/2″ wide, cut to a “V” on each end. I put this piece over the outer frame, and used the square tool to help mark and determine where to cut.
- 2 short “X” pieces: 12: long, 5 1/2″ wide, again cut to a “V” on one end. See above.

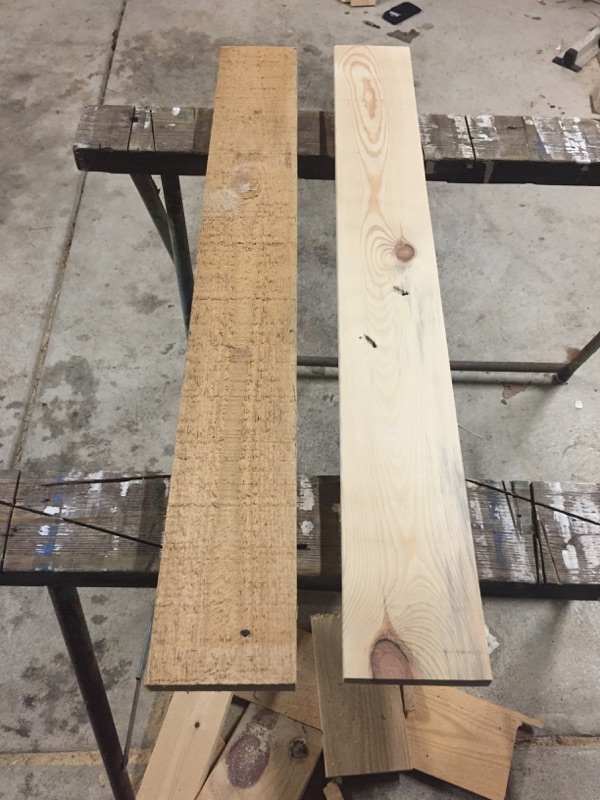
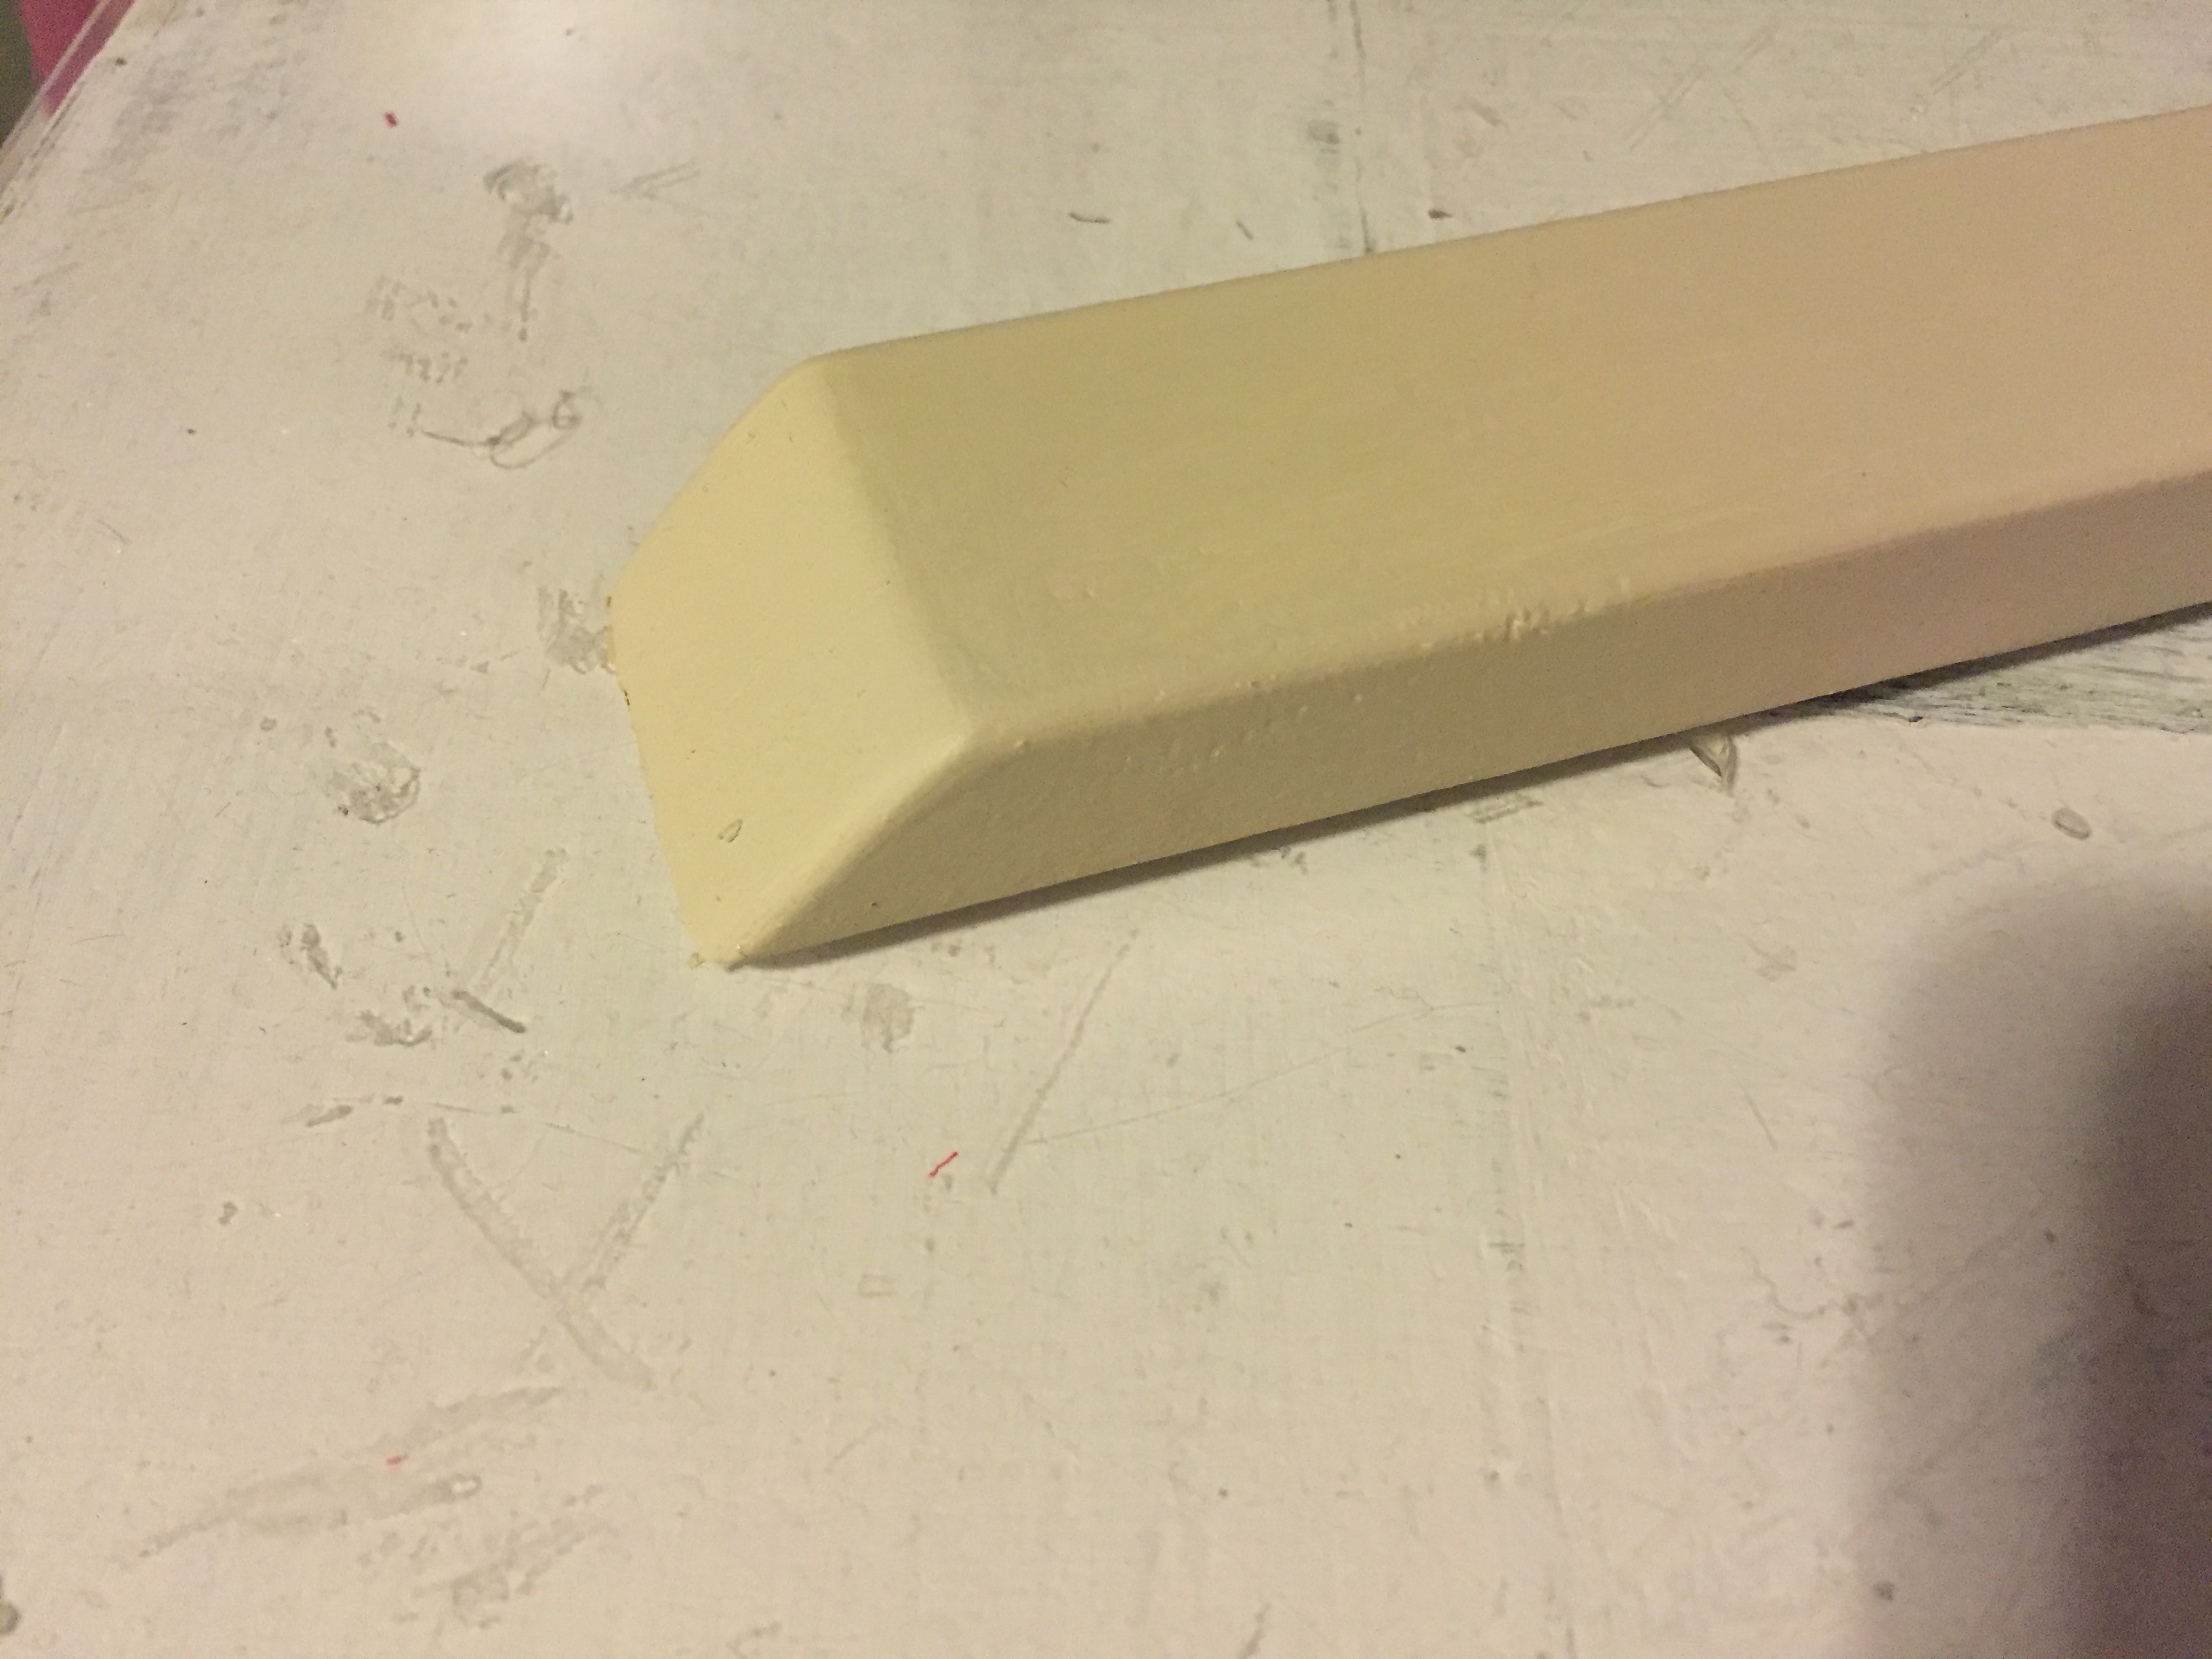
2. Sand like crazy. Because this is a baby gate, we went for an extremely smooth finish. Started with 80 grit and finished with 180 grit. I spent a lot of time getting each piece perfectly smooth as the goal of this door is safety. Look at the difference…

3. In order to keep the screws hidden, I assembled it essentially from the back forward. So the outer frame side piece was screwed to a back piece (from the back side). Then I grabbed another back piece, snugged the two back pieces up, and screwed into the outer side piece. Then I lined up the outer frame top and bottom pieces, and screwed them to the back pieces. Then continued with the back pieces all the way across, finishing with the other outer frame front piece.

4. Next I flipped over the door and fitted the “X”. Again, screwed it in from the back.


Note: I pre-drilled all the holes before putting the screws in to prevent the wood from splitting.
Part II – Painting
Materials/Tools:
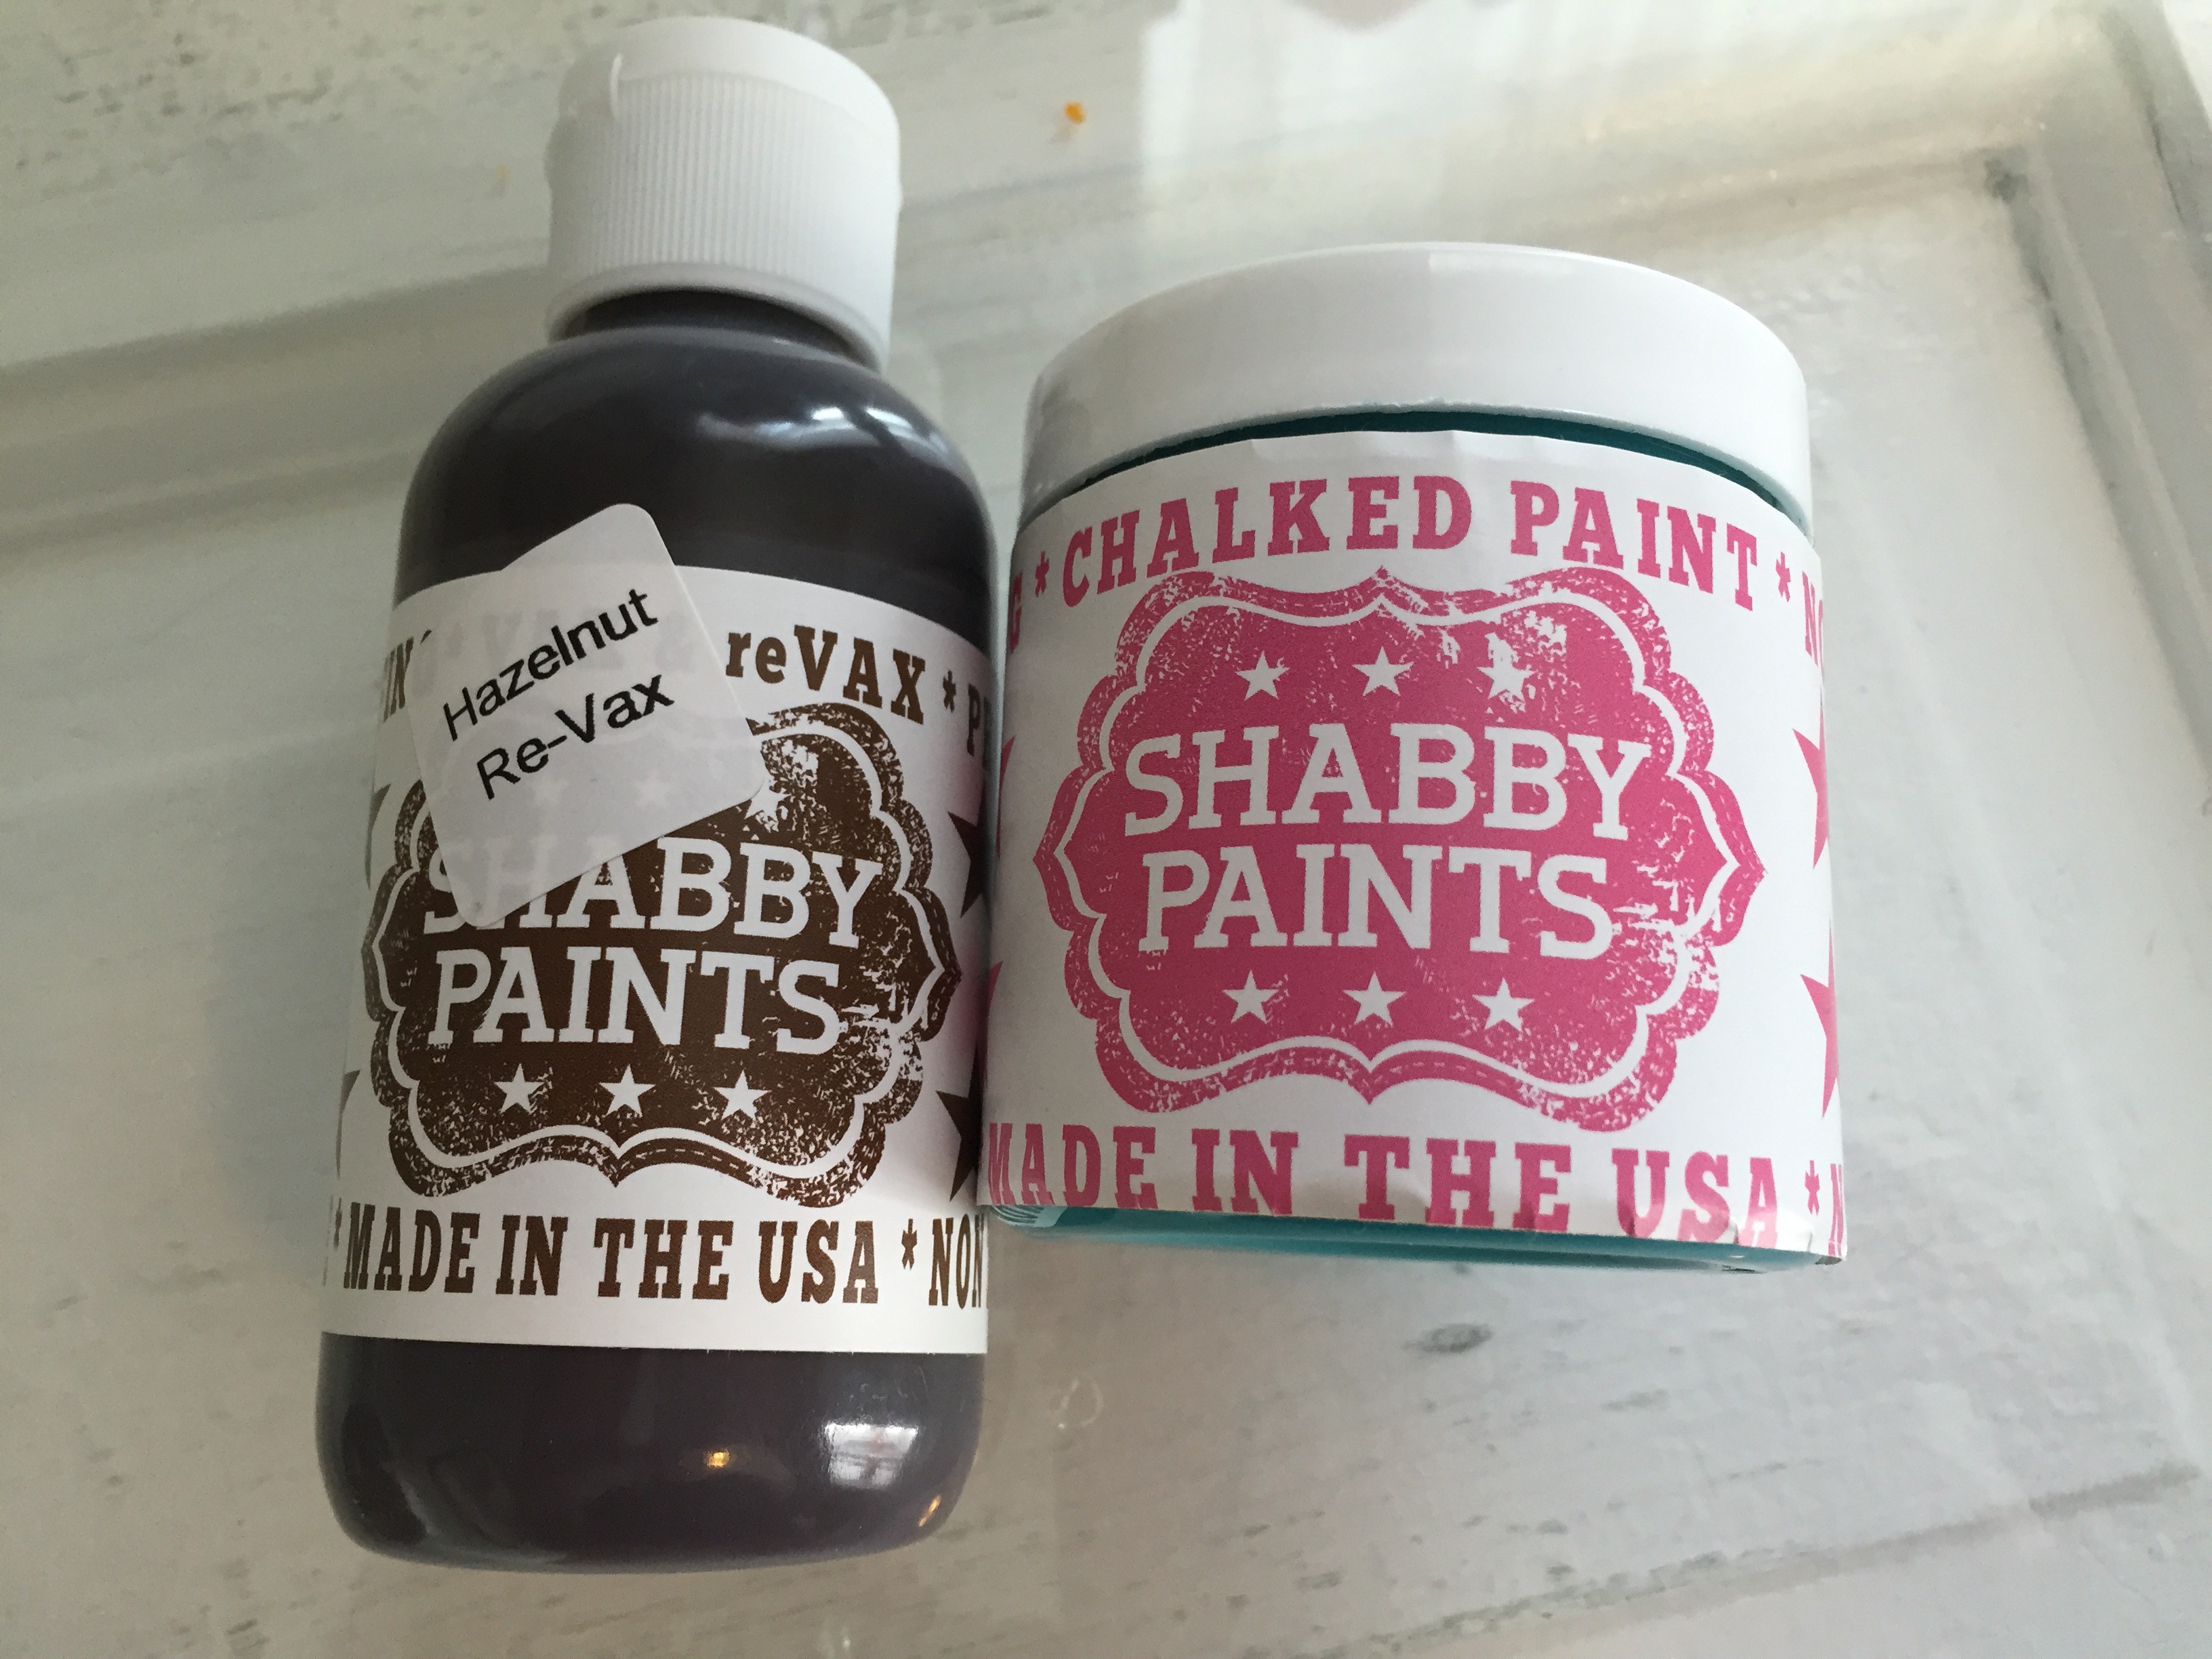
Jewel Shabby Paint (chalk paint)
Hazelnut reVax Shabby Paint
Black Matte Spray Paint
Paint Brush
Sandpaper (60 grit)
Sponge
How to:
Like every other DIYer out there, I have discovered and love chalk paint. You don’t have to sand or prime your project, and it gives this great matte finish. It looks great!

1. I decided I wanted an extra layer of black paint under the Jewel color to add some dimension when I distressed it. So I started by spray painting the entire piece black. I really didn’t worry about great coverage except on the edges and corners. But I did use an entire can of spray paint.

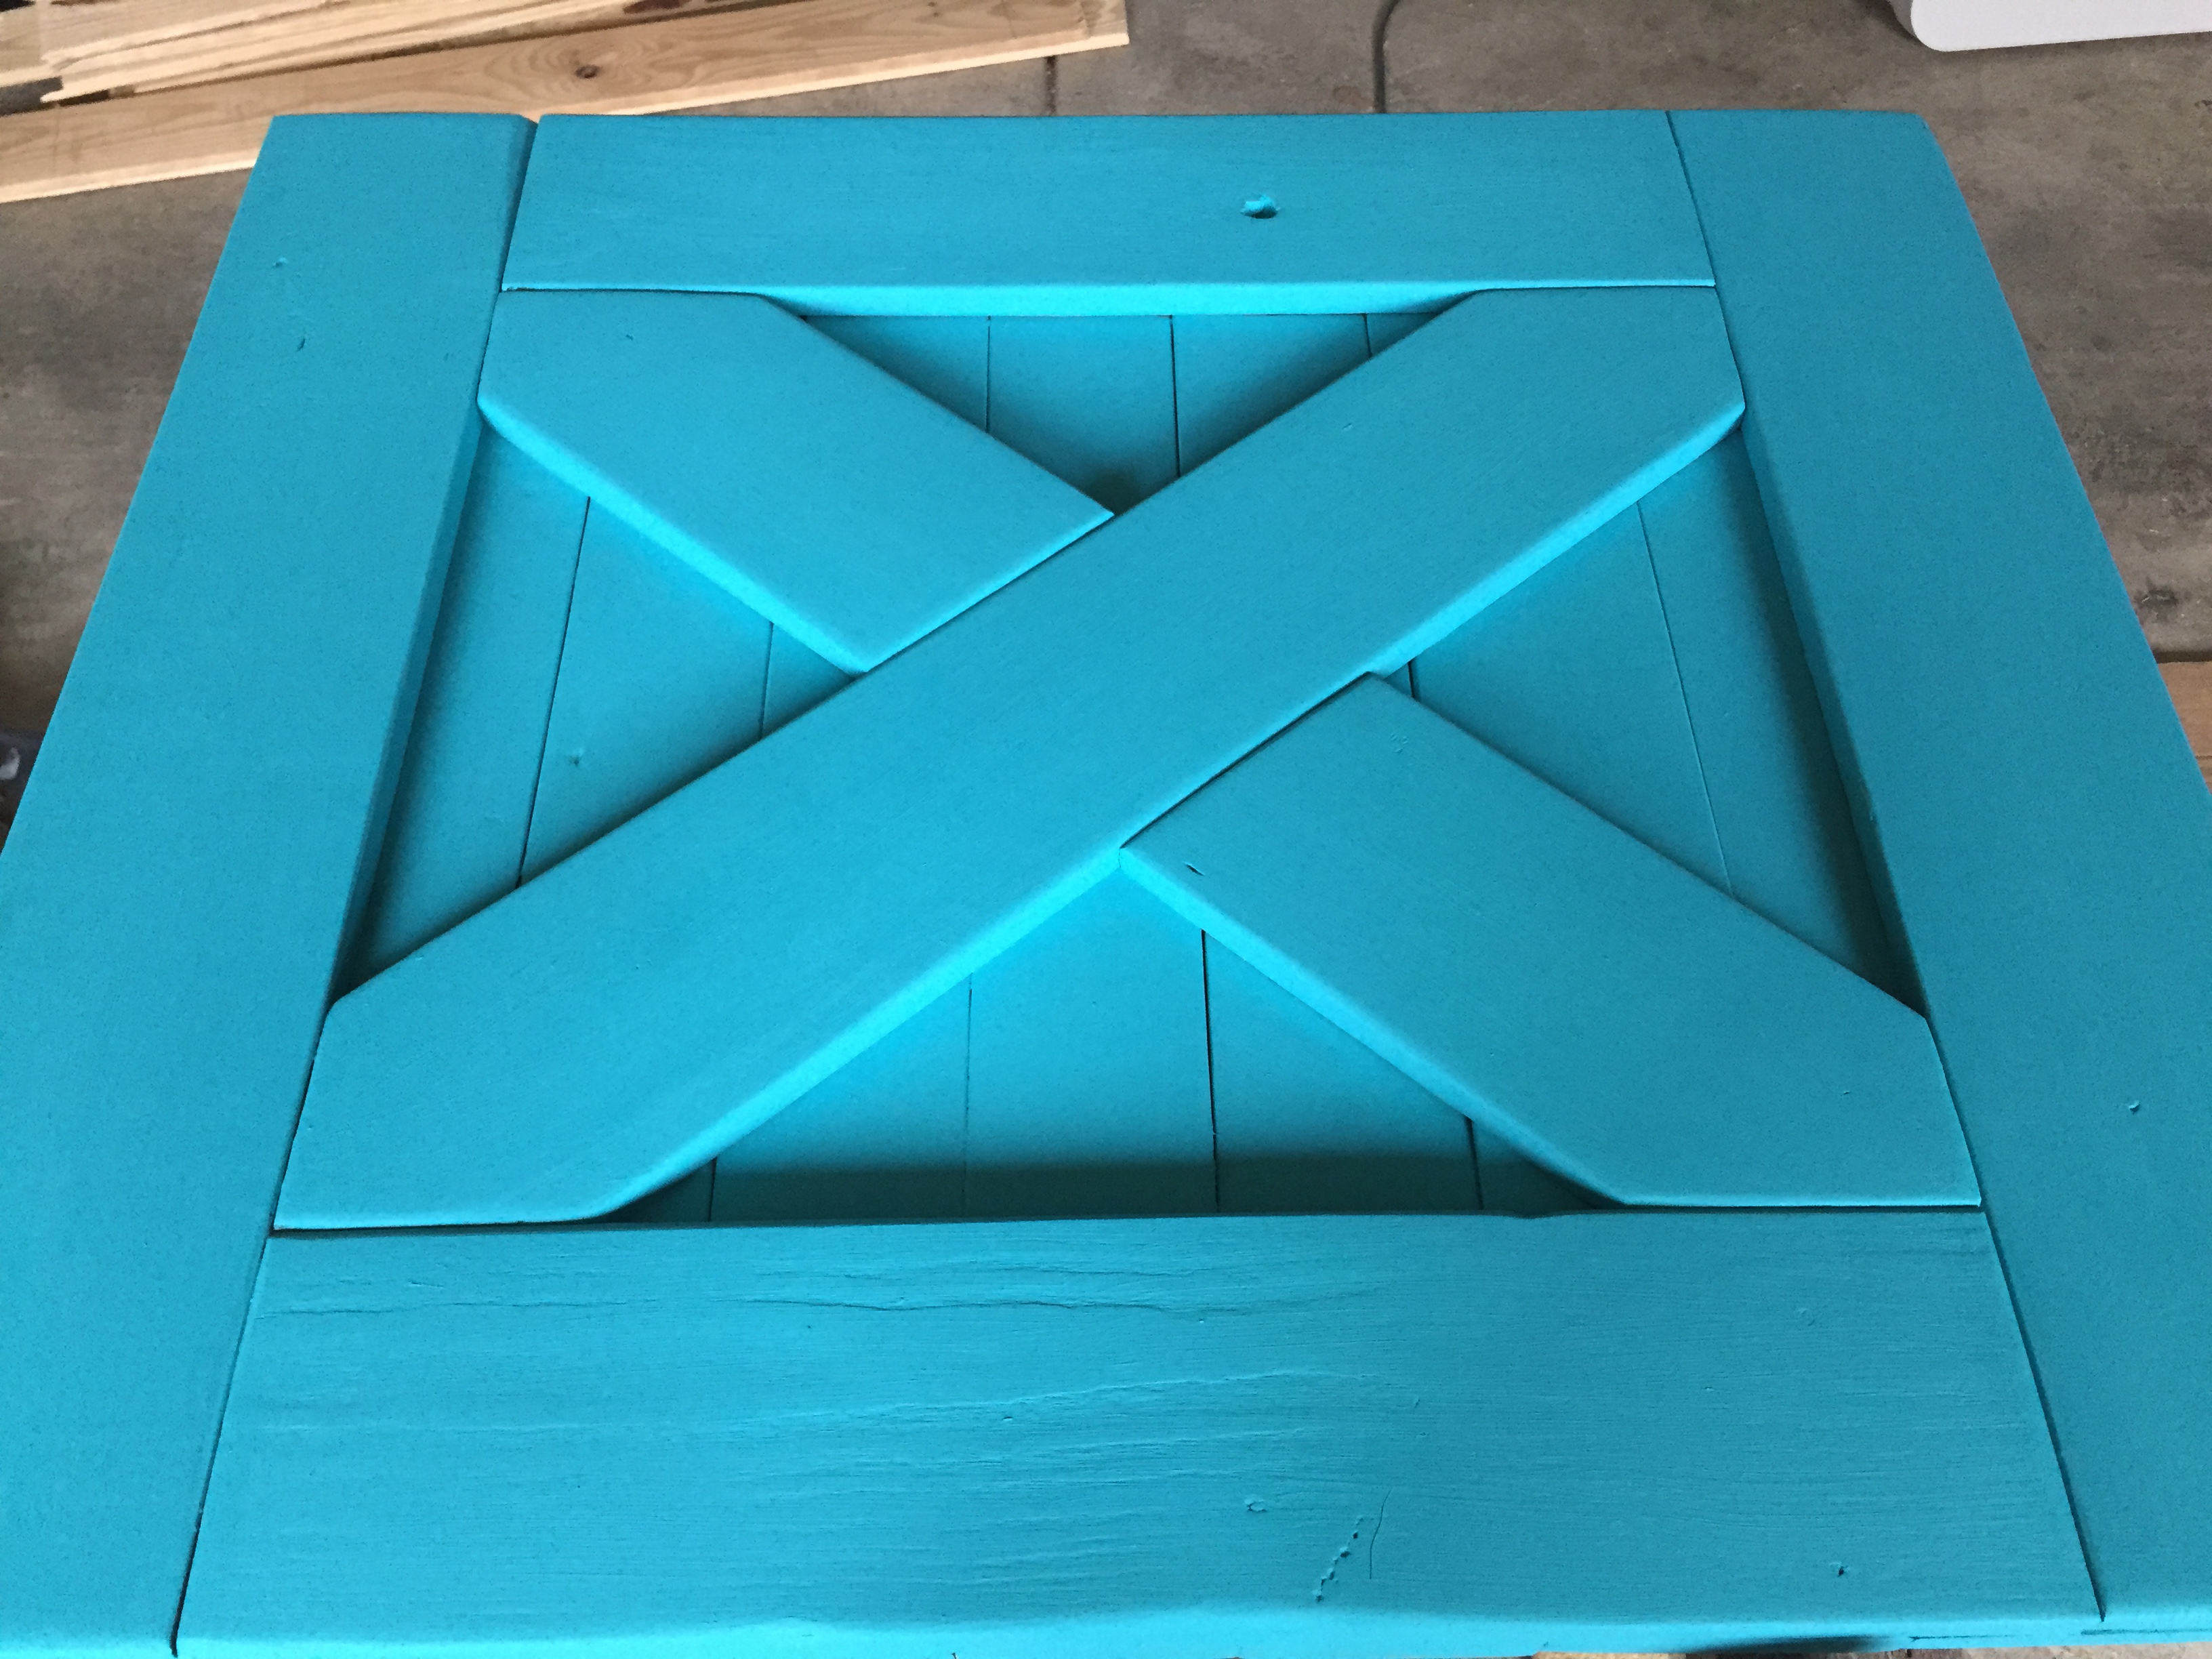
2. After letting it dry I painted my first coat of Jewel Shabby Paint, let dry and added a second coat. The chalk paint really goes far. I used about 5 ounces of paint total. Flipped the door over and did the same on the back (2 coats). Pretty!

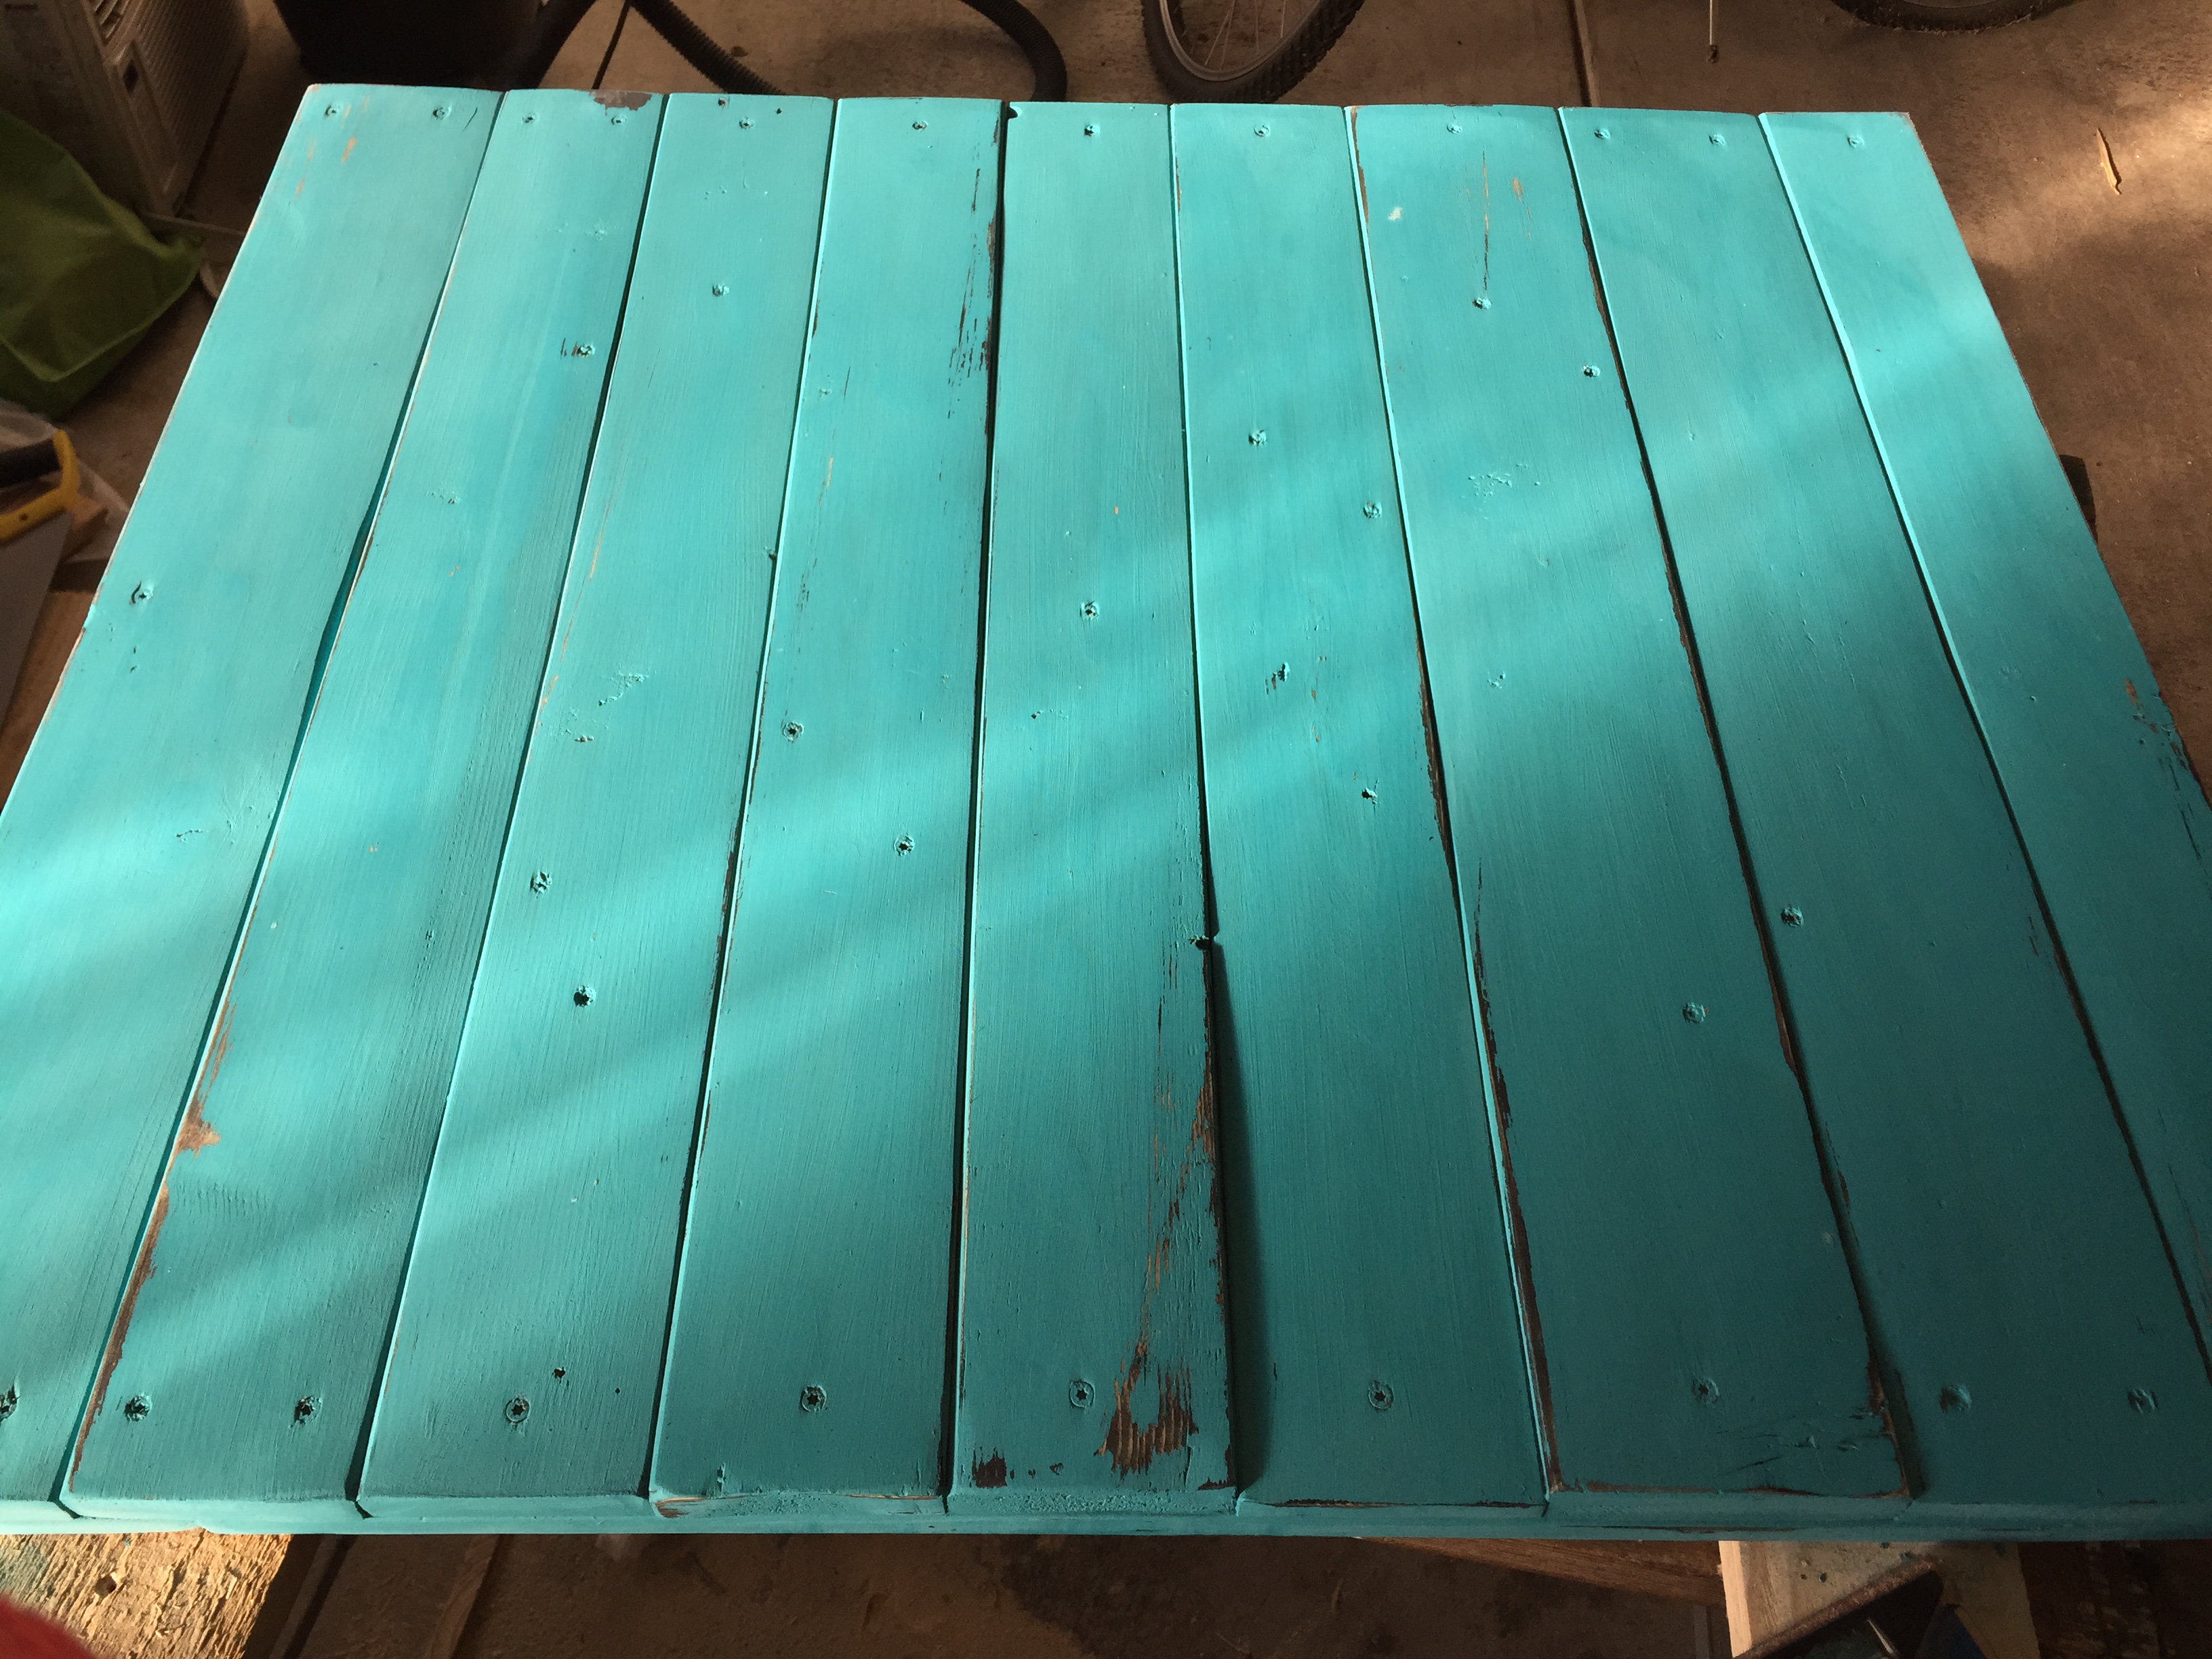
3. Now is the part I love/hate. I took out the sandpaper and started distressing the door. After the beautiful coat of paint, it always makes me a little sad at first, but I love the look after it is all done. I paid special attention to the areas of the door that would normally experience wear and tear — corners, edges, etc. There is no real science to it, you just sand areas until you like the way it looks. You’ll notice some areas the black paint shows through, and others I sanded down to the wood, again, all personal taste.


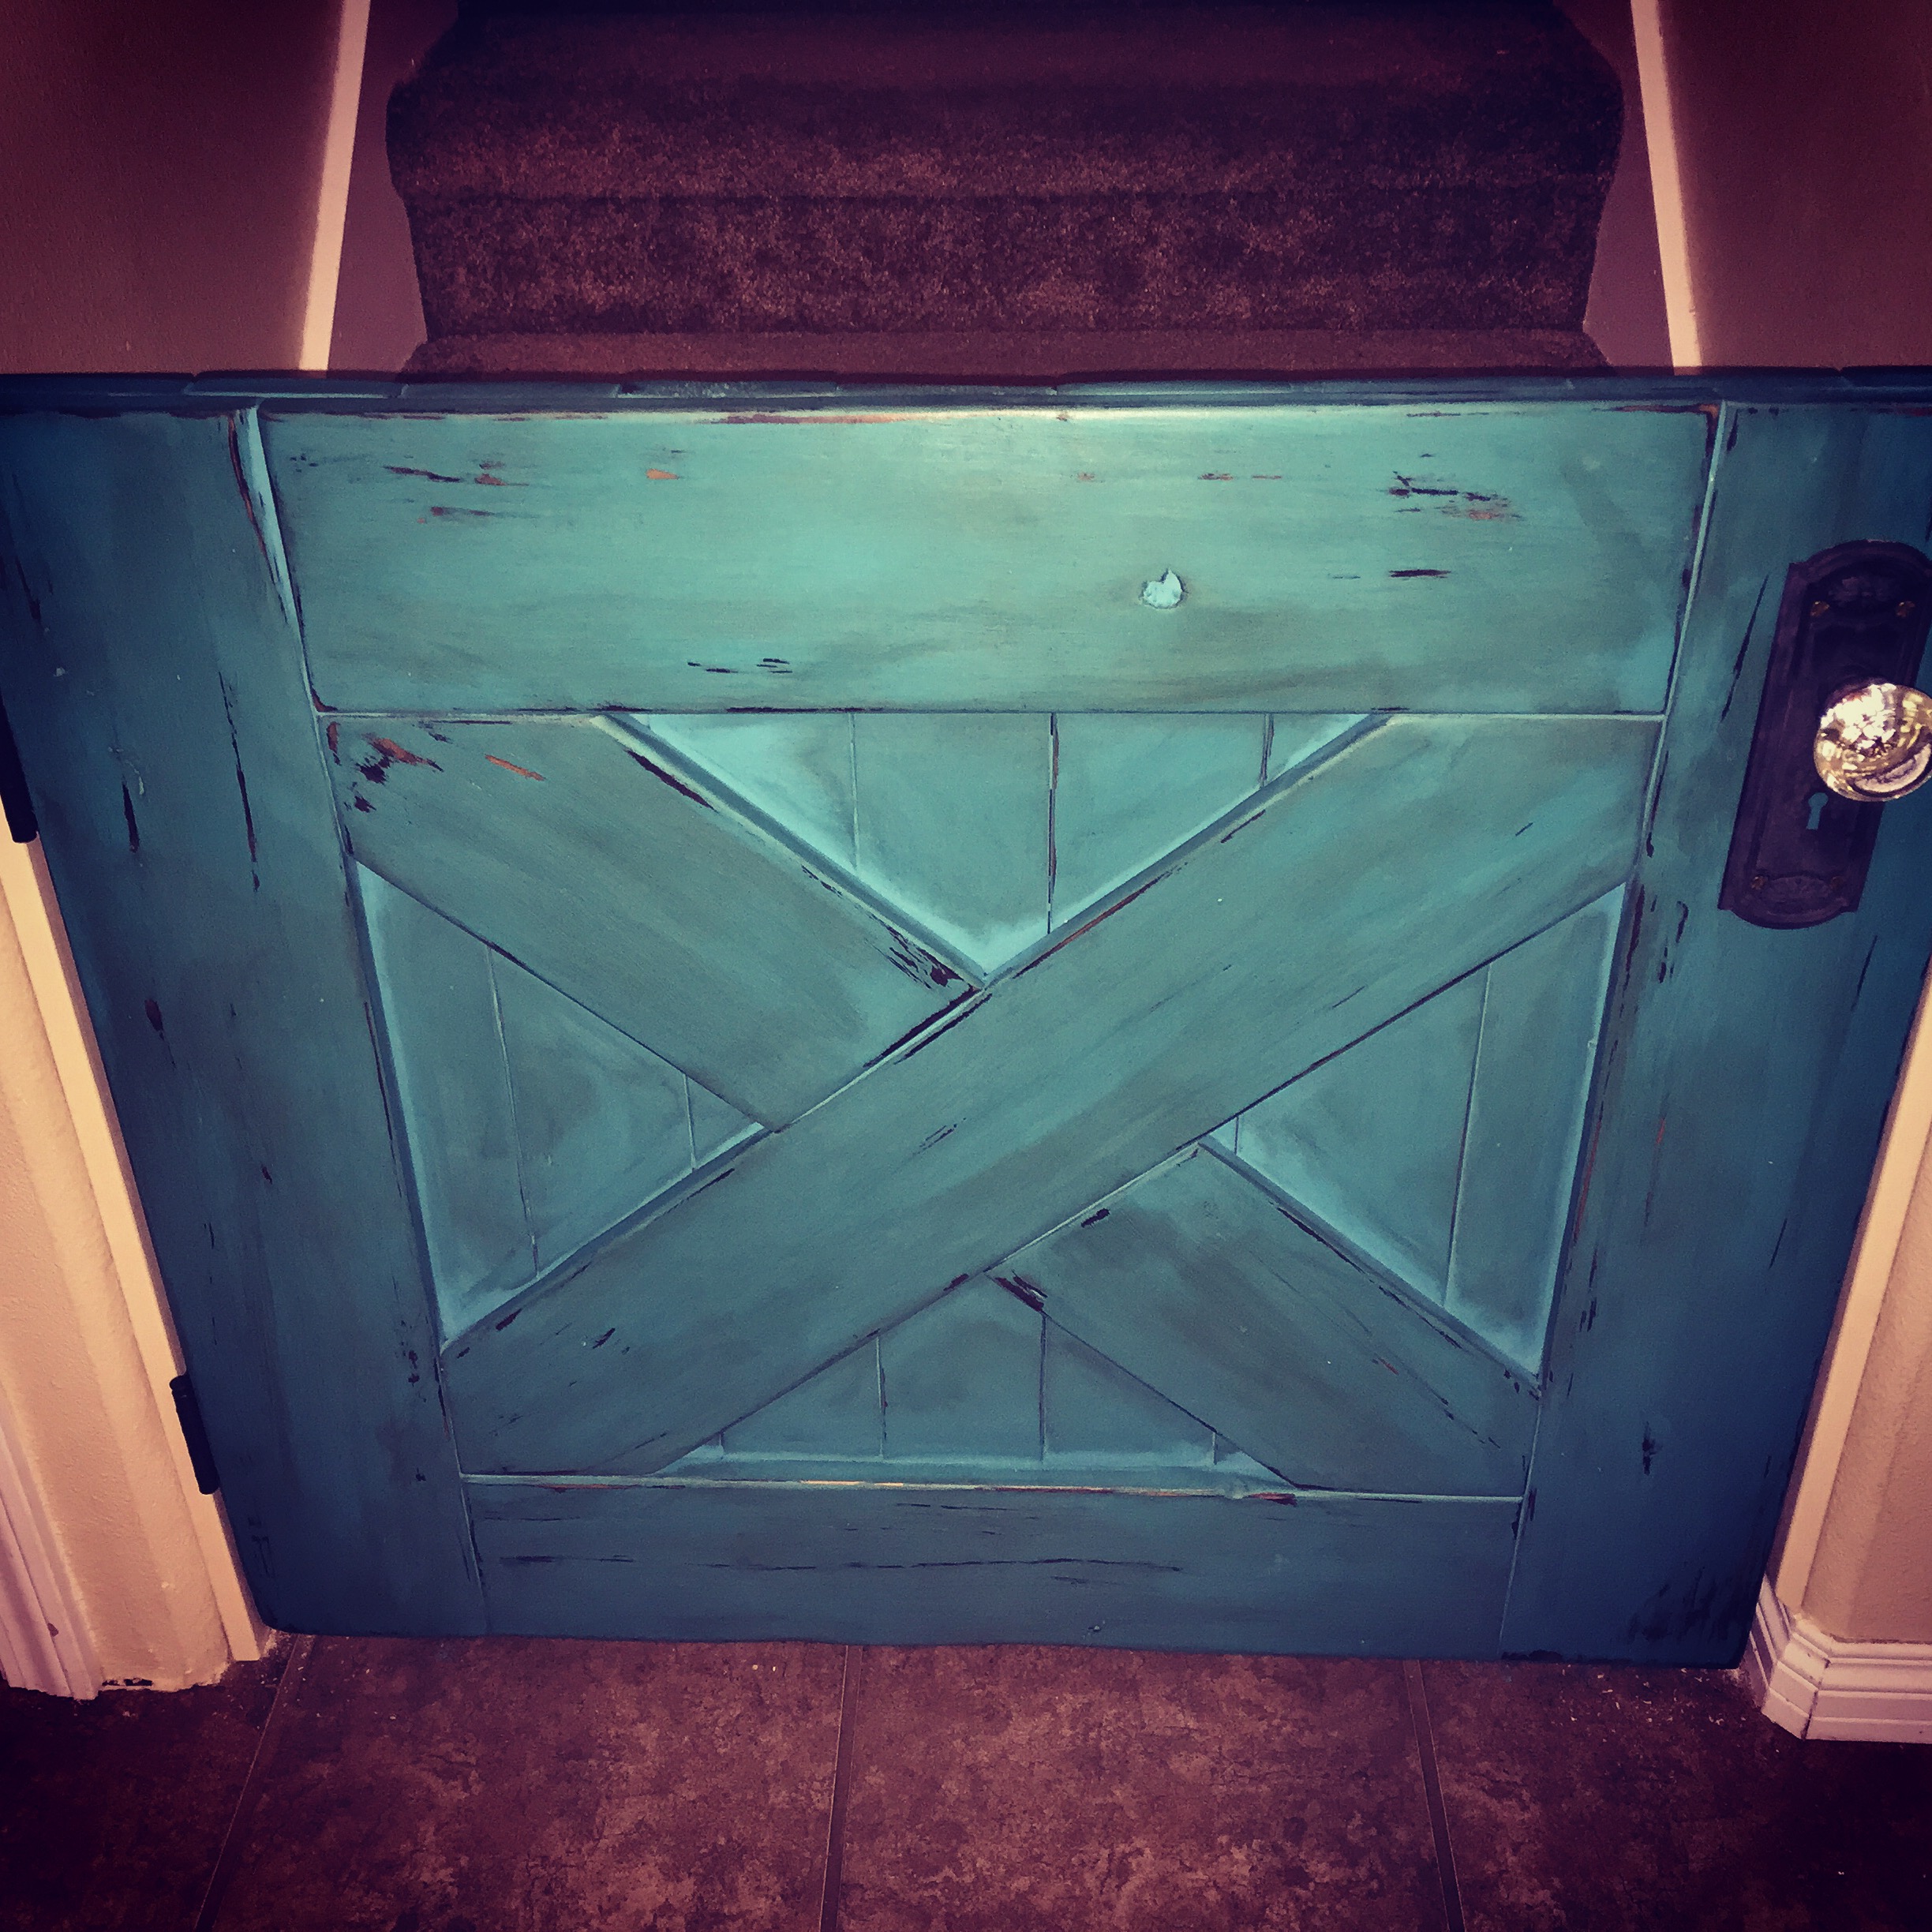
4. The final touch is the product they call reVax, I applied it as recommended with a damp sponge. It is a great topcoat for durability, and in this case, I used it to deepen the color and add to the distressed look of the piece. Seriously, the Hazelnut reVax was like magic, I was so excited to see it go on, it gave the Jewel a more greenish color which is exactly what I wanted. I la la LOVE this color combo!!


Part III – Installation/Finishing
Materials/Tools:
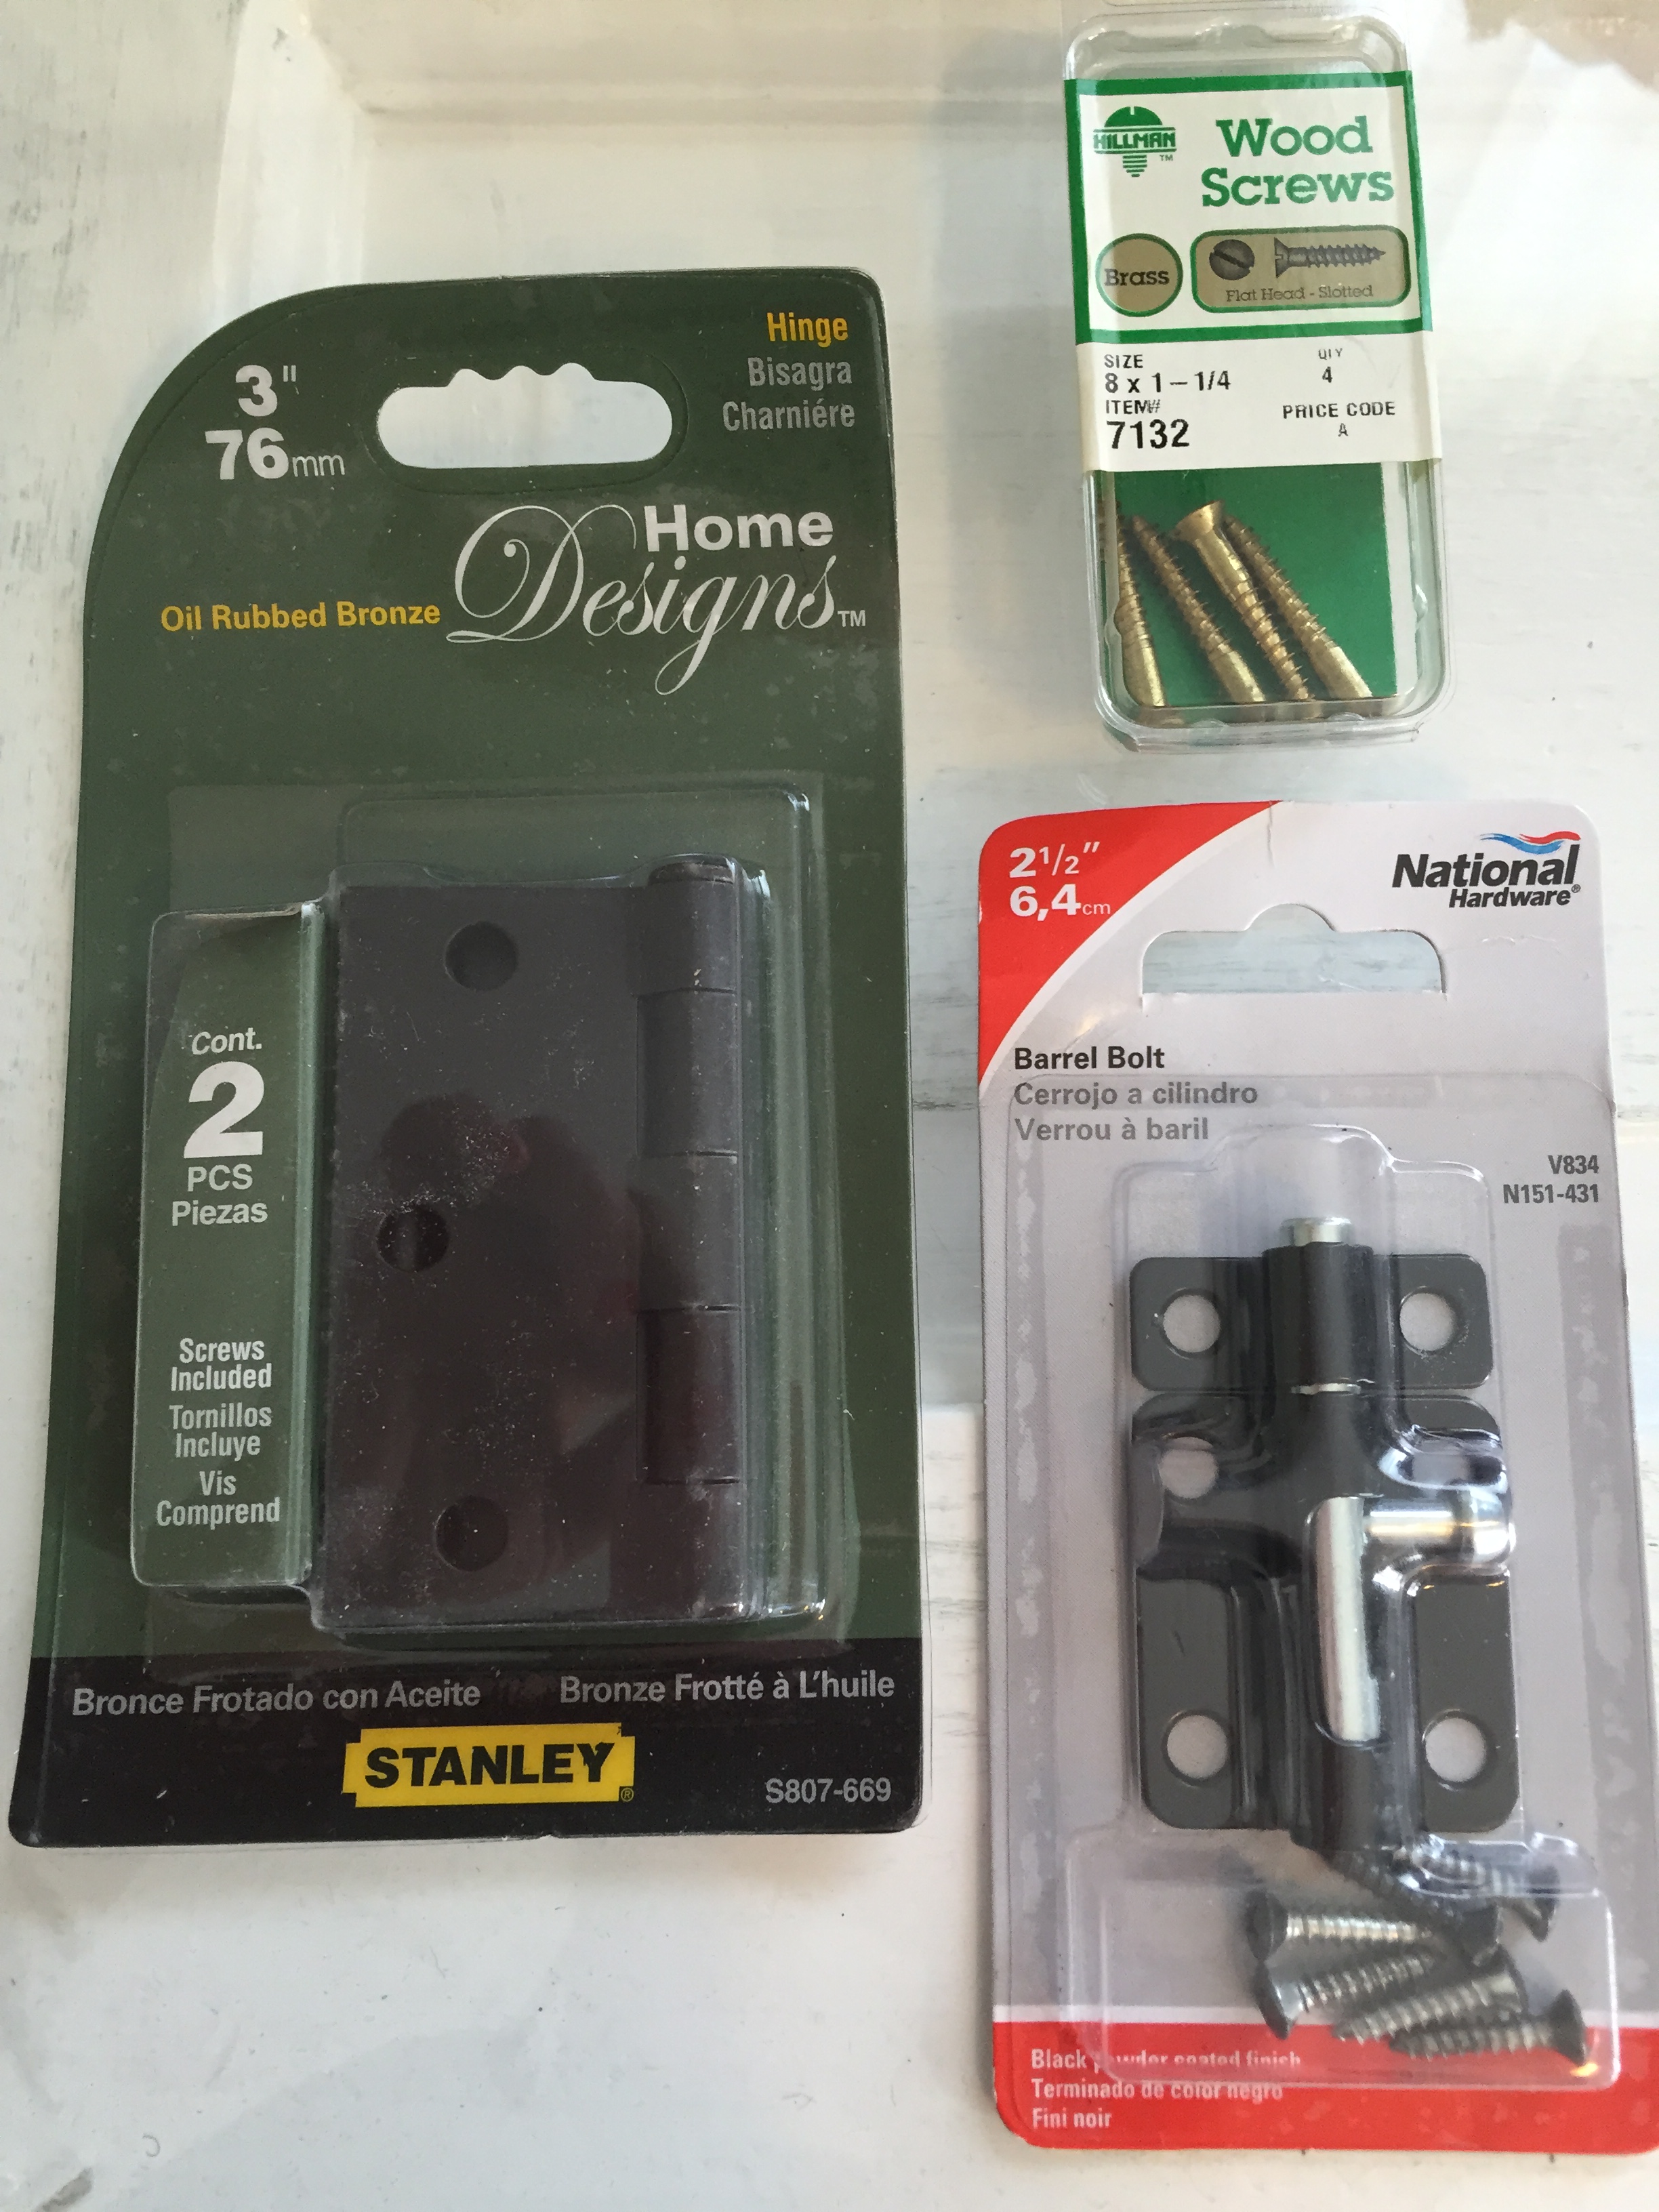
Hinges
Barrel Bolt
More wood screws
2 Trim pieces (30 3/4″ x 1 1/2″ x 5/8″)
Antique glass doorknob
How to:
1. Almost there! We started by cutting our two trim pieces, which will be mounted to the wall on either side and the door will connect to. On the top, cut a 45 degree angle (this just makes it look a little more finished). Then we painted them to match our wall color.

2. Attach the hinges to the gate and hinges to the first trim piece (prior to installing them on the wall). Remove the pins from the hinges so that the trim piece can be attached to the wall without the weight of the gate. Once the trim piece was secured to the wall (we were sure to find a stud and used 2 1/4″ screws), we lined up the hinges on the gate and reinserted the pins.

Note: The screws pictured here were used to attach the doorknob.
3. Next, we attached the second trim piece to the other side of the wall (again 2 1/4″ screws into a stud).
4. Attach the barrel bolt approximately 1″ from the top of the door (on the back), then extend the barrel and mark the spot to drill into the trim. Drill and done.
5. Attach the glass door knob (I spray painted the plate of the antique doorknob black).
And…done! Phew!

–h & r