
Can normalize how long home projects really take? If you follow influencers on social media like I do, they are finishing projects in mere days or at least that’s how it’s presented. I find myself feeling like I’m not doing enough, moving fast enough, not hustling enough, basically not enough. I know it isn’t true, I know it, but it can feel overwhelming at times. Projects just do not get done in mere days. Try months and months and months.
Last October Ryan was chatting with a friend and coworker, Steve, who mentioned he was planning to demo an old greenhouse on their property. Ryan, who really is the best husband a girl could ask for, immediately started asking more questions. It turns out the greenhouse itself was in great shape, but the foundation was starting to crumble and Steve and his wife didn’t need a greenhouse. If we were interested, we disassemble it and the greenhouse would be ours.
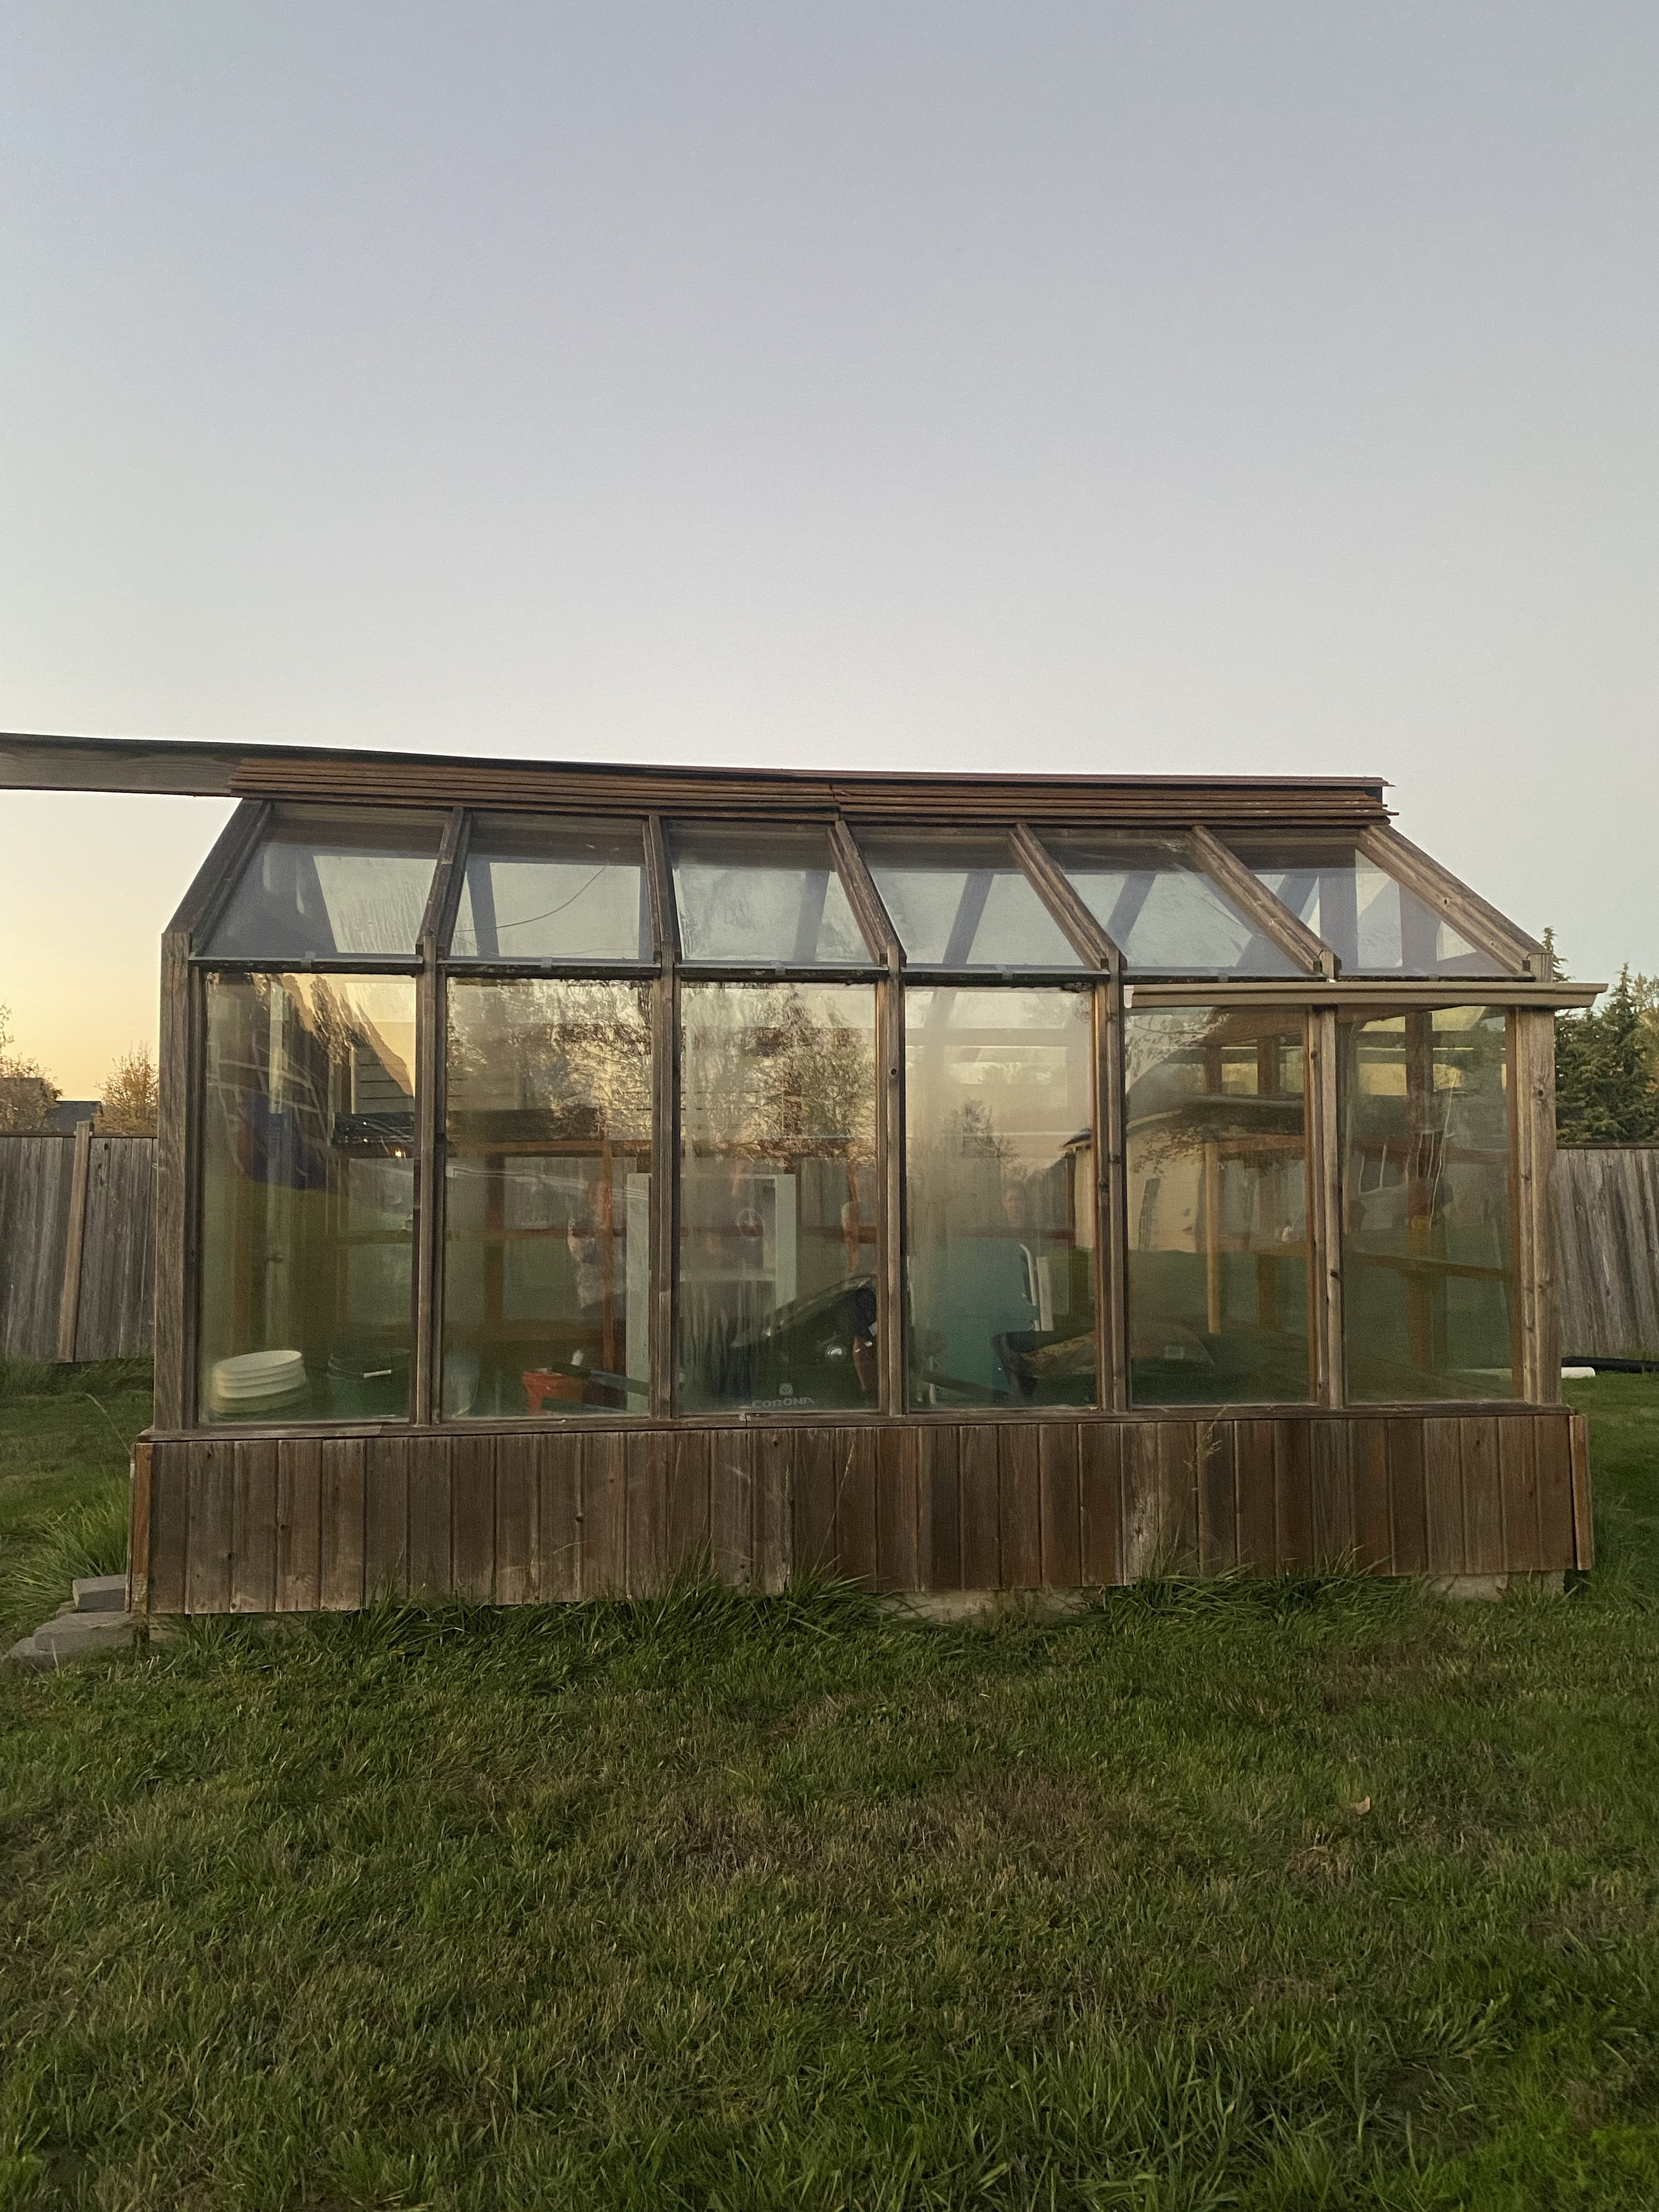
We decided to go look at the greenhouse to see if it would work for our purposes and be worth the work. Ryan was driving and I was gazing out the passenger side of the car, I saw a greenhouse in the distance. I remember thinking, “Wow, that is such a cool greenhouse, too bad that isn’t the one we are going to see. I would love to have a greenhouse like that.” Then Ryan pulled into a driveway. The very driveway with the very cool greenhouse.
Yes, the foundation was crumbling. Yes, there was some siding falling off. Yes, there might be a rotting section or two. But overall the greenhouse was solid with real glass panes! It was going to be some work to disassemble, transport 30 miles, and reassemble, but this was the kind of greenhouse that a girl dreams about. Can you see the potential?
So here we go!
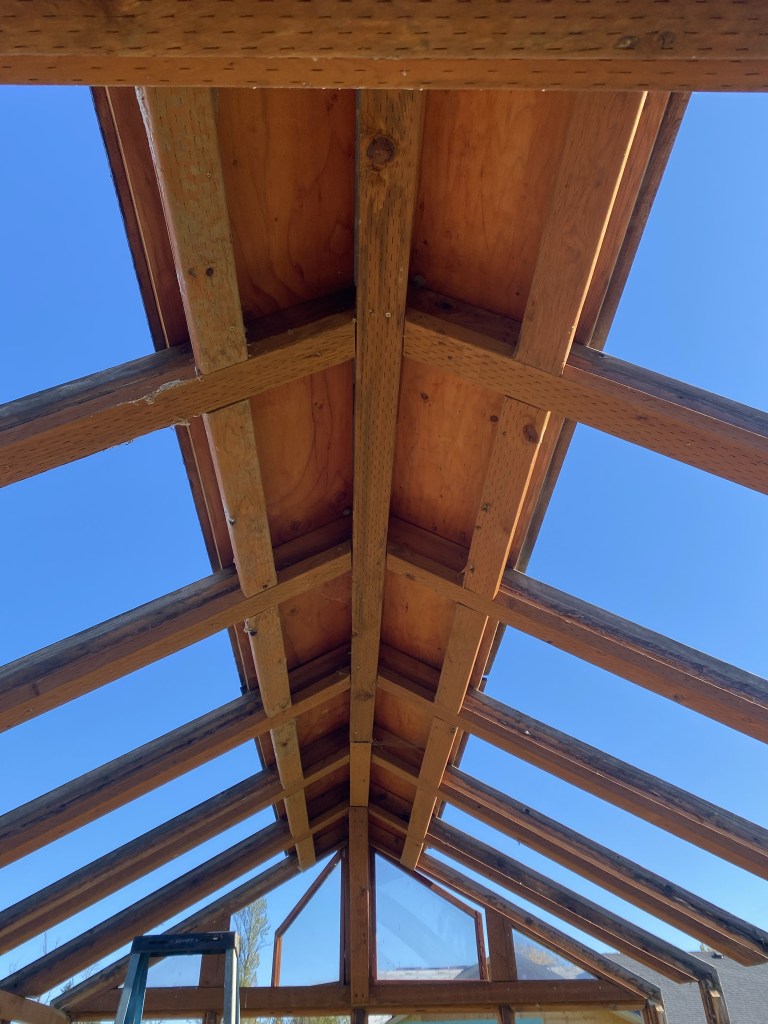
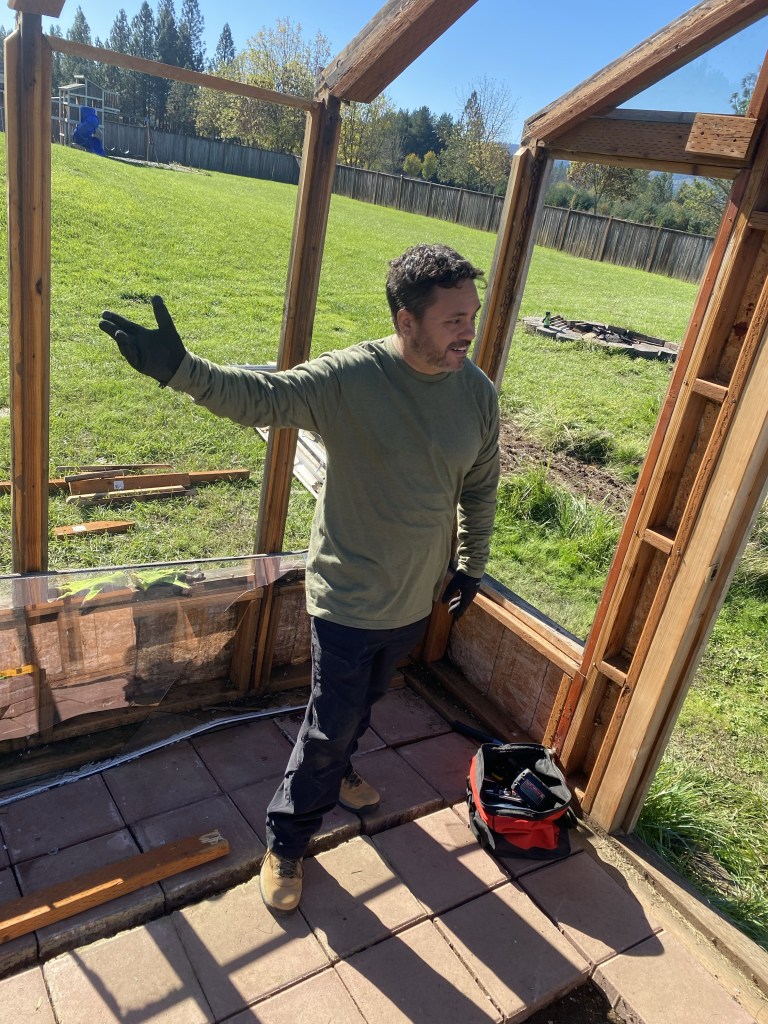
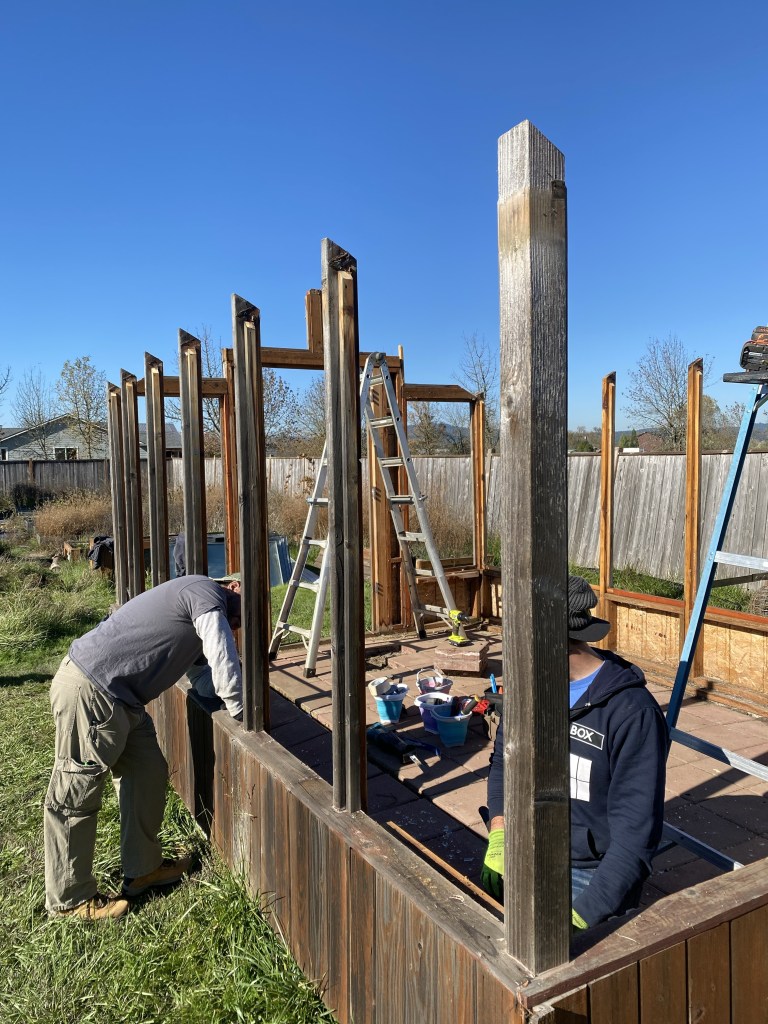
OCTOBER 2023: Ryan, my brother, and a few friends spent several weekends carefully disassembling the greenhouse and transporting it to our house in pieces. The glass panes were particularly tricky to get out and not break. A few broke.

NOVEMBER 2023: no progress
DECEMBER 2023: no progress
JANUARY 2024: Discussions began on where we were going to put the greenhouse. If you aren’t familiar with our property, while lovely, it is not flat. Anywhere. It is a series of slopes that don’t always make sense. And, for a greenhouse that wants sunshine, we have an inordinate amount of shade.
FEBRUARY 2024: Discussions continue. I reached out to an excavation company to see what it might take to level the two areas under consideration.
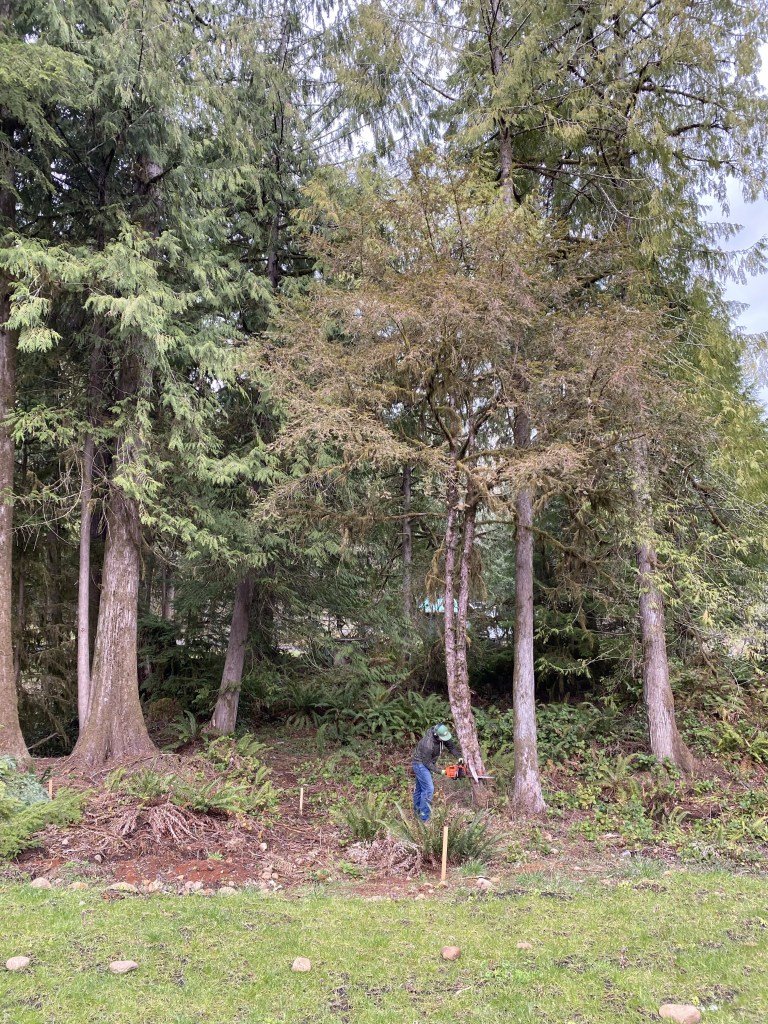
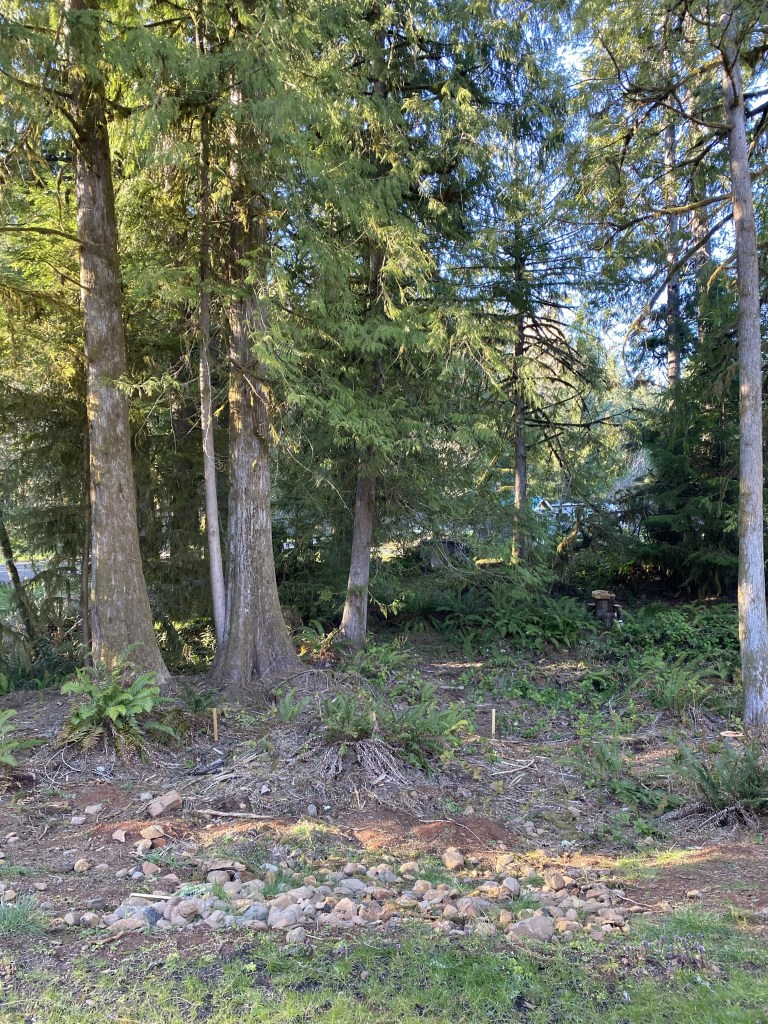
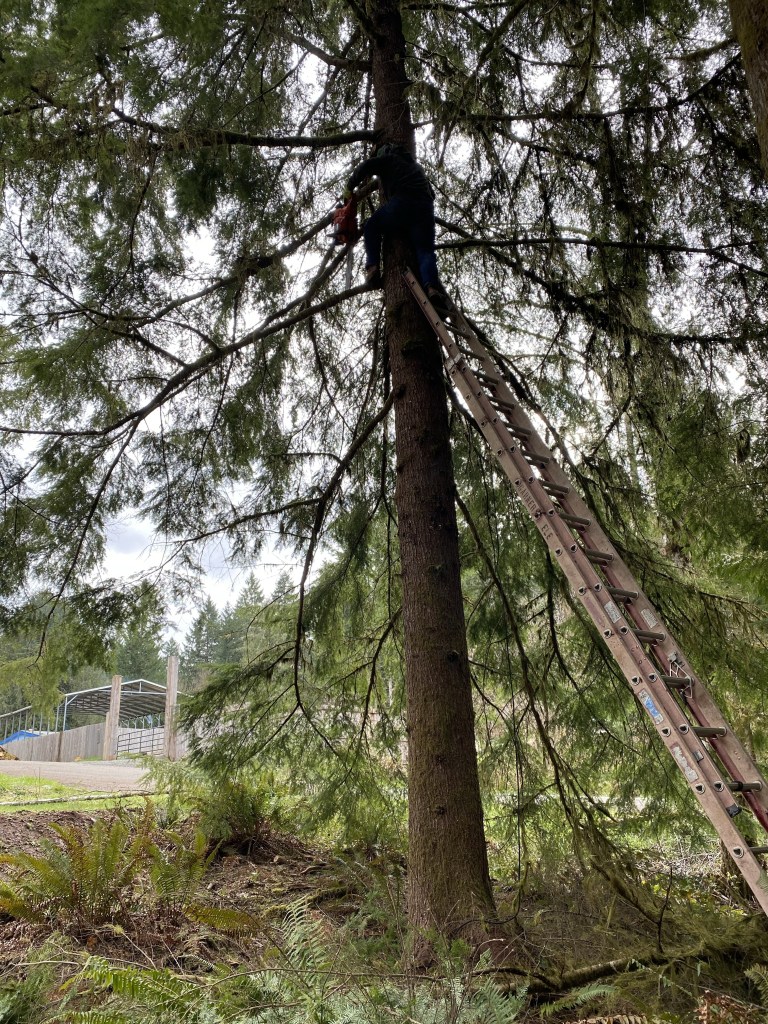
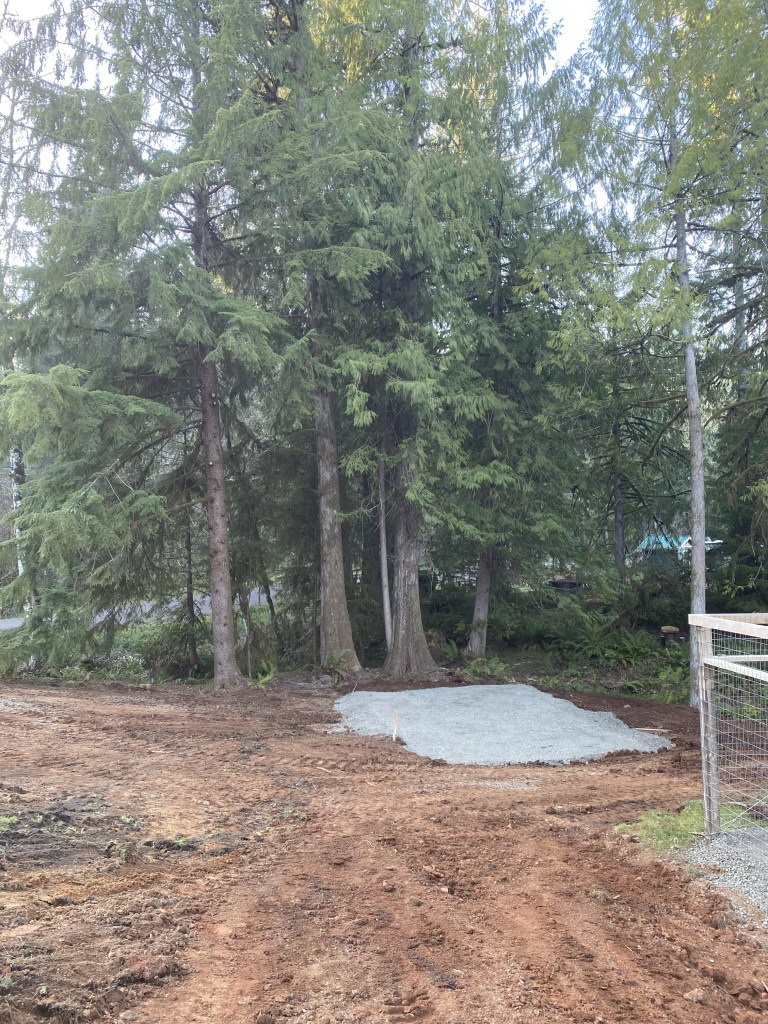
MARCH 2024: Greenhouse site chosen based on the amount of work it would take and amount of sunshine it would receive. Tree branch trimming commences. And don’t kill me, a few smaller trees needed to be removed to give the greenhouse as much sunshine as possible. Site excavation is completed and gravel pad created.
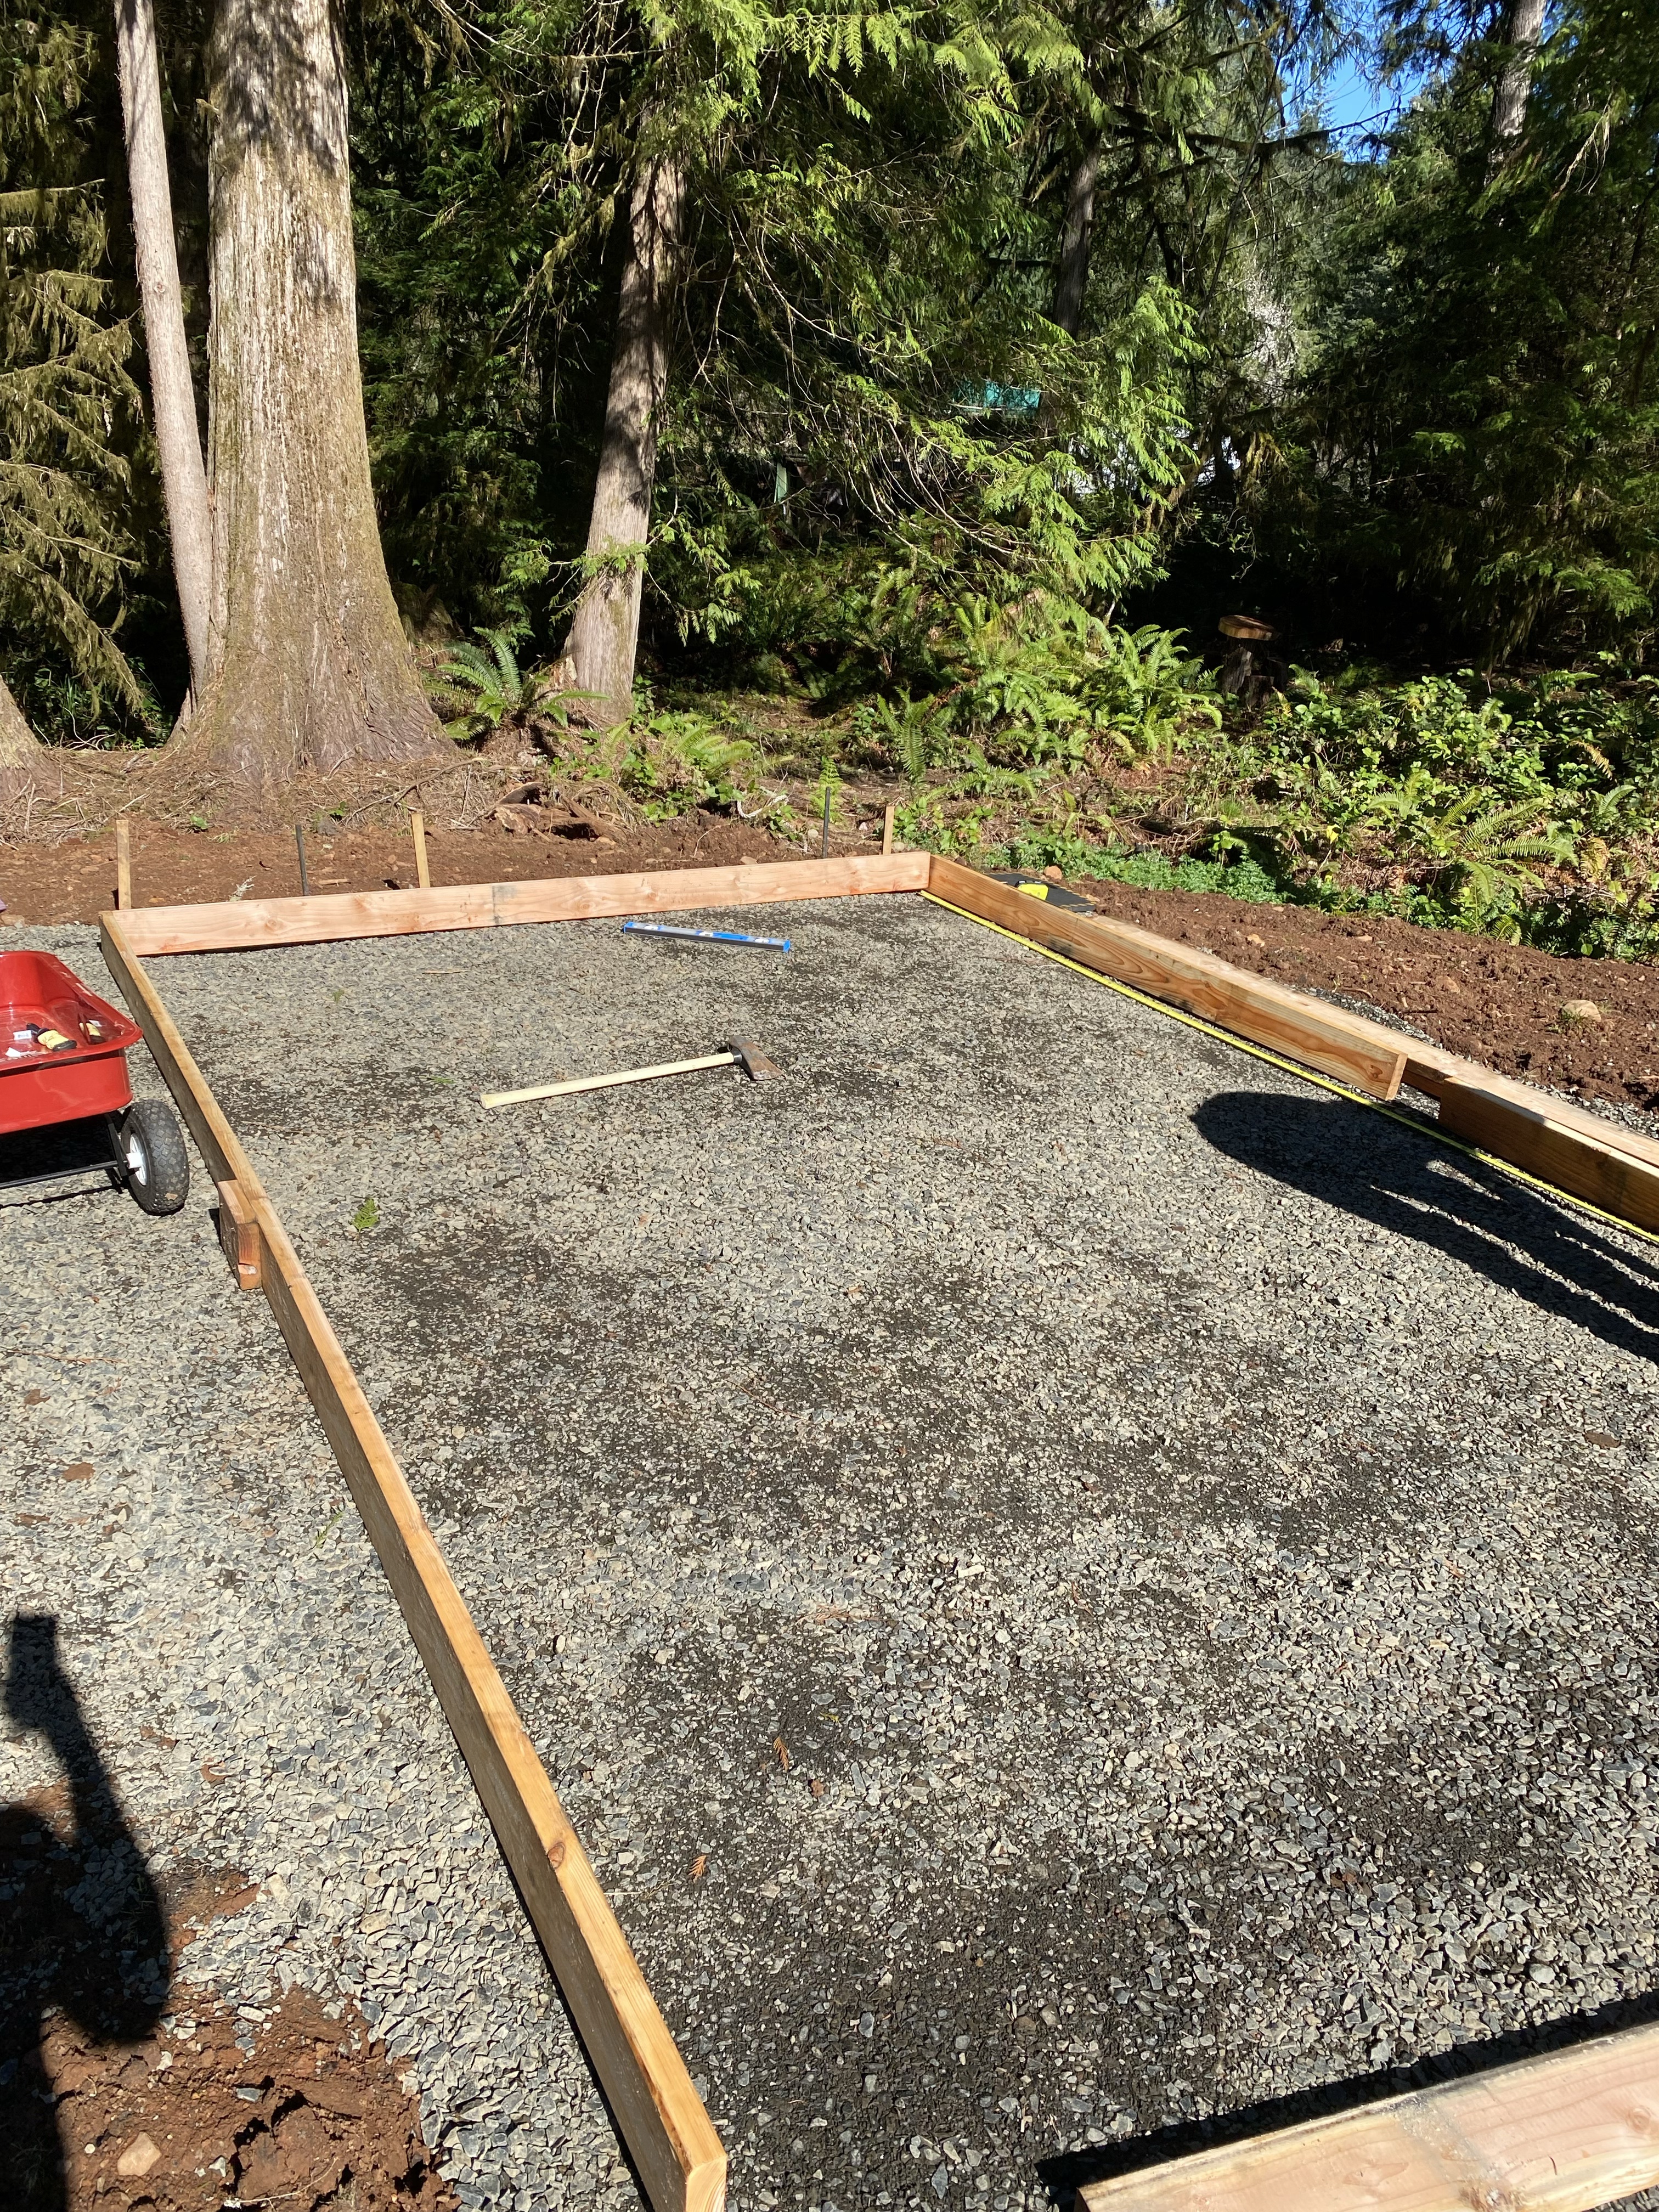
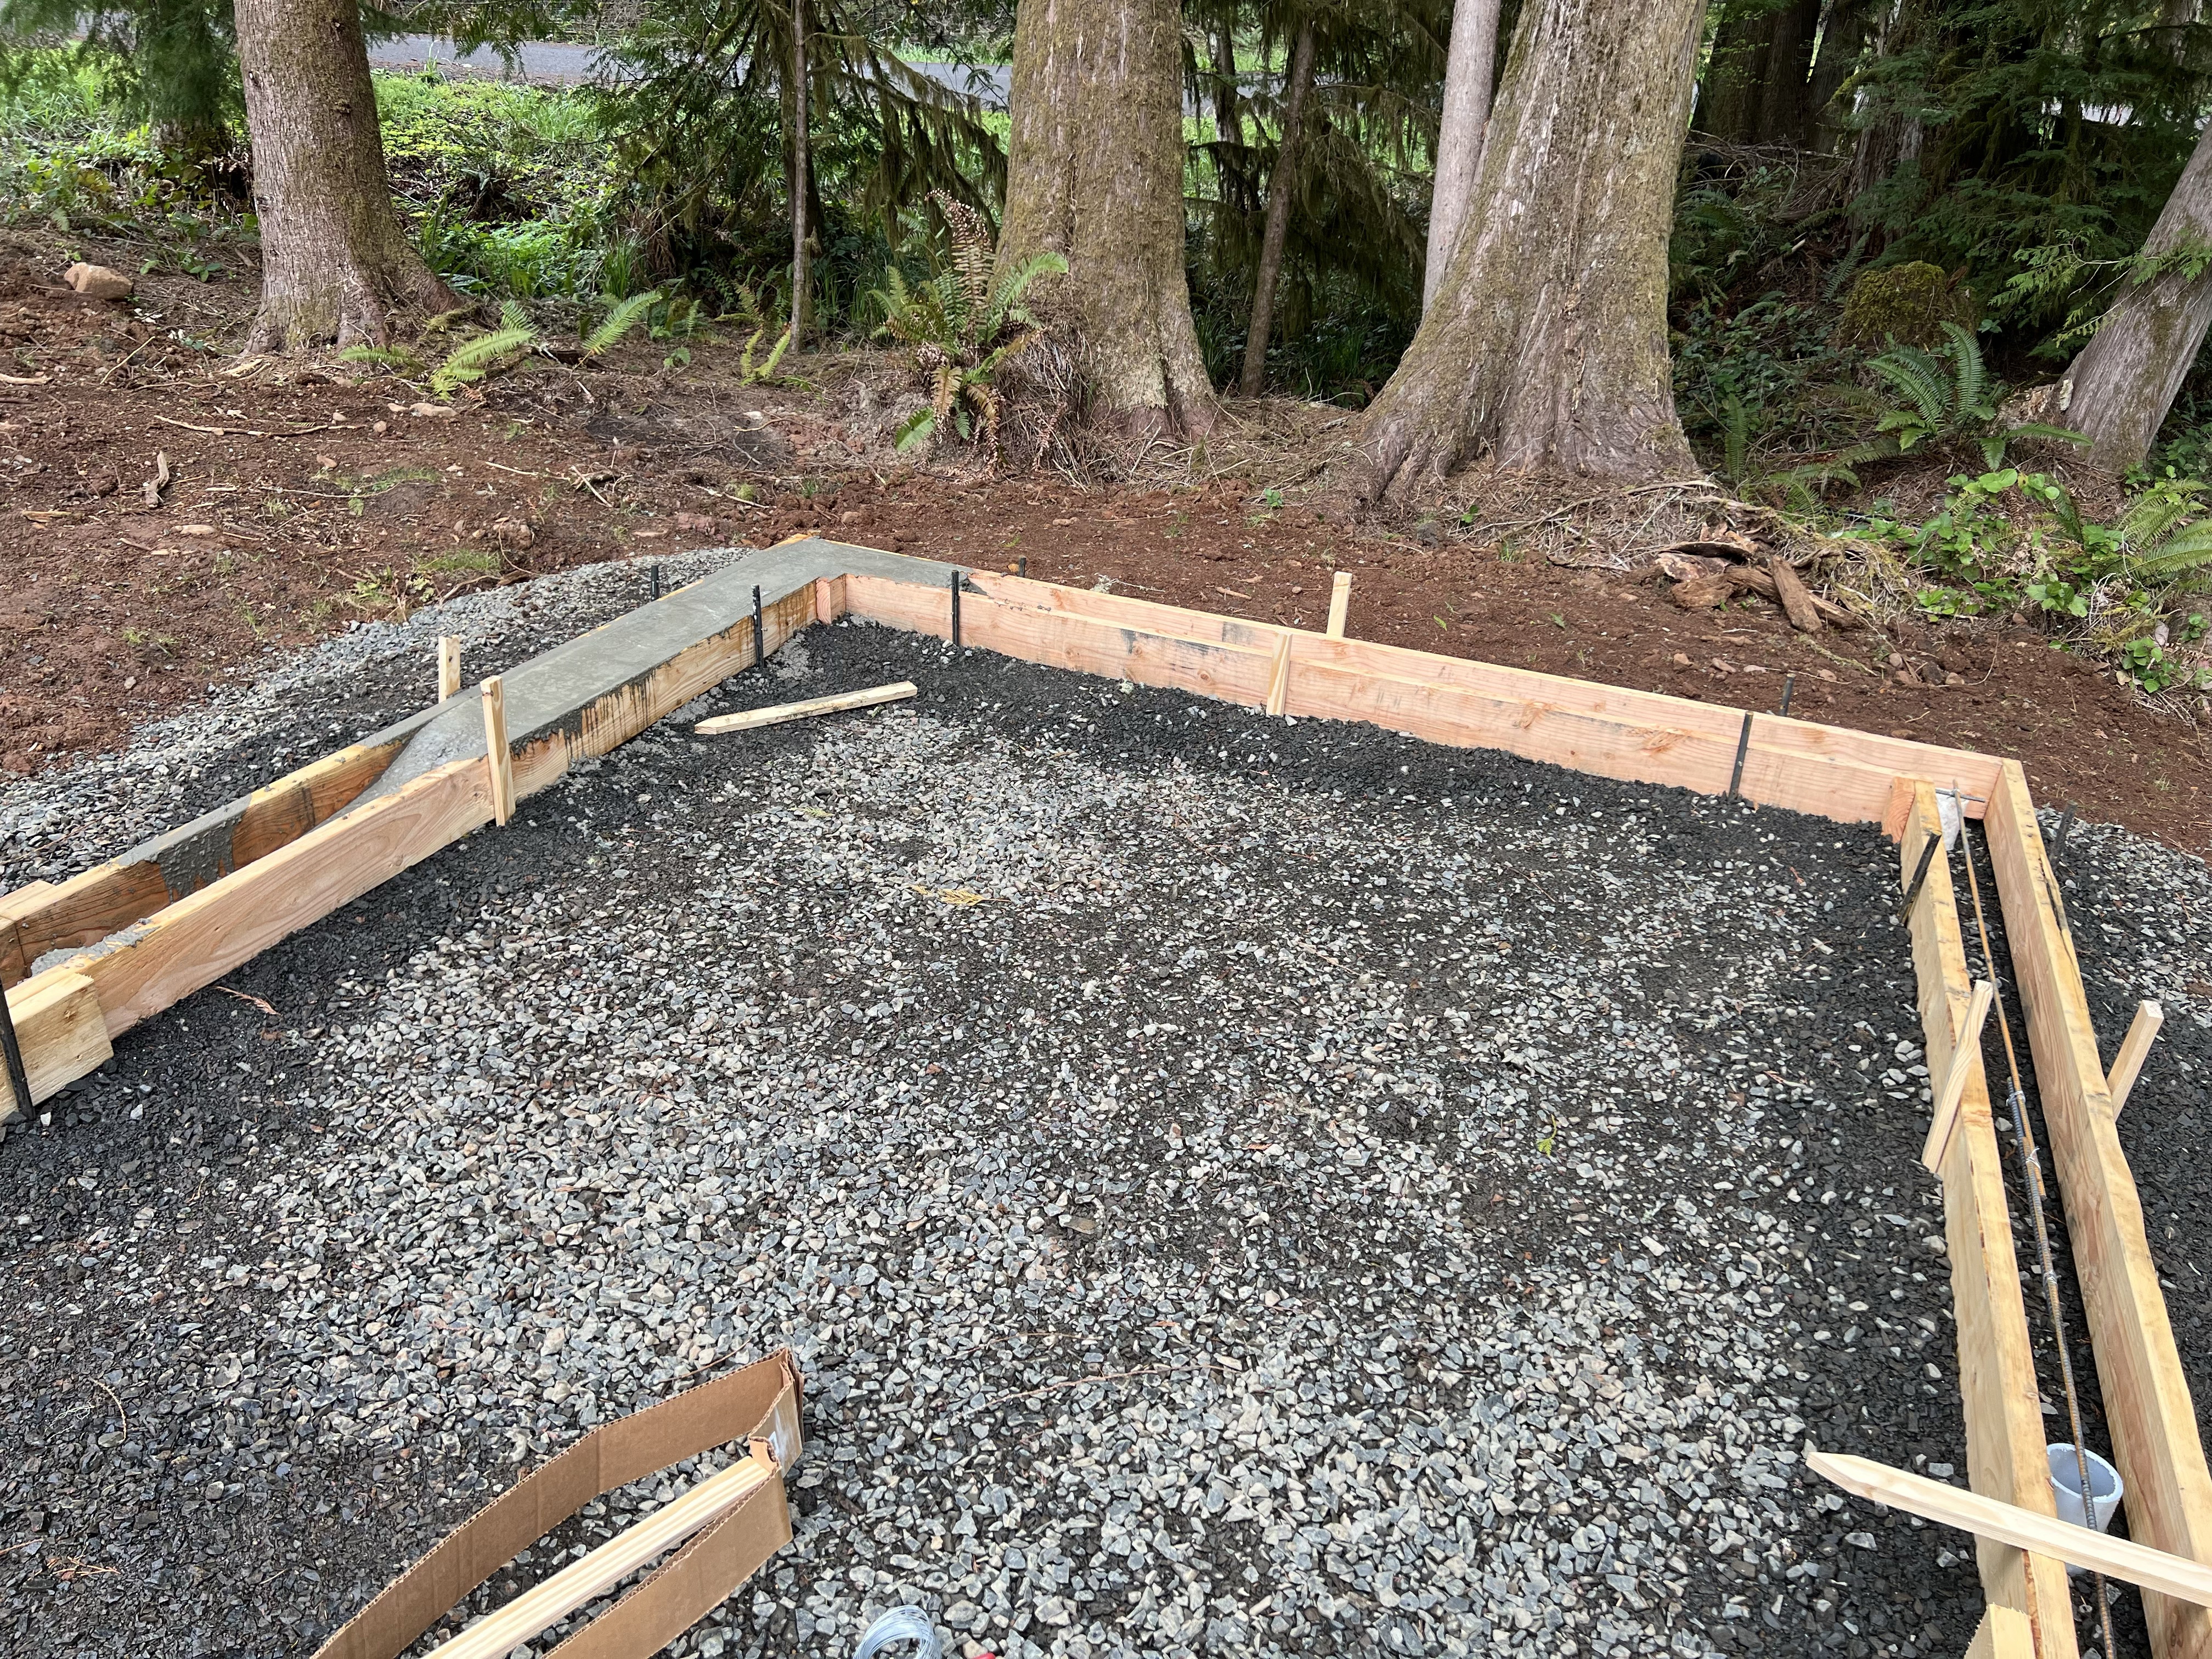
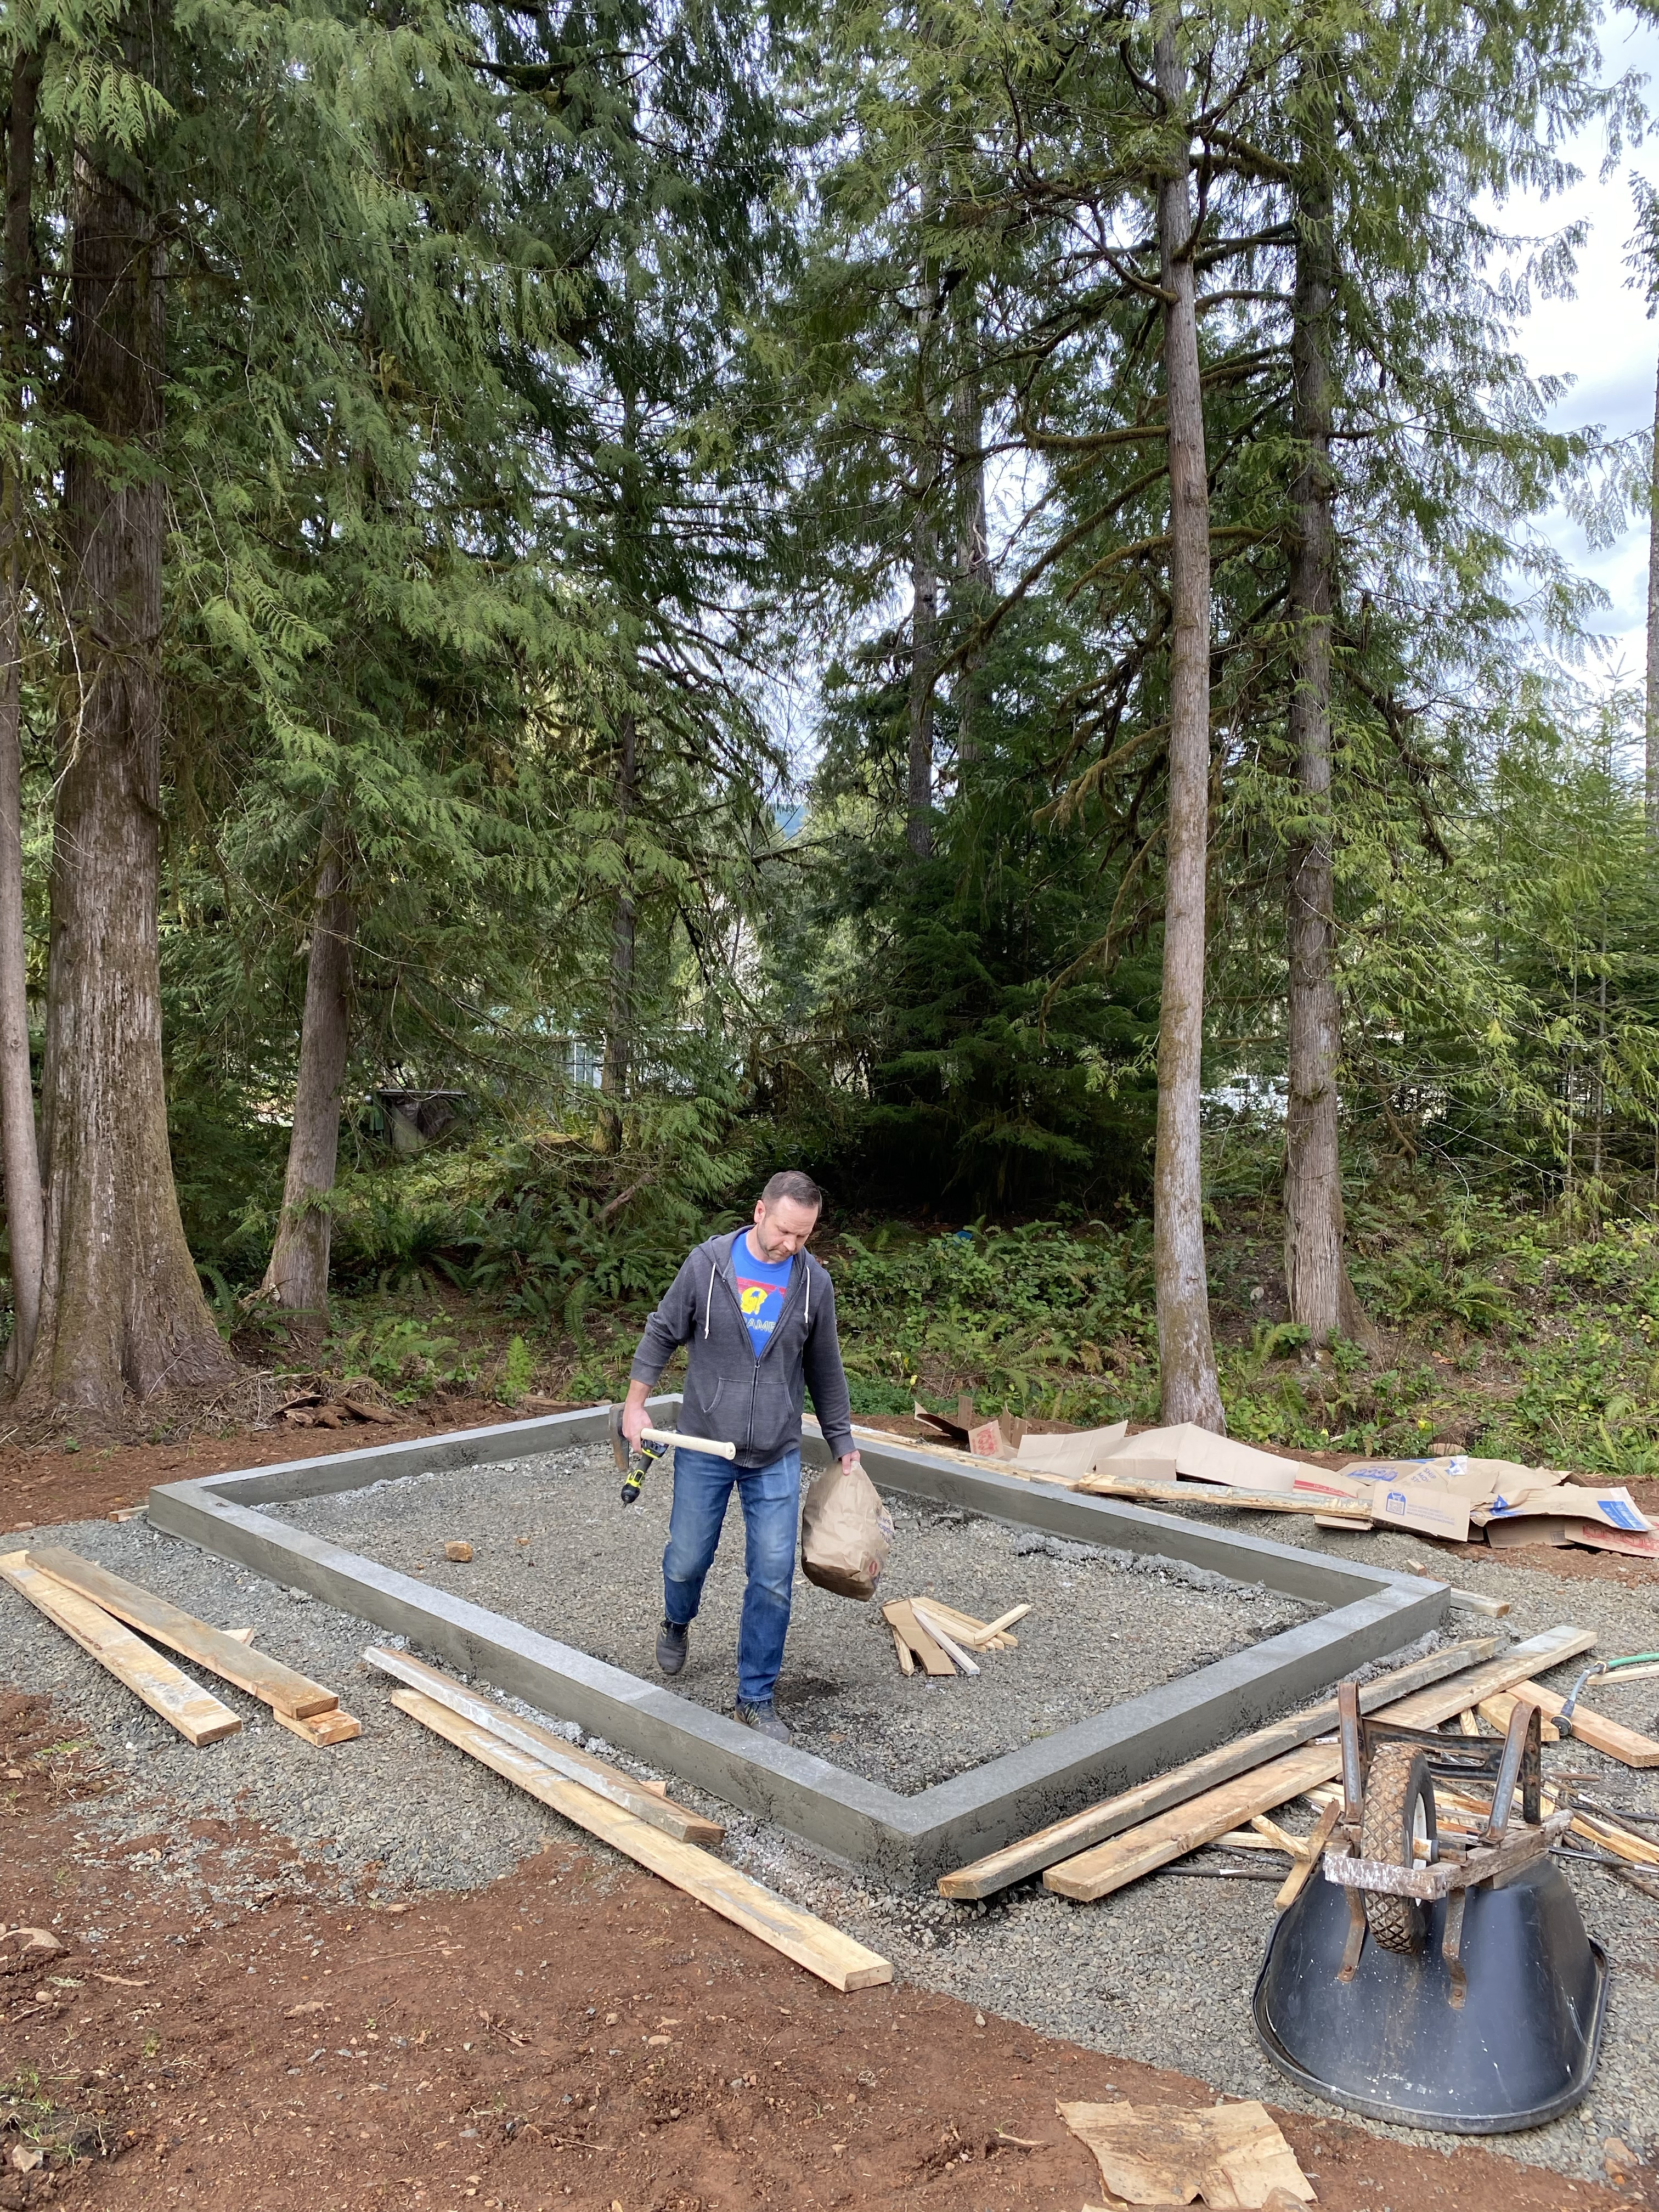
APRIL 2024: We built forms for the foundation. Poured the foundation. In a hilarious calculation error, we thought 3 bags of concrete would be enough for the foundation. That doesn’t even make logical sense, but we started the project confidently thinking we had enough. You can see below how much the three bags accomplished, one corner. My engineer brother, Bryan, especially loves this part of the story. We had to do a very quick run to the local hardware store to get like 20+ more bags. But those three bags were gonna do it. Ha!
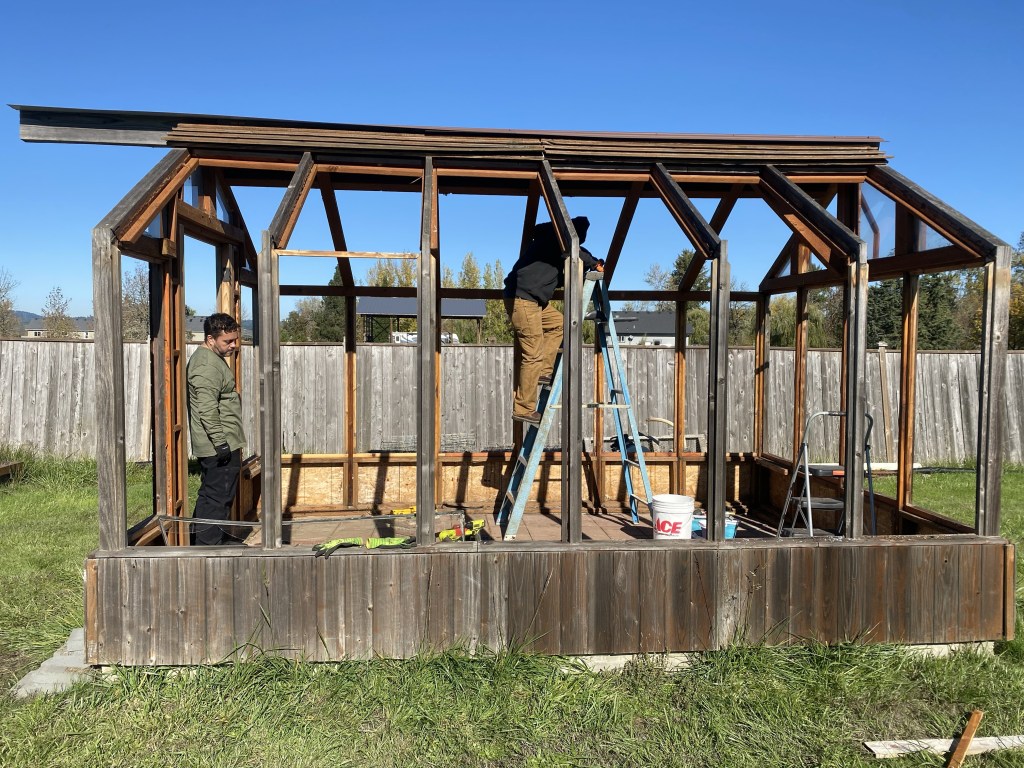
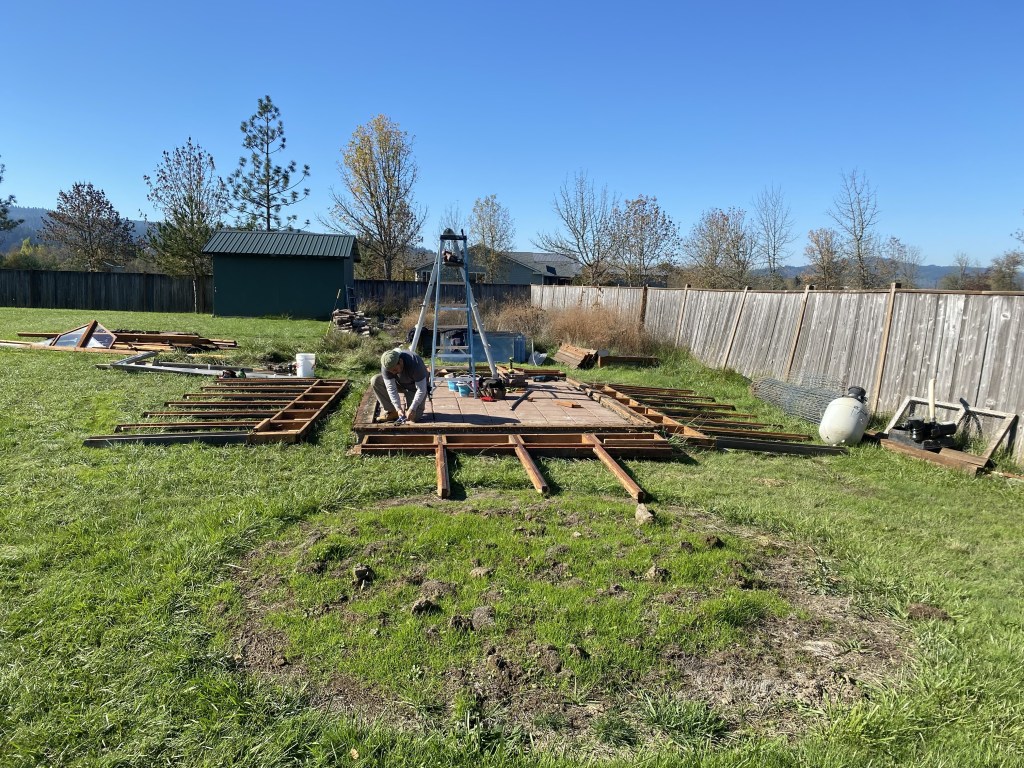
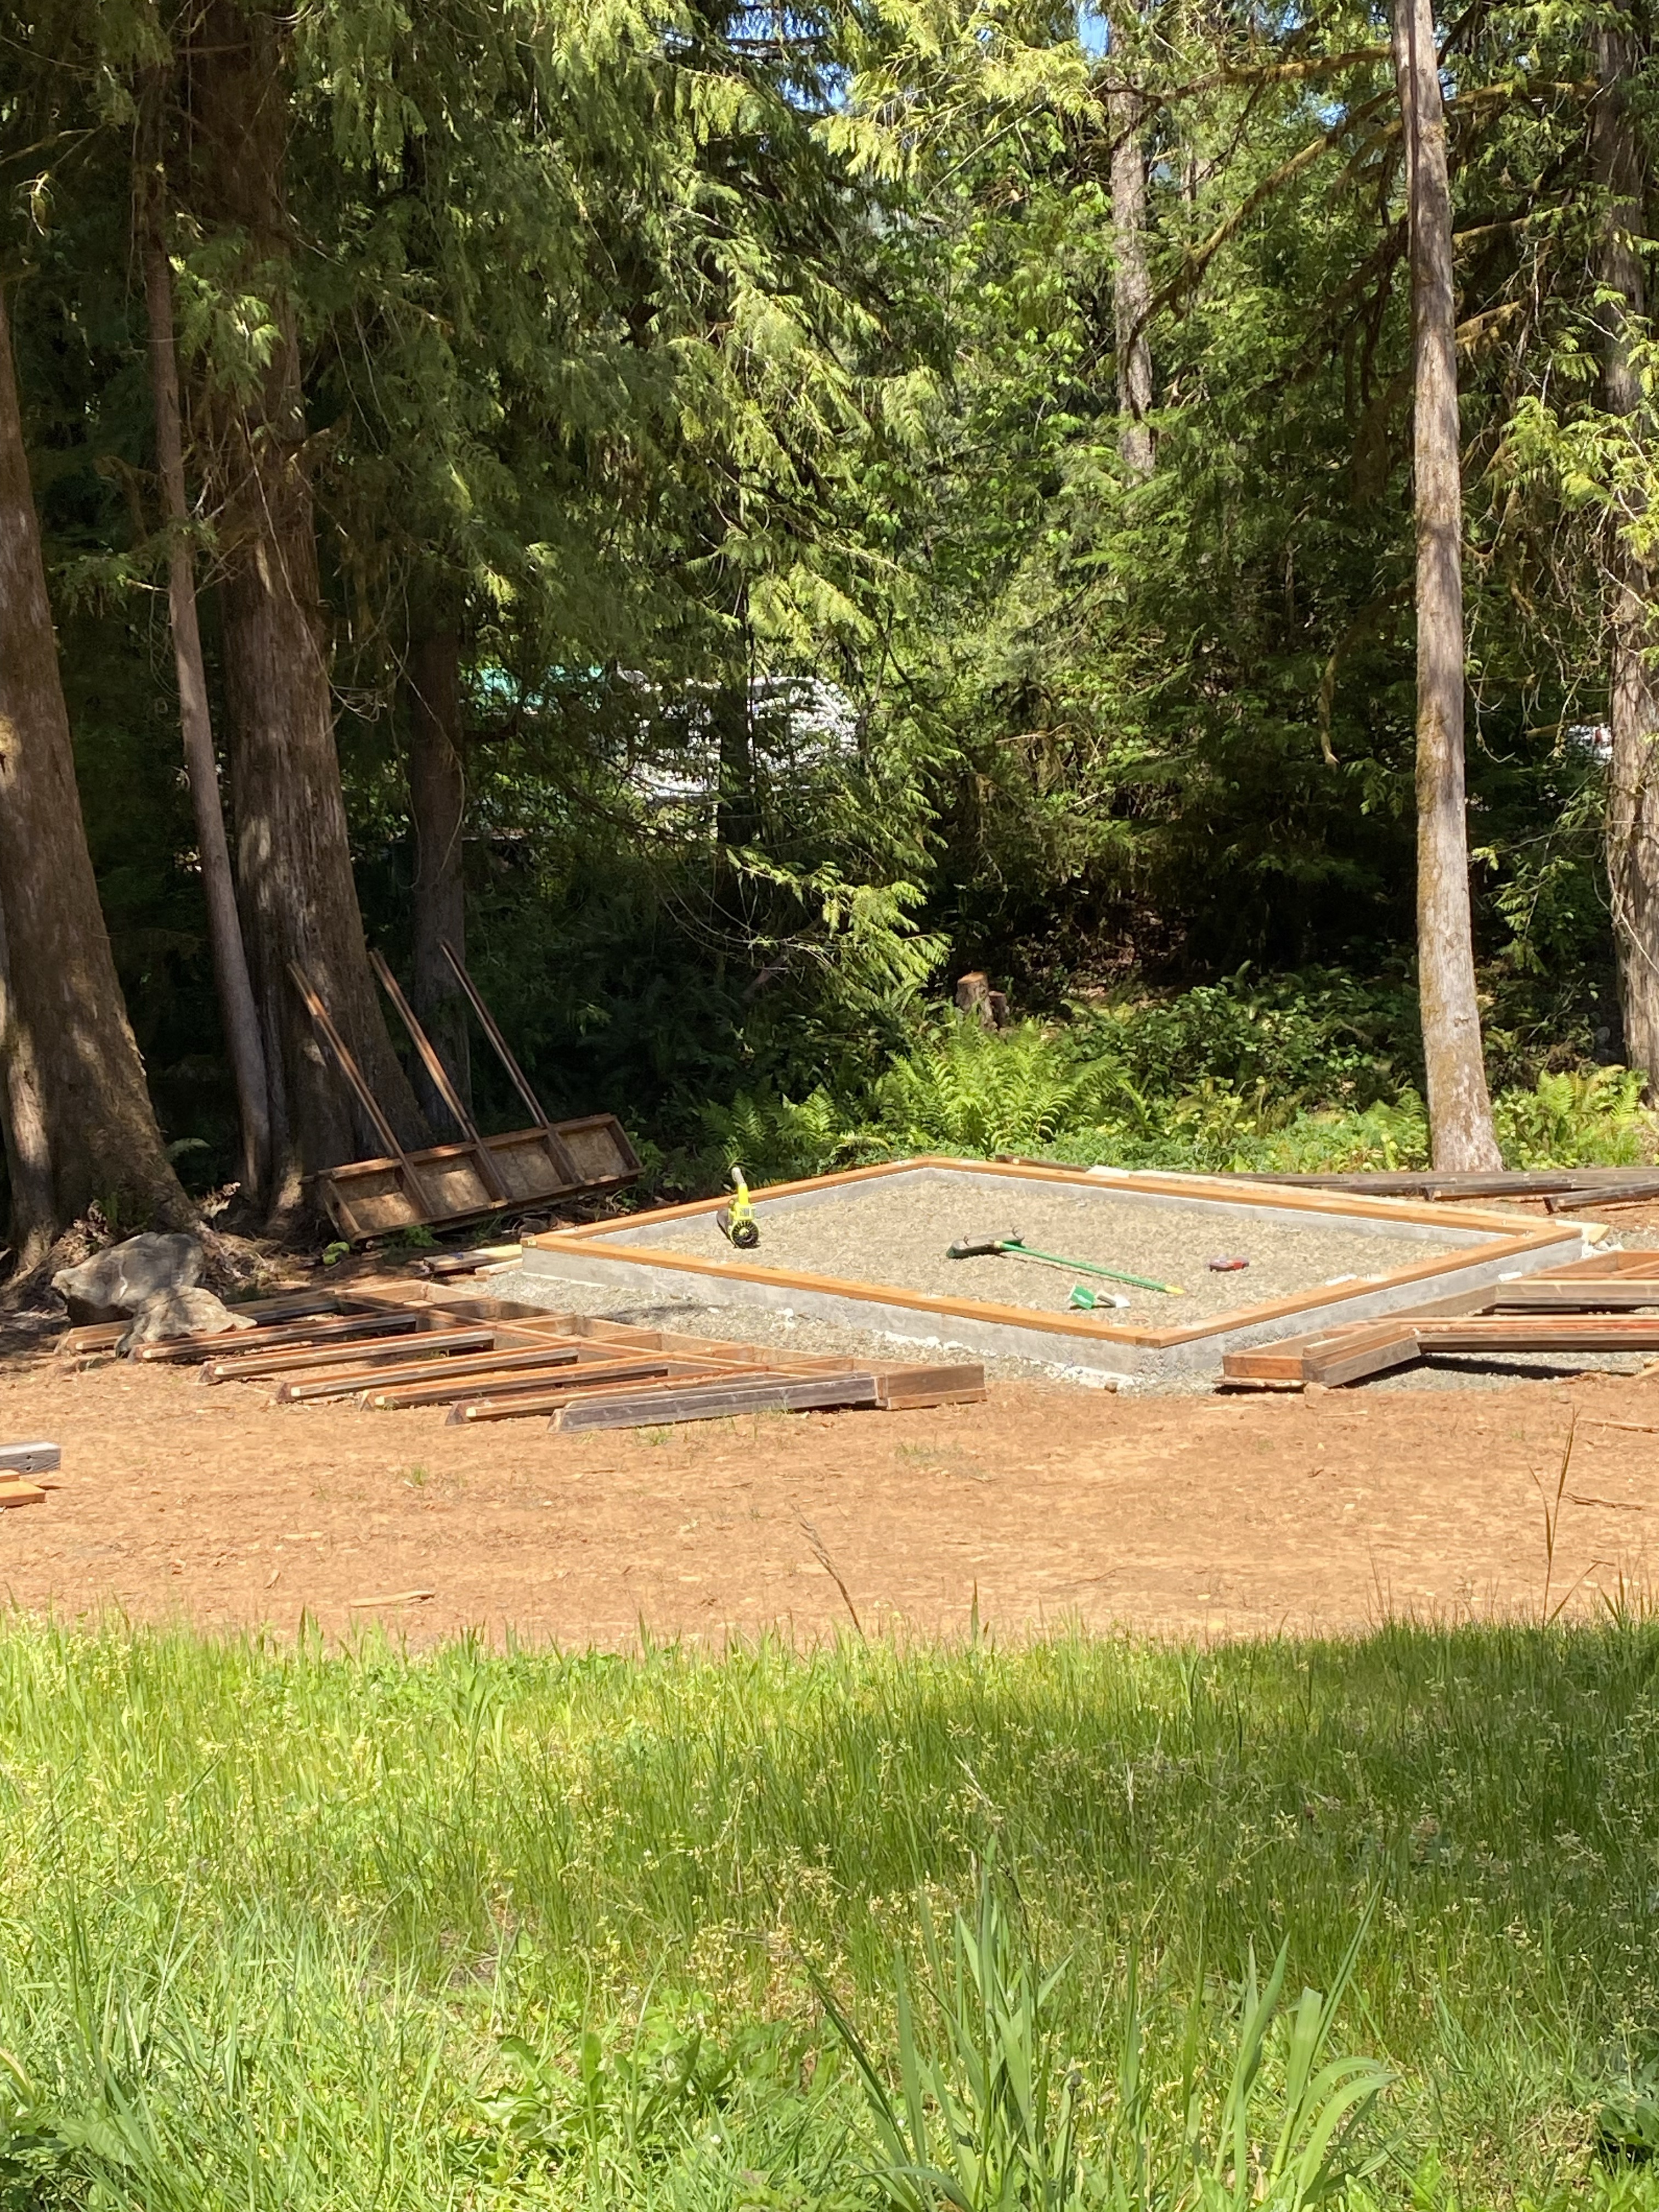
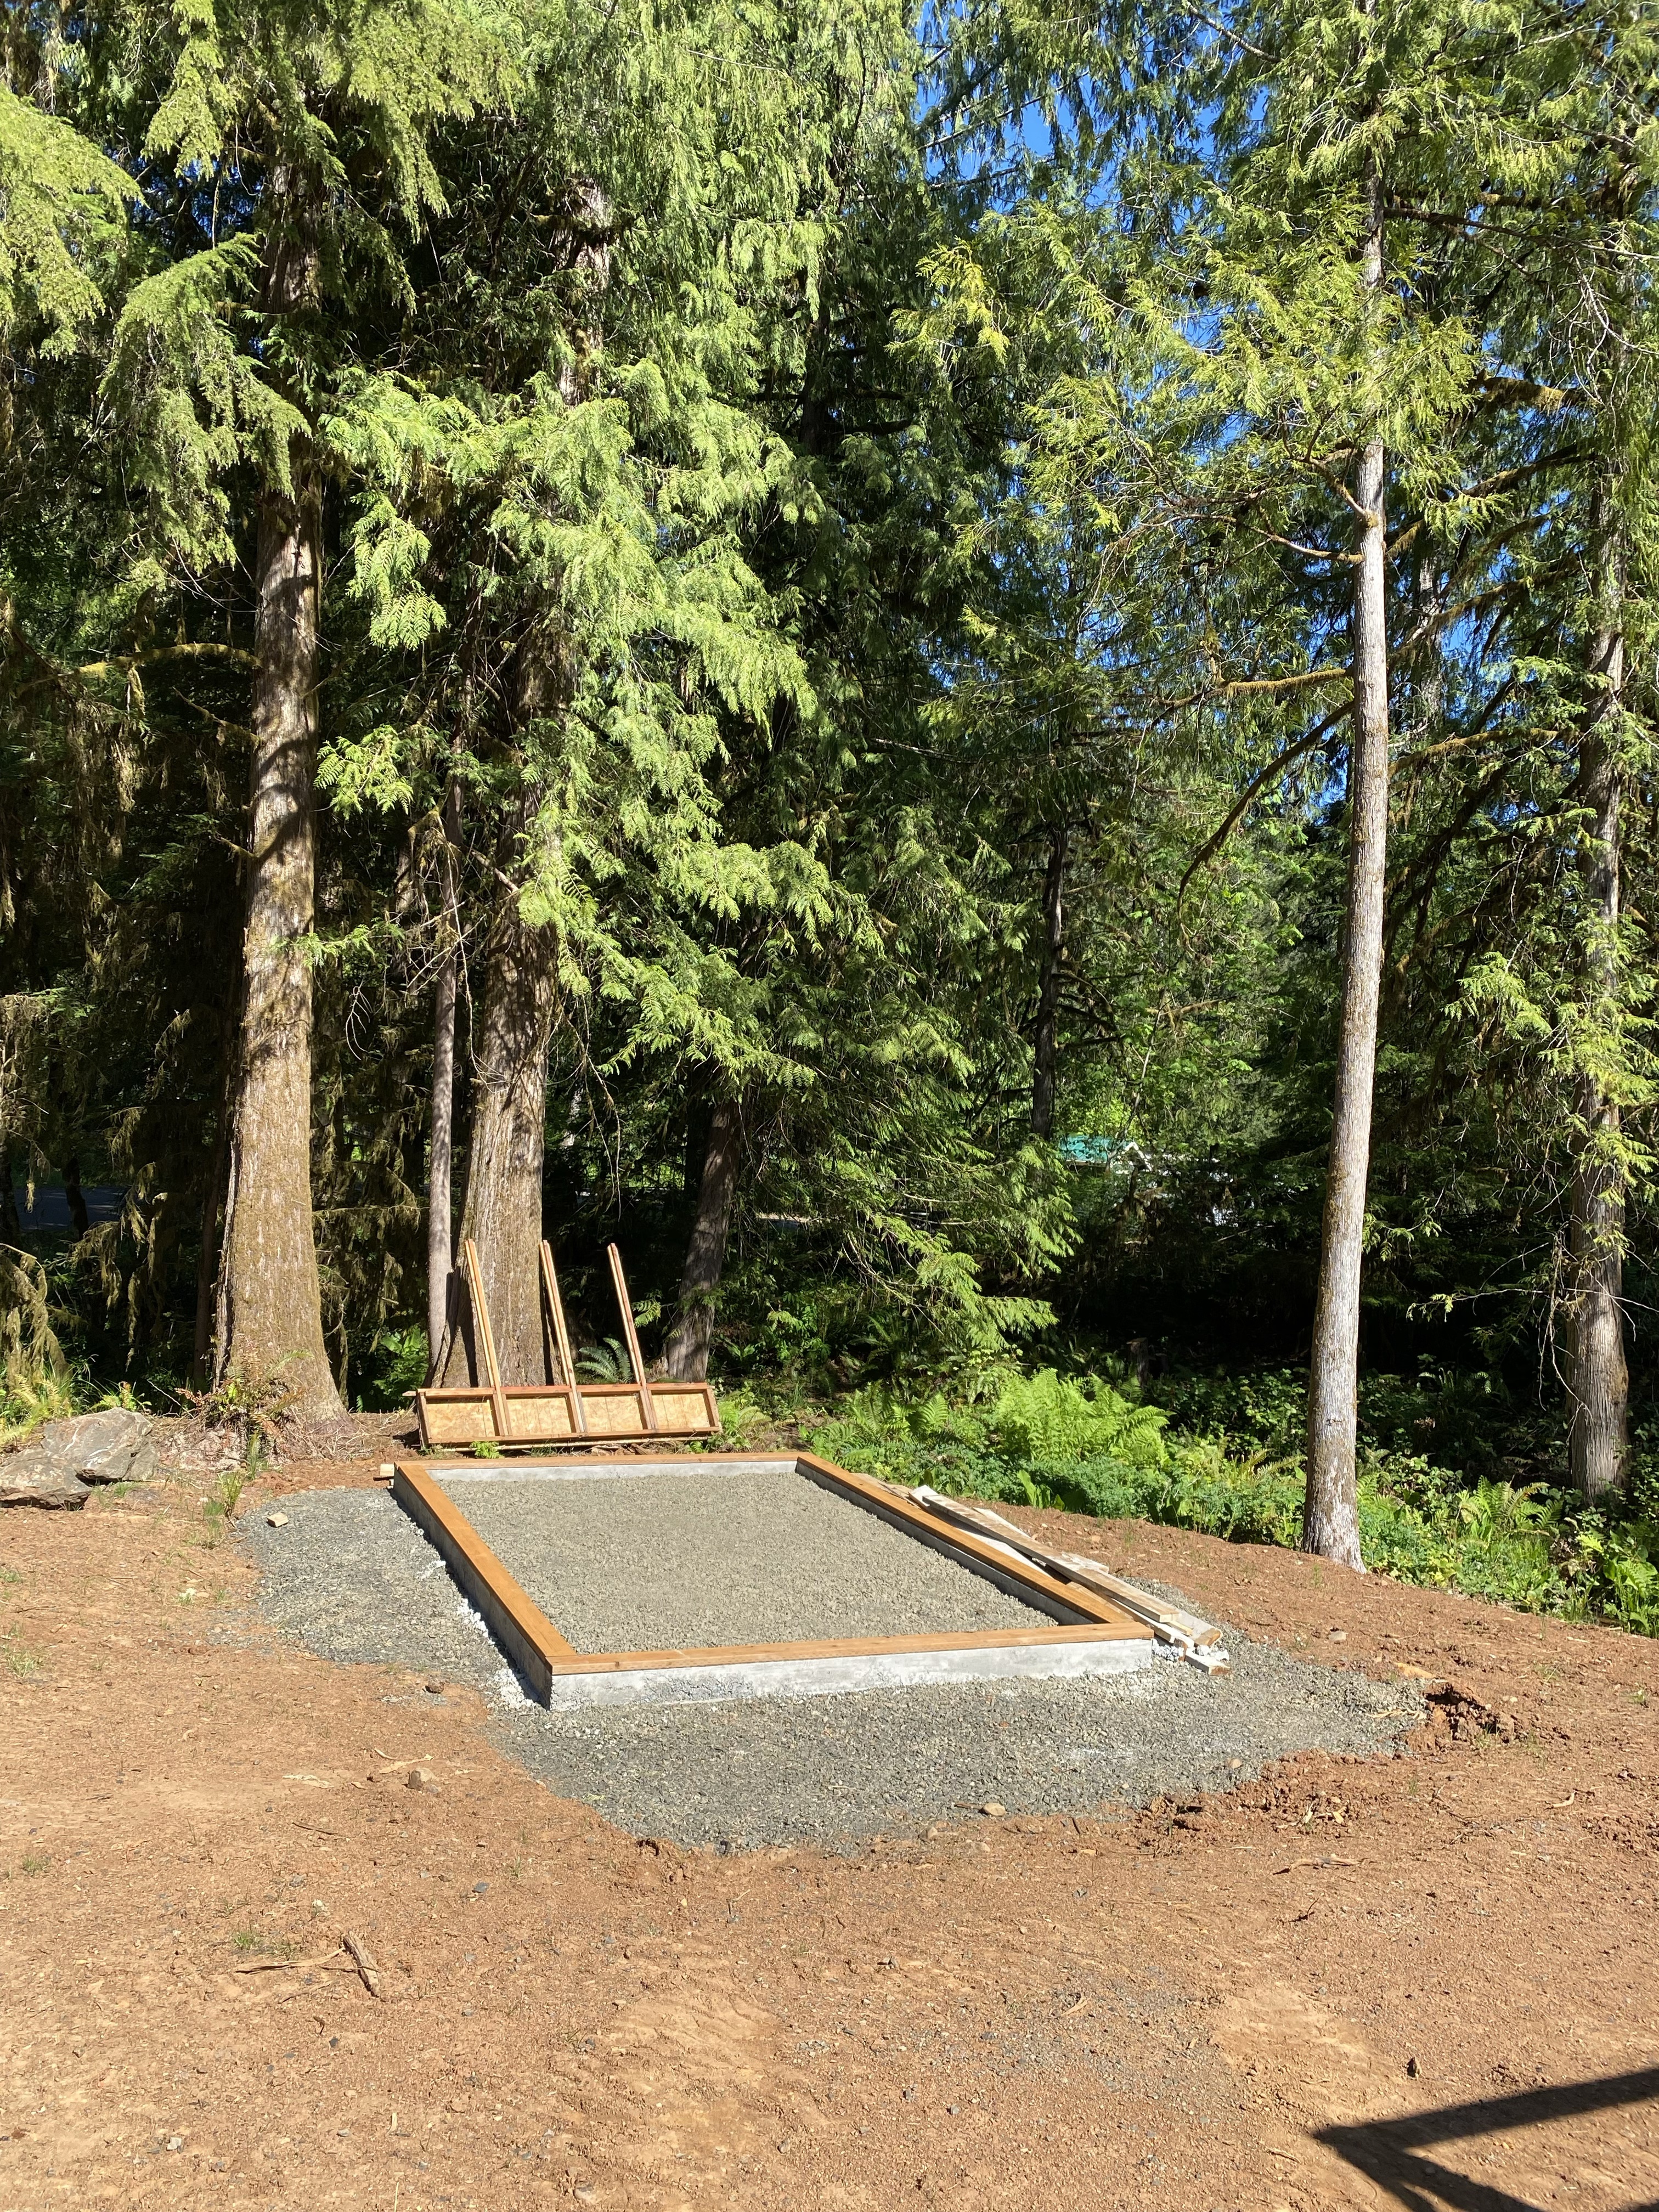
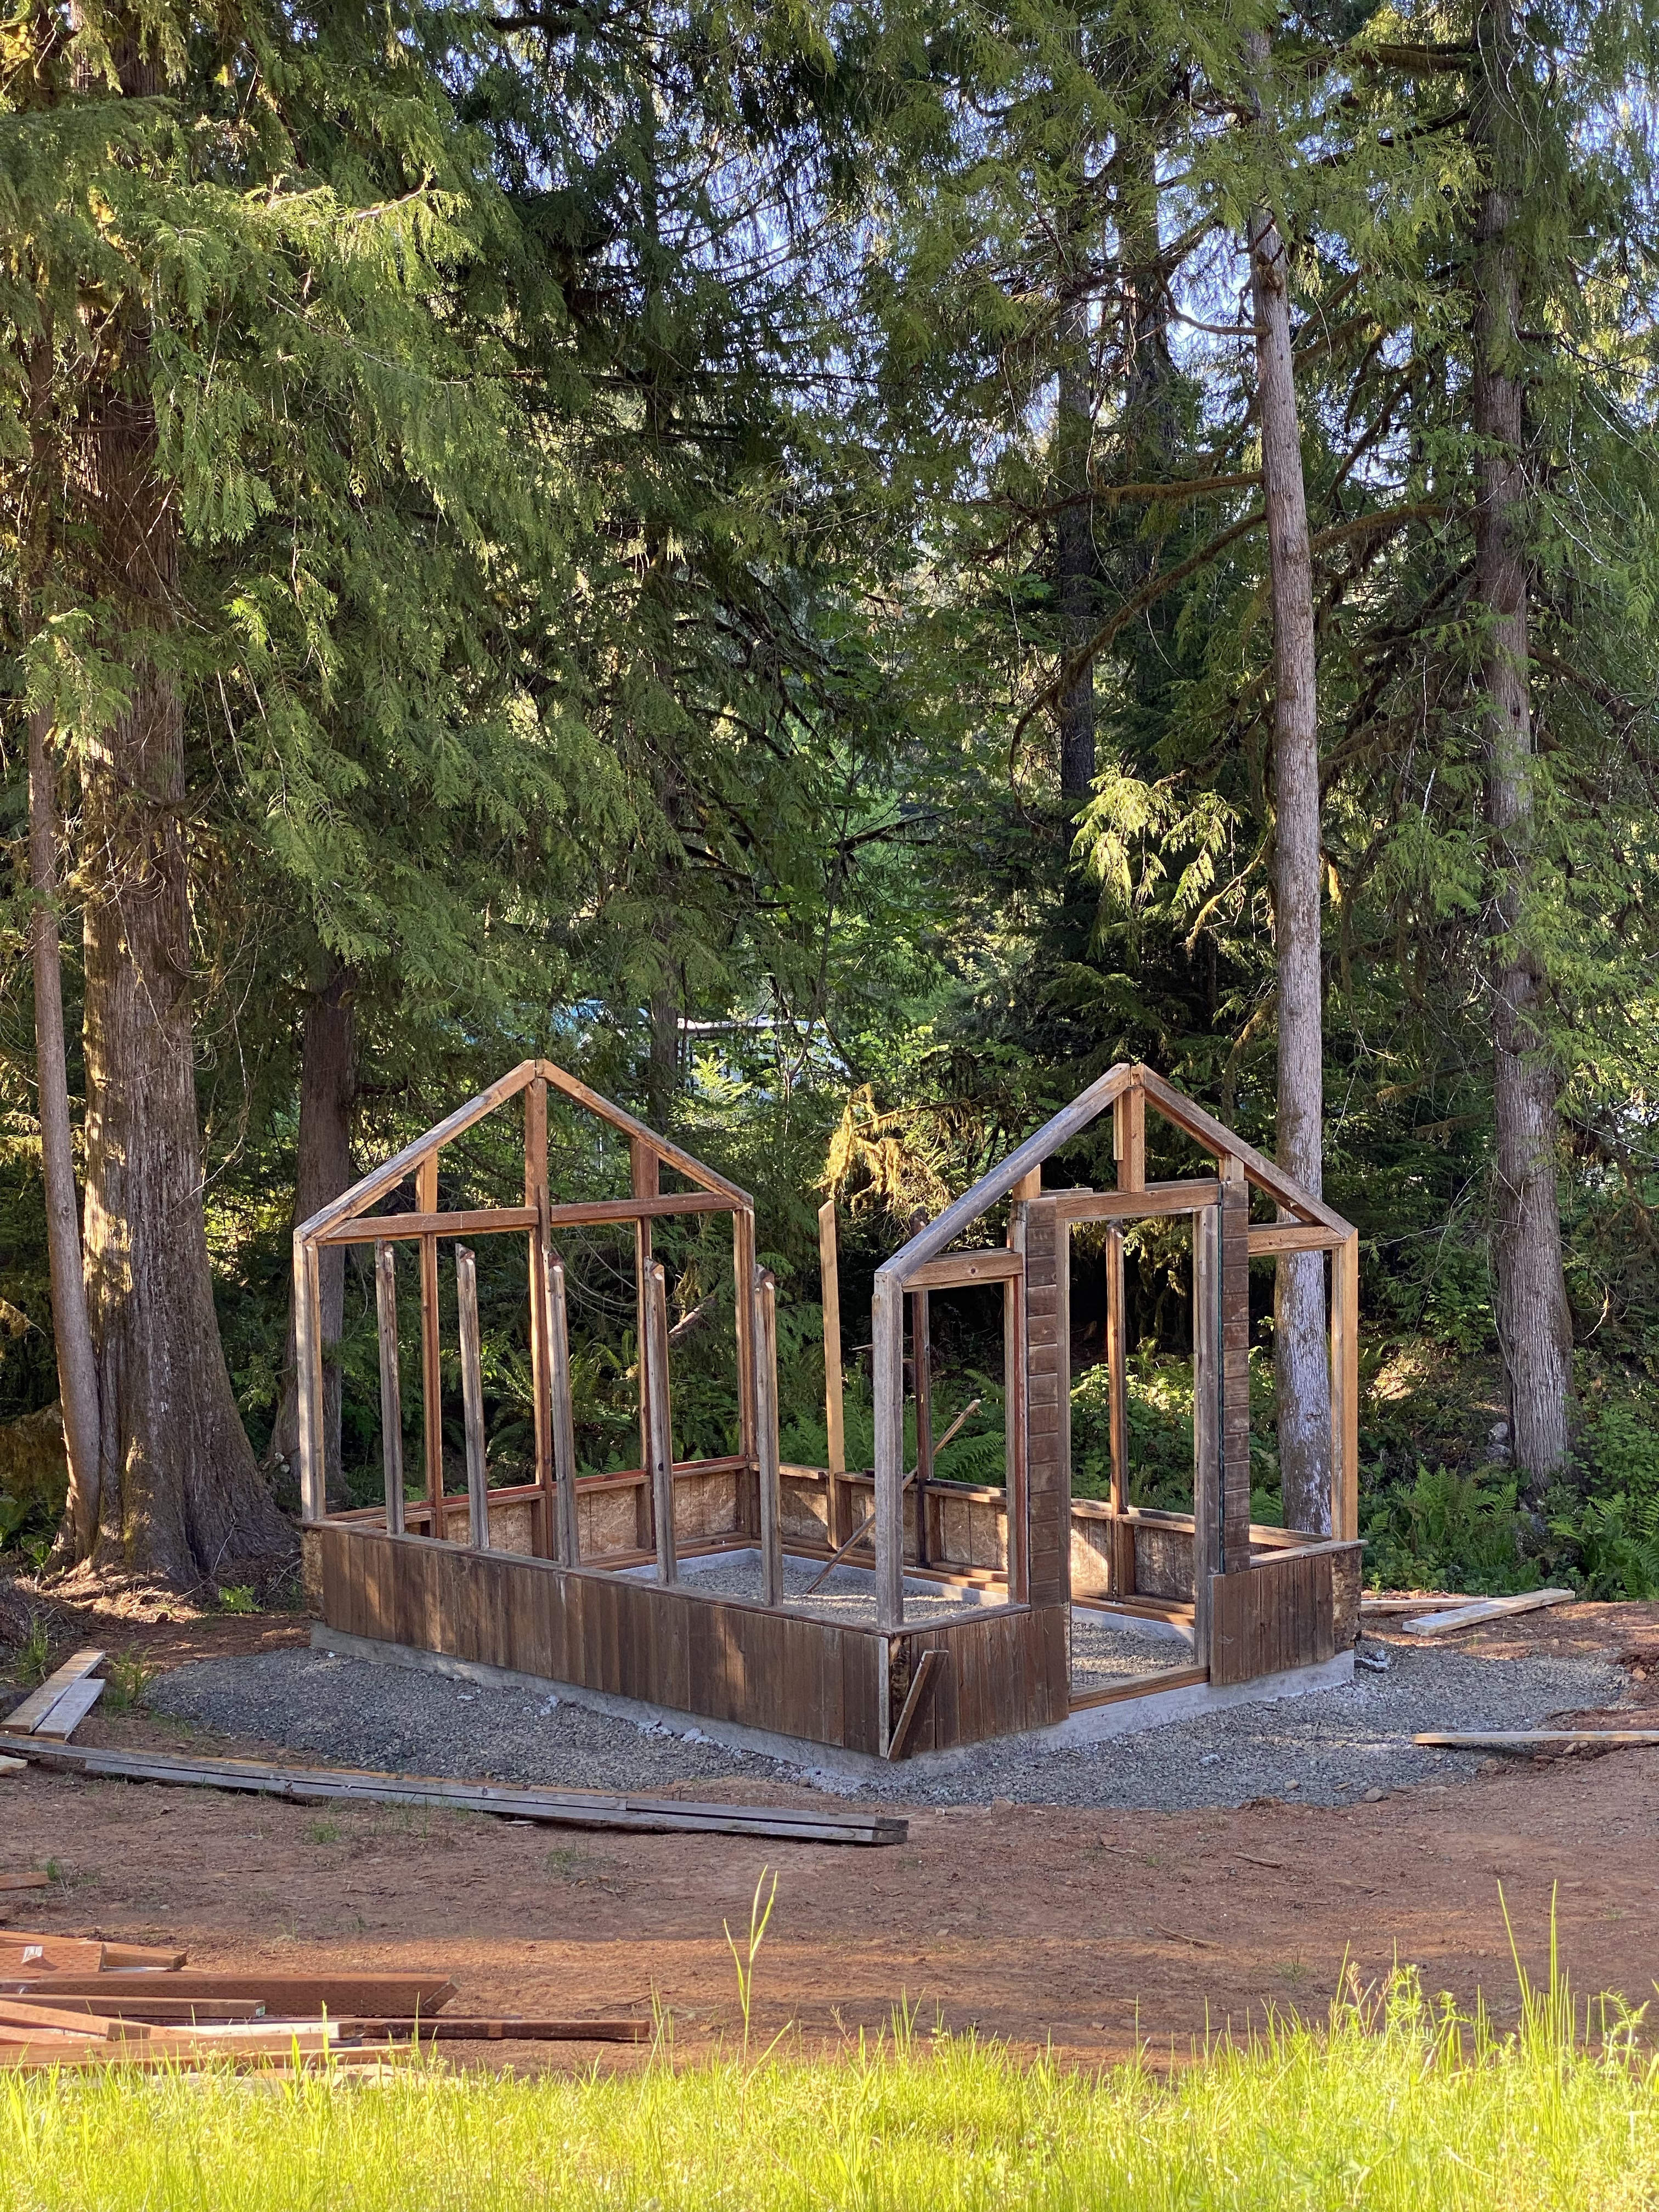
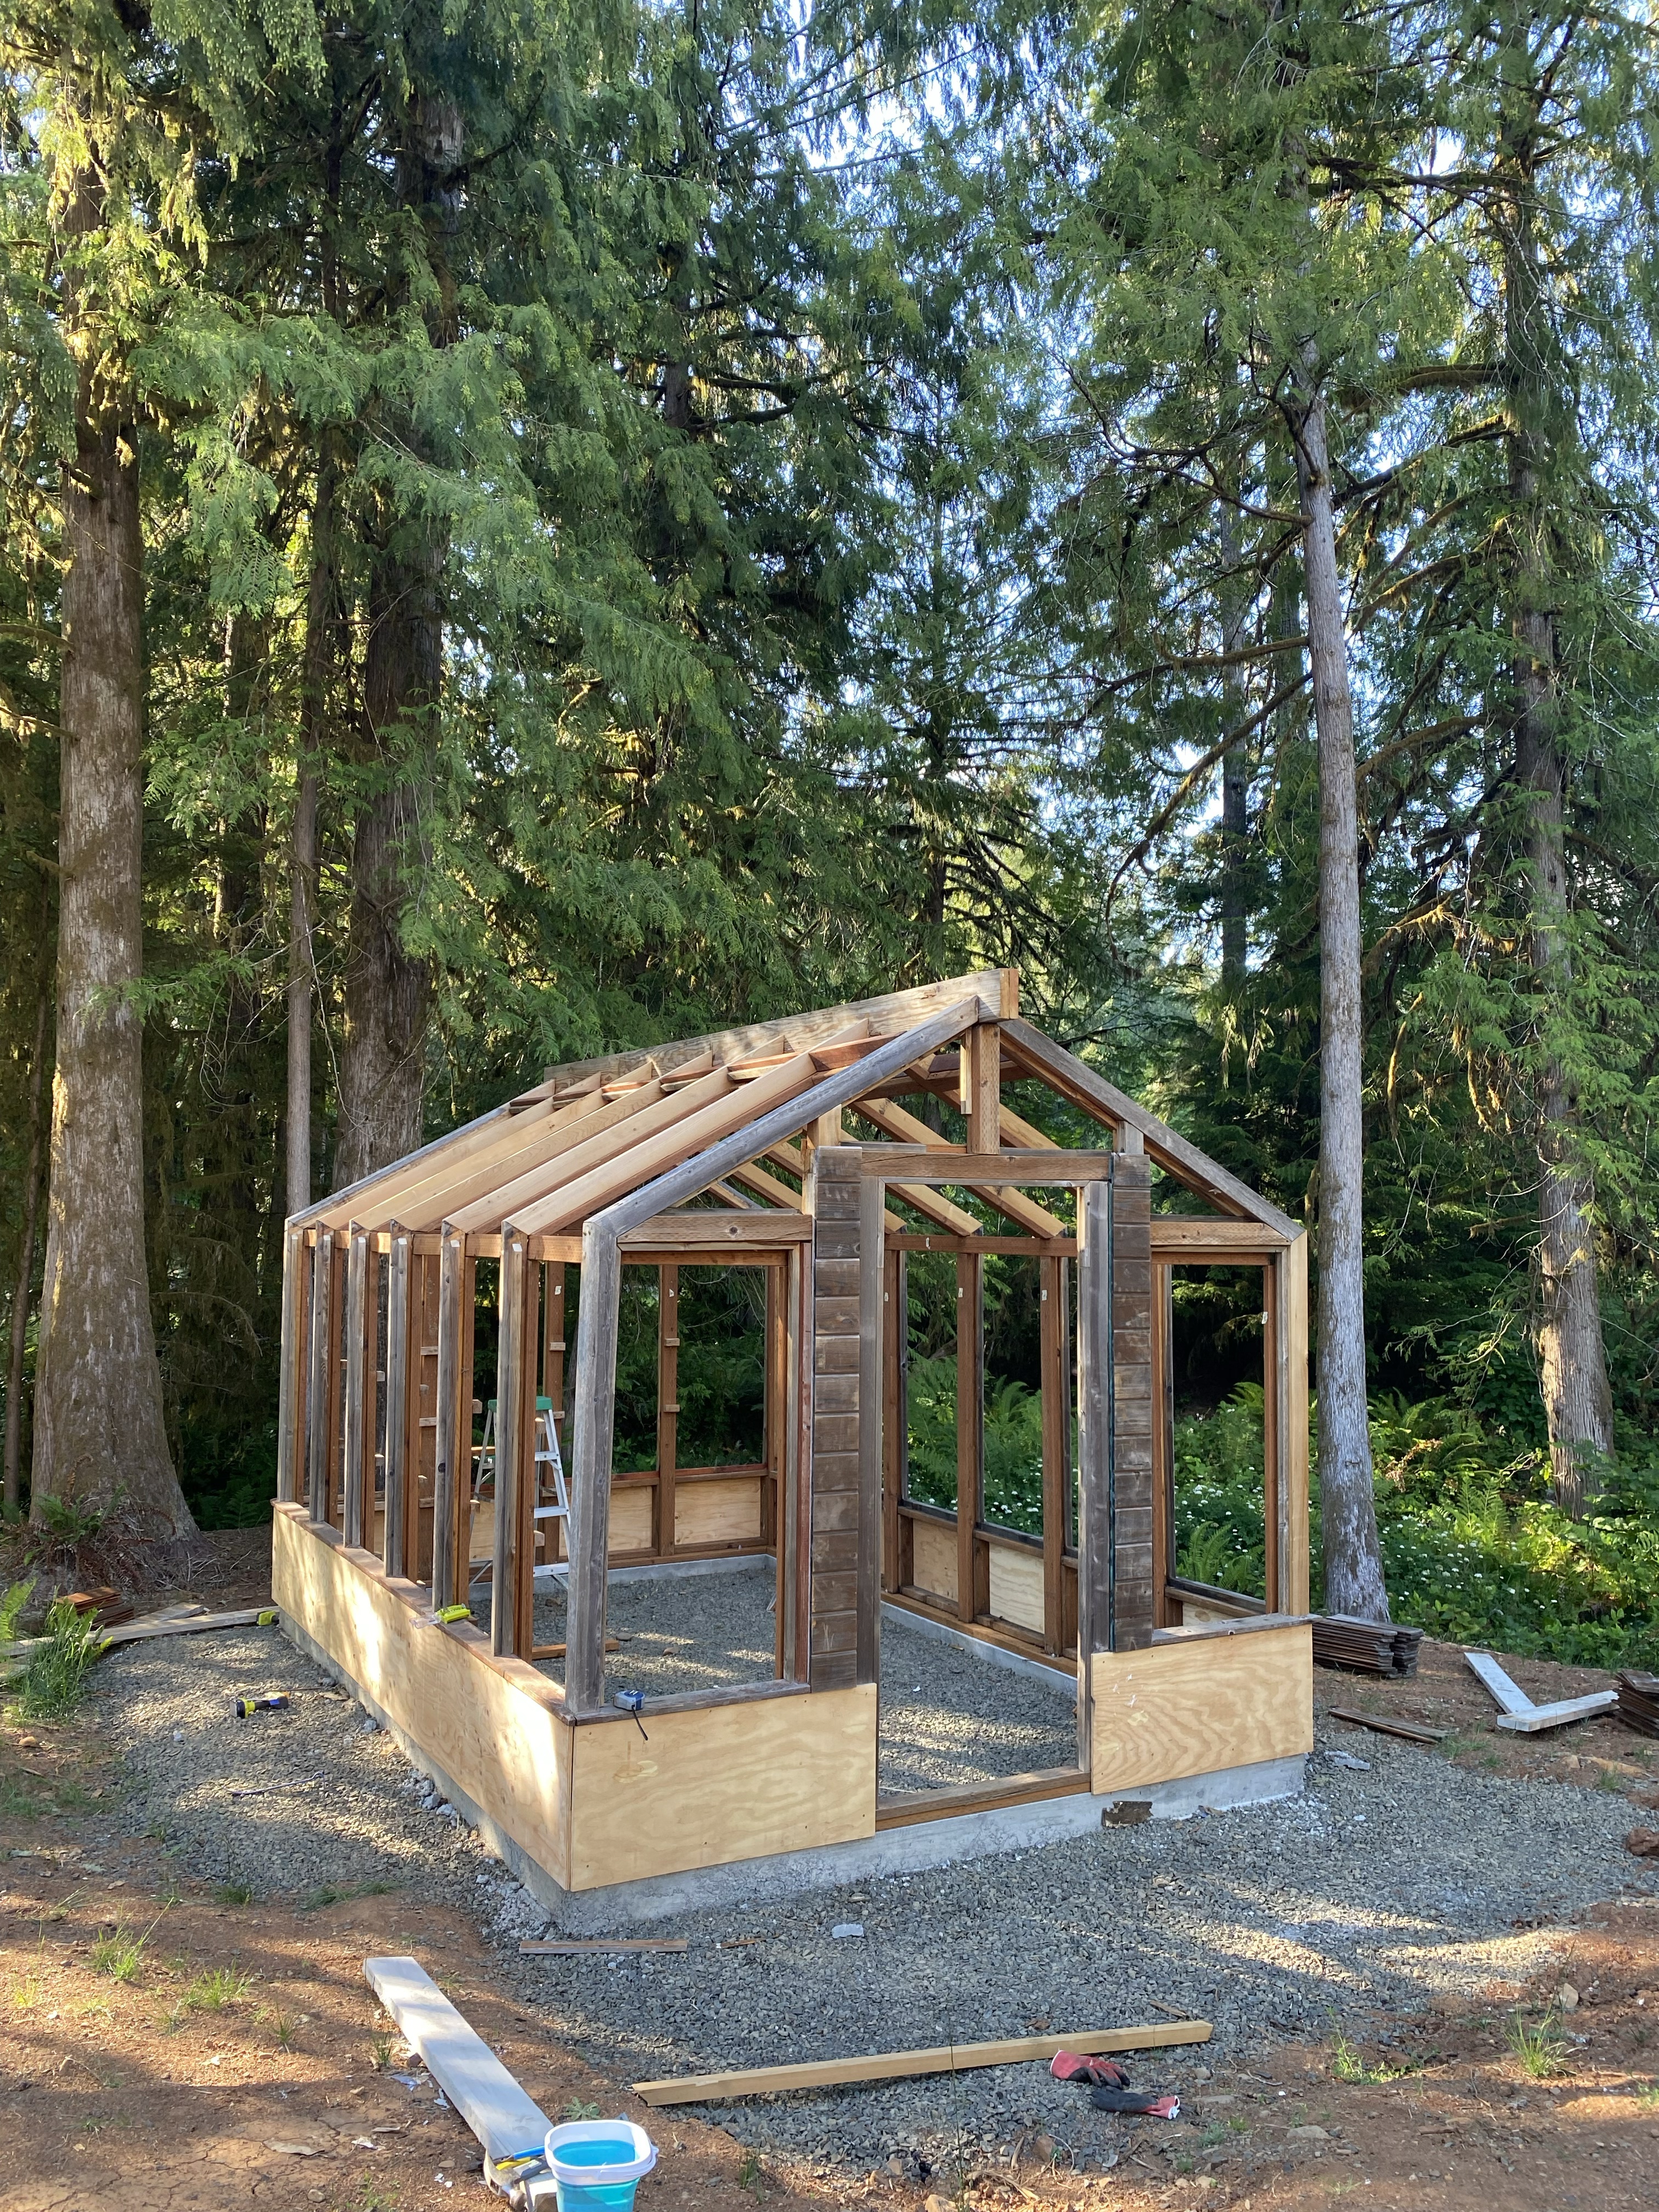
MAY 2024: Mud sills are installed on the foundation. It’s cute to think that at this point, I still thought we would have this project done during the spring. Cute. We started putting up the walls, this was a very exciting step! We also got the giant center beam installed (big thank you to Bryan in the extra short shorts) and the roof rafters set. We did have to replace a good number of the rafters, luckily we still have lumber from the cedar we milled for the garden (read all about the garden here).
JUNE 2024: Replaced plywood on the walls, and installed/replaced siding on the exterior.
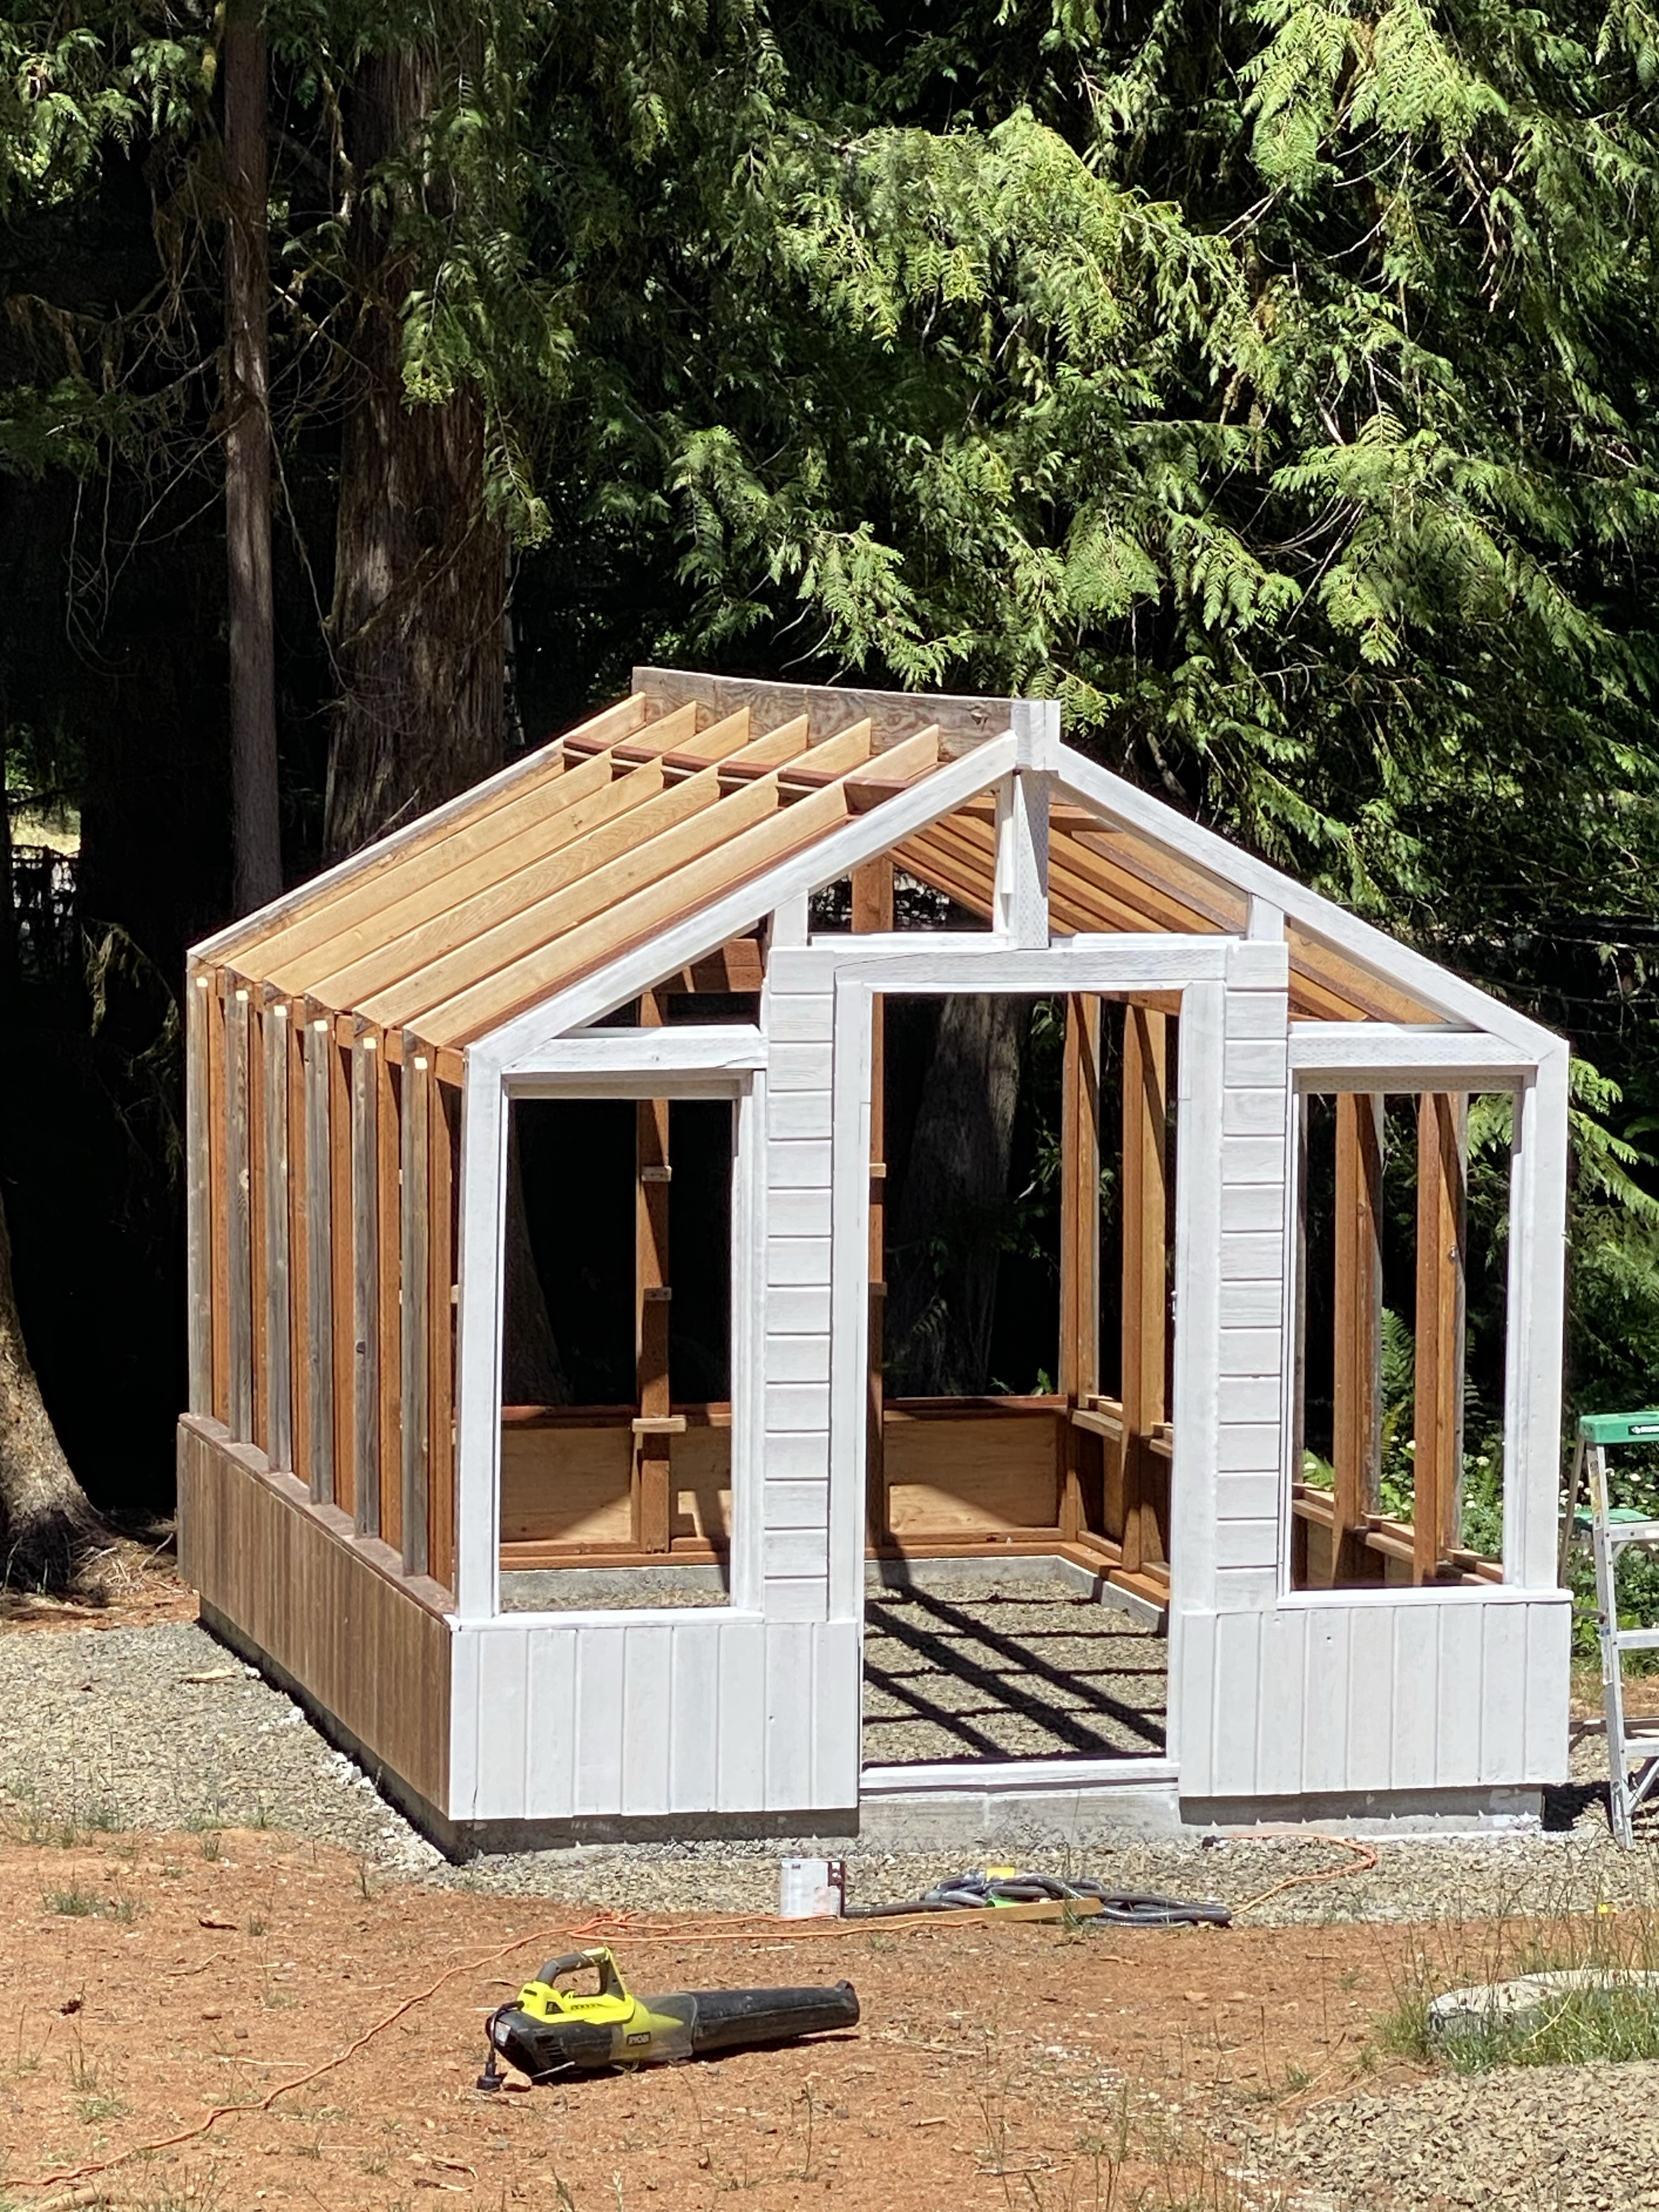
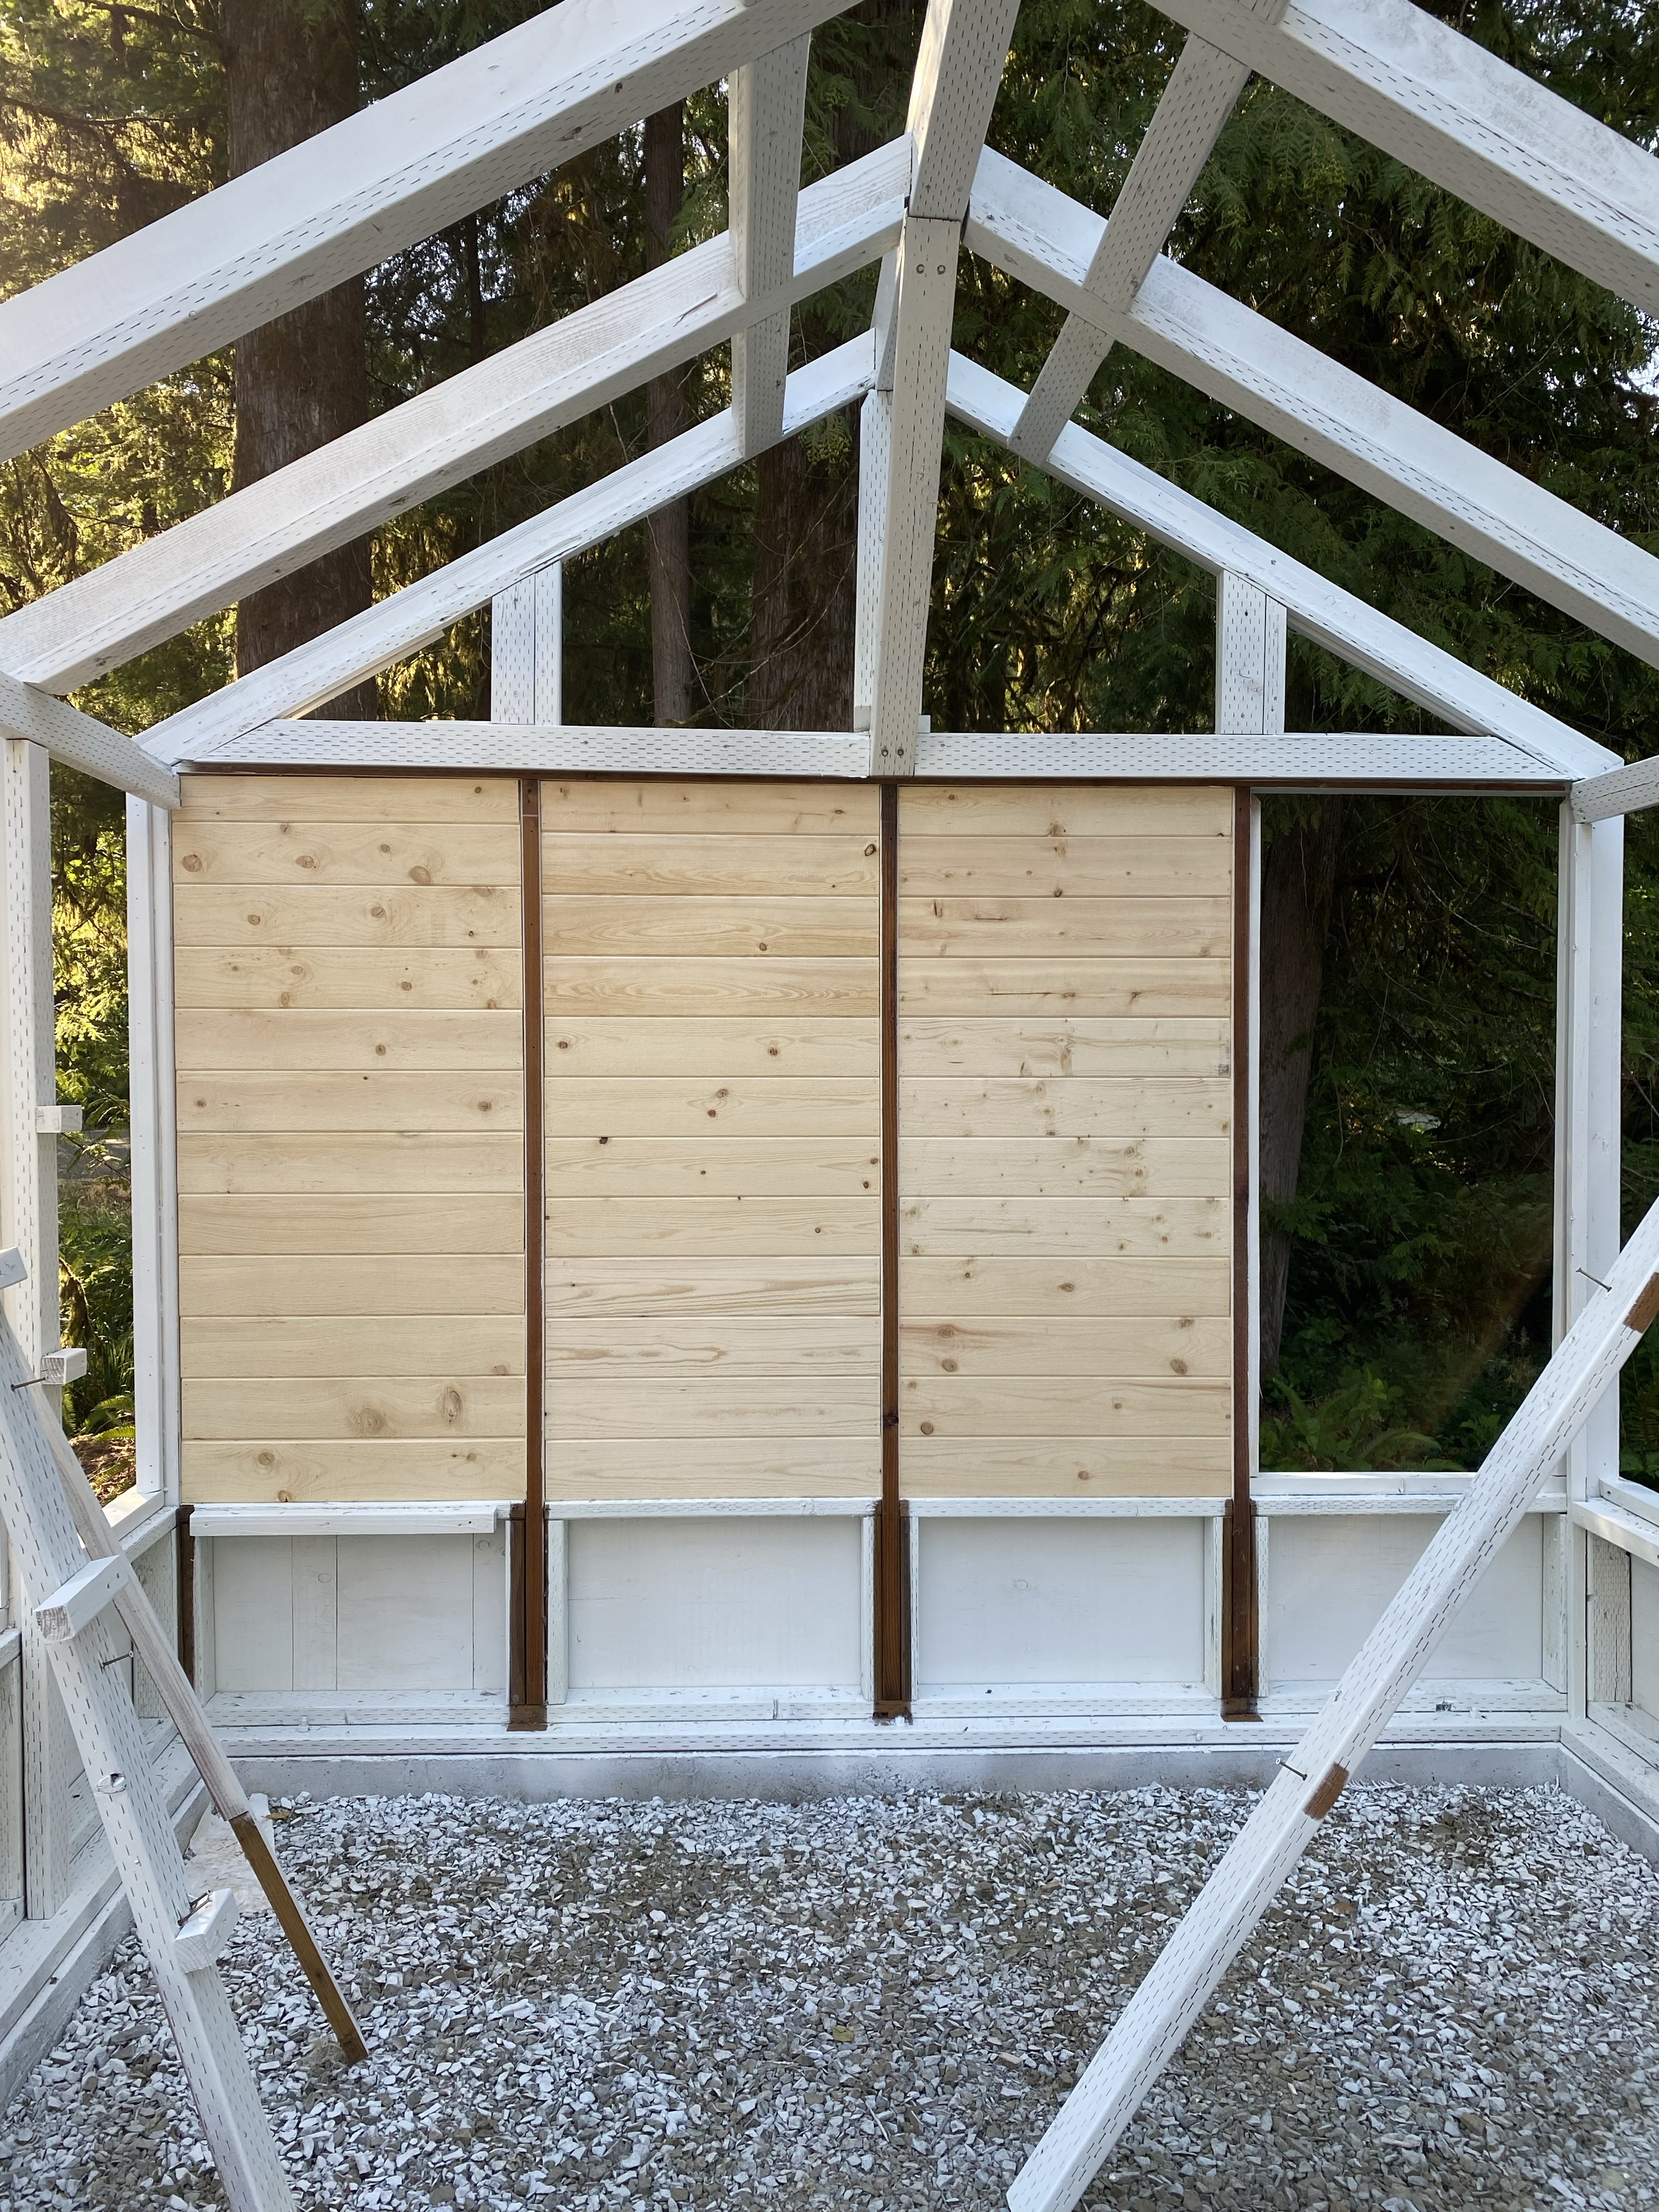
JULY 2024: Painting begins. Oh, my, goodness. So much paint. I decided to spray it, which in retrospect probably wasn’t the best plan because the greenhouse doesn’t really have walls. The kids were not sure why the greenhouse would be white, it’s called a greenhouse. But I assured them it was the right call. Classic greenhouse look, I promise. I used SW Pure White, the same color on the exterior of our house. We also installed siding on the back of the greenhouse, for two reasons. Reason one, several of the glass panes did get damaged during transport thus we were short. Reason two, the back side of the greenhouse faces a wooded area and wouldn’t get sun anyway. Win/win.

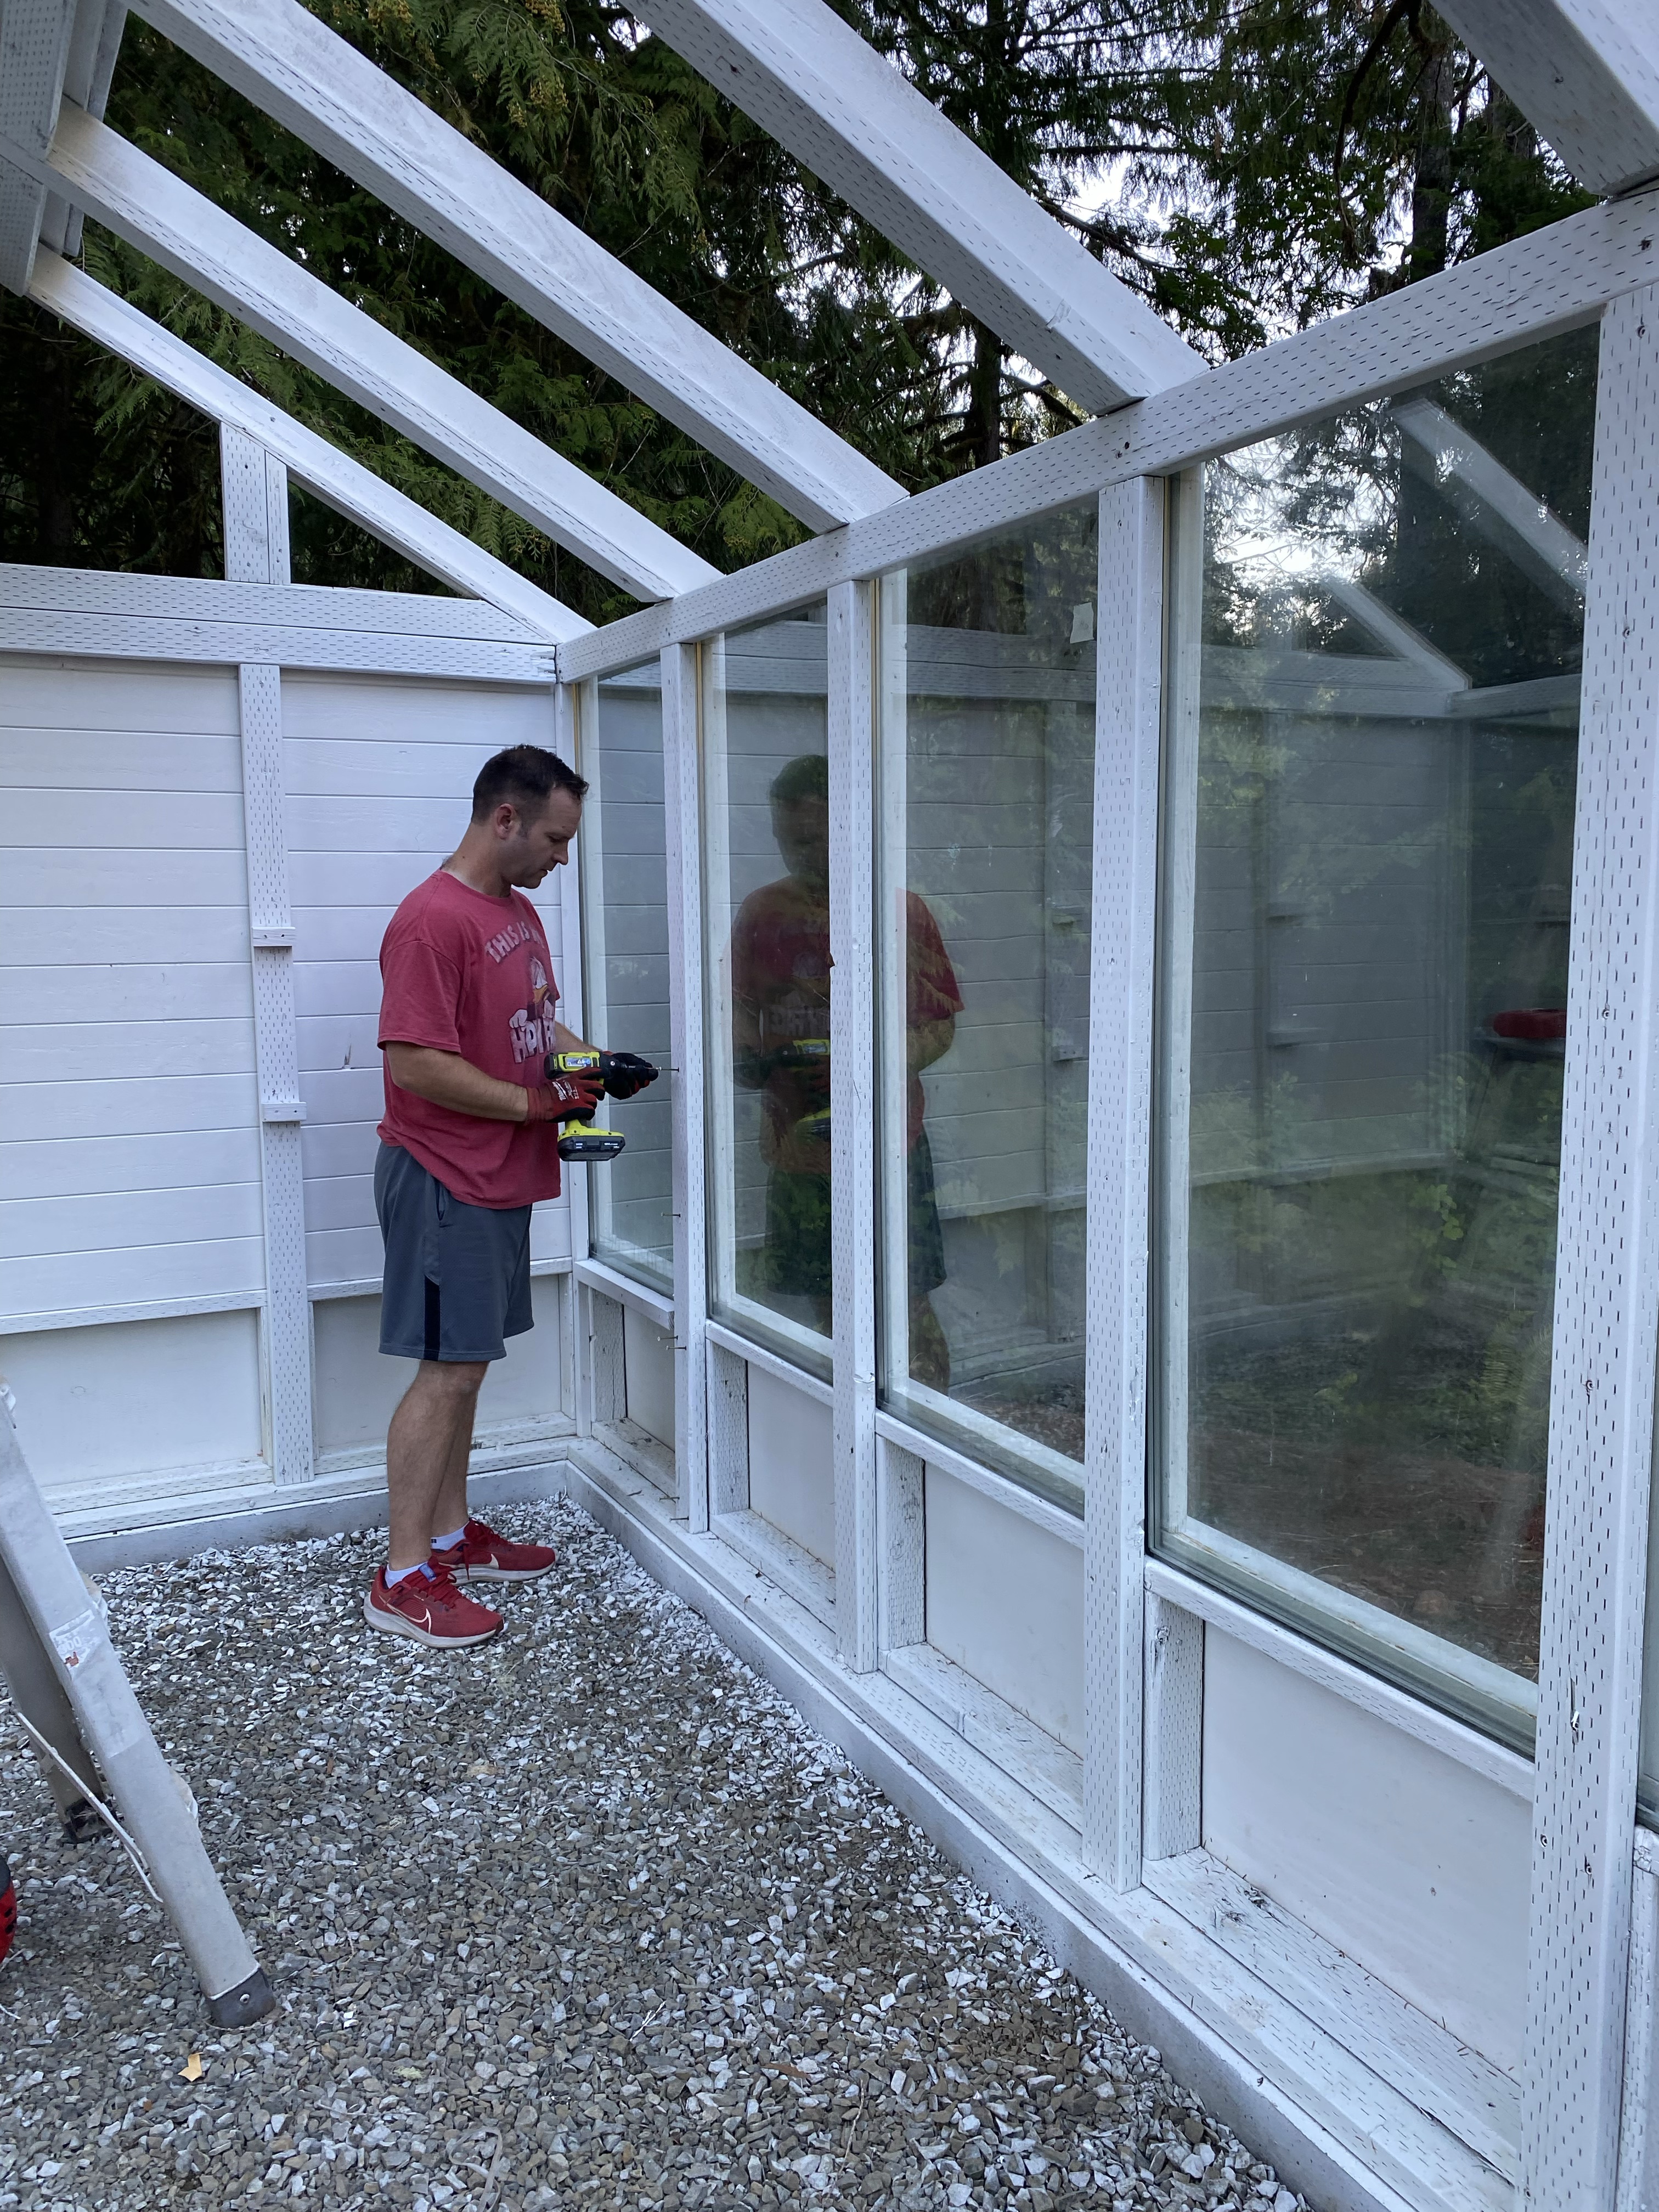
AUGUST 2024: Finished painting. Finally. Added roofing pieces. Started installing the glass panels. I’m not going to lie, we put this off as much as possible. They are tremendously heavy and I think Ryan and I were both very worried about breaking any more panes. But we worked on it as we could — prep, install, and secure.
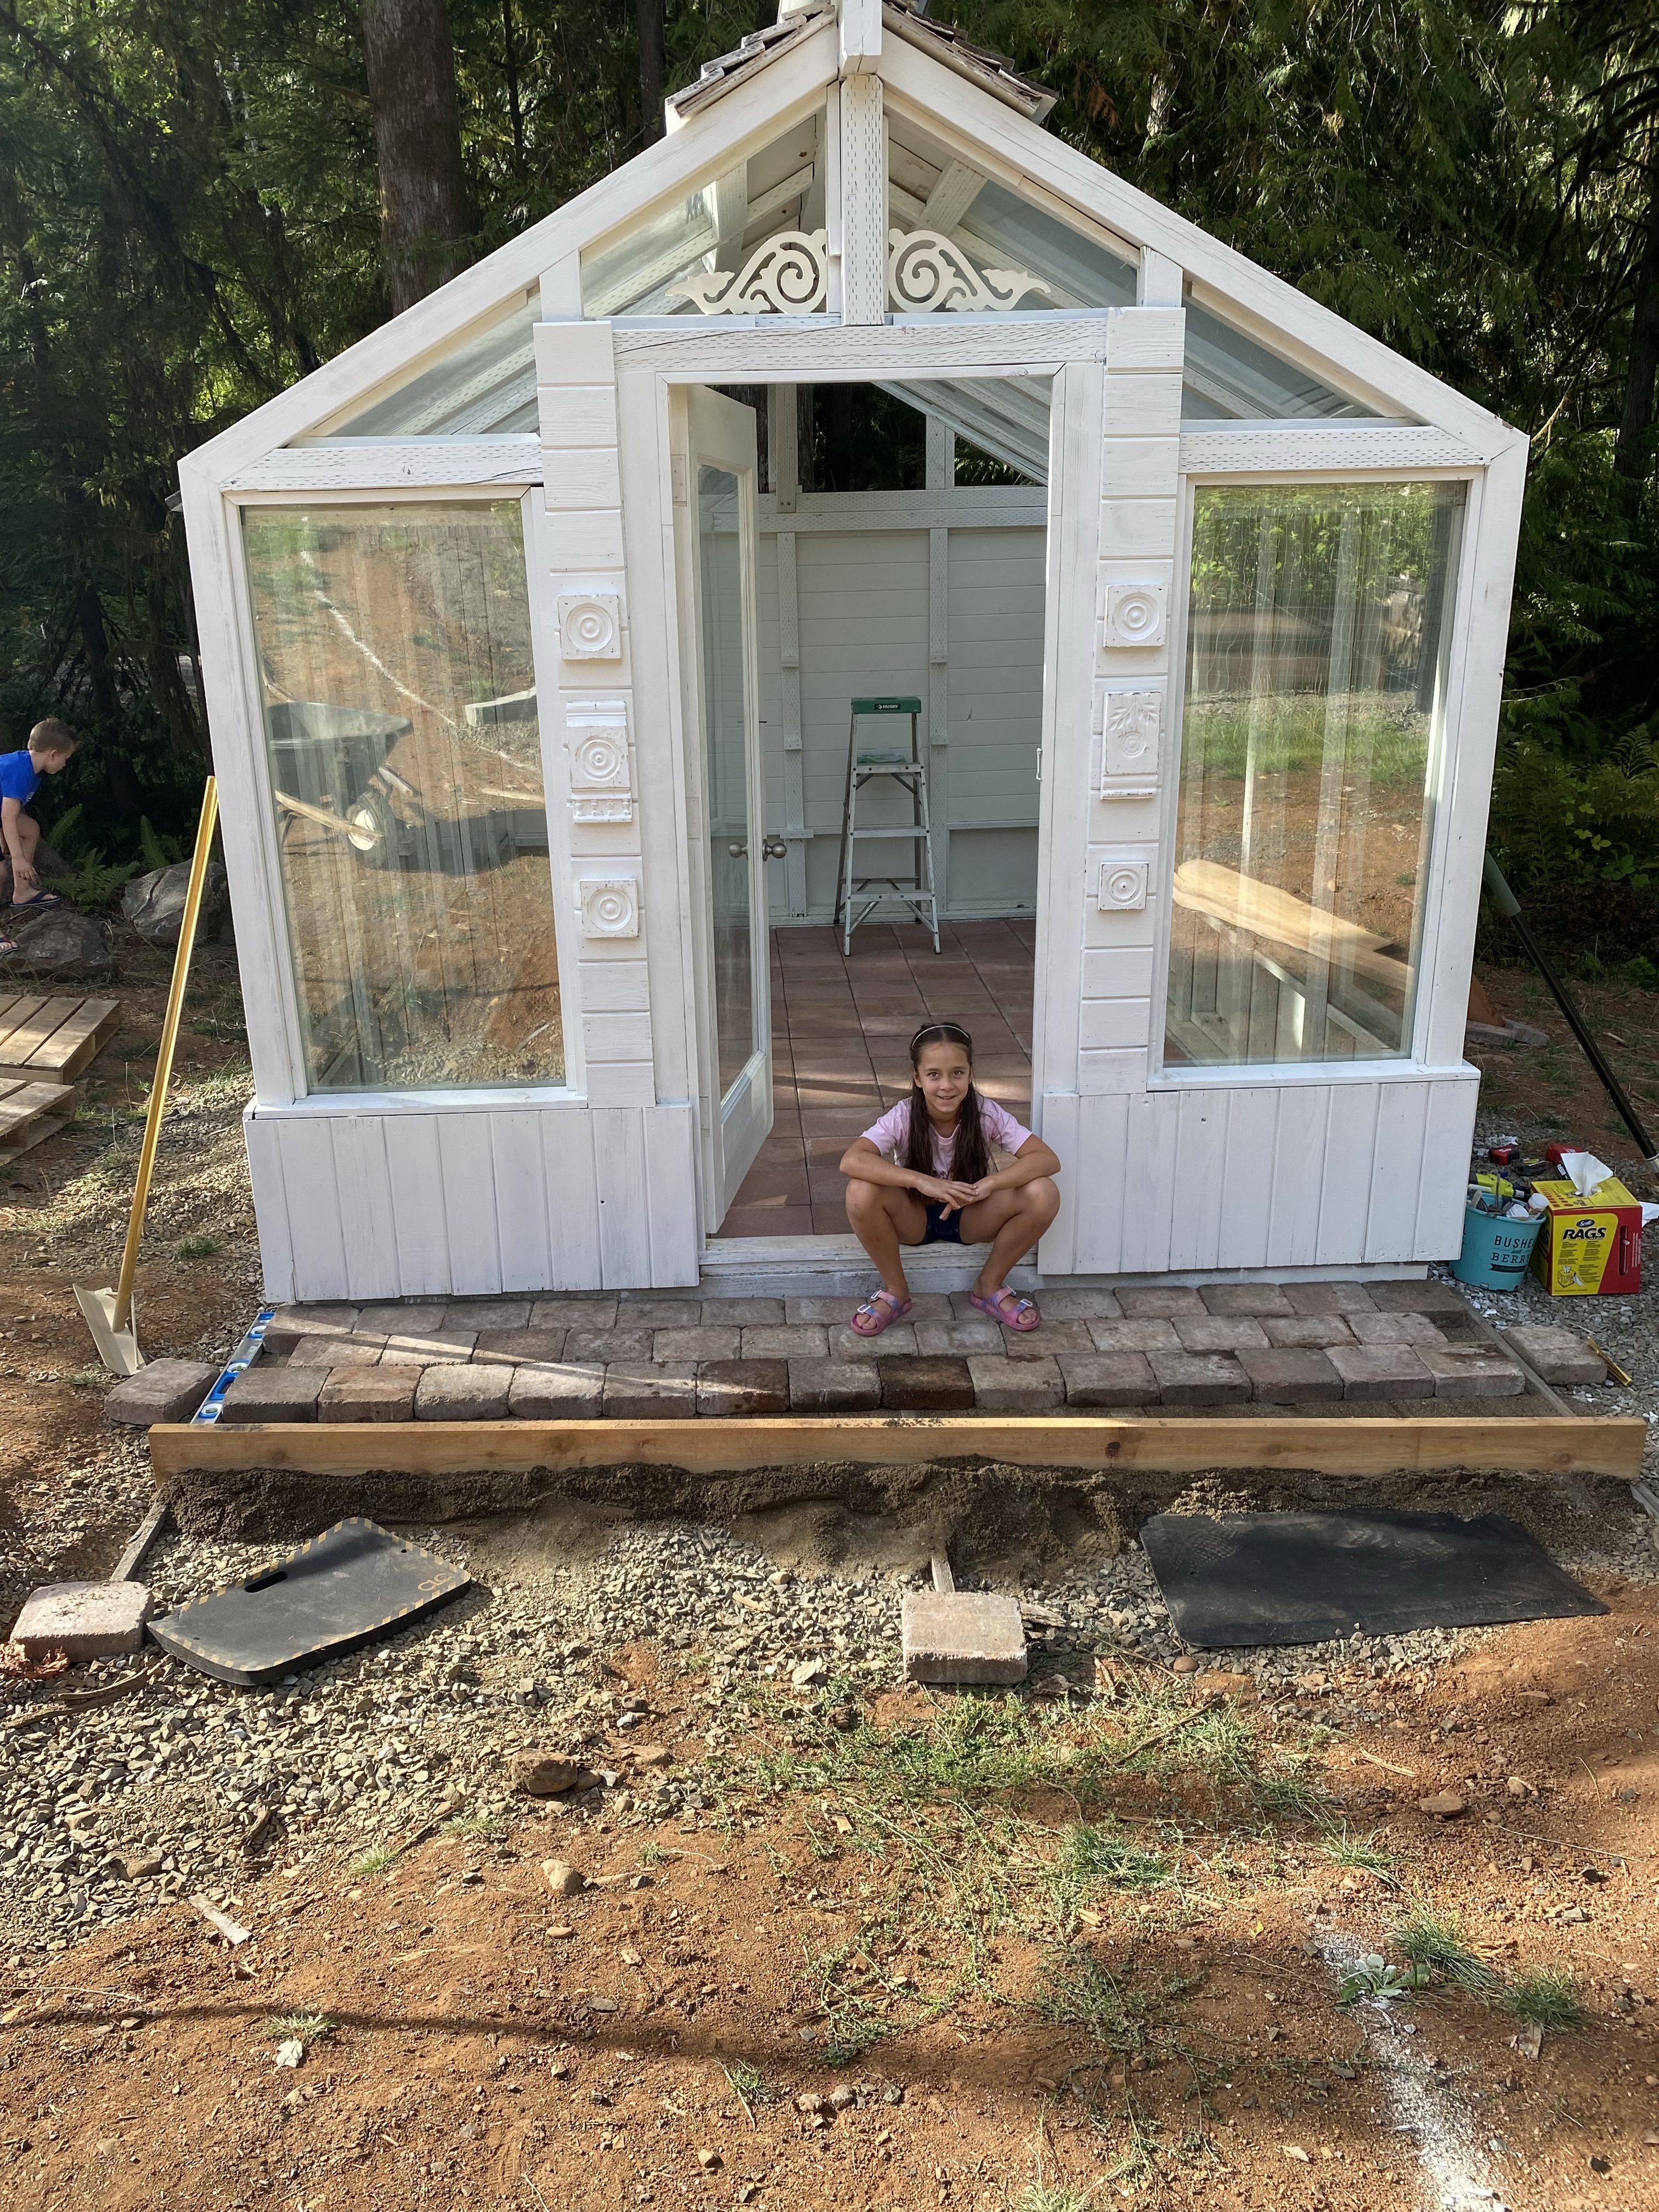
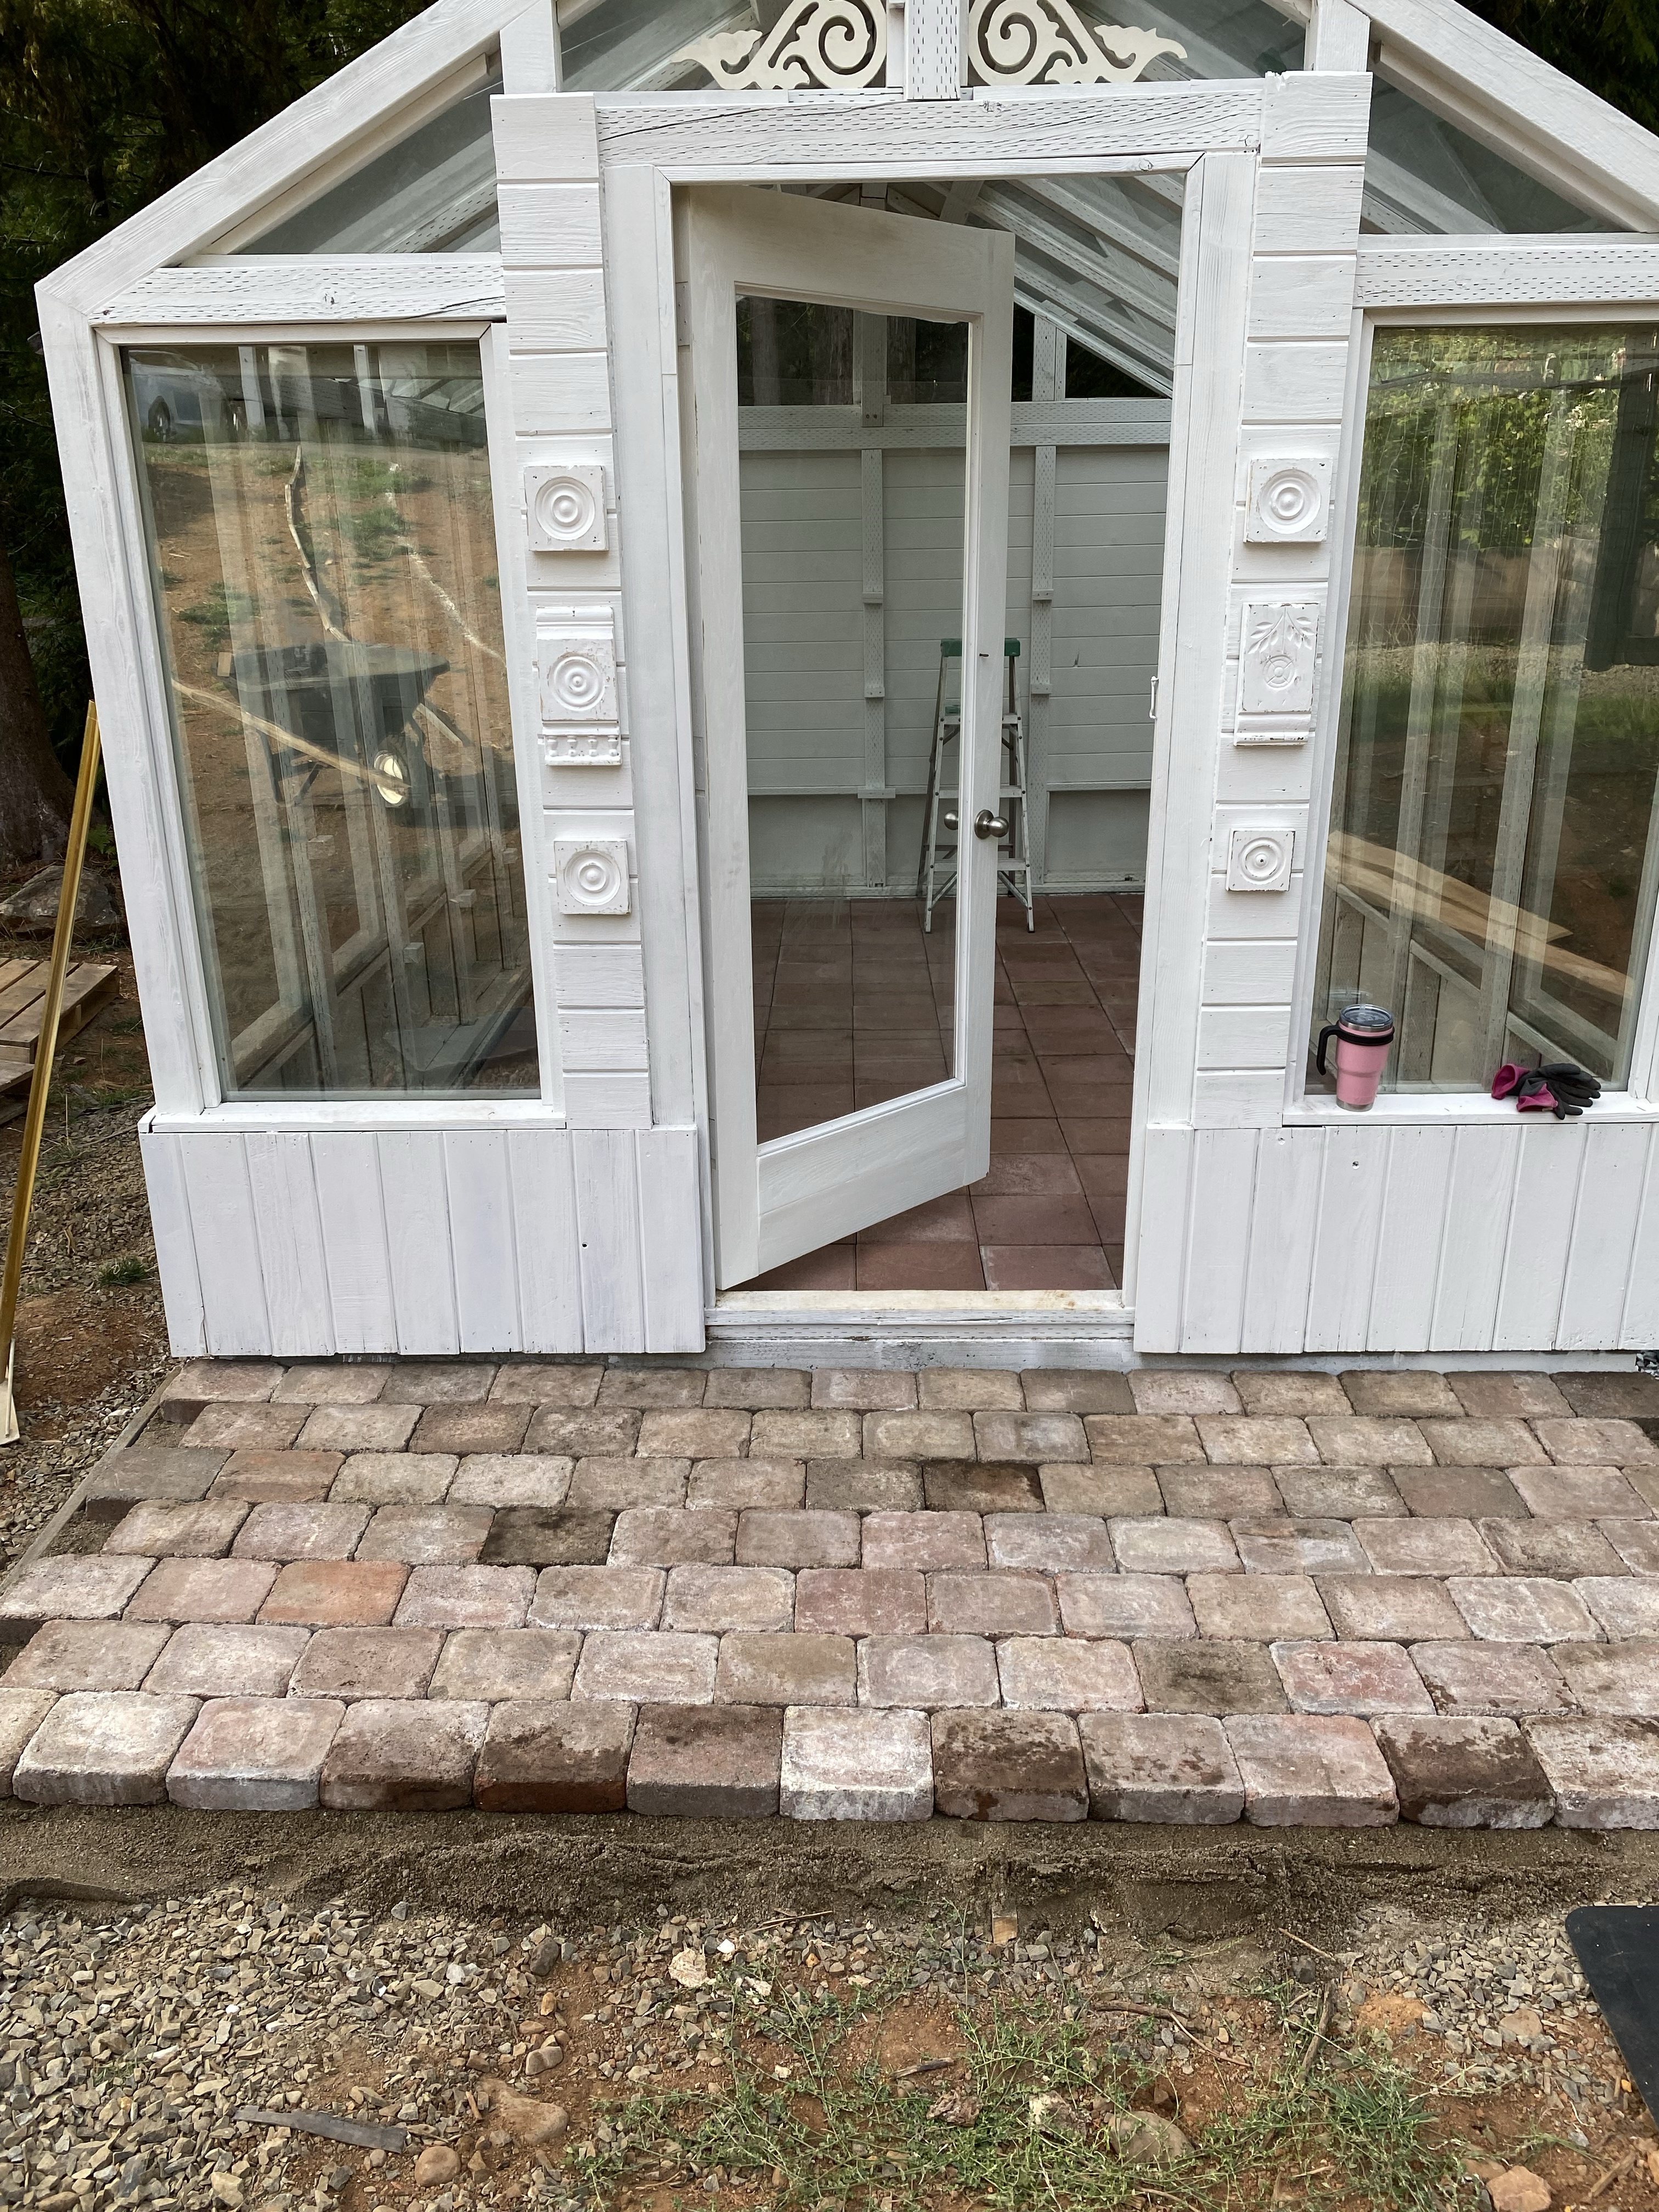
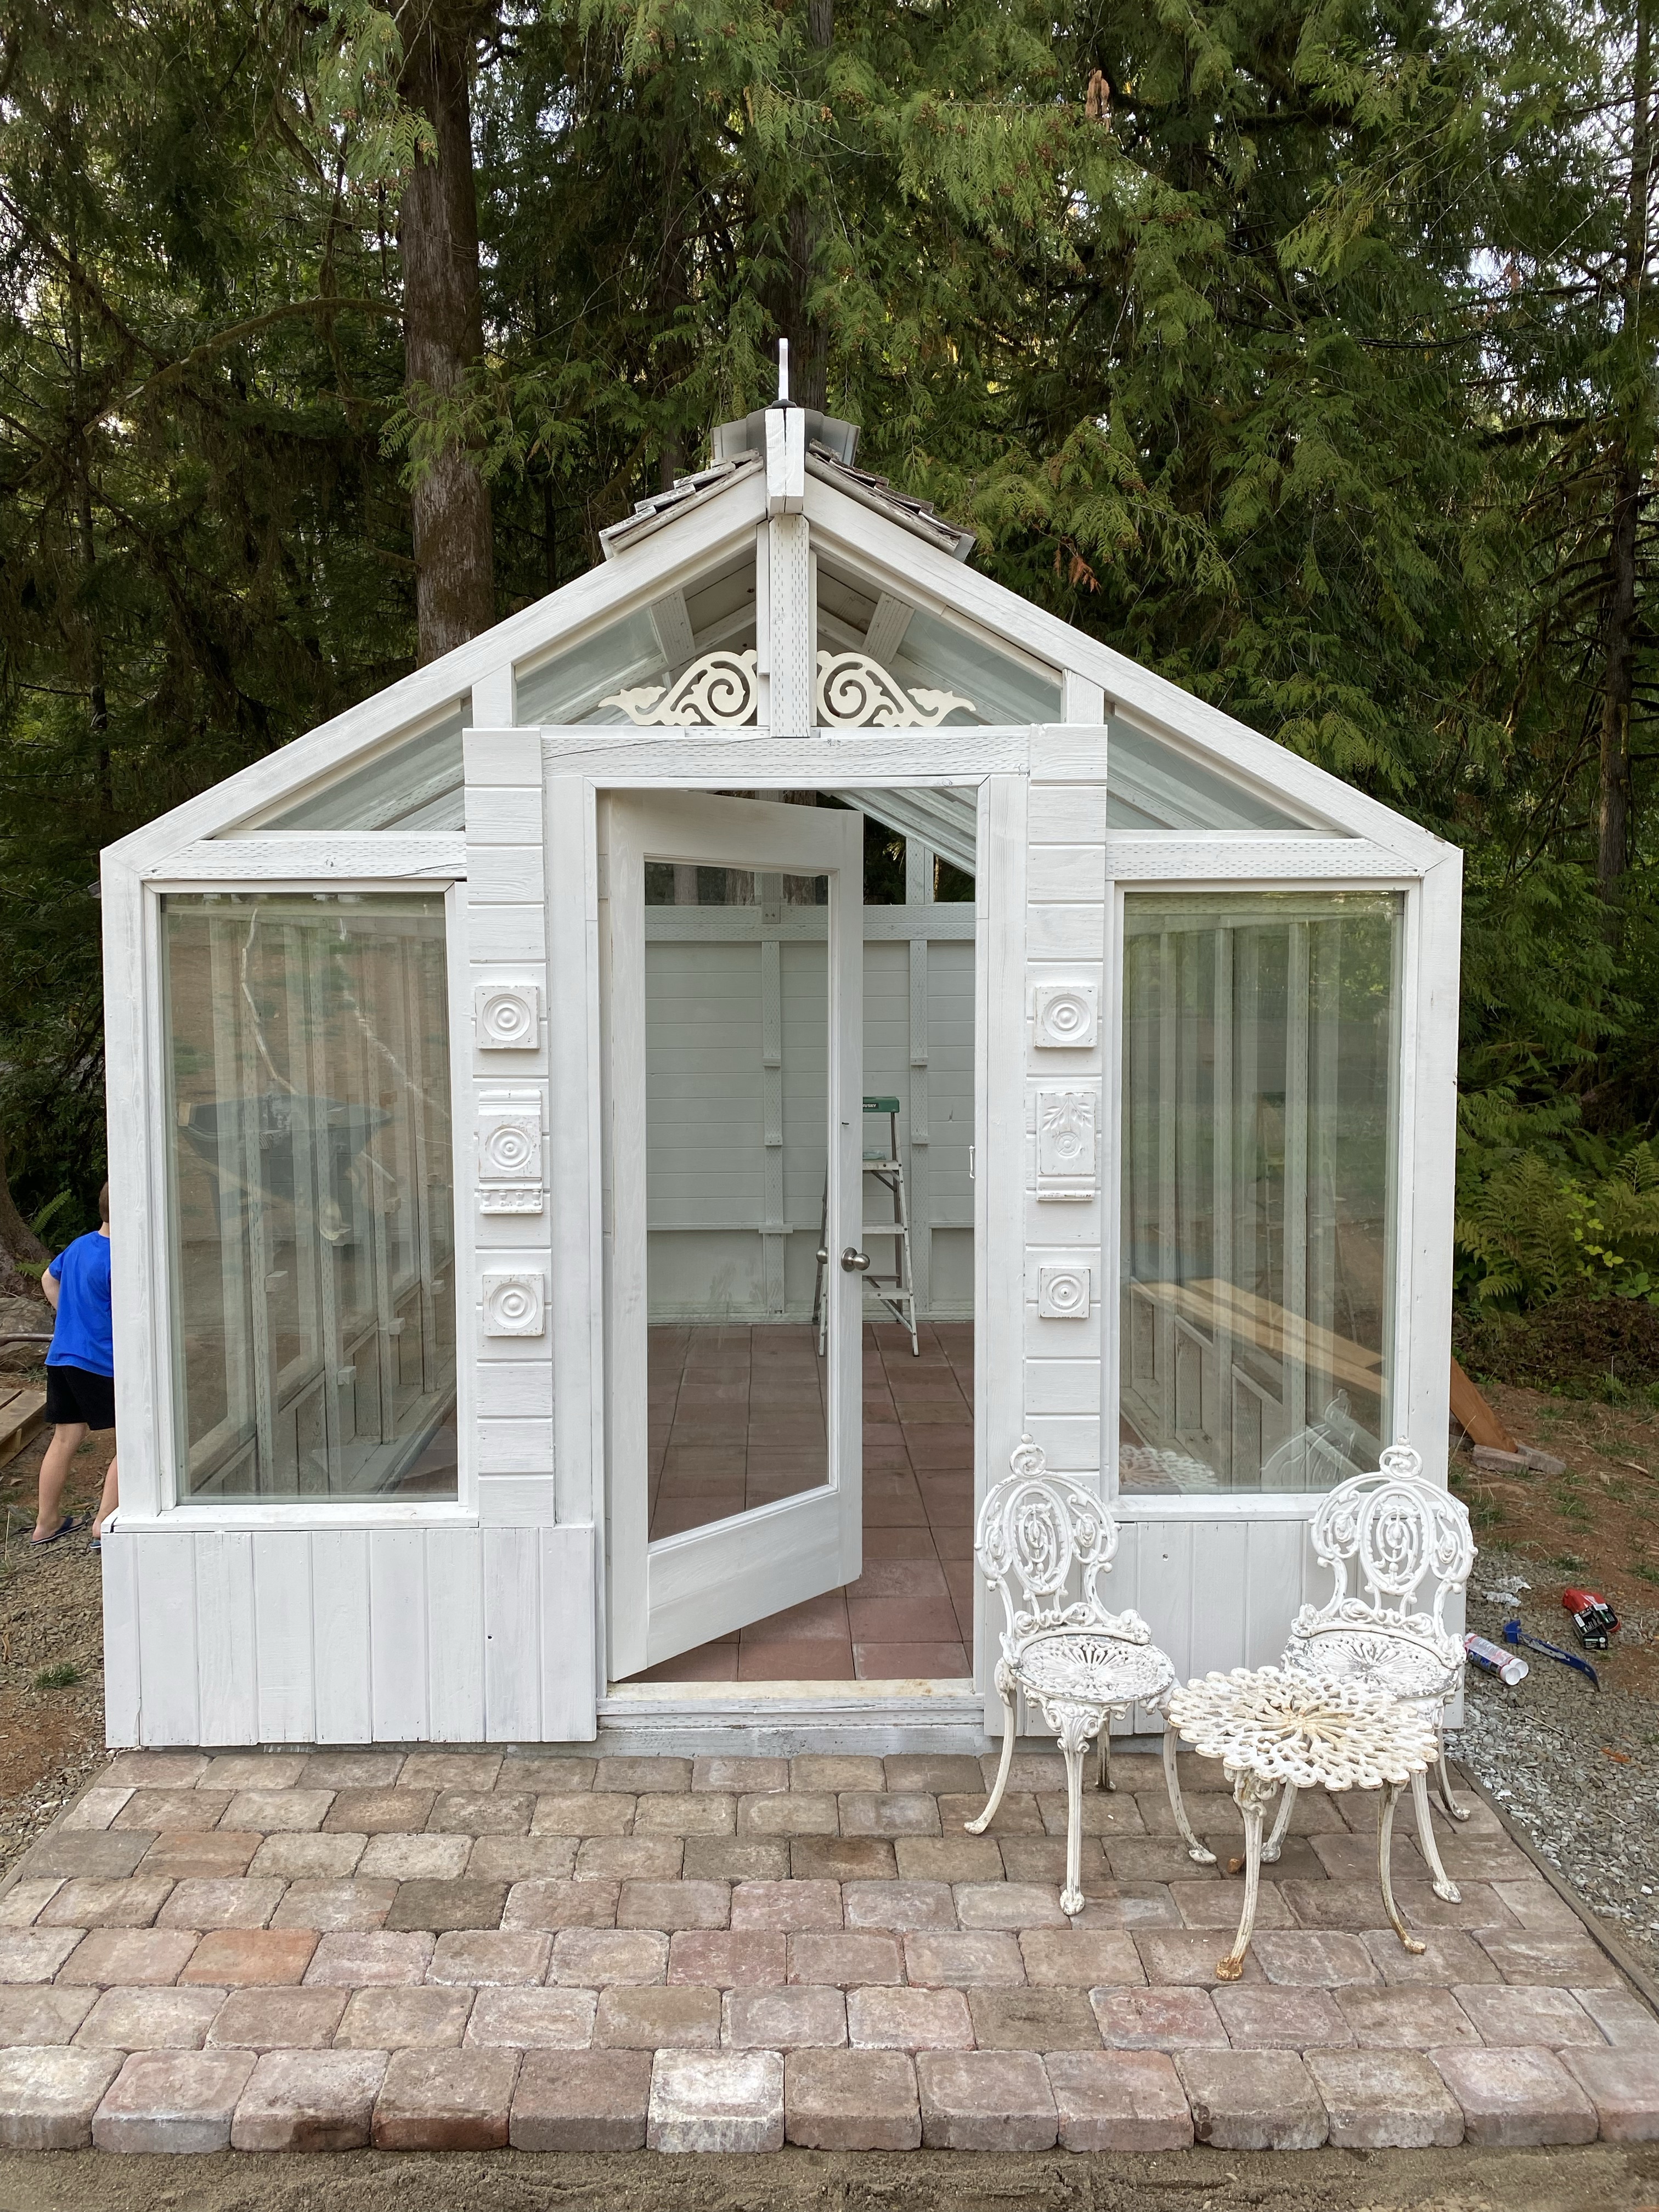
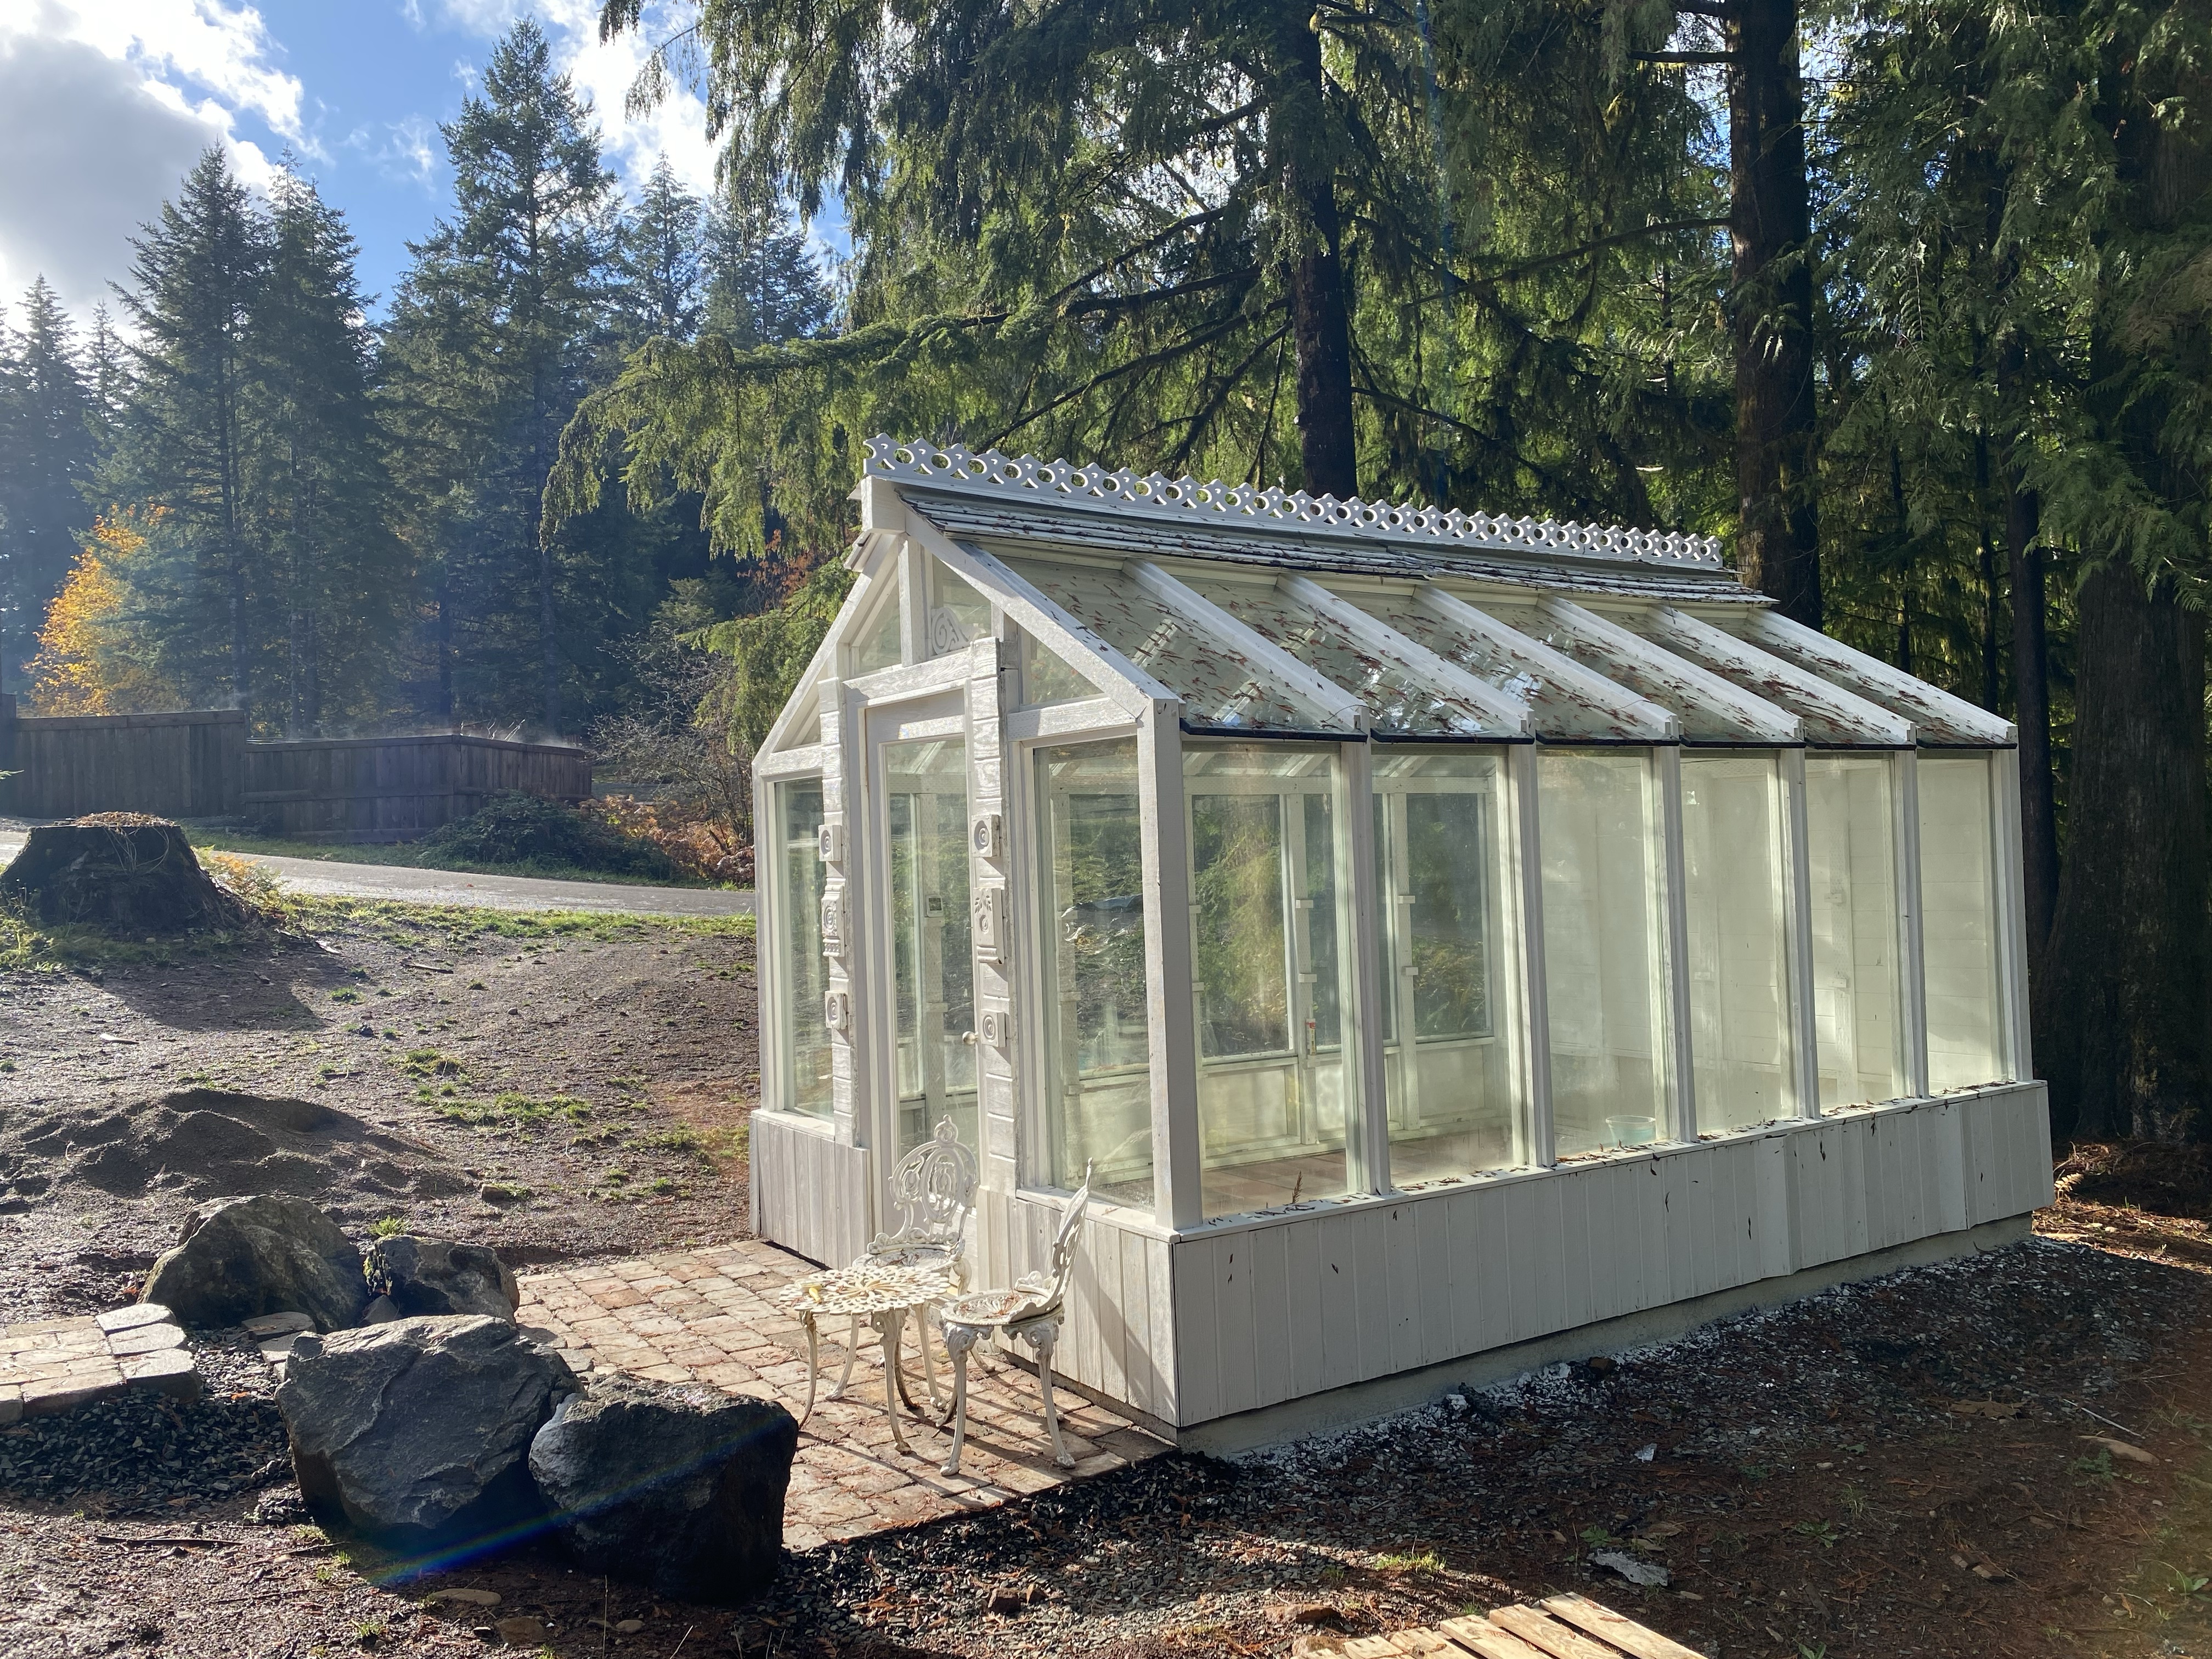
SEPTEMBER 2024: The upcoming change in the weather put us in high gear for completing the project. As I like to say, “It’s go time!” We decided to add some charm to the greenhouse with a Victorian-inspired ridge piece. This one is made of PVC, should withstand the weather, and not yellow or fade. It really made the vision for the greenhouse come together. The white makes perfect sense now, yes? Finished installing all the roof panes (even more tricky). Ryan did a LOT of caulking seams.

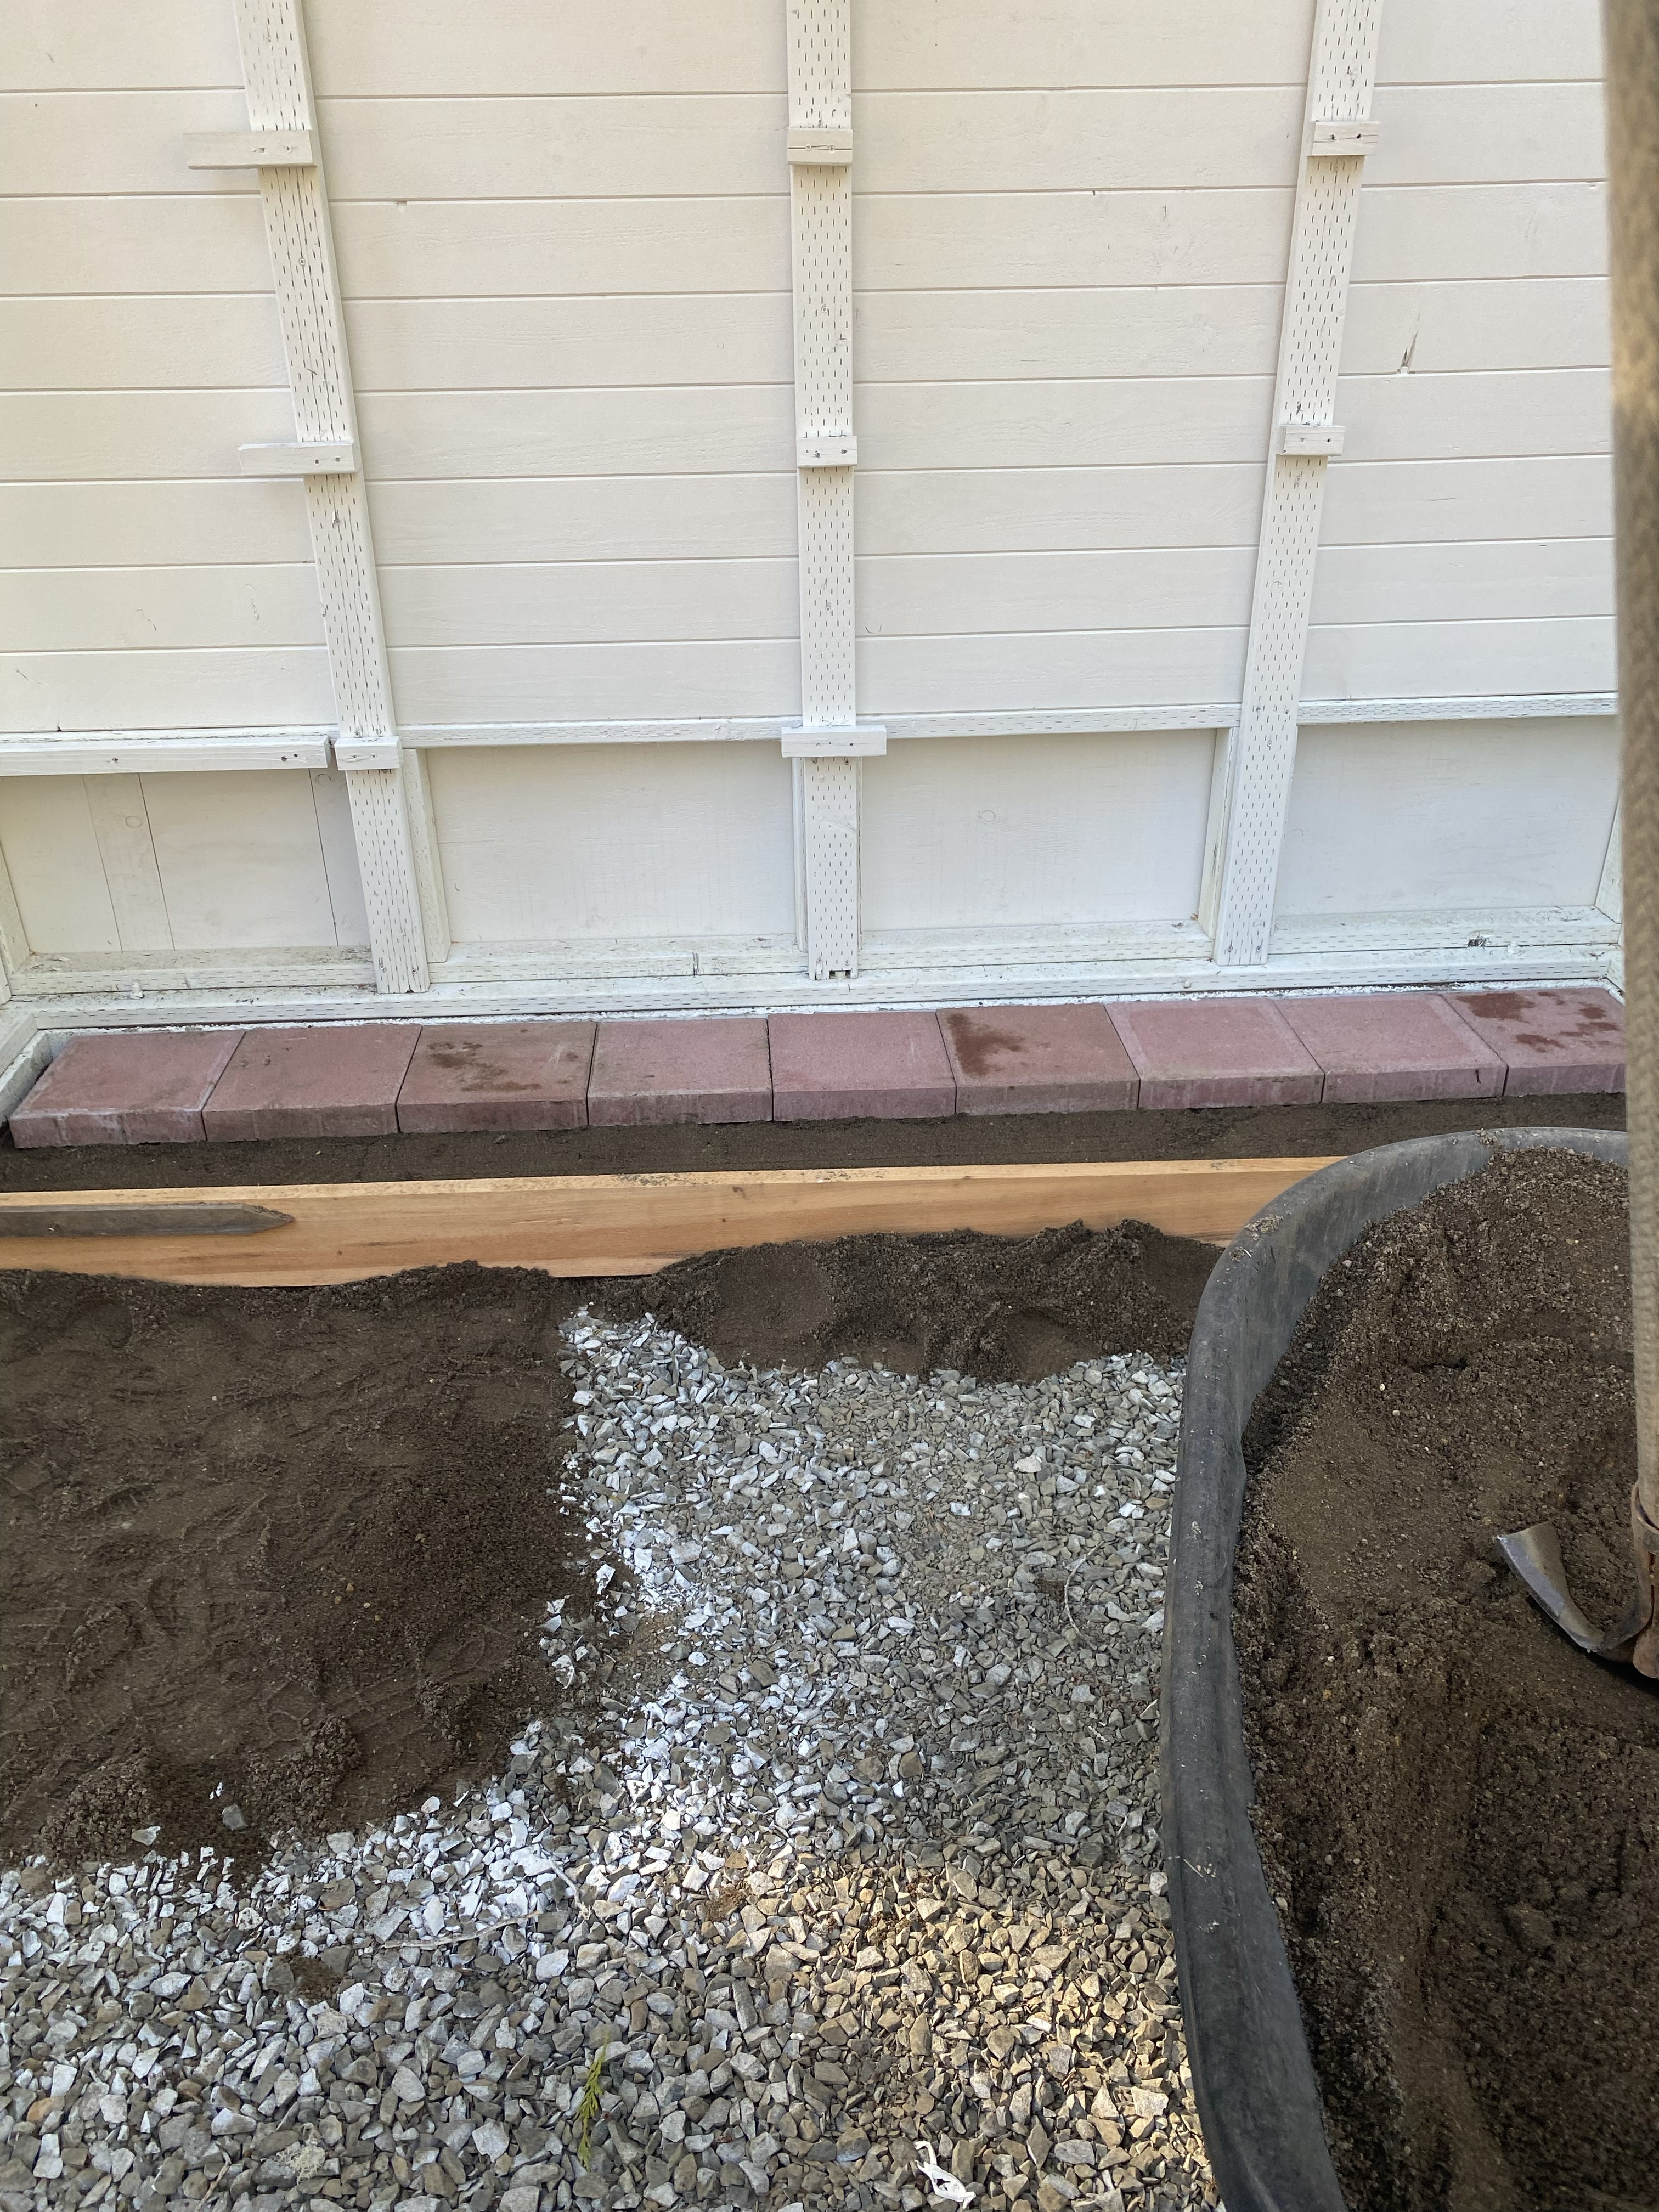
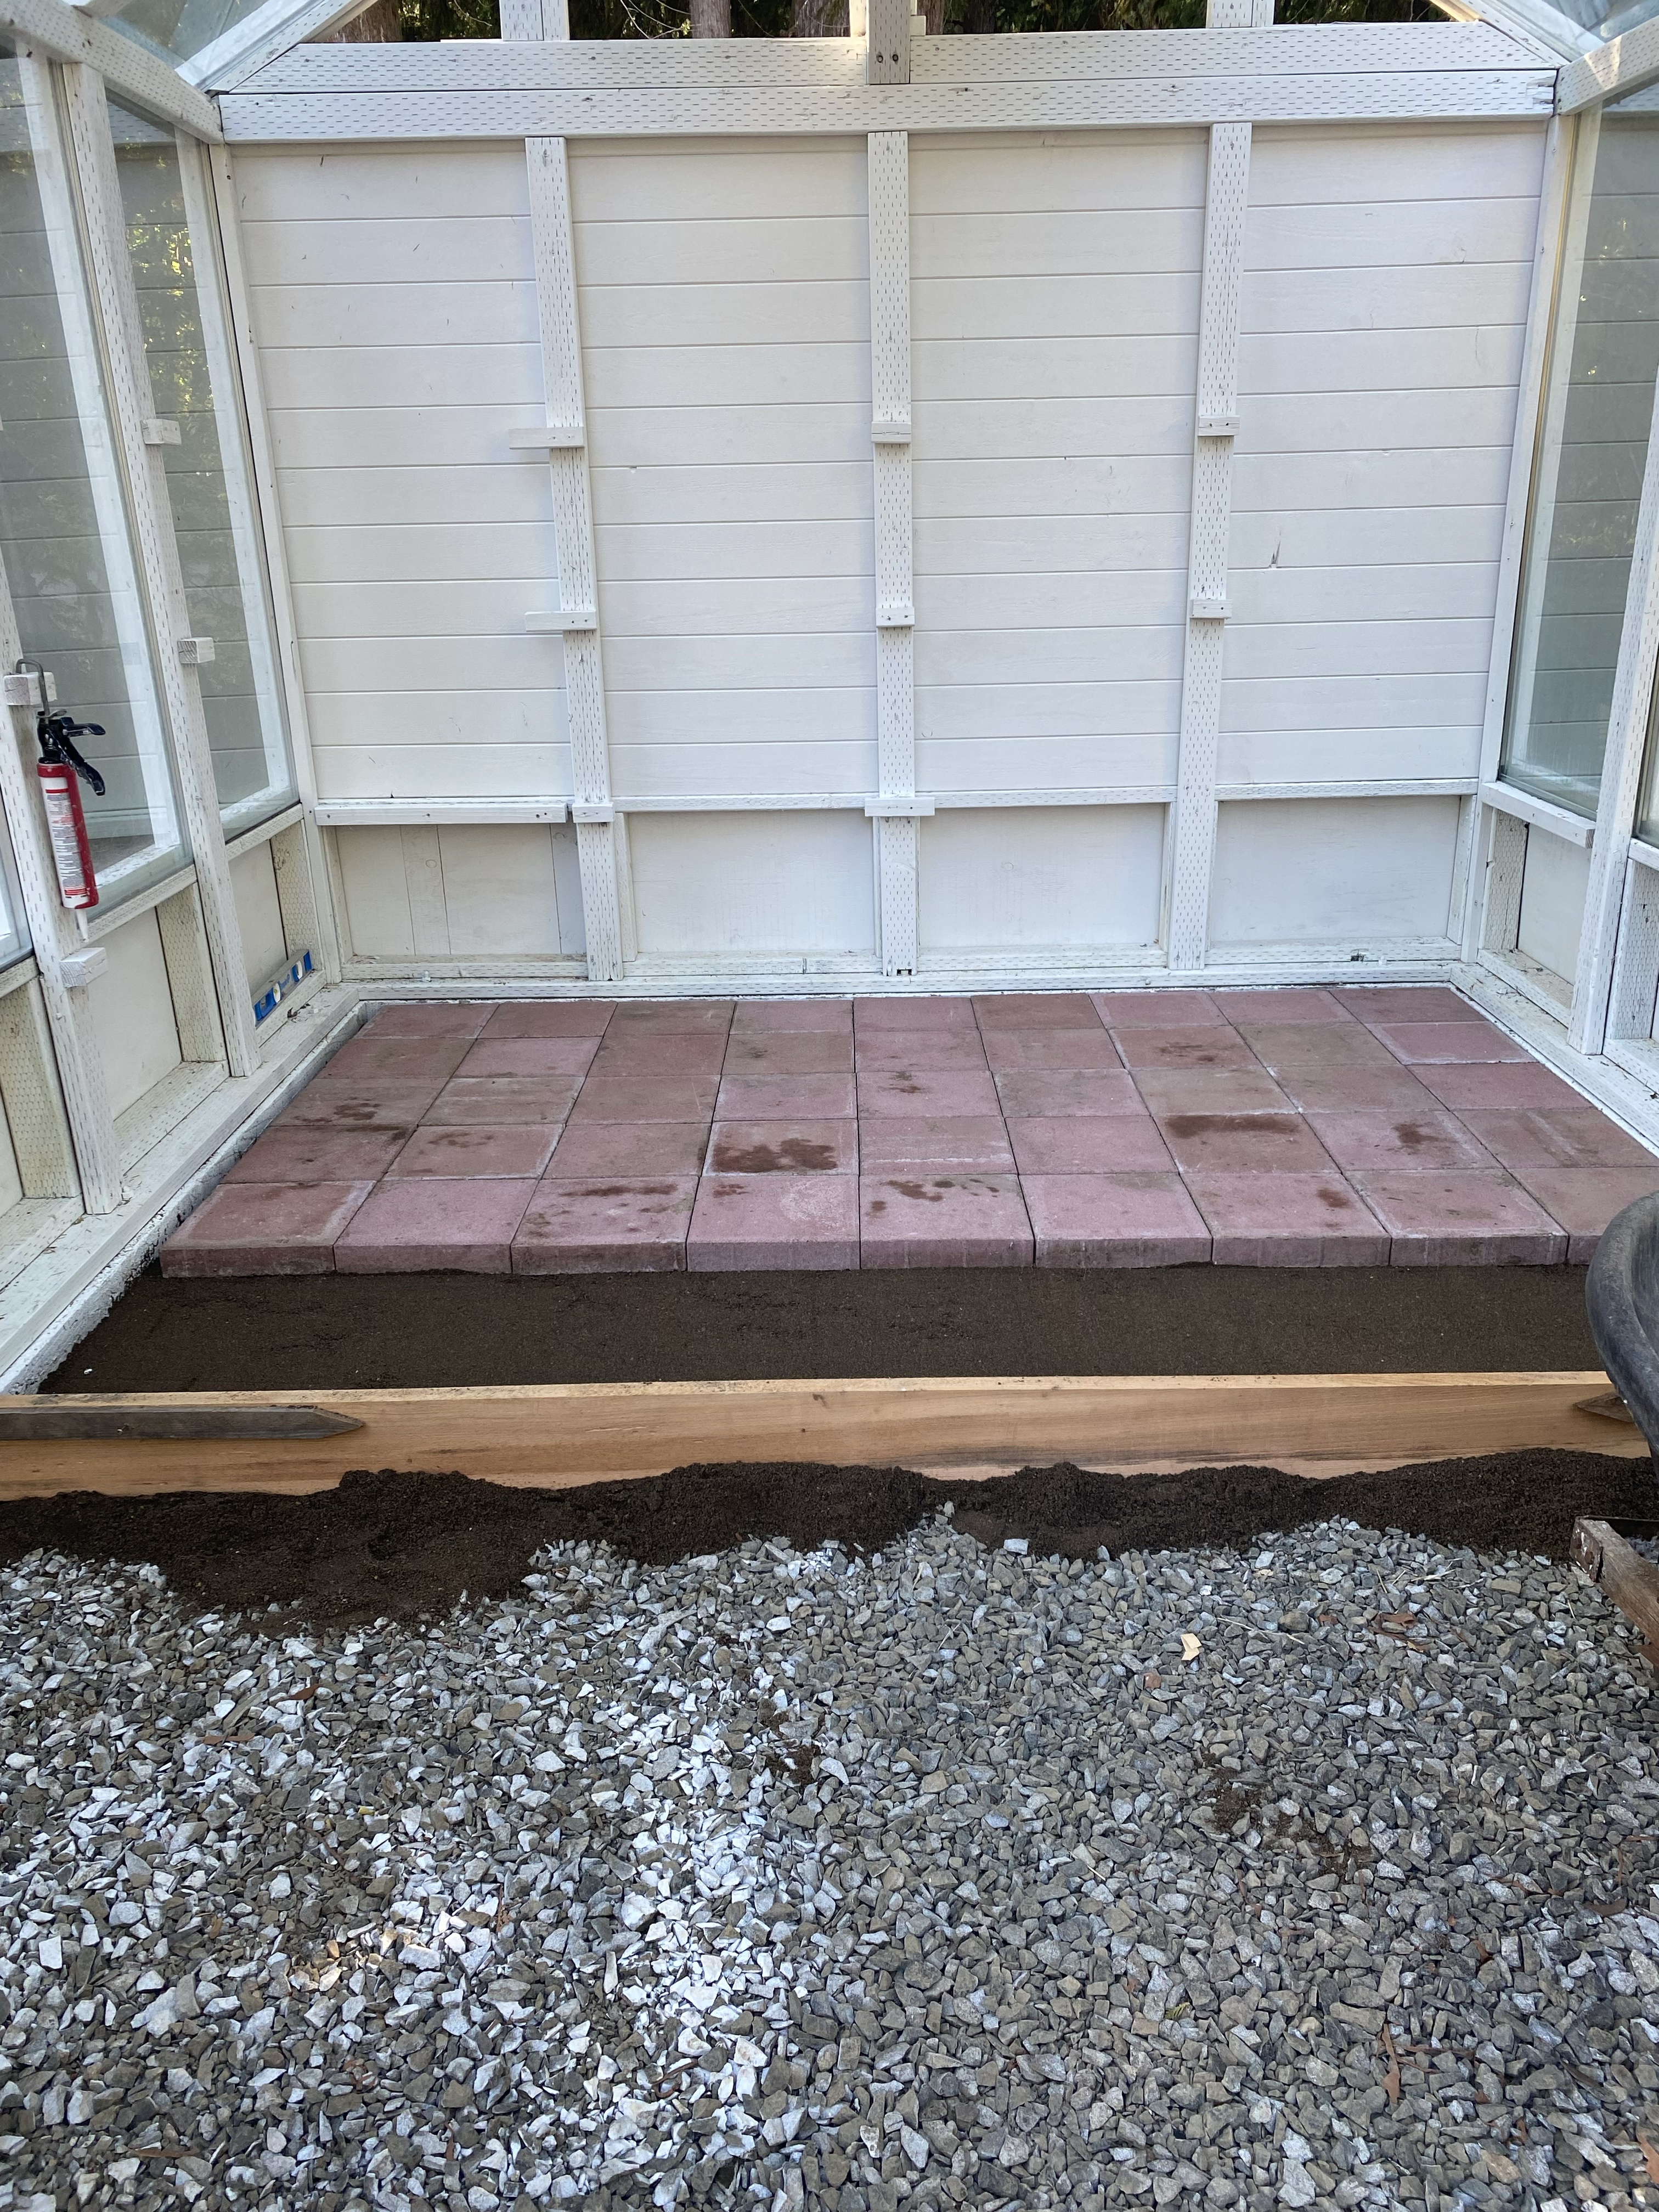
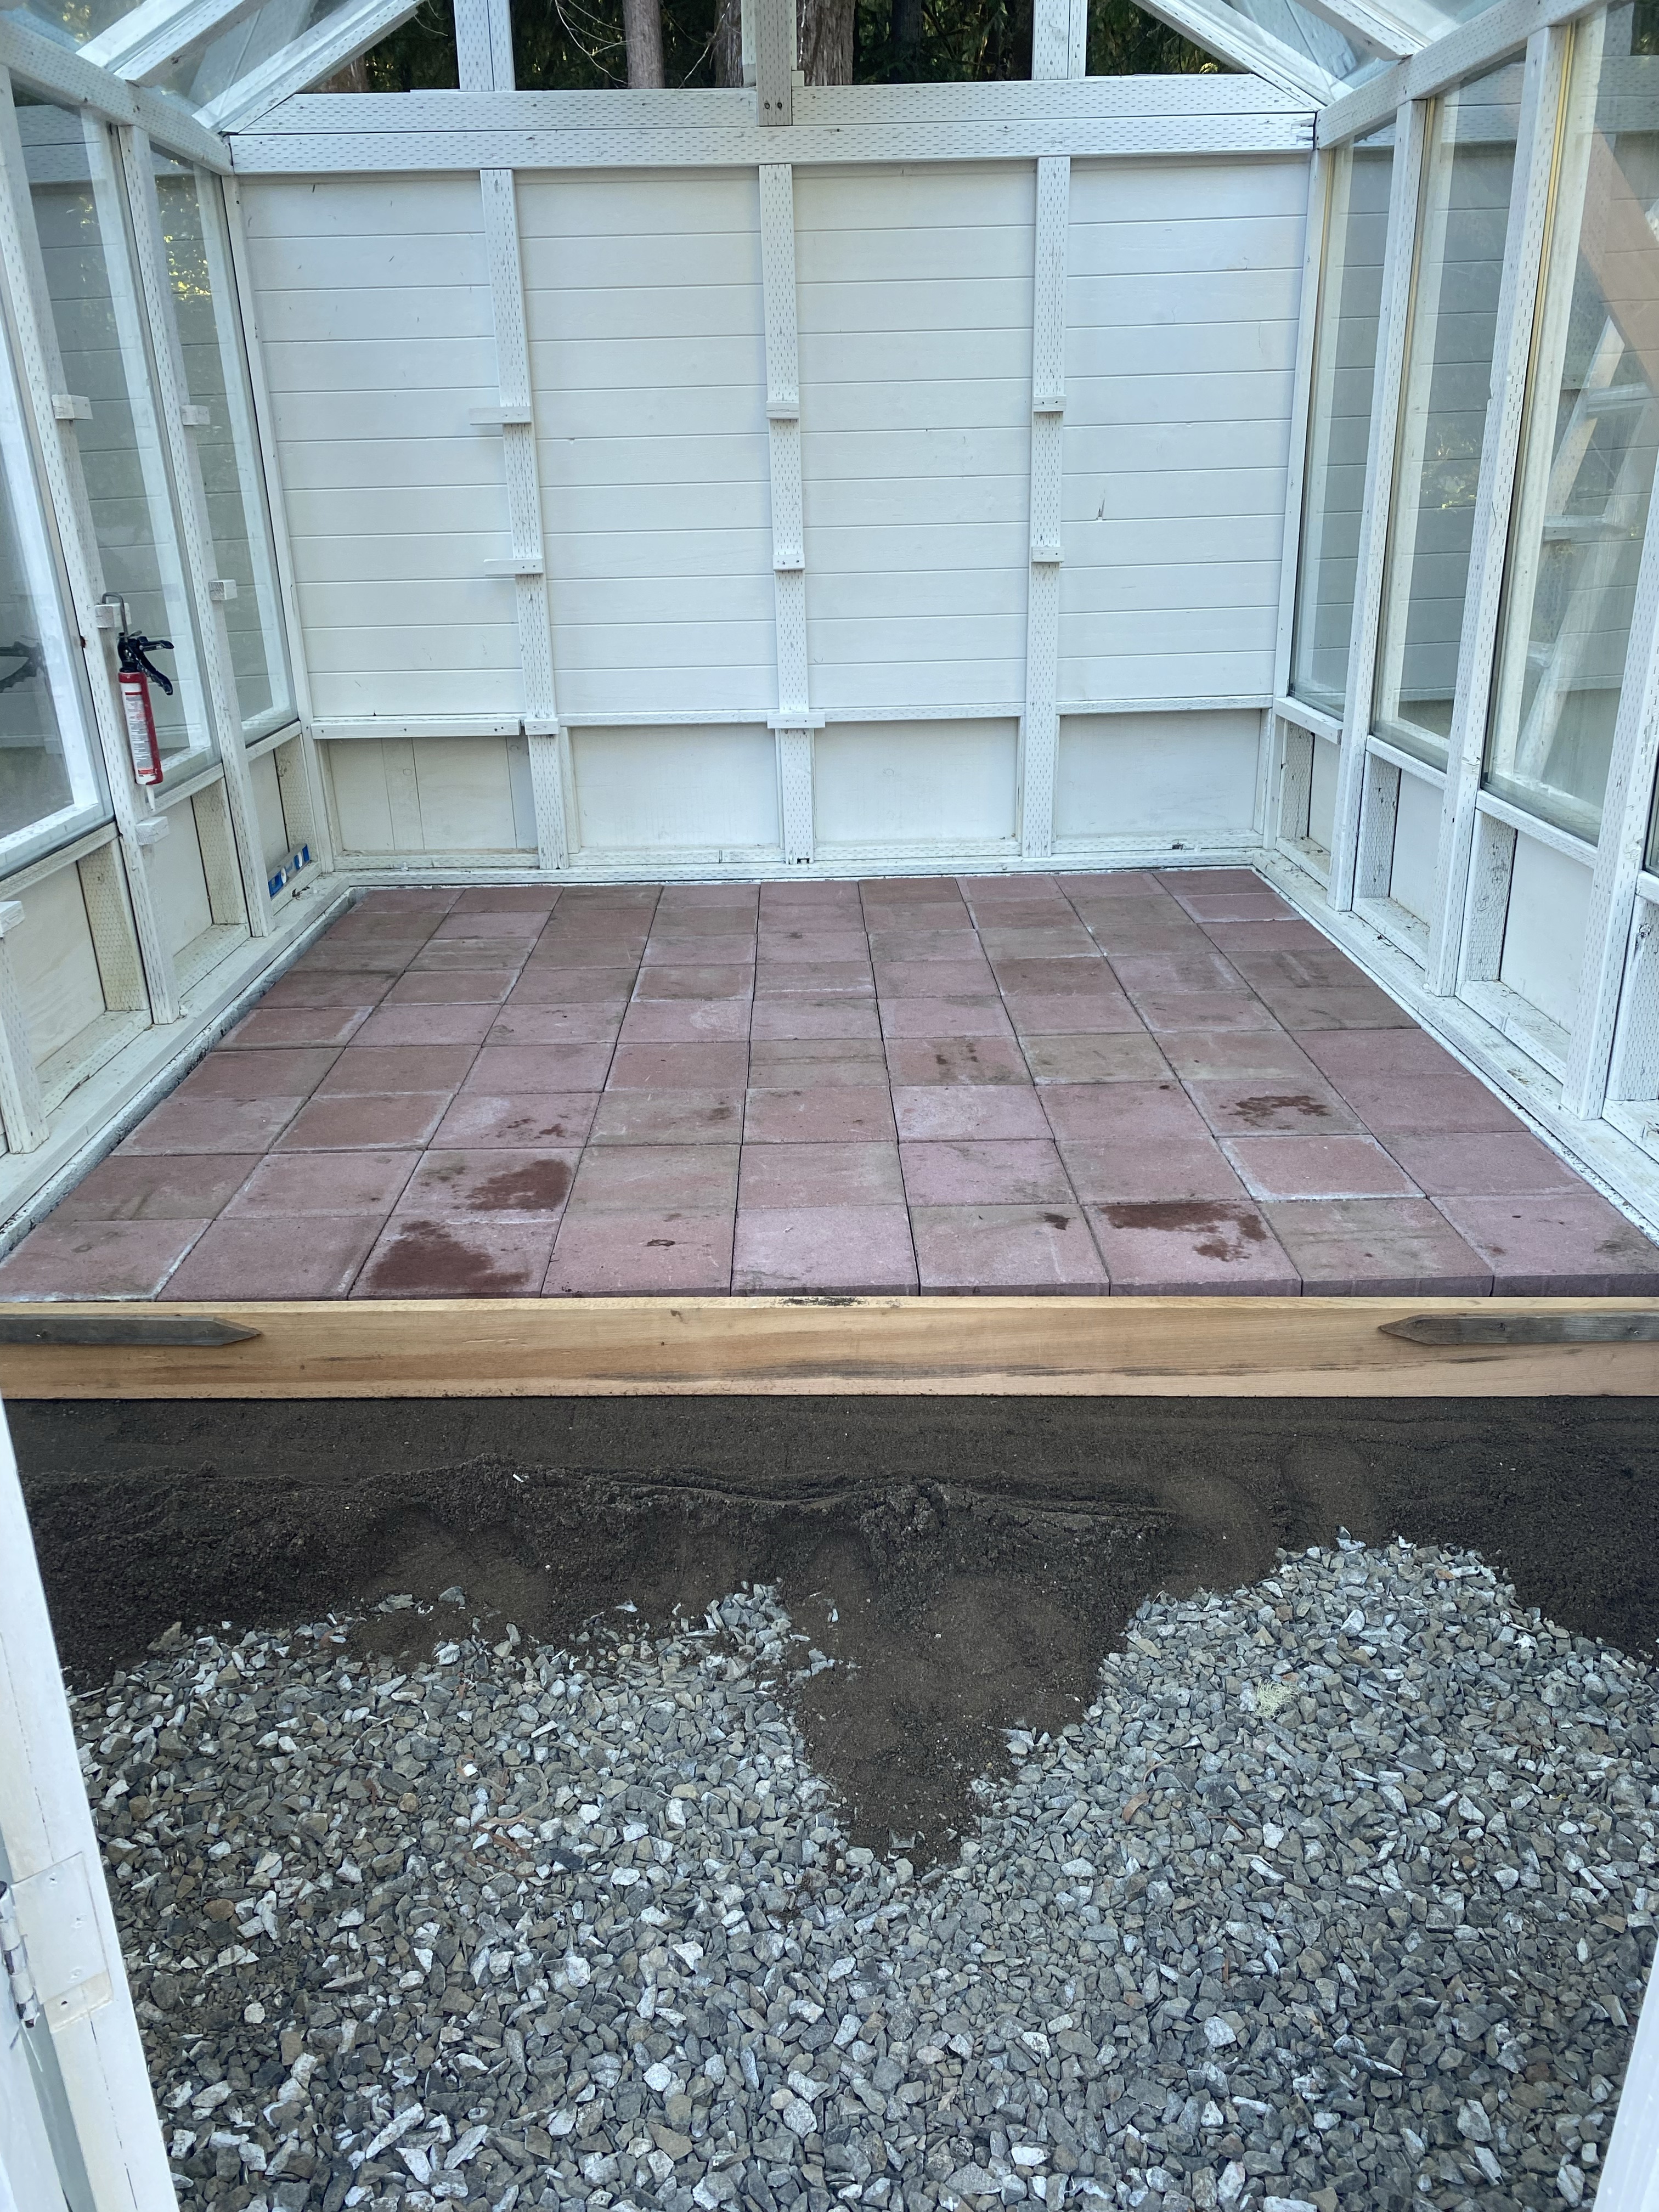
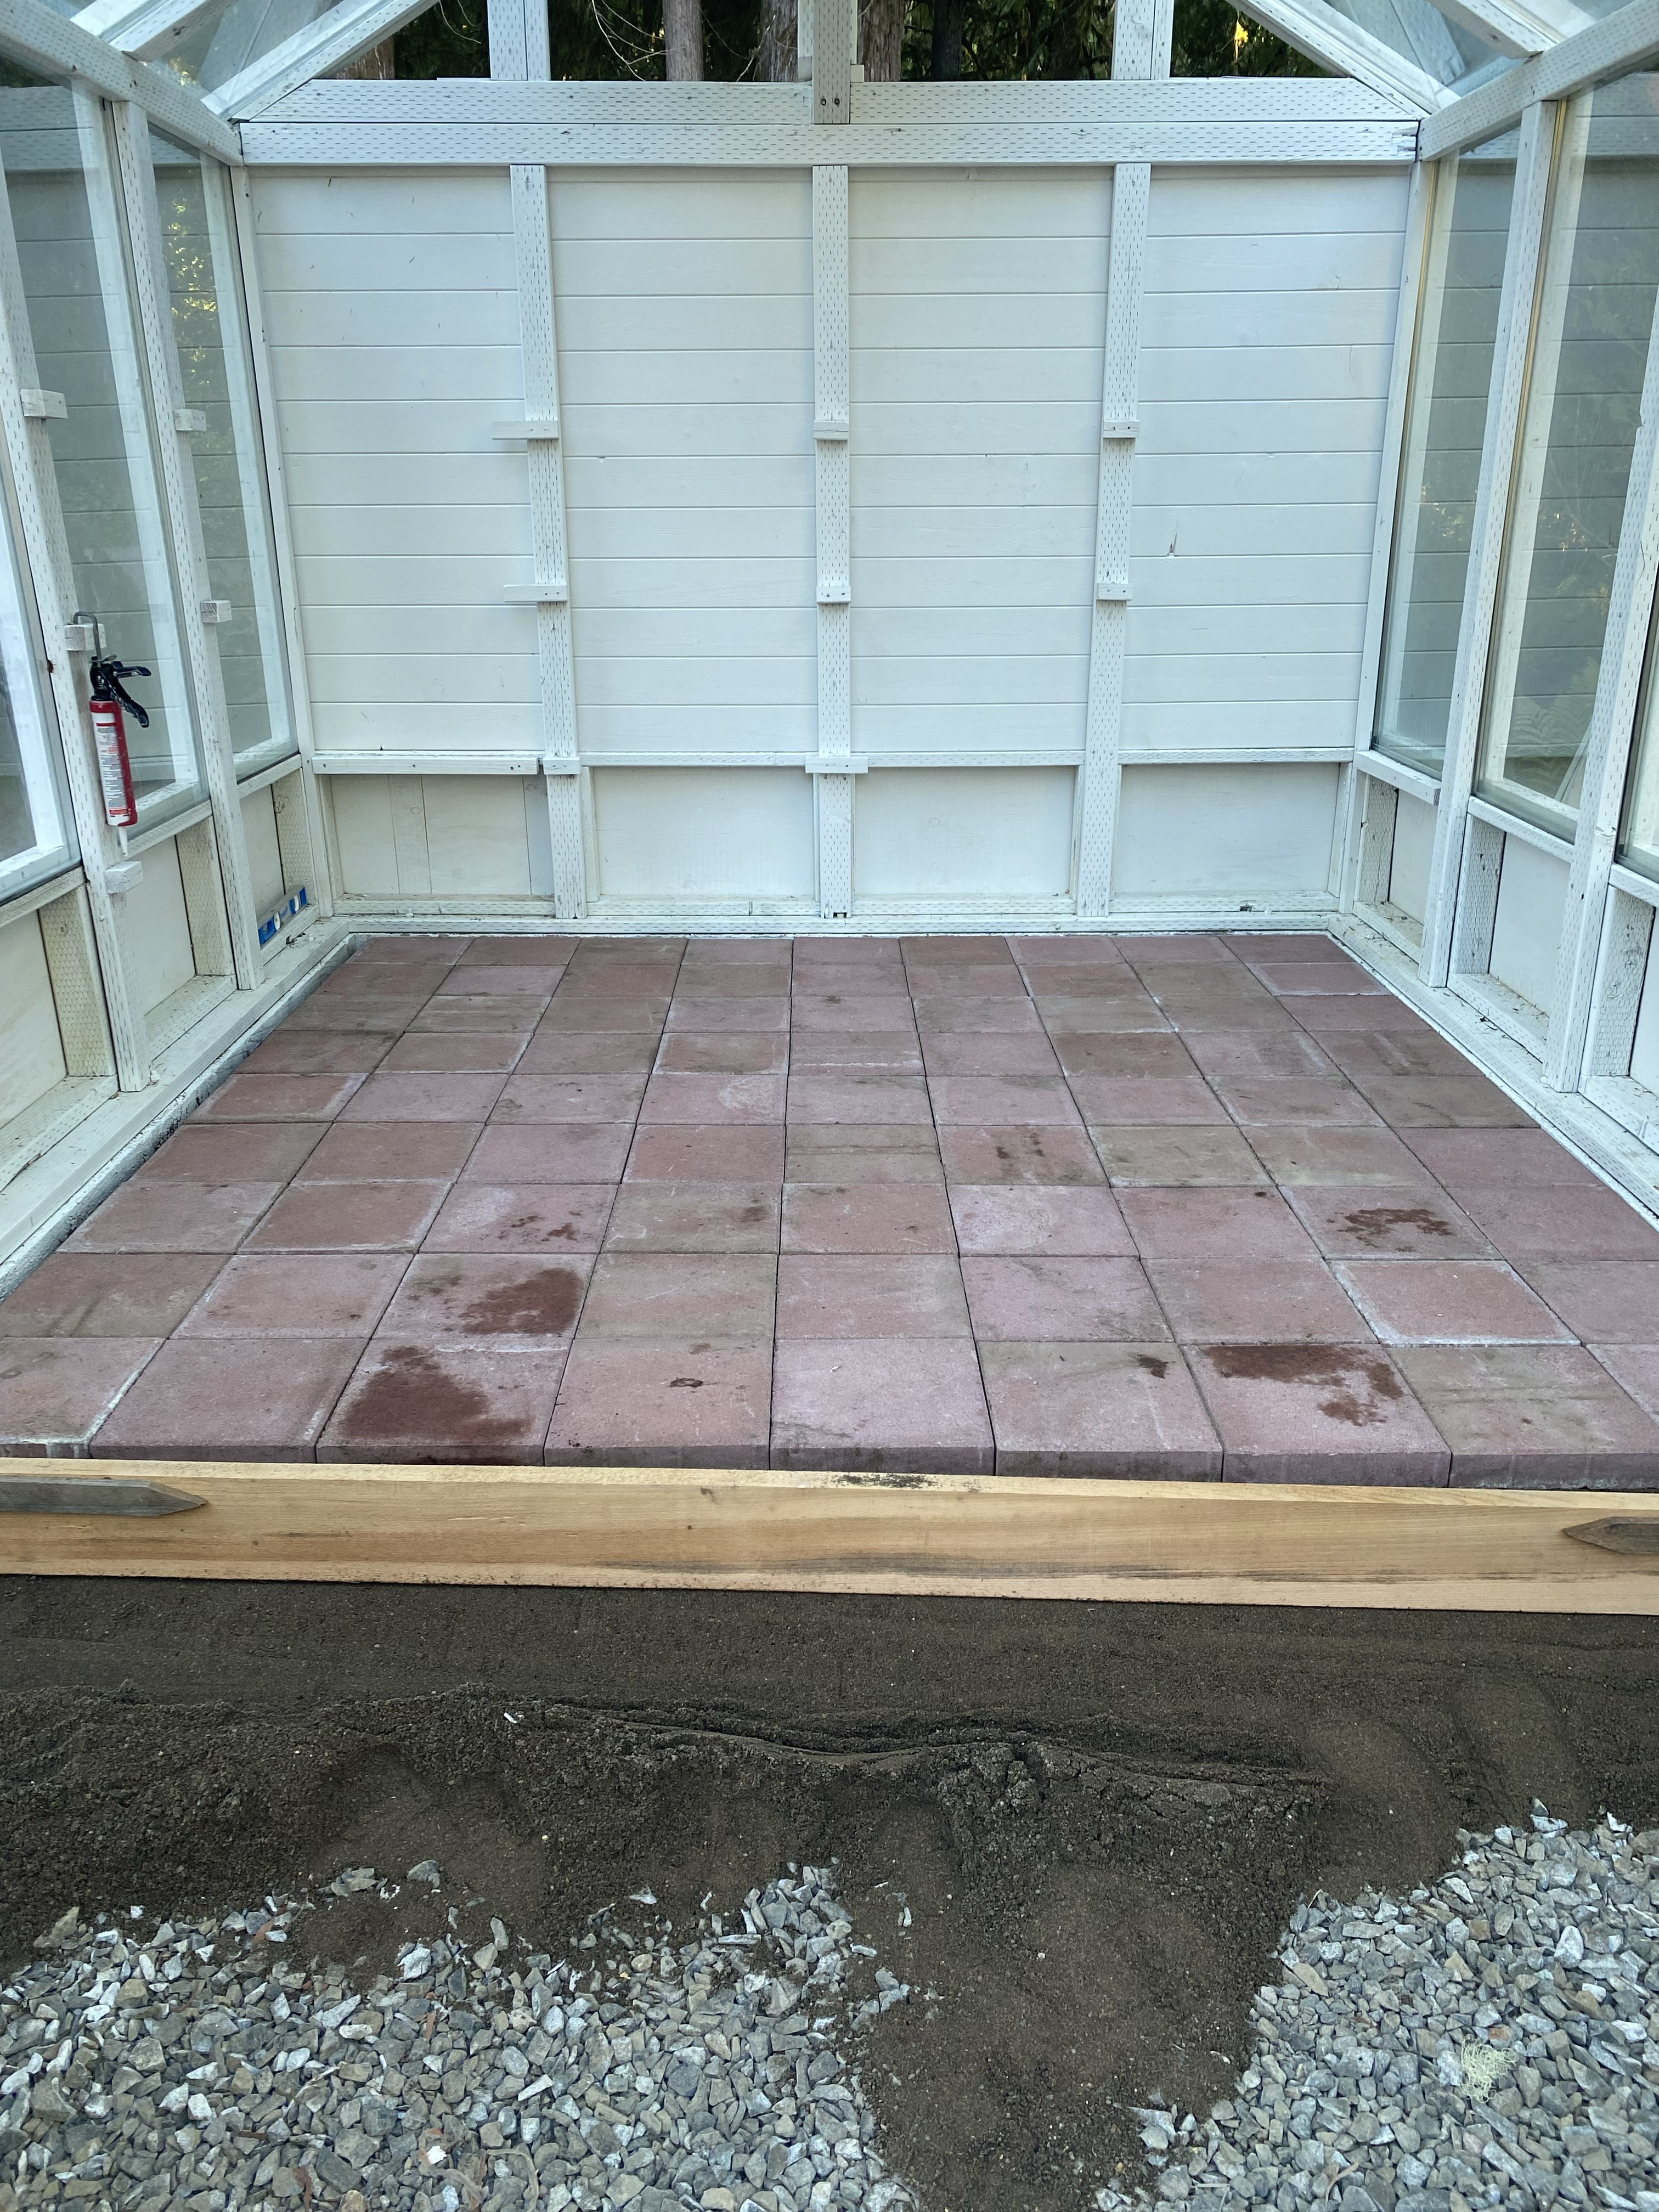
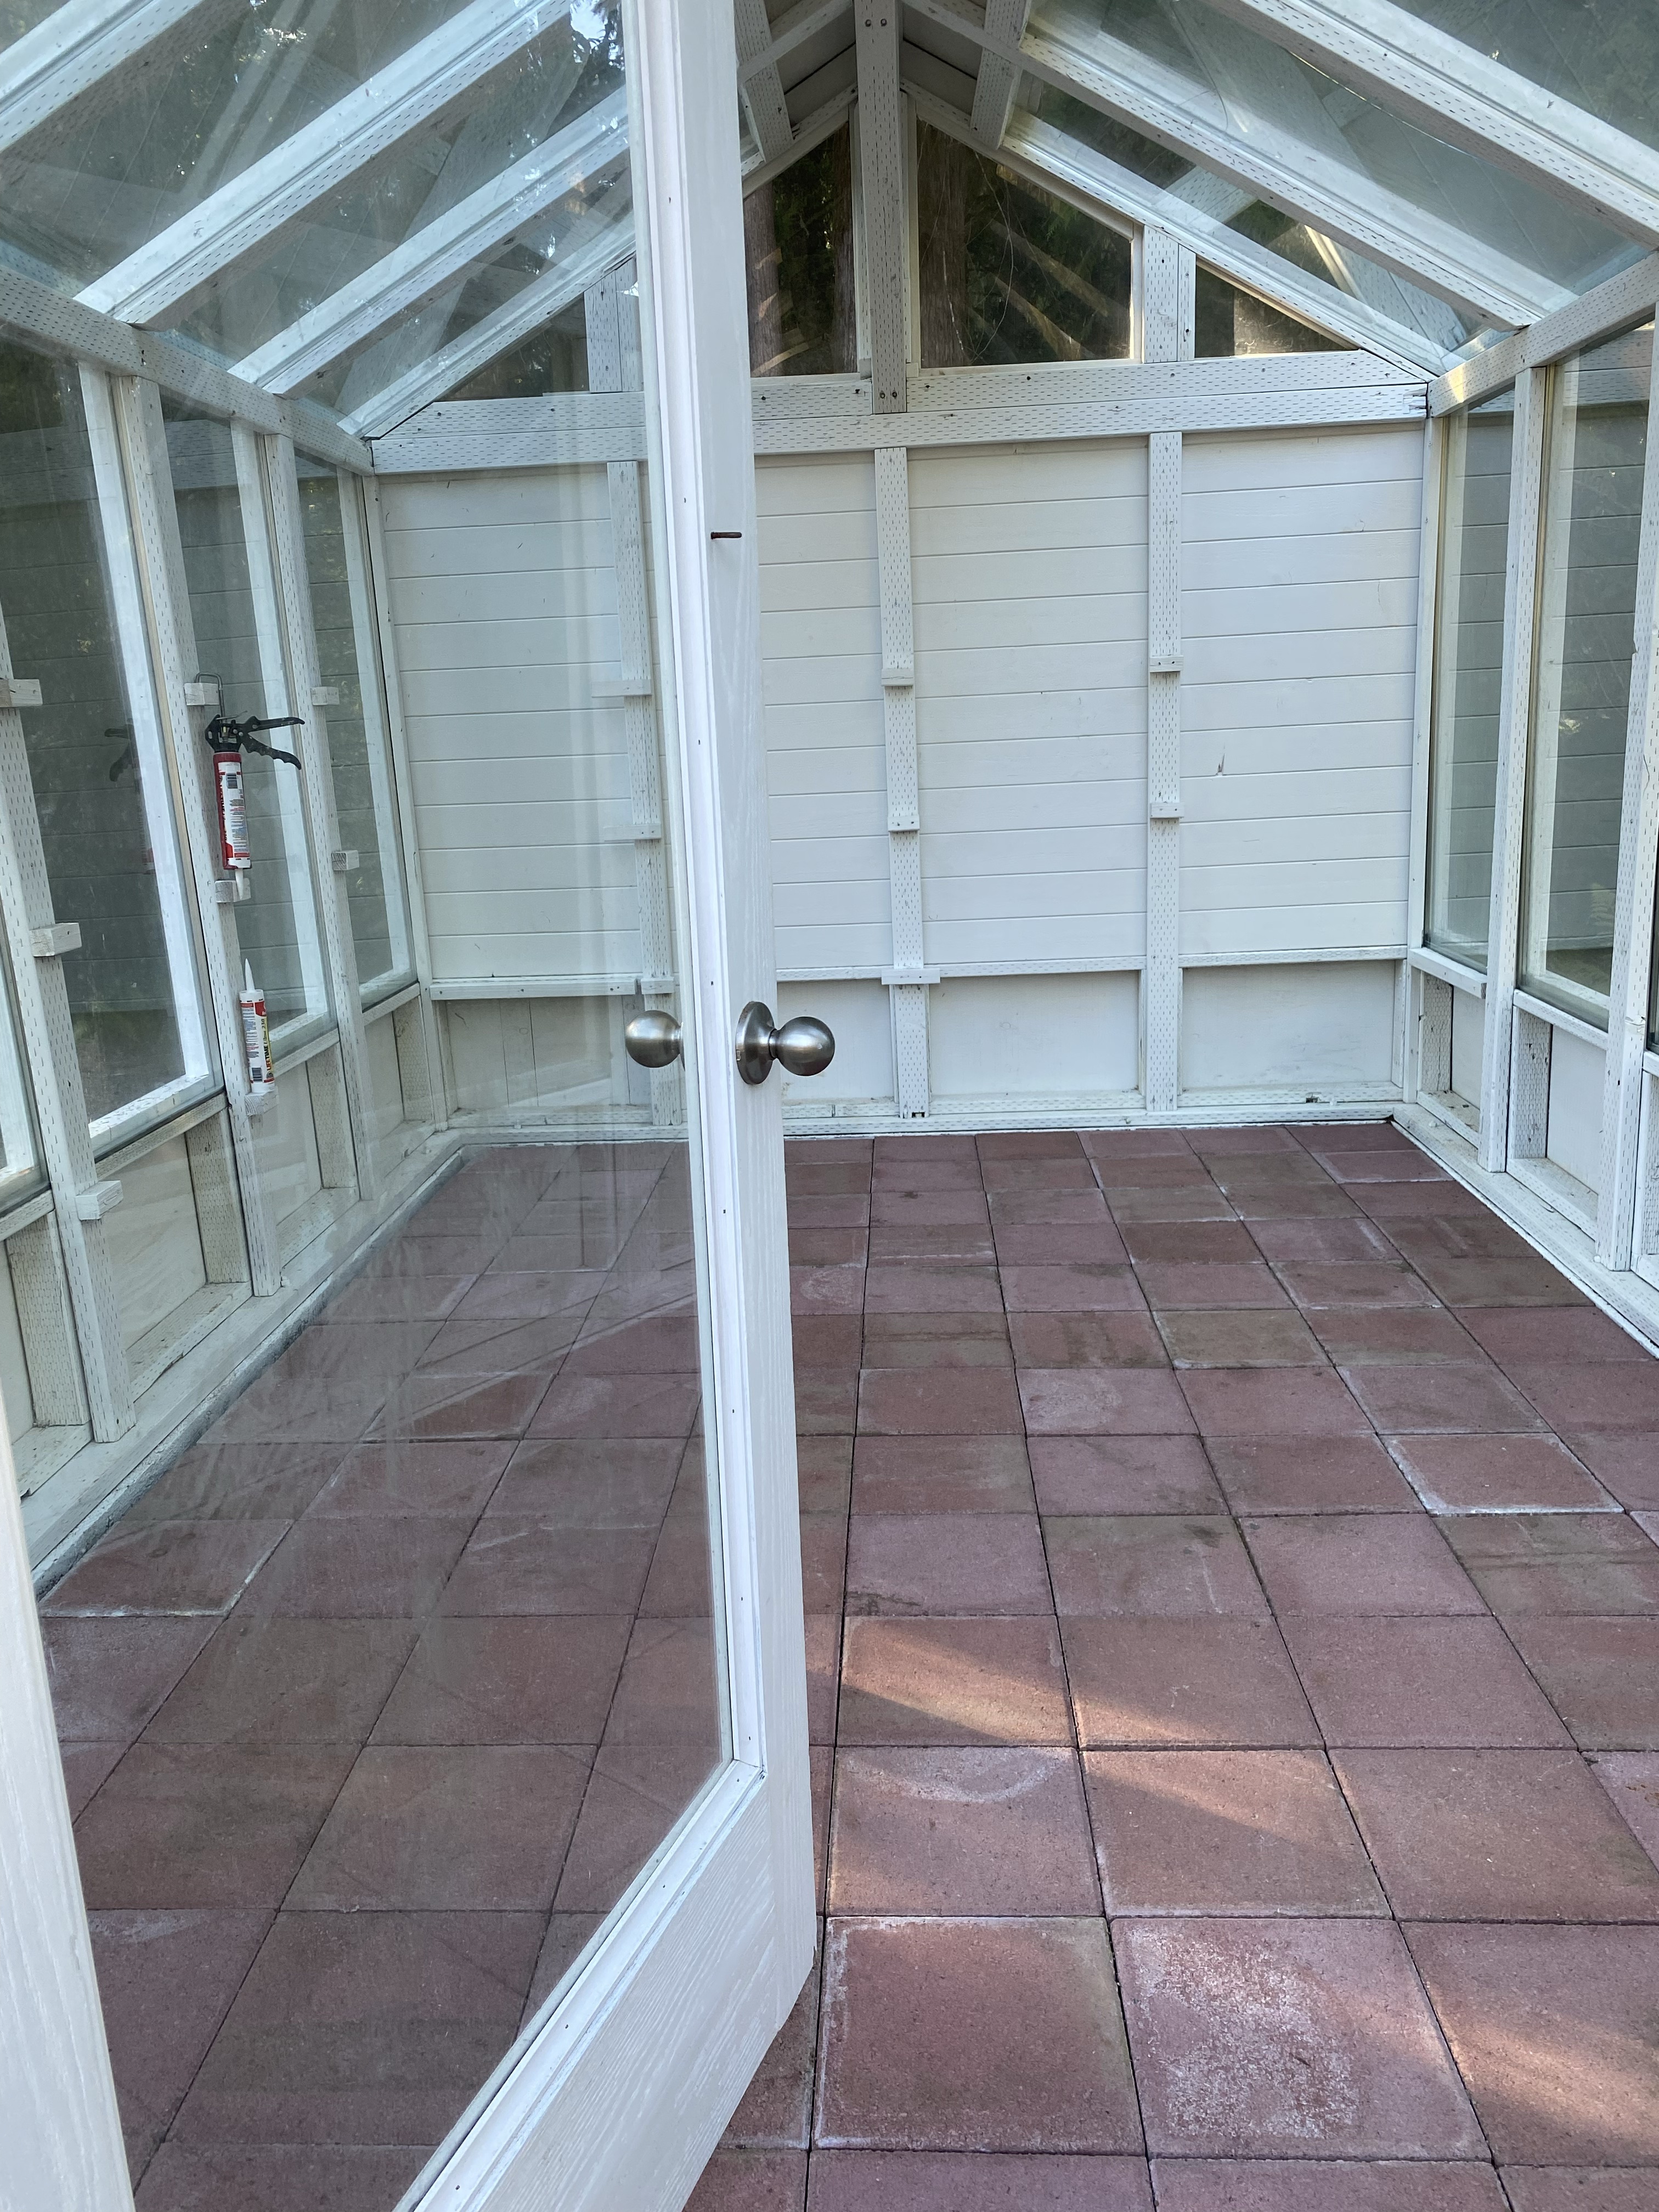
We also started installing the brick floor inside the greenhouse — gravel, sand, screen, and place. This was fun, the three oldest kids helped create an assembly line for brick delivery. We got that floor installed in record time. Pizza after to celebrate.
While we were on a roll, we also decided to add a small brick patio at the front of the greenhouse (thanks to the gift of some pavers from a friend). Cue the assembly line. I found an adorable Victorian patio set to add to the front and various antique trim pieces I’ve collected over the years. Getting so very close.
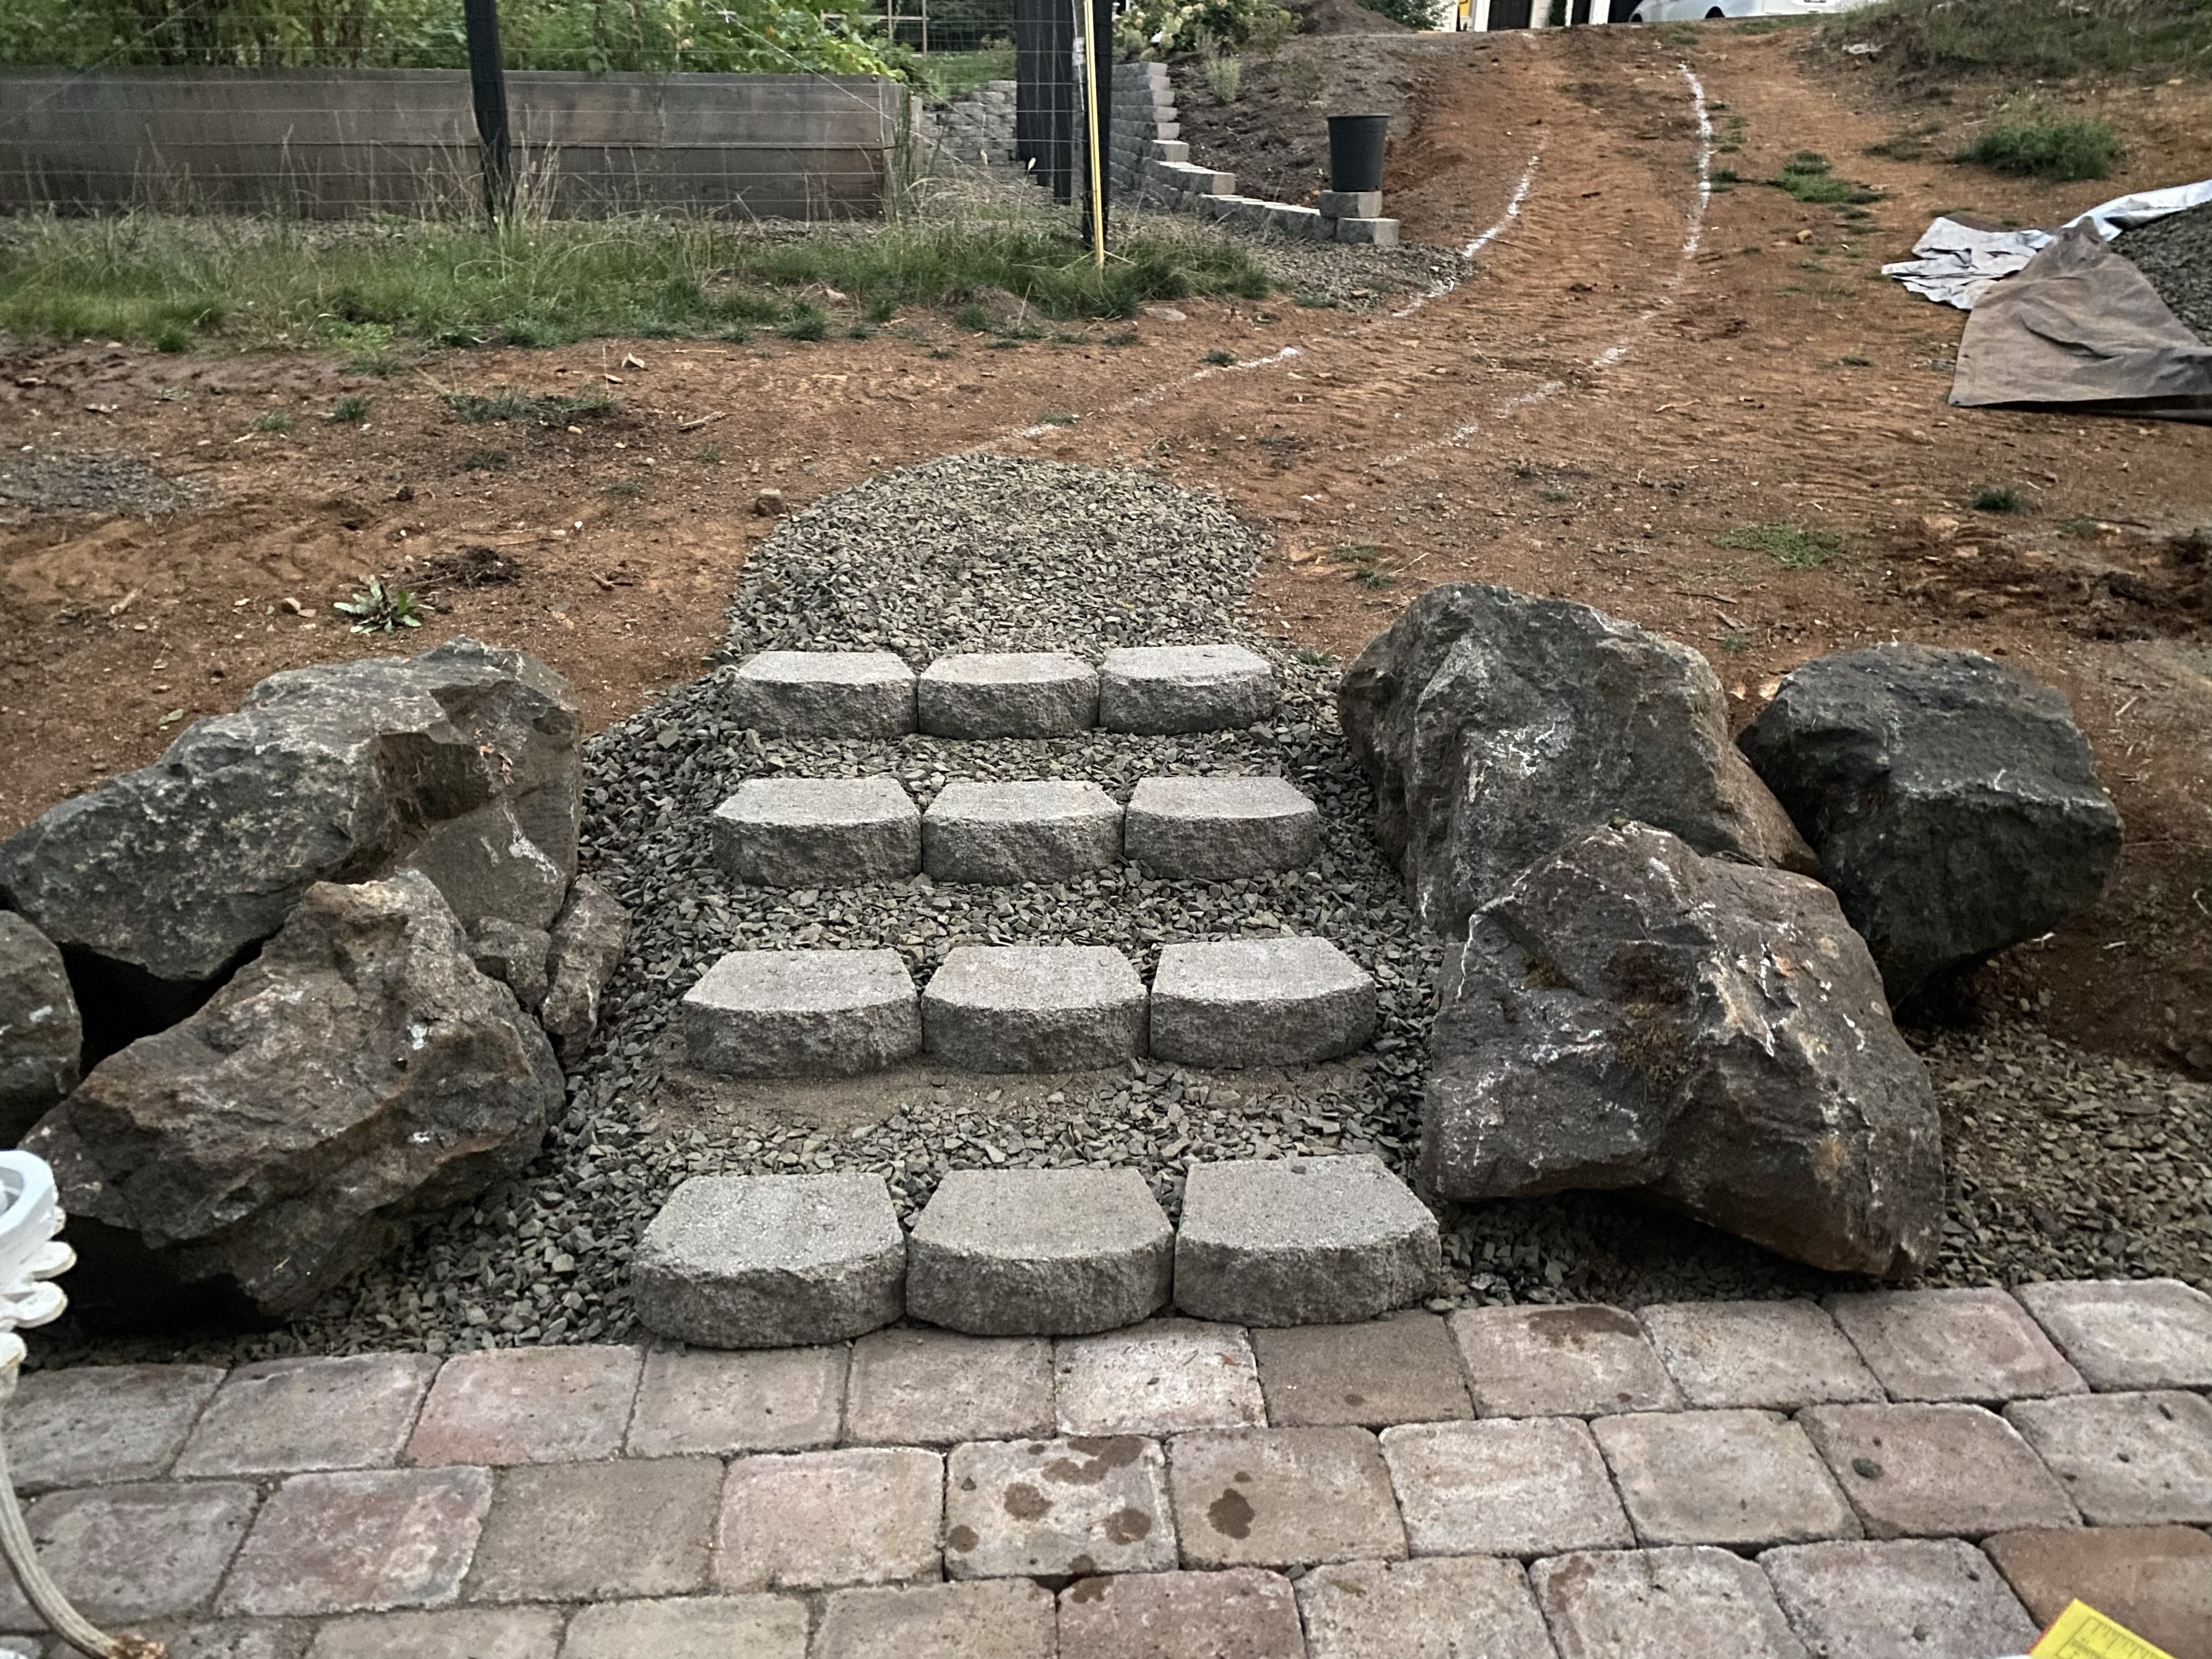
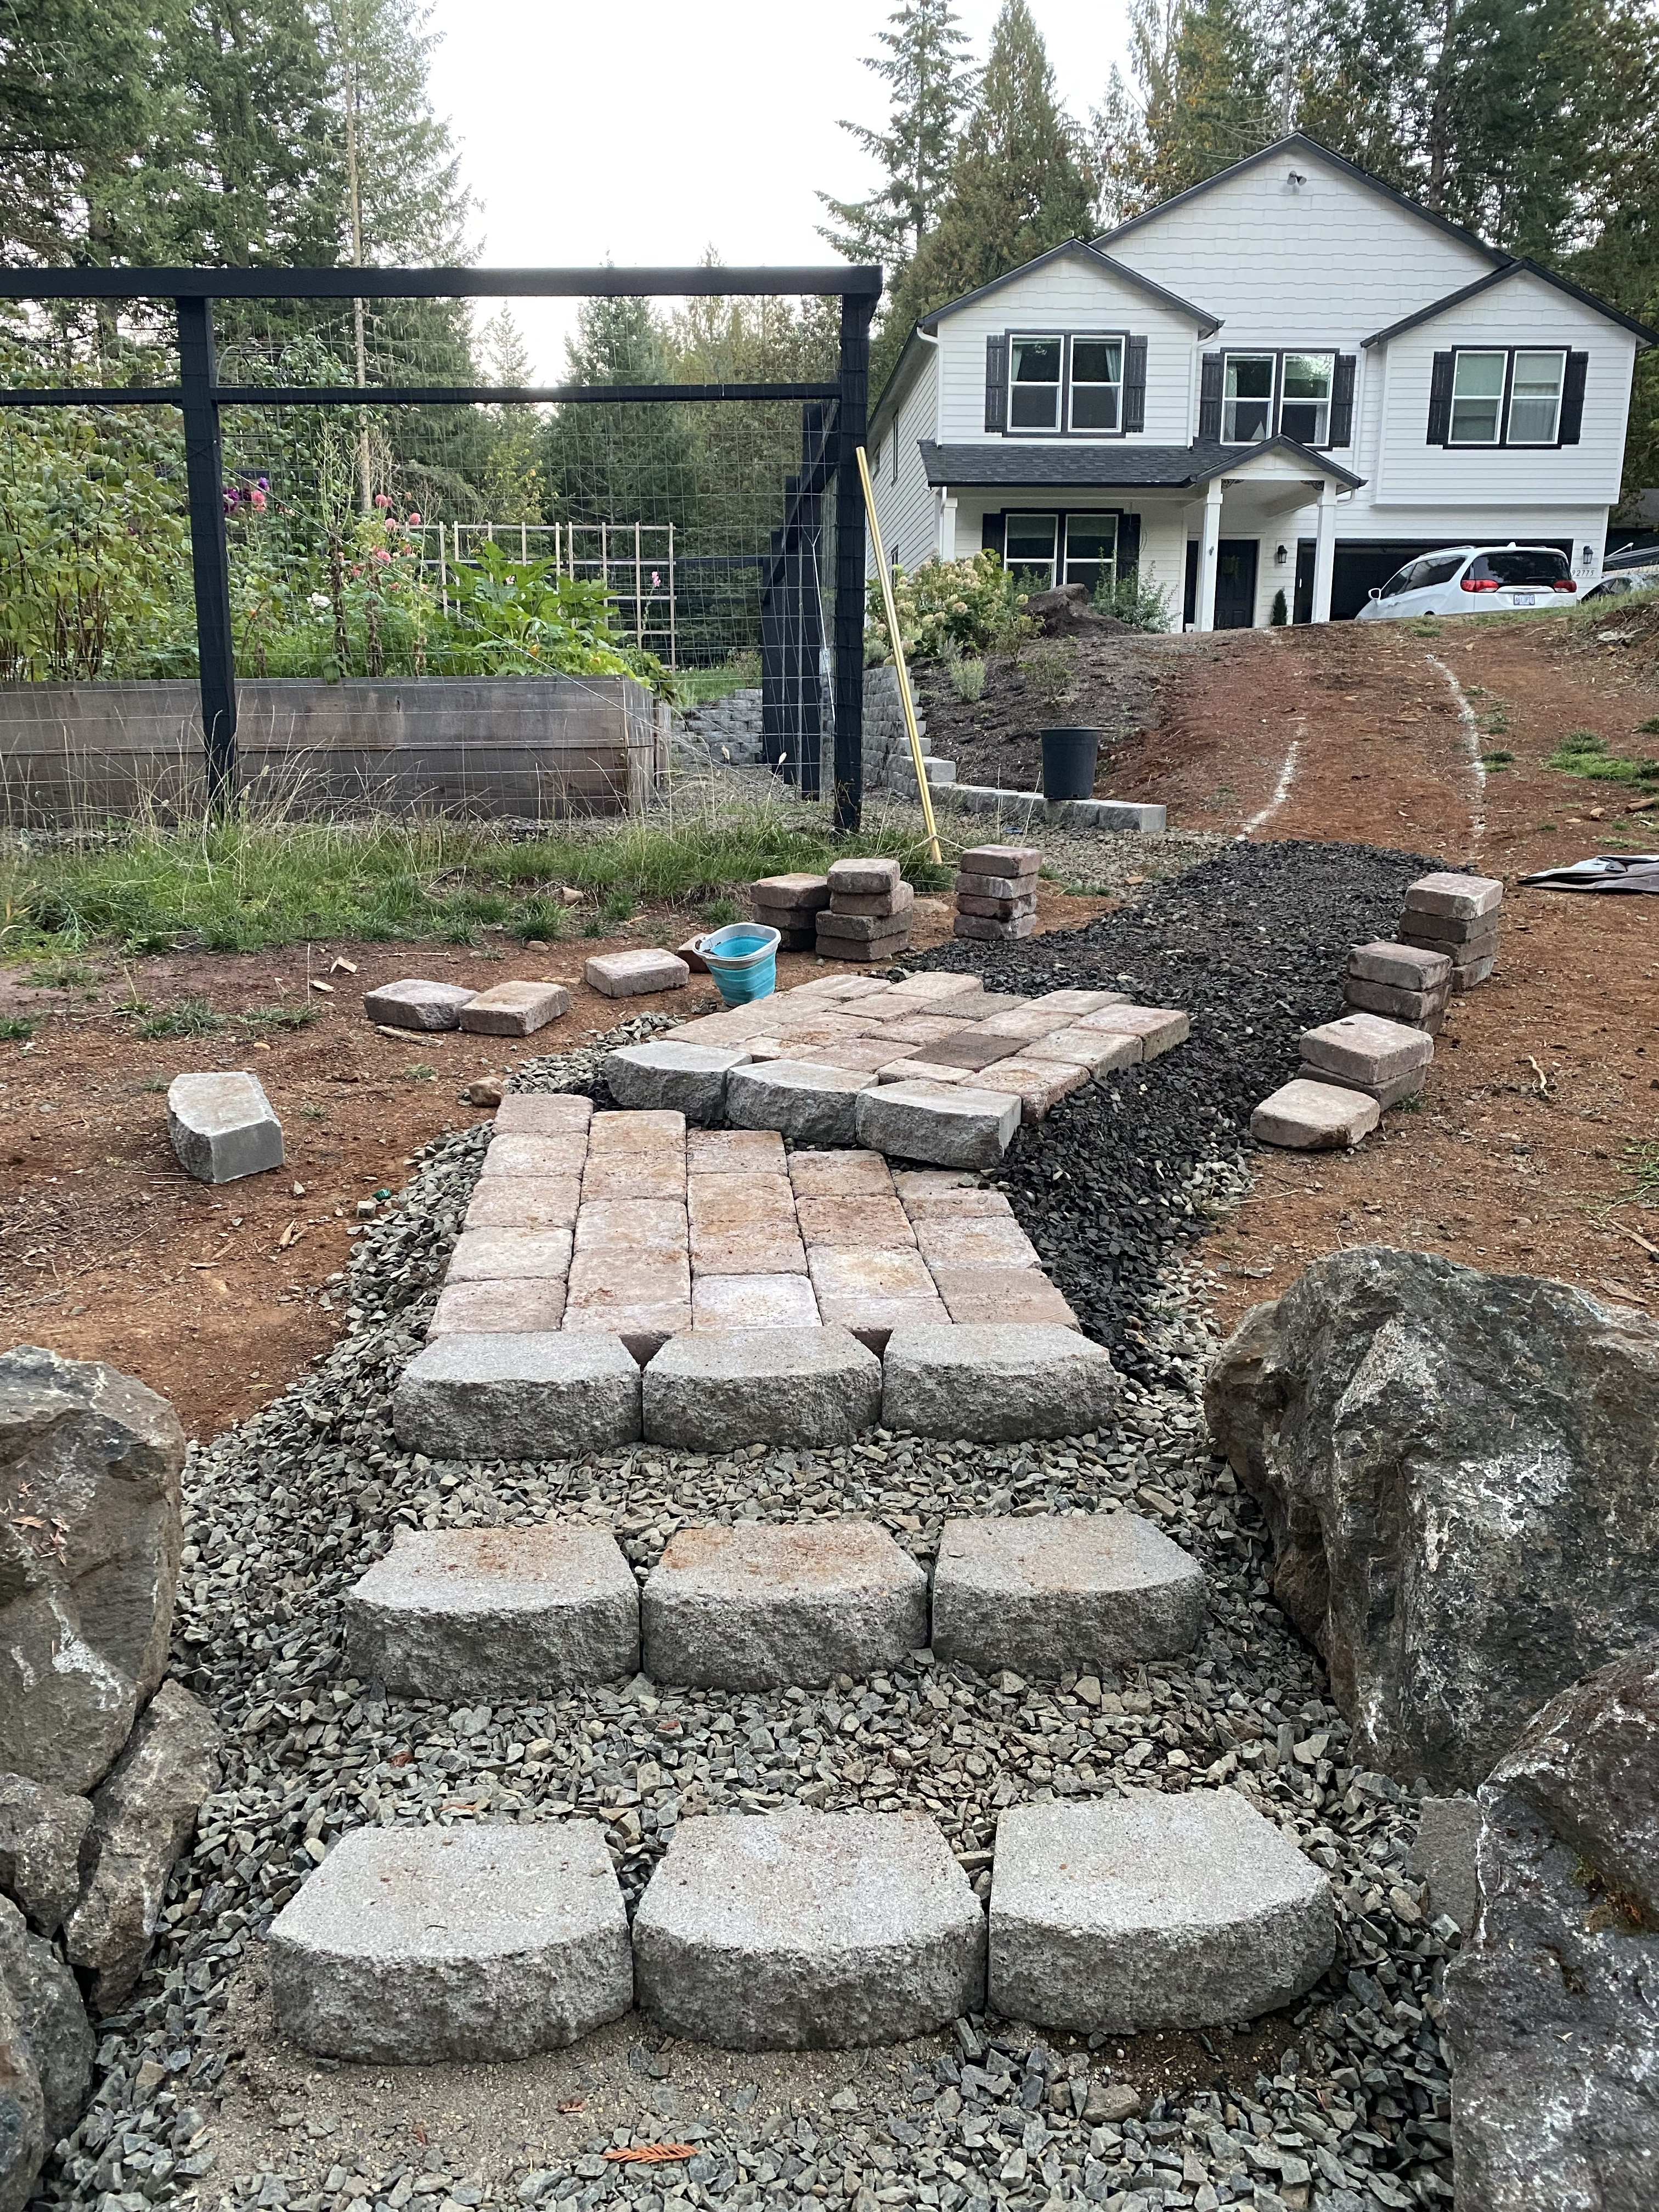
Then because of all the slope…steps, and boulders, and a path from the driveway down to the greenhouse to tie everything together.
OCTOBER 2024:
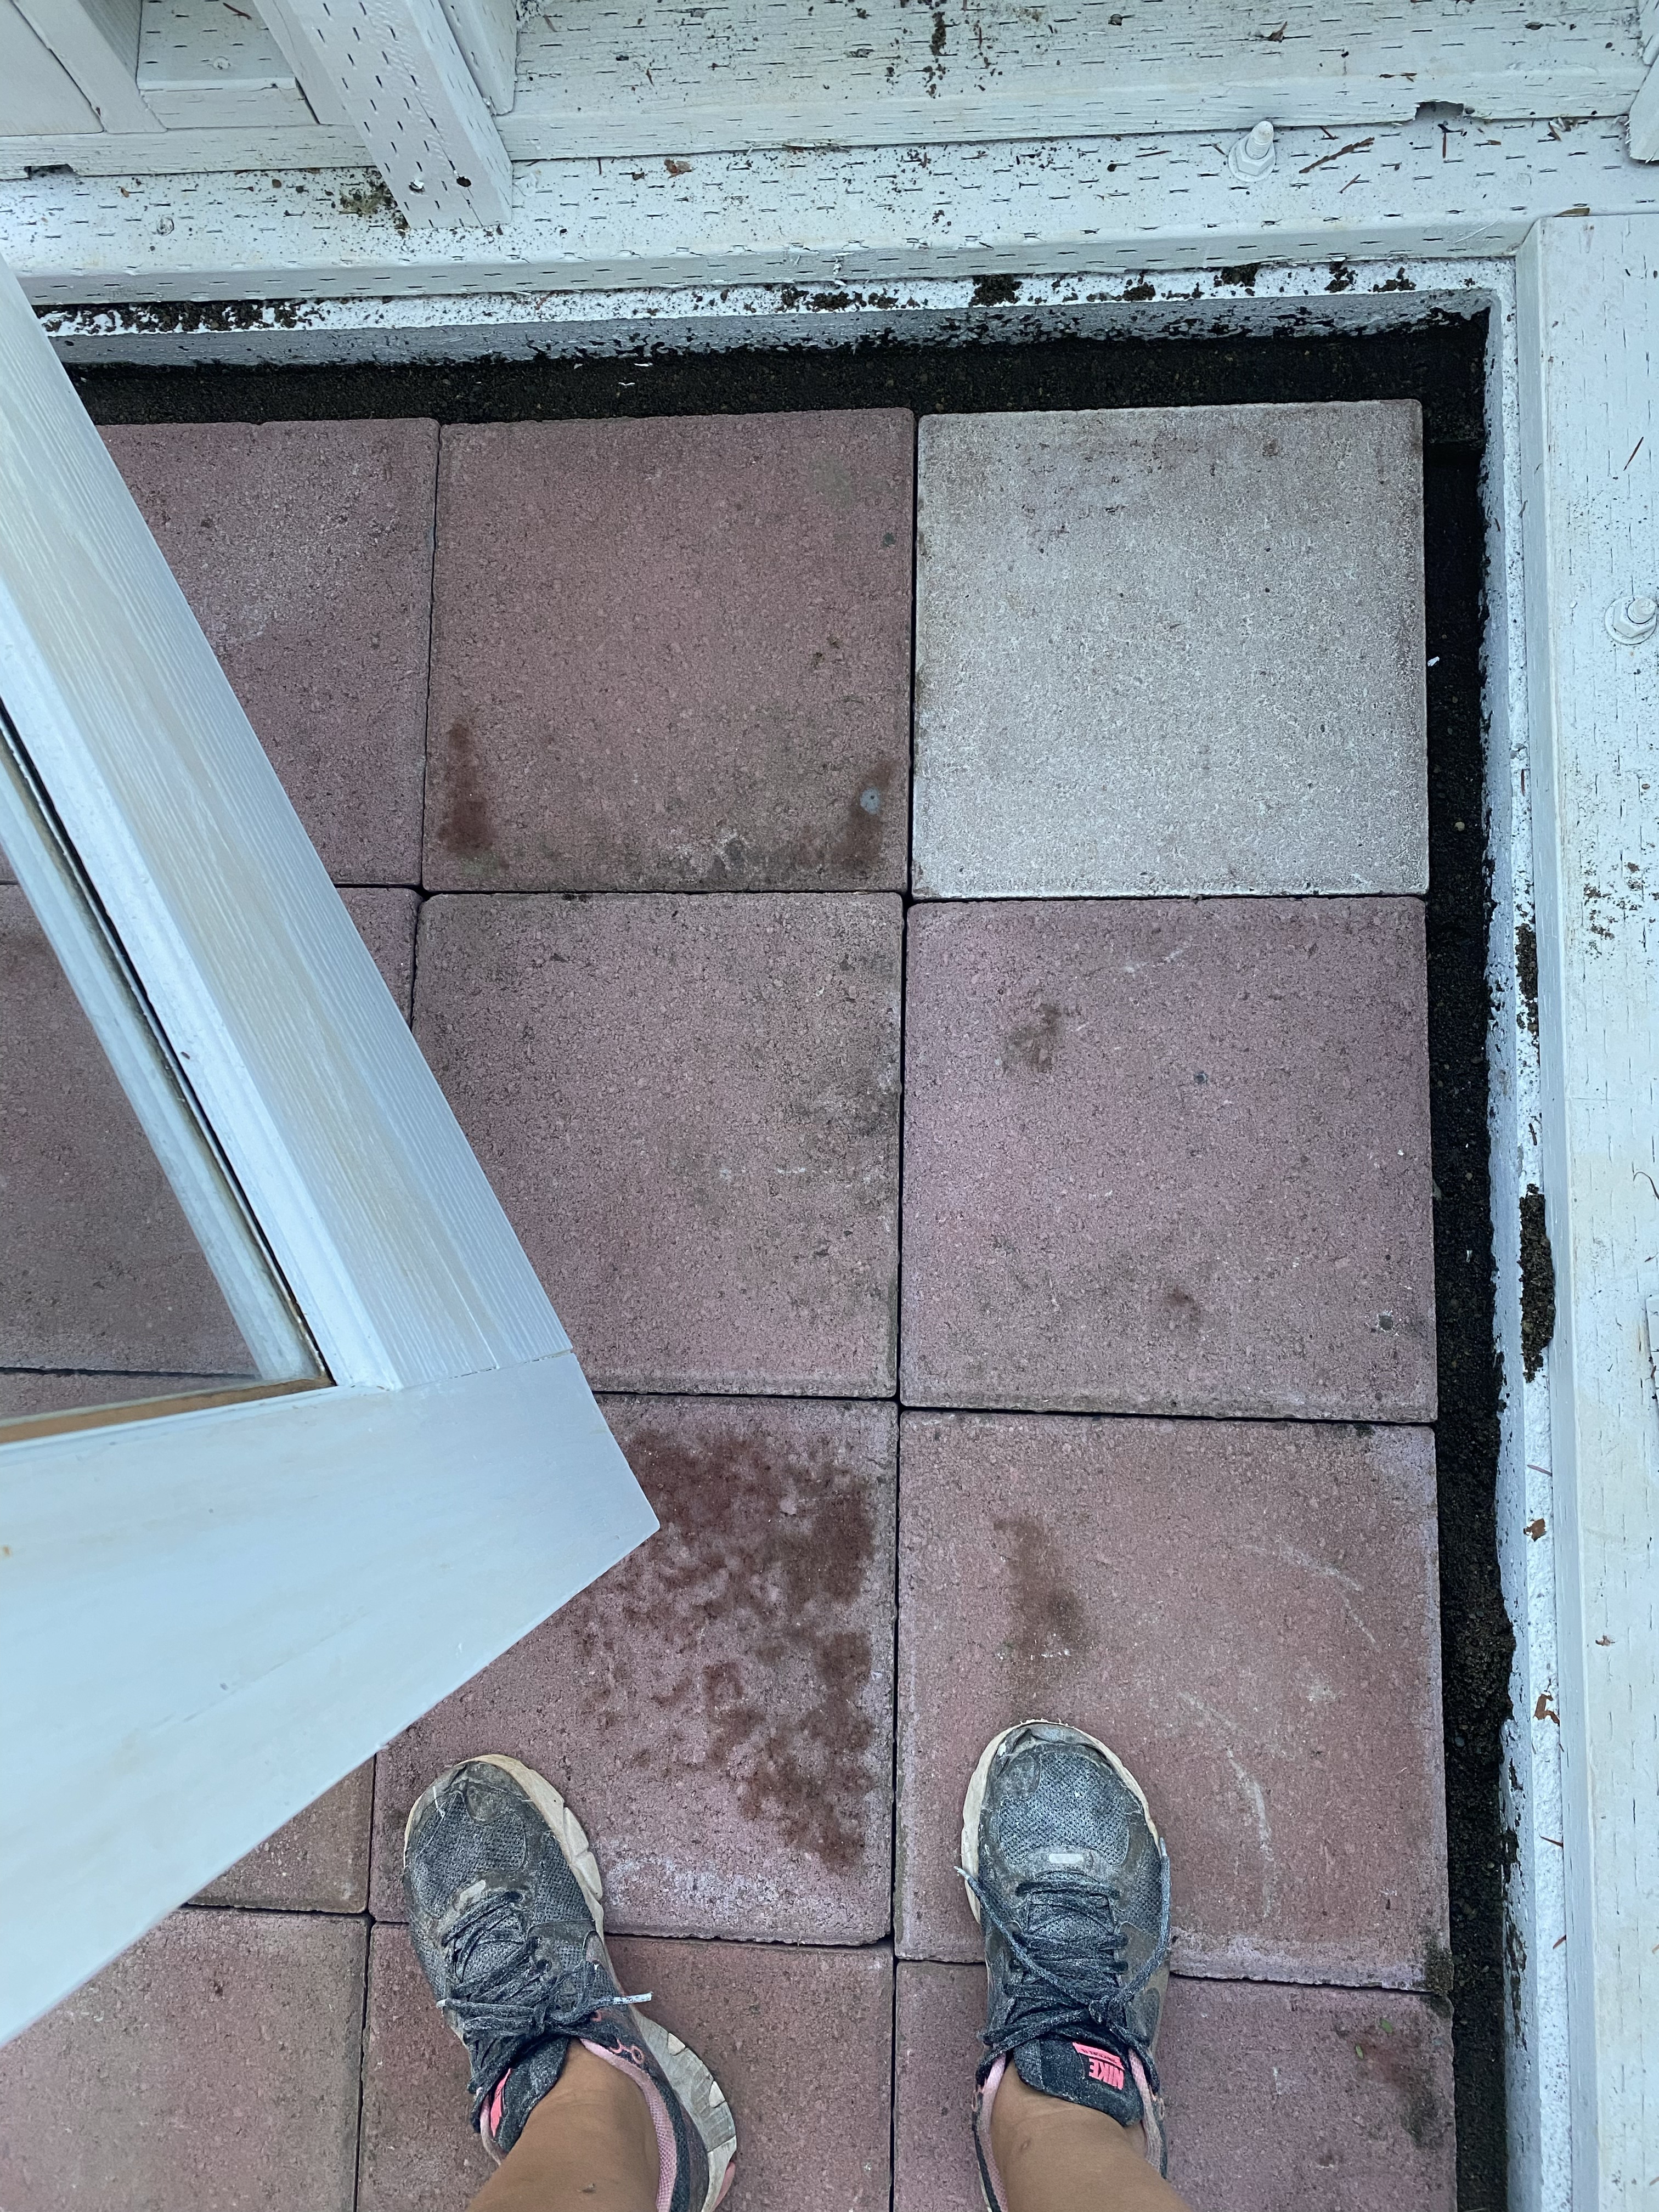
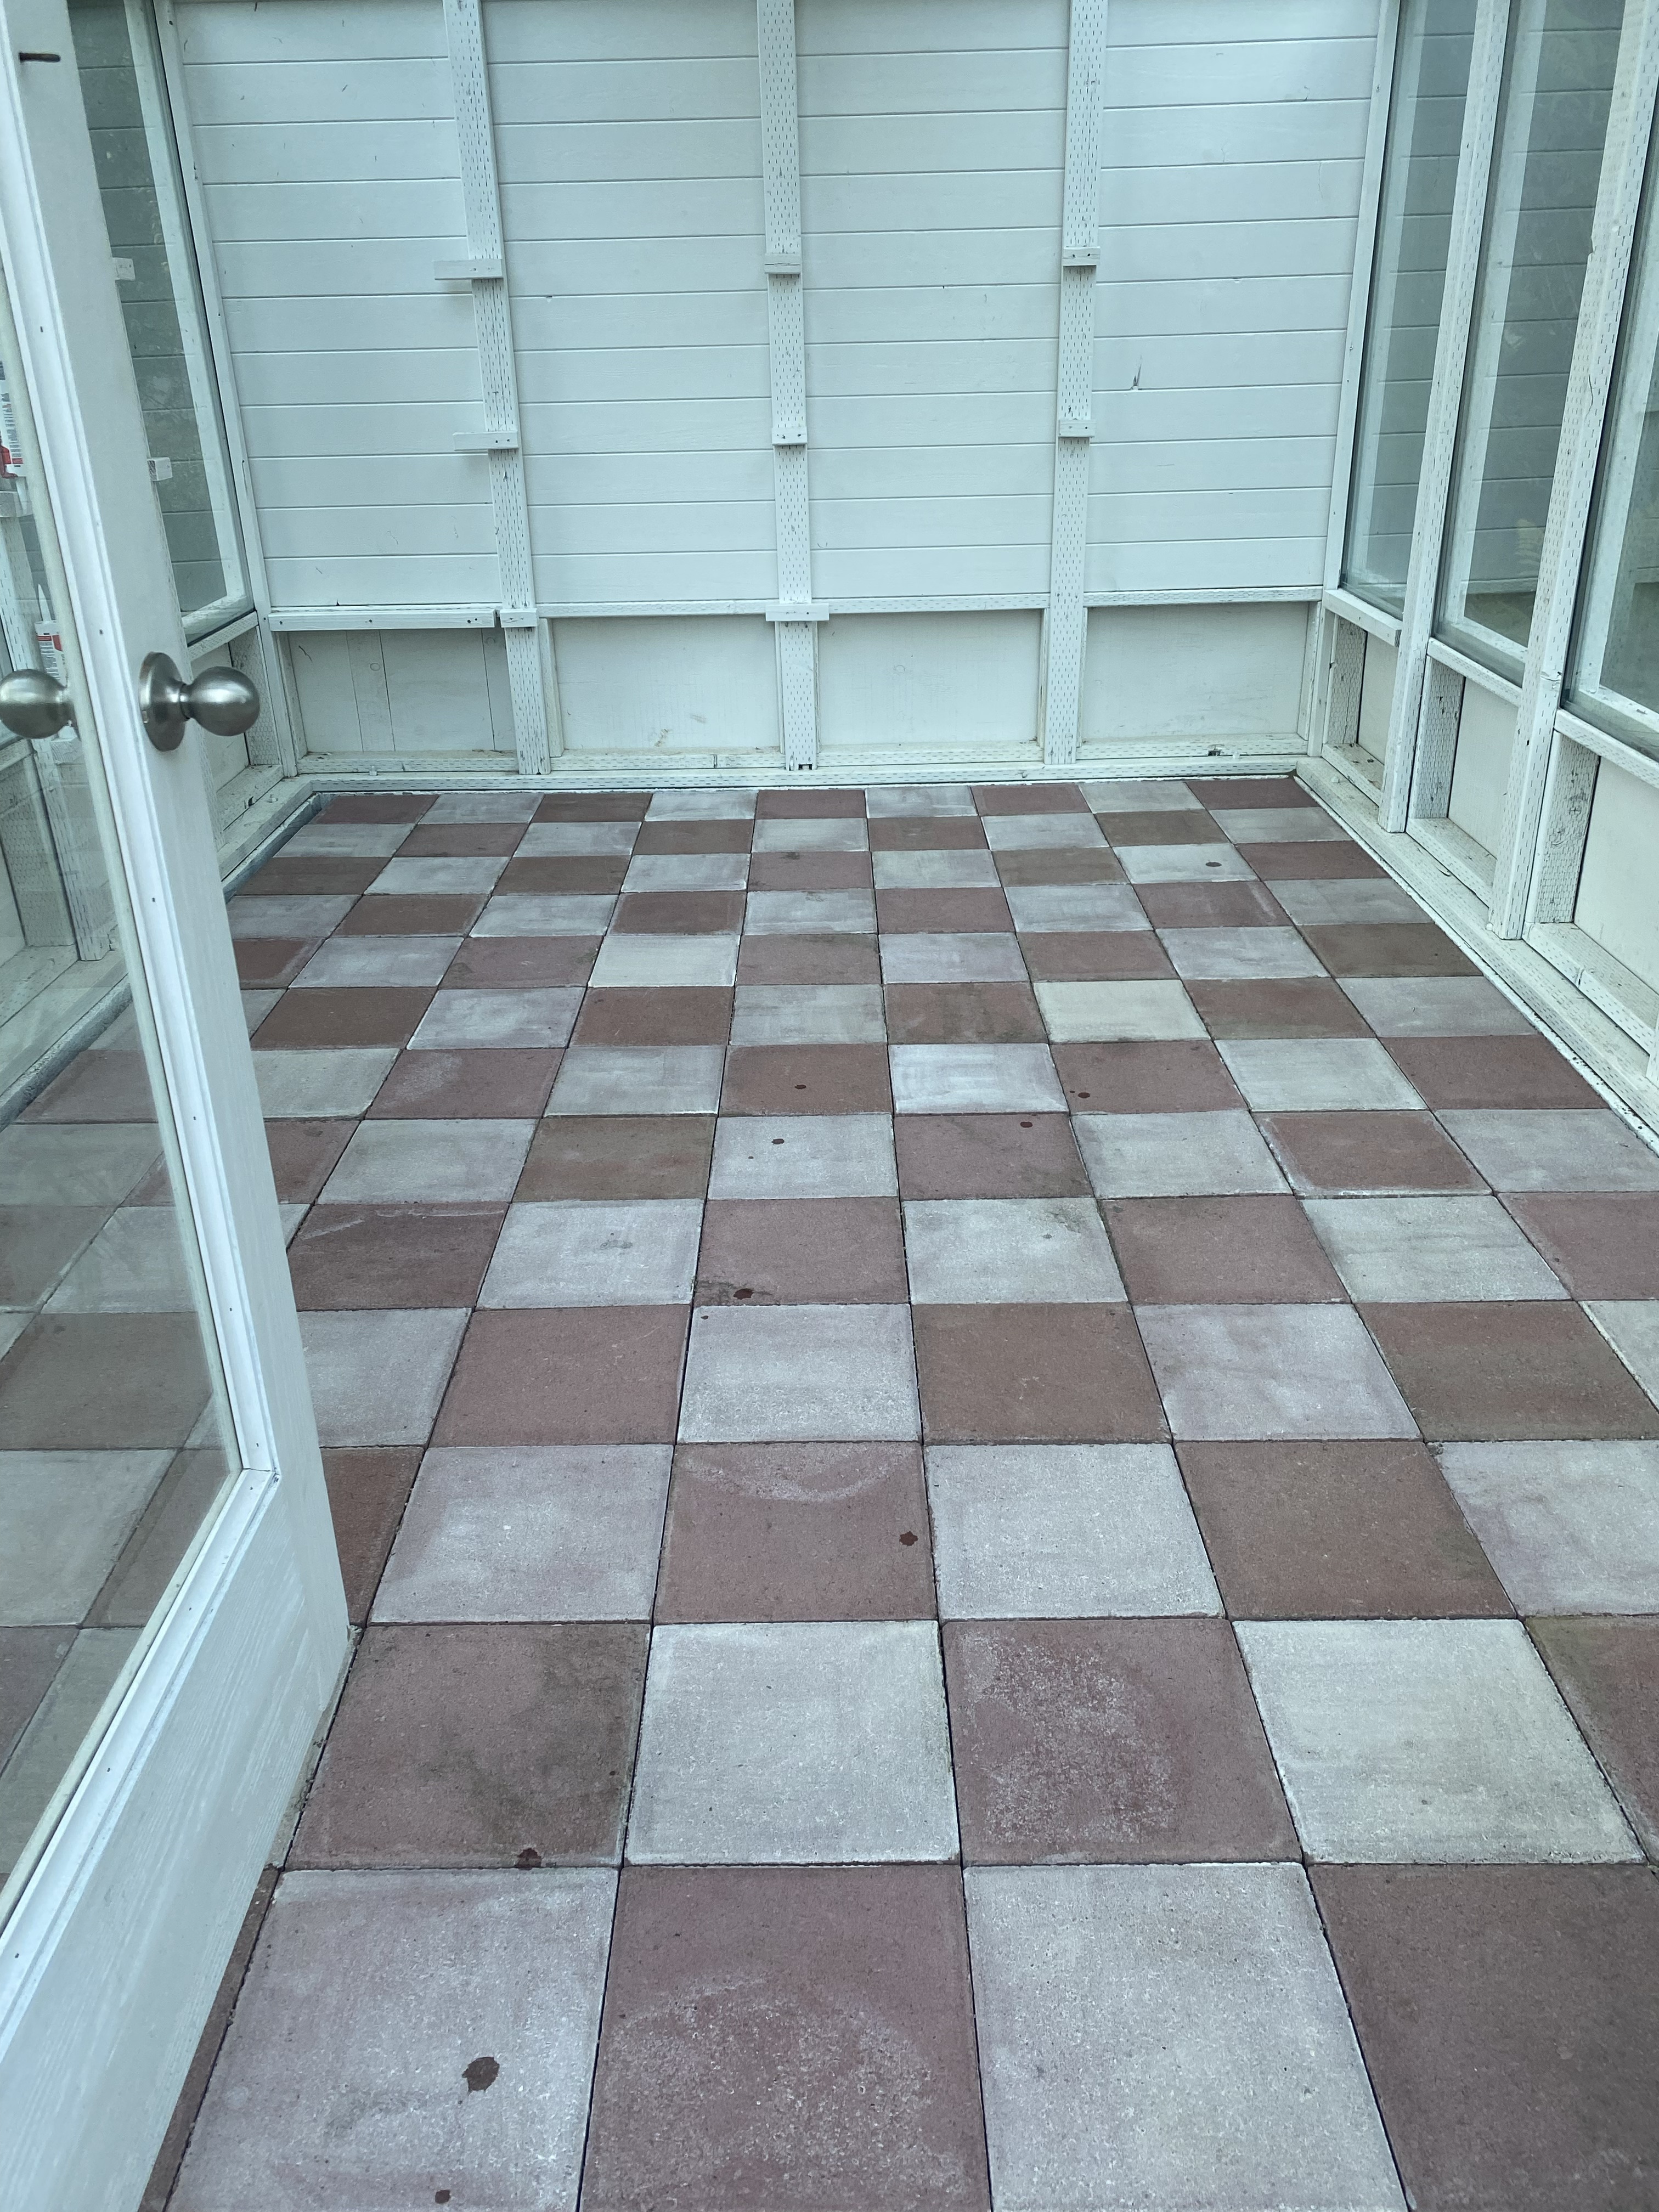
I decided to lime wash the floor in the greenhouse to create a checkerboard pattern. I didn’t love the all-red bricks since we have so much gray stone on the property and thought it would add another delightful surprise to the greenhouse’s charm. Literally garden lime, water, paintbrush.
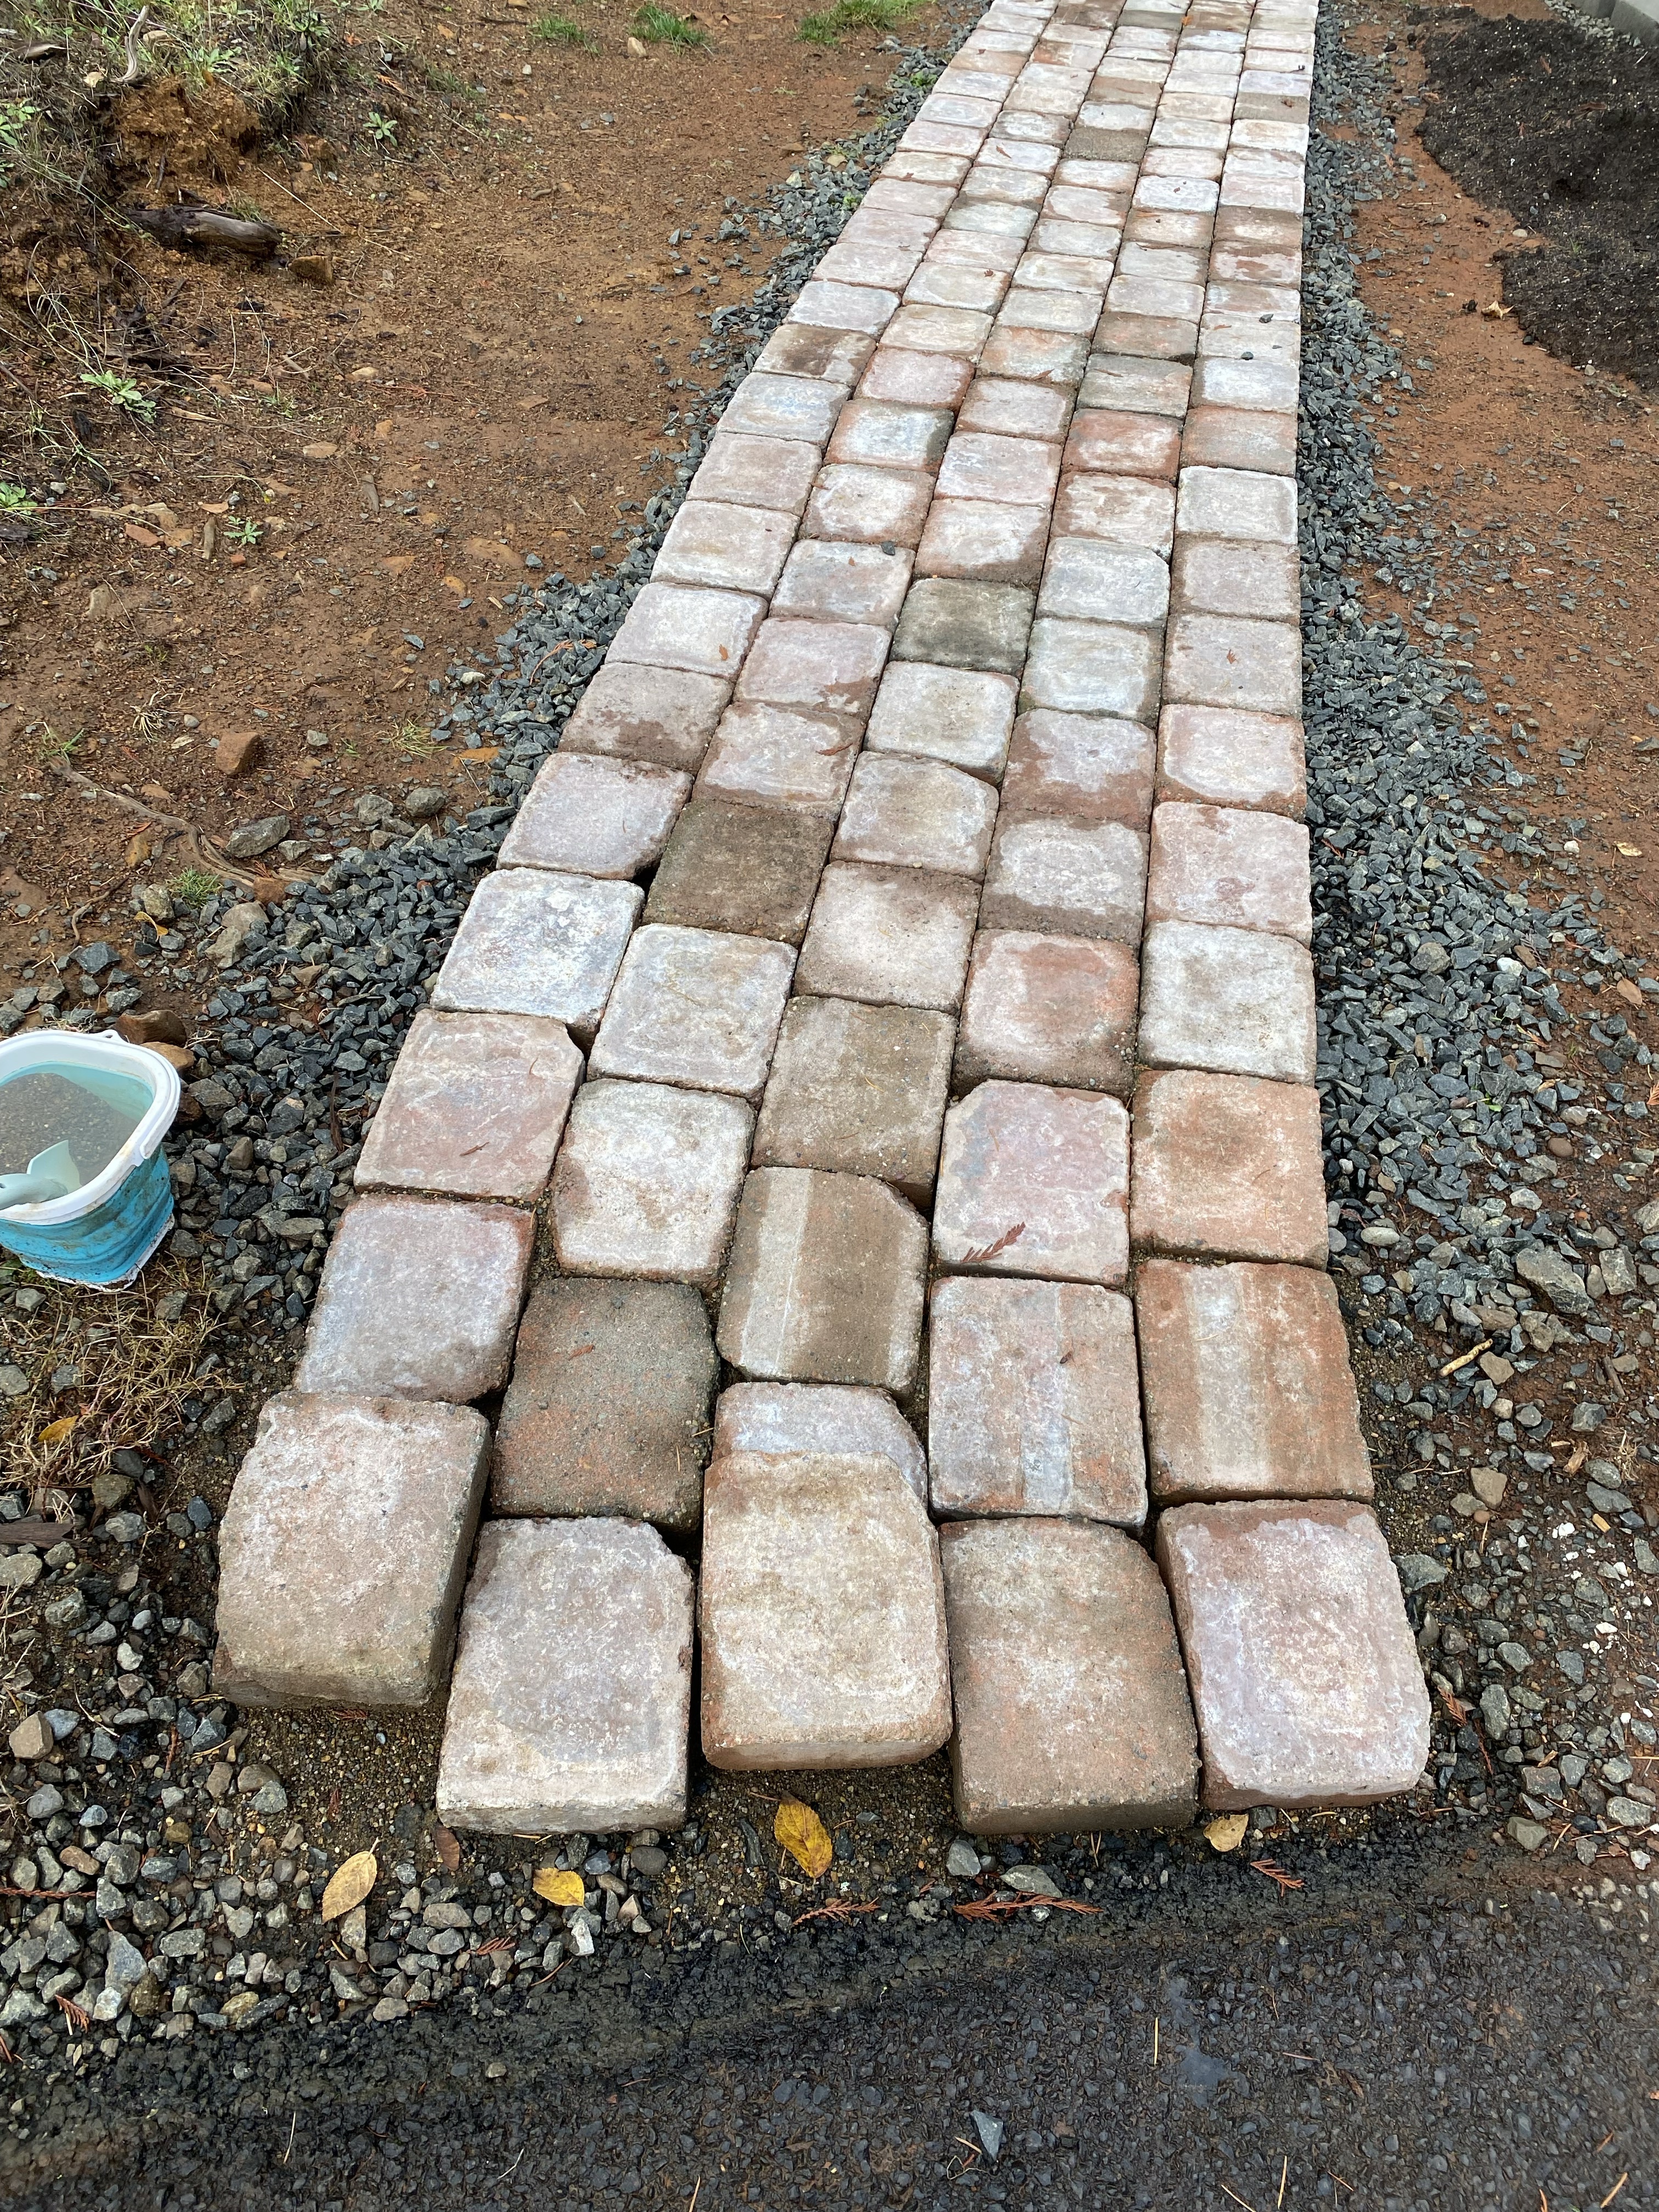
NOVEMBER 2024: Now officially over a year since we started this project, I am nearly done with the 45-foot pathway, just need to place the final row of pavers.

The greenhouse is just about done too, we still have a bit of caulking and some shelving to install inside. But truthfully, are these projects ever truly, totally done? So when you see photos of our charming, not-green greenhouse, know it wasn’t done over a weekend or two, but over a year. Let’s normalize real-life and real-project timelines, agreed?
XO,
–h

Love it! White is so classic for a greenhouse. I love how you arranged everything from the bricks to the antique set, so fun! Can’t wait to see what you plant around it.
LikeLike