
Sometimes you just need a sweet project to break up all the major projects. Or maybe you just need something to do with all the dried flowers you pressed with your daughter, with zero plan but lots of possibilities.
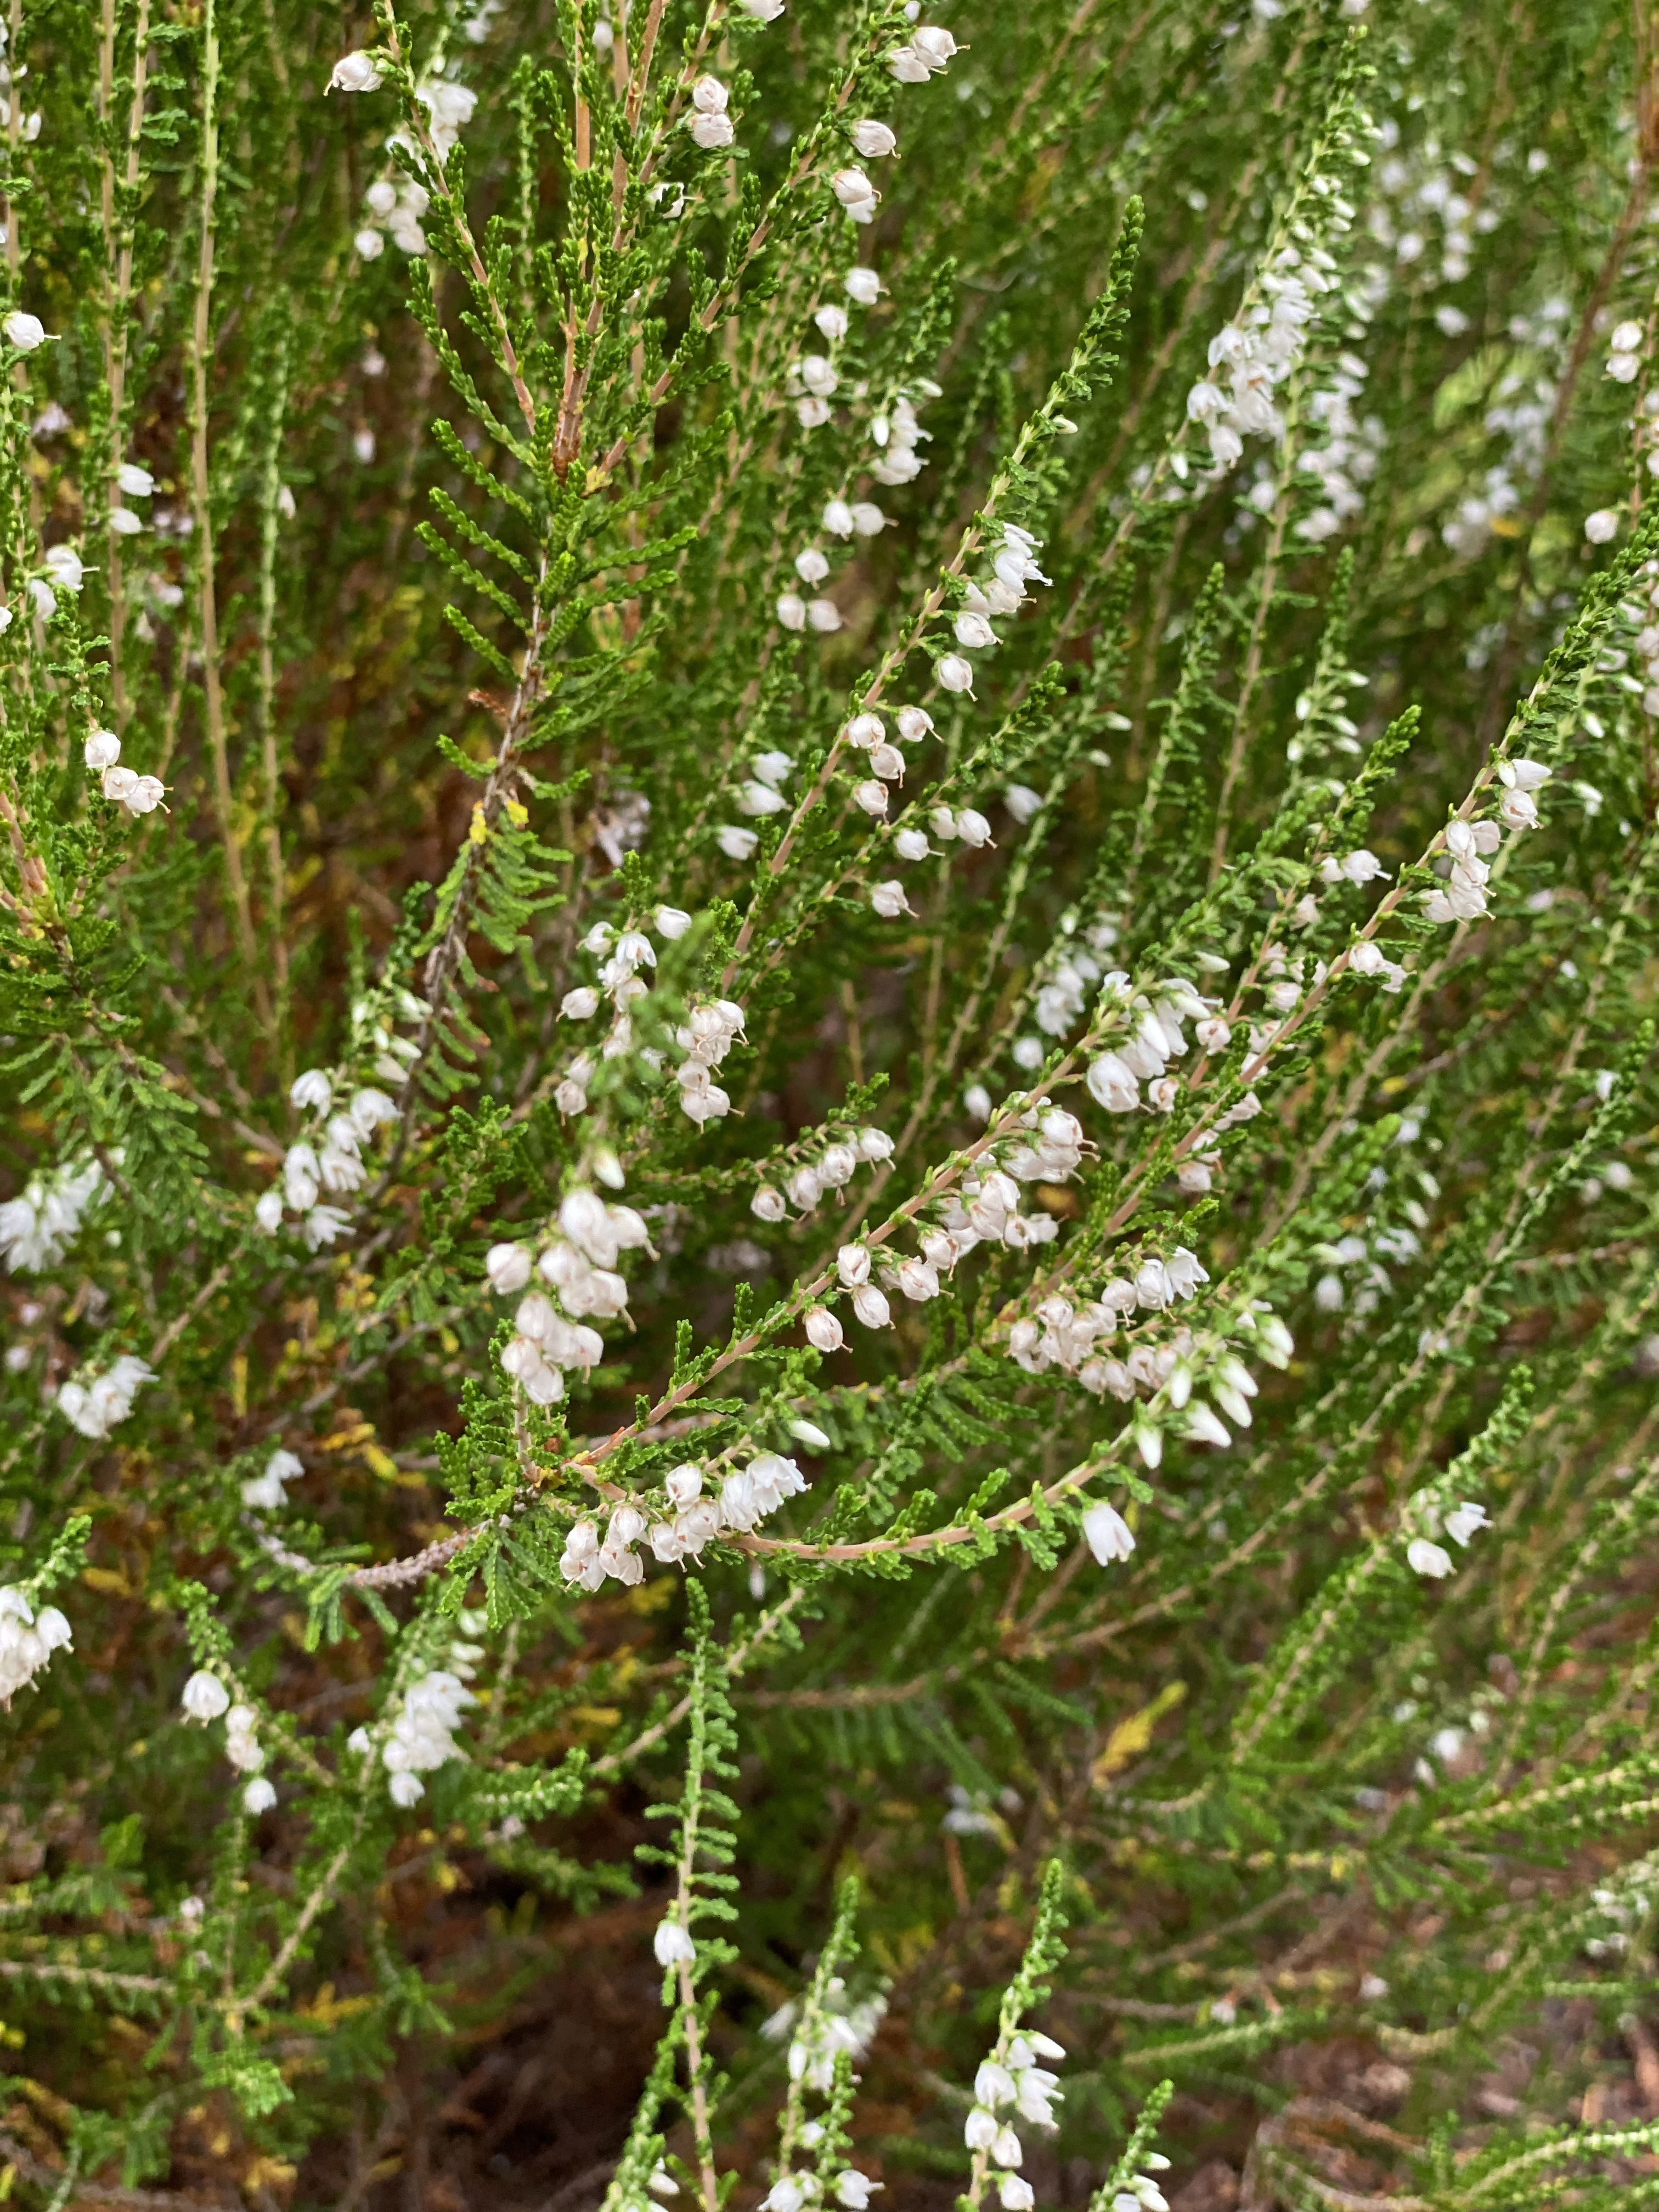
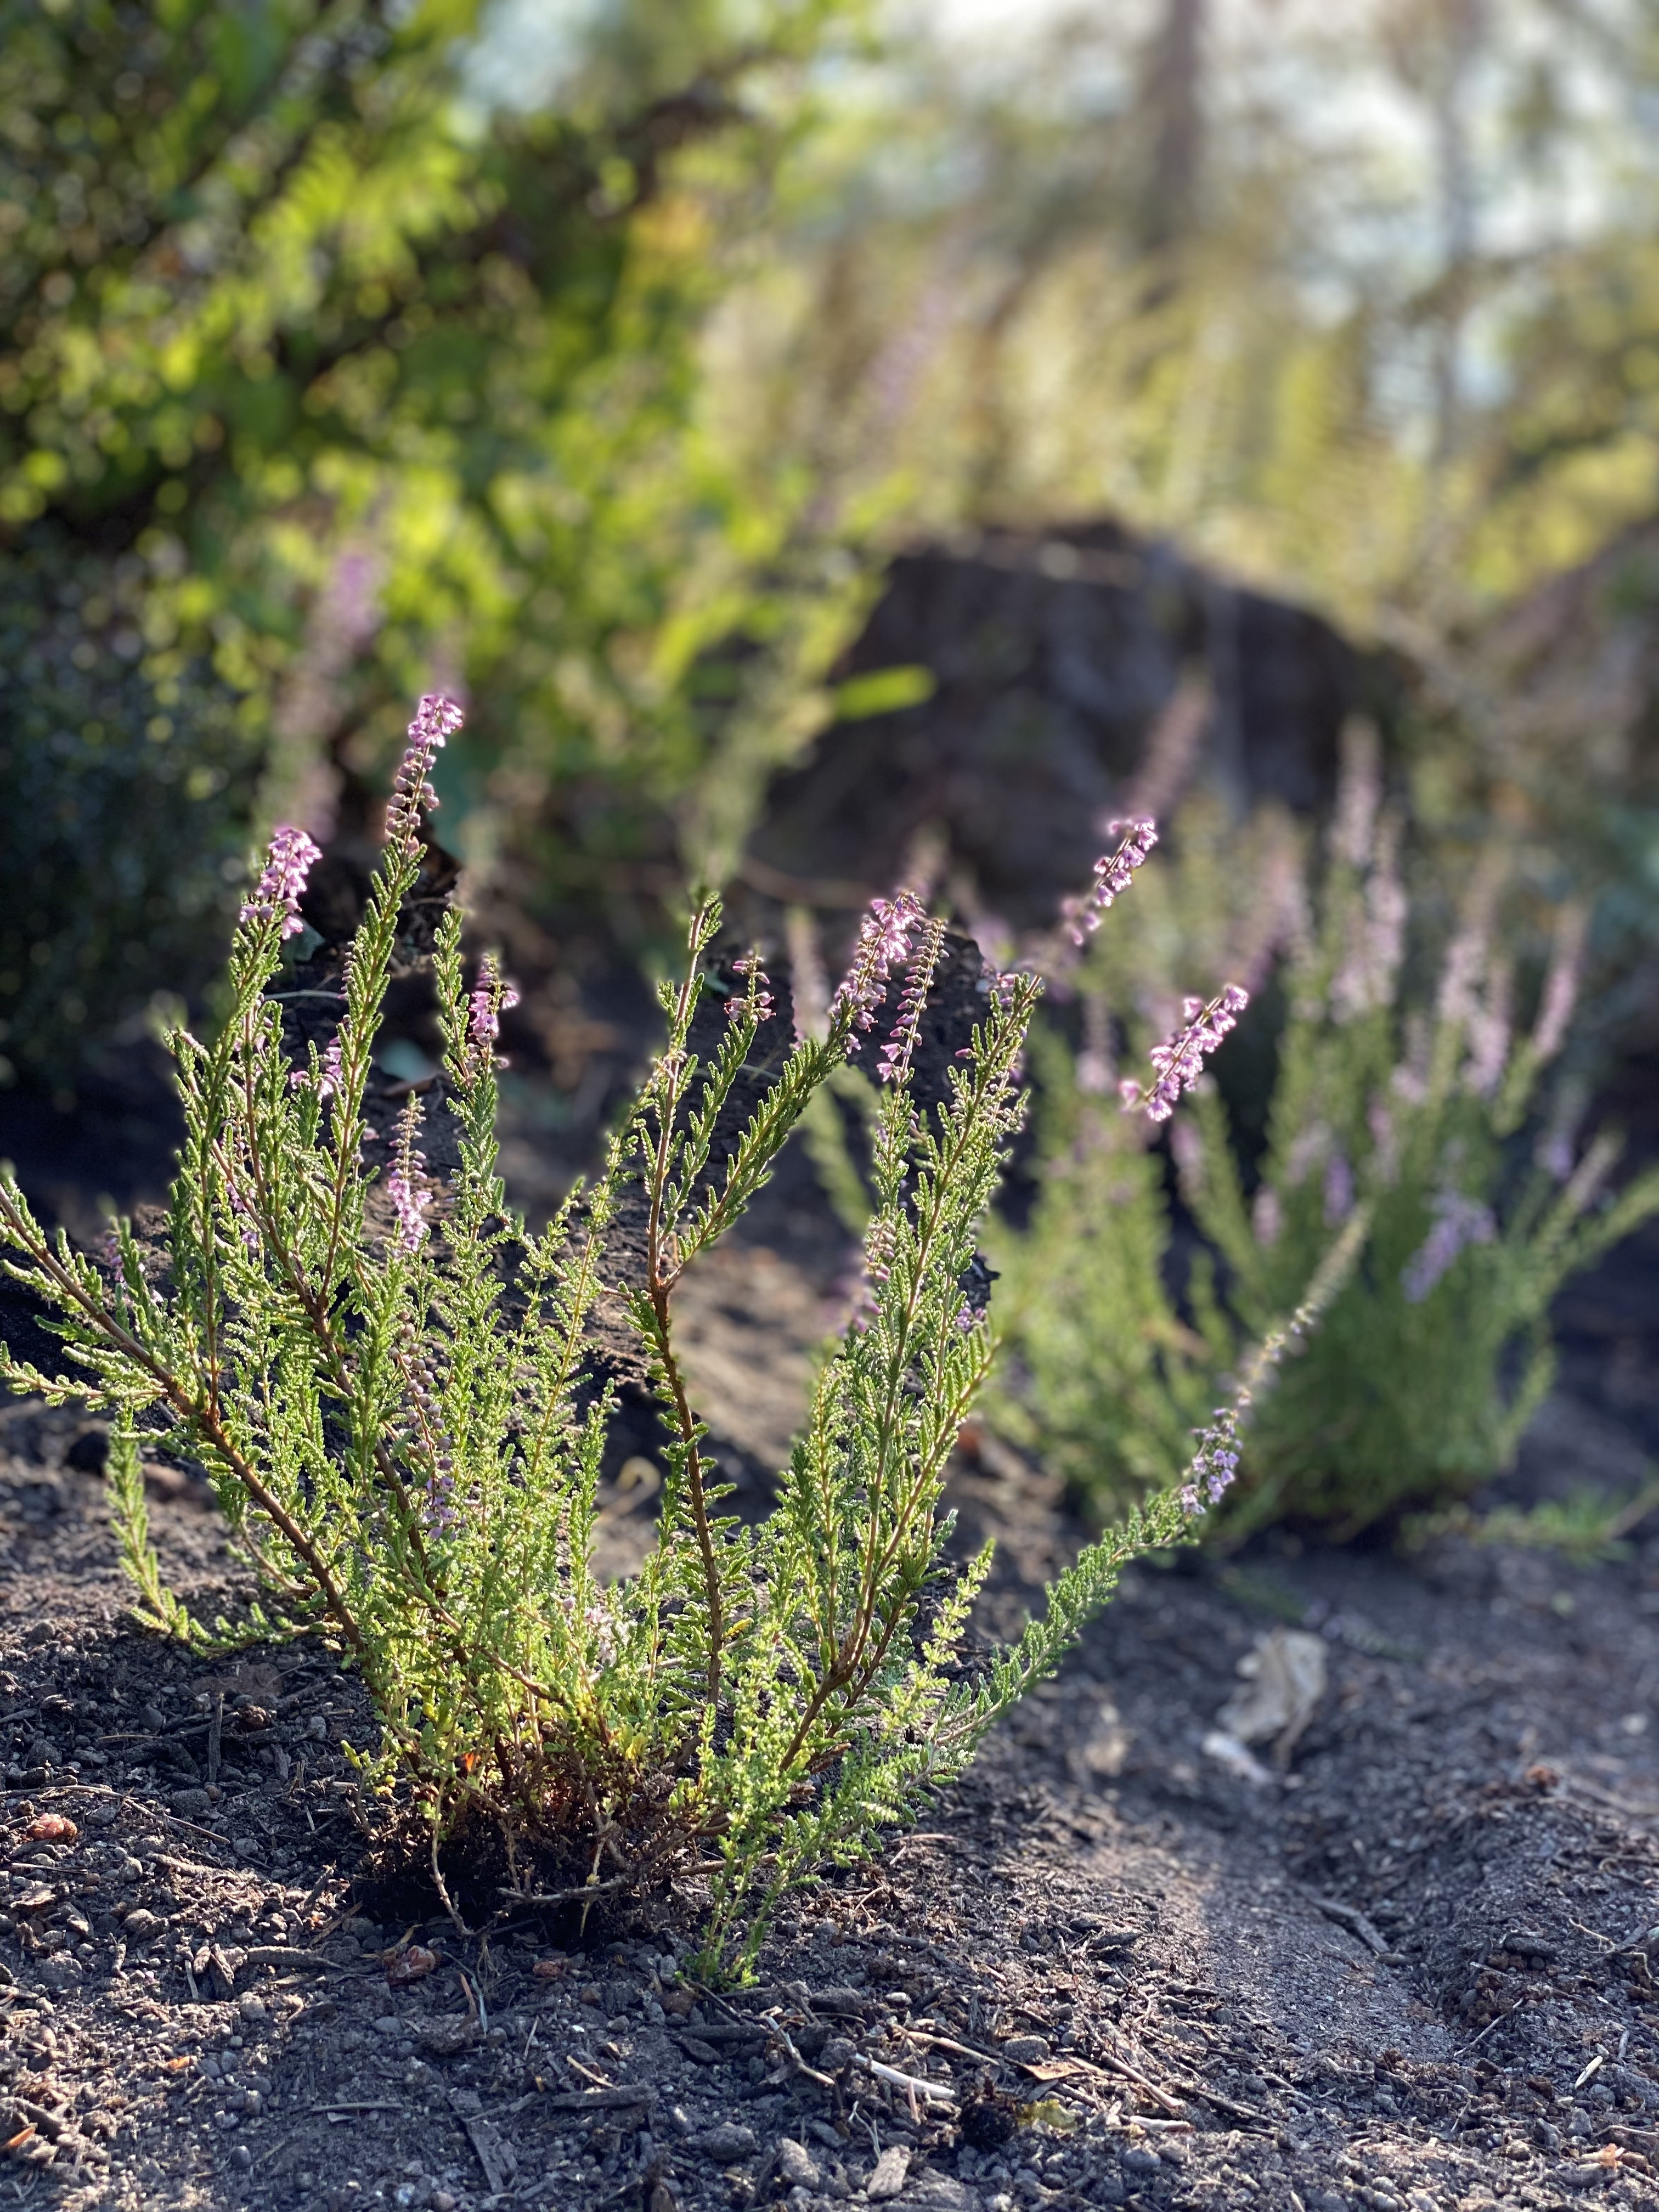
Over the last two summers, Kyrie and I started picking and pressing some of the flowers we’ve been growing. She kept asking me, “Mom, what are we going to do with all of these?” I have grand illusions of about a million projects, including creating a gardening journal complete with pressed flowers inspired by @missmustardseed (but that’s for another day). Instead, we picked and pressed to our hearts’ content without a real goal. We used parchment paper tucked into stacks of the biggest, heaviest books we have. It only takes a couple of weeks, and they are dried and ready to use.
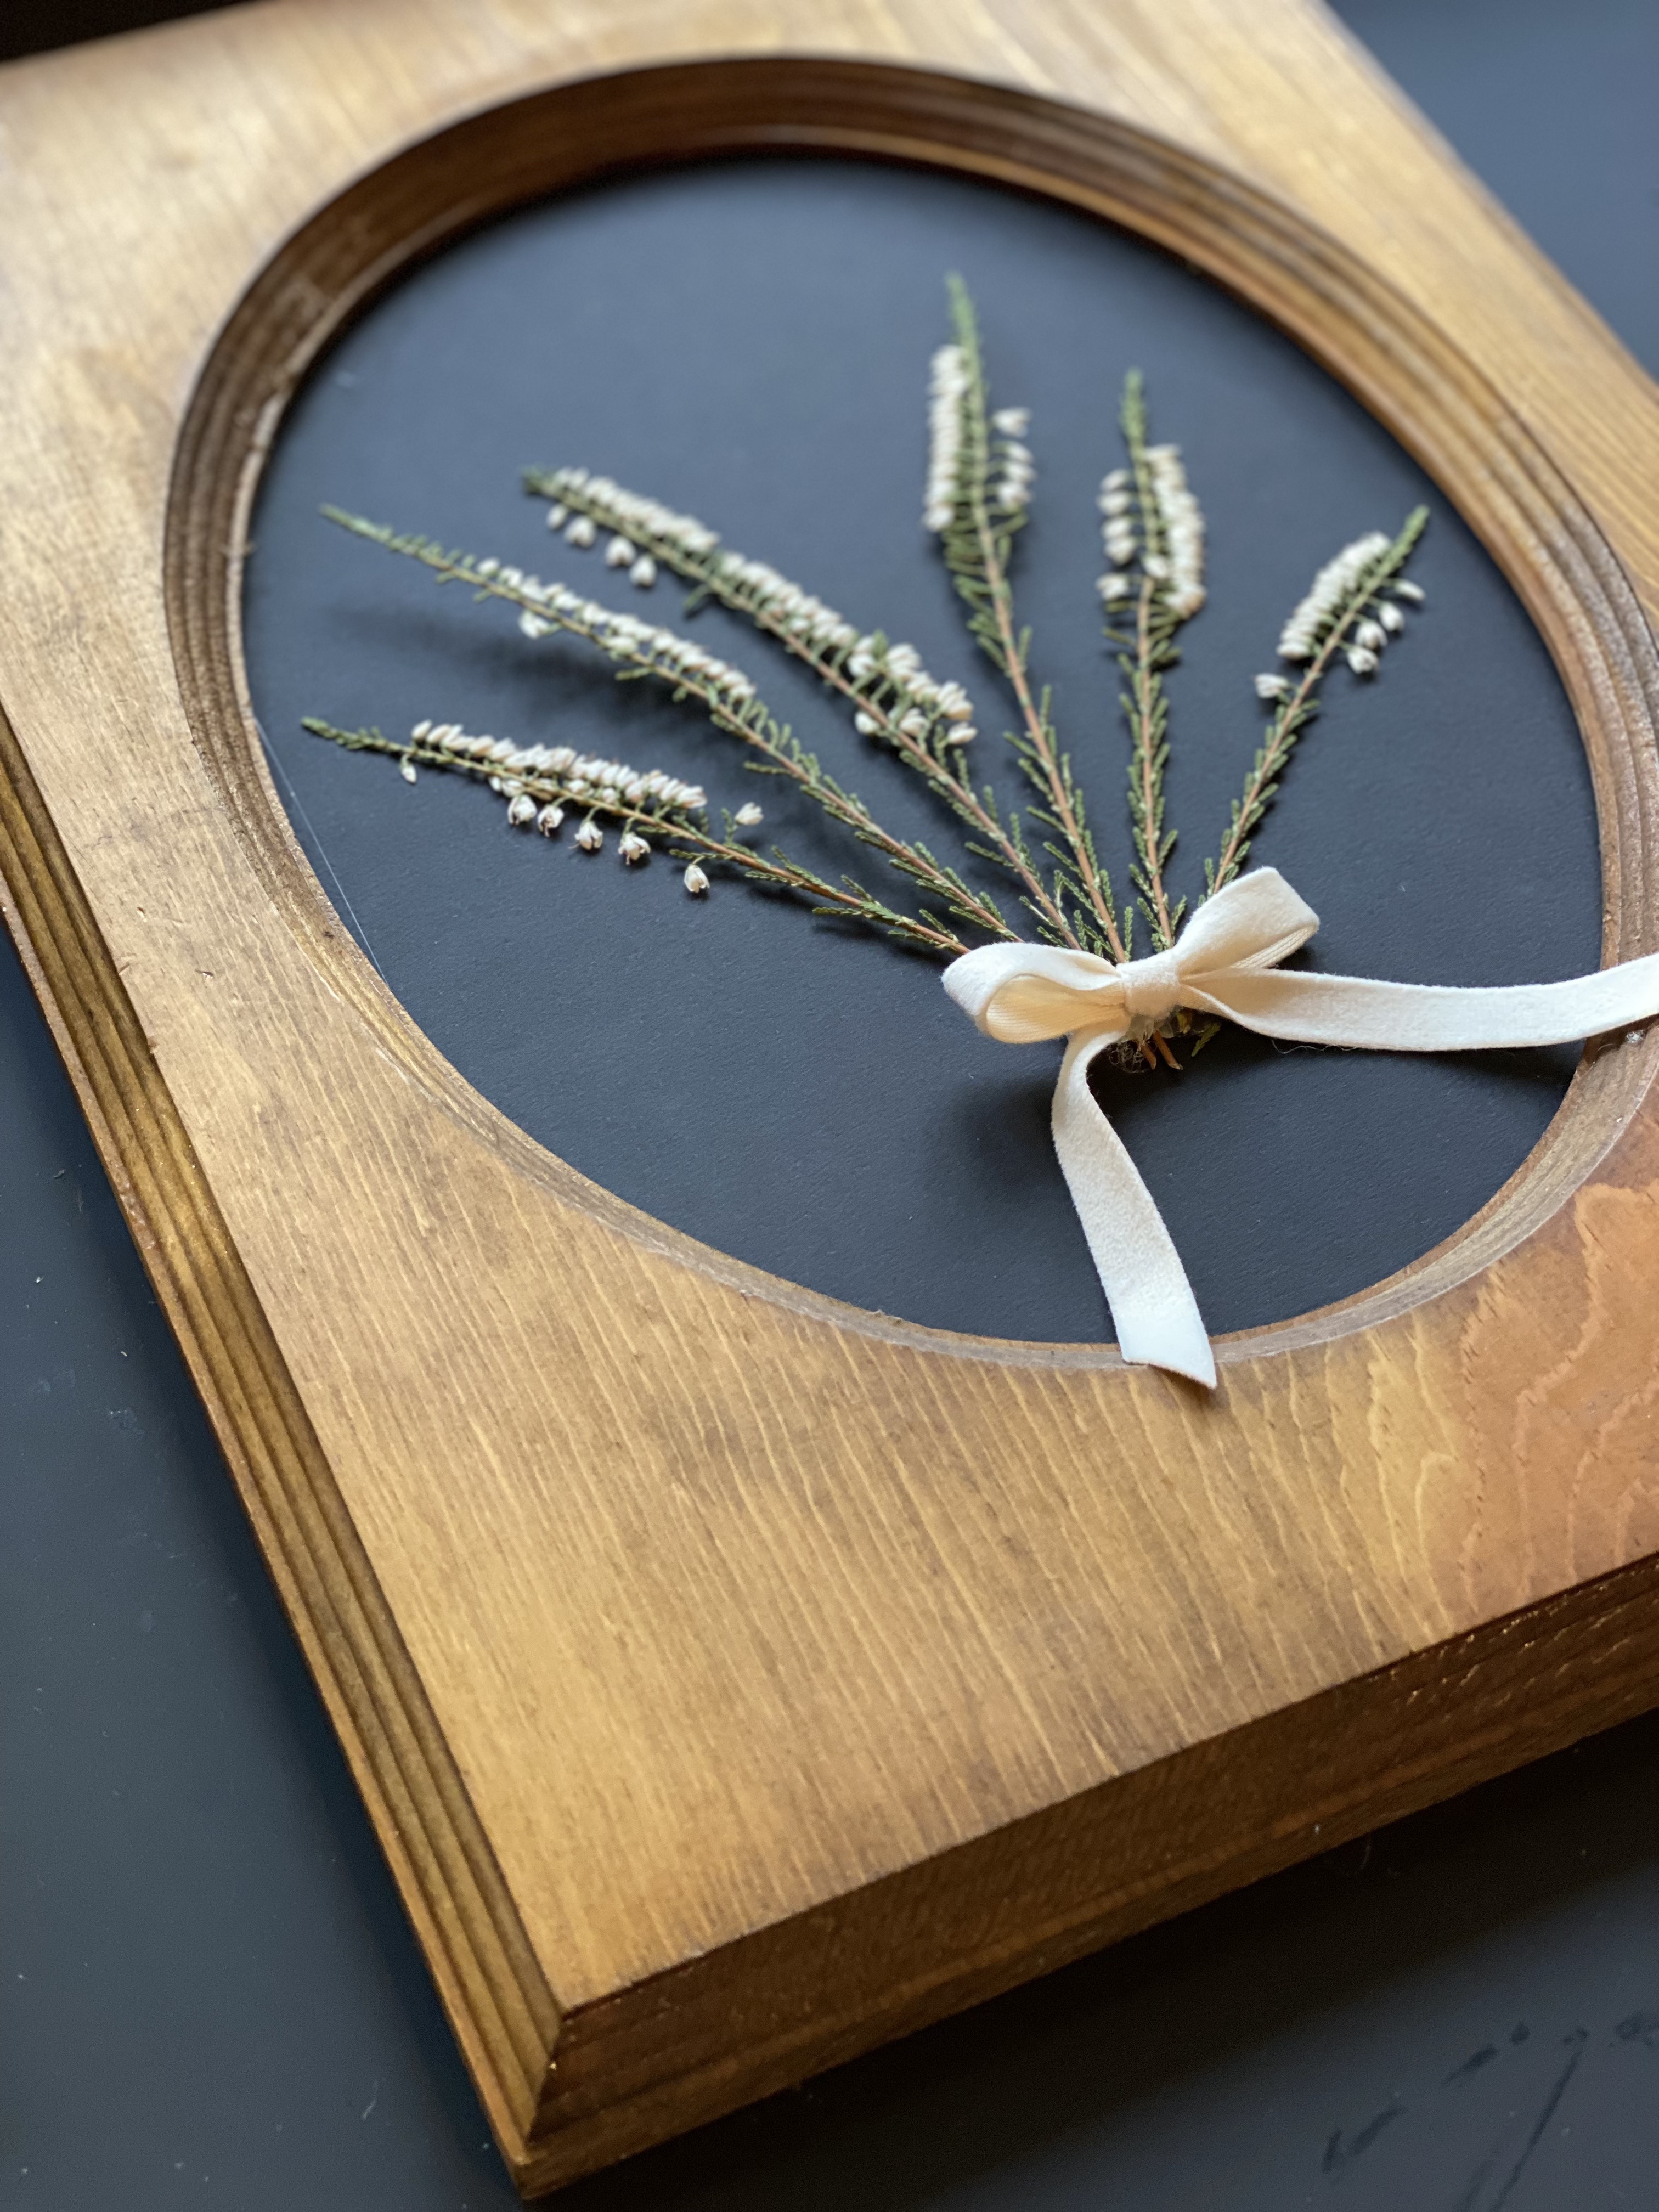
I find the best ideas come from happenstance. I was at an outdoor antique fair this fall and found a few vintage frames for about $4 – $5 apiece. Again, with no true plan, I bought them because they were cool and you never know when inspiration might hit. When I got the frames home, it hit me, we should frame some of the pressed flowers! And no ego involved, I promise, but I had to start with heather.
Supplies:
-vintage frame
-pressed, dried flowers (DIY or you can find some on Etsy)
-scrapbook paper
-hot glue
-velvet ribbon (via Amazon)
Directions:
1. I measured the scrapbook paper and cut it to match the size of the backing of the frame. I used black paper because I love the contrast.
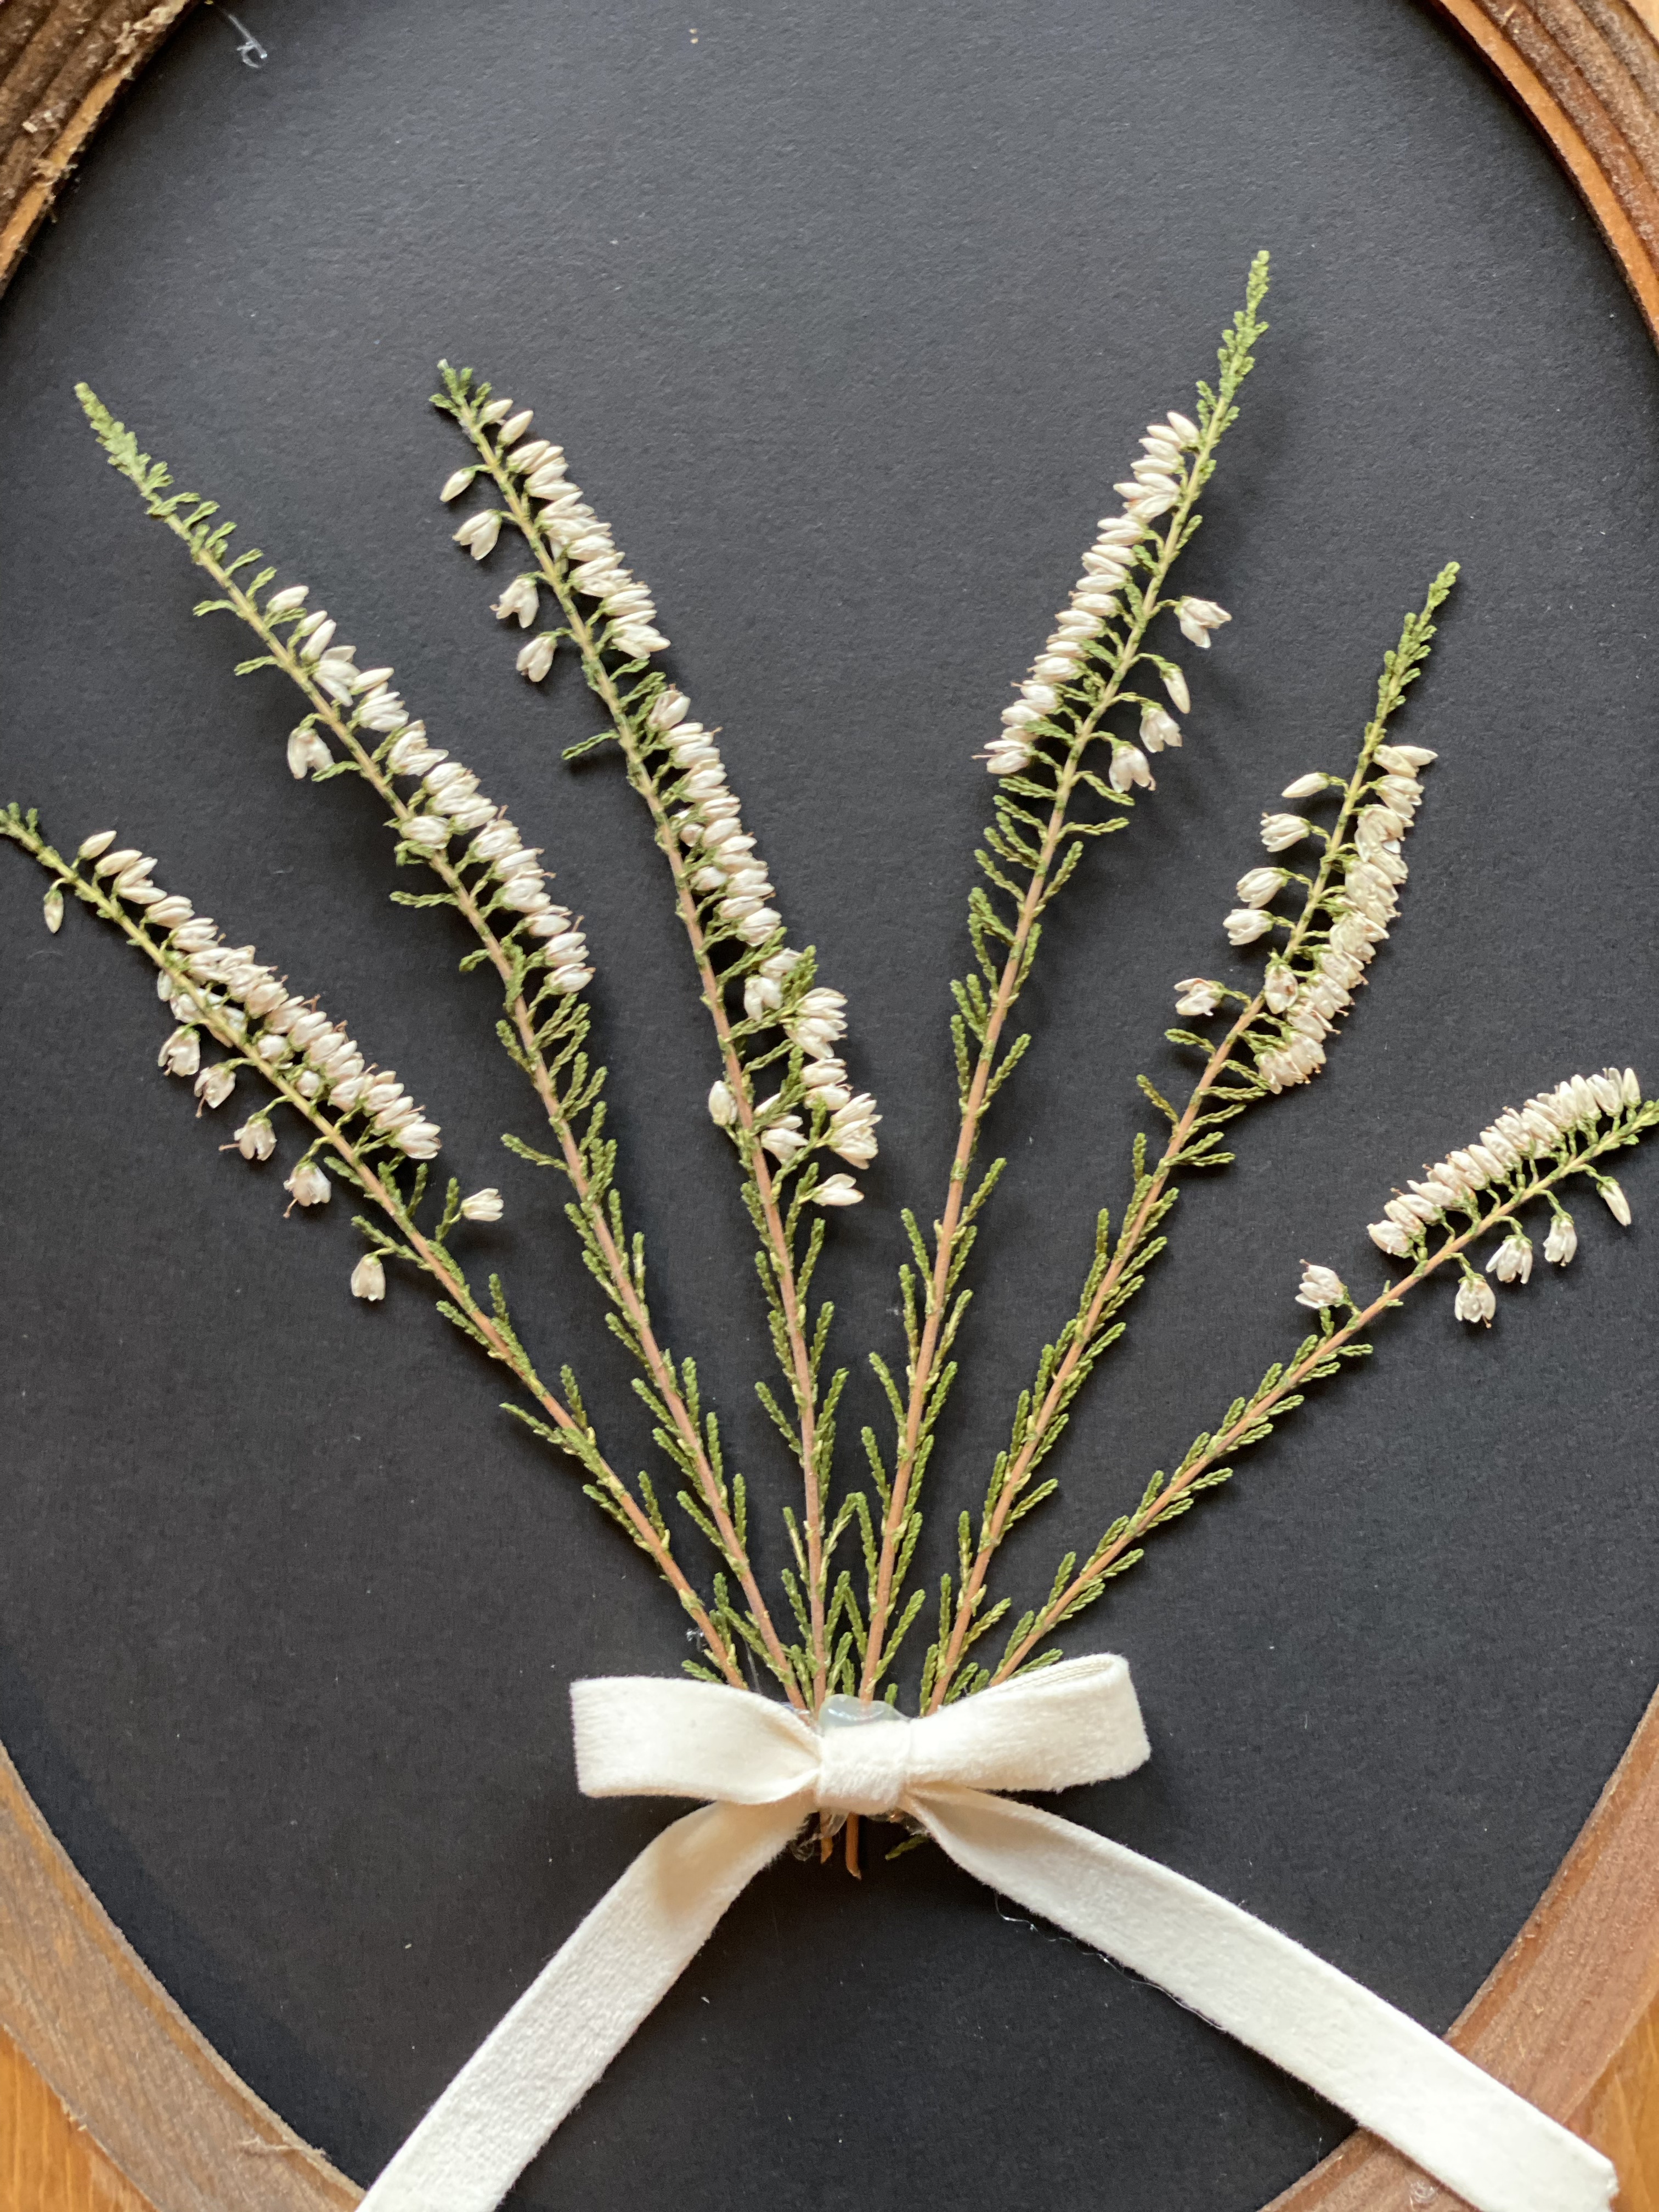
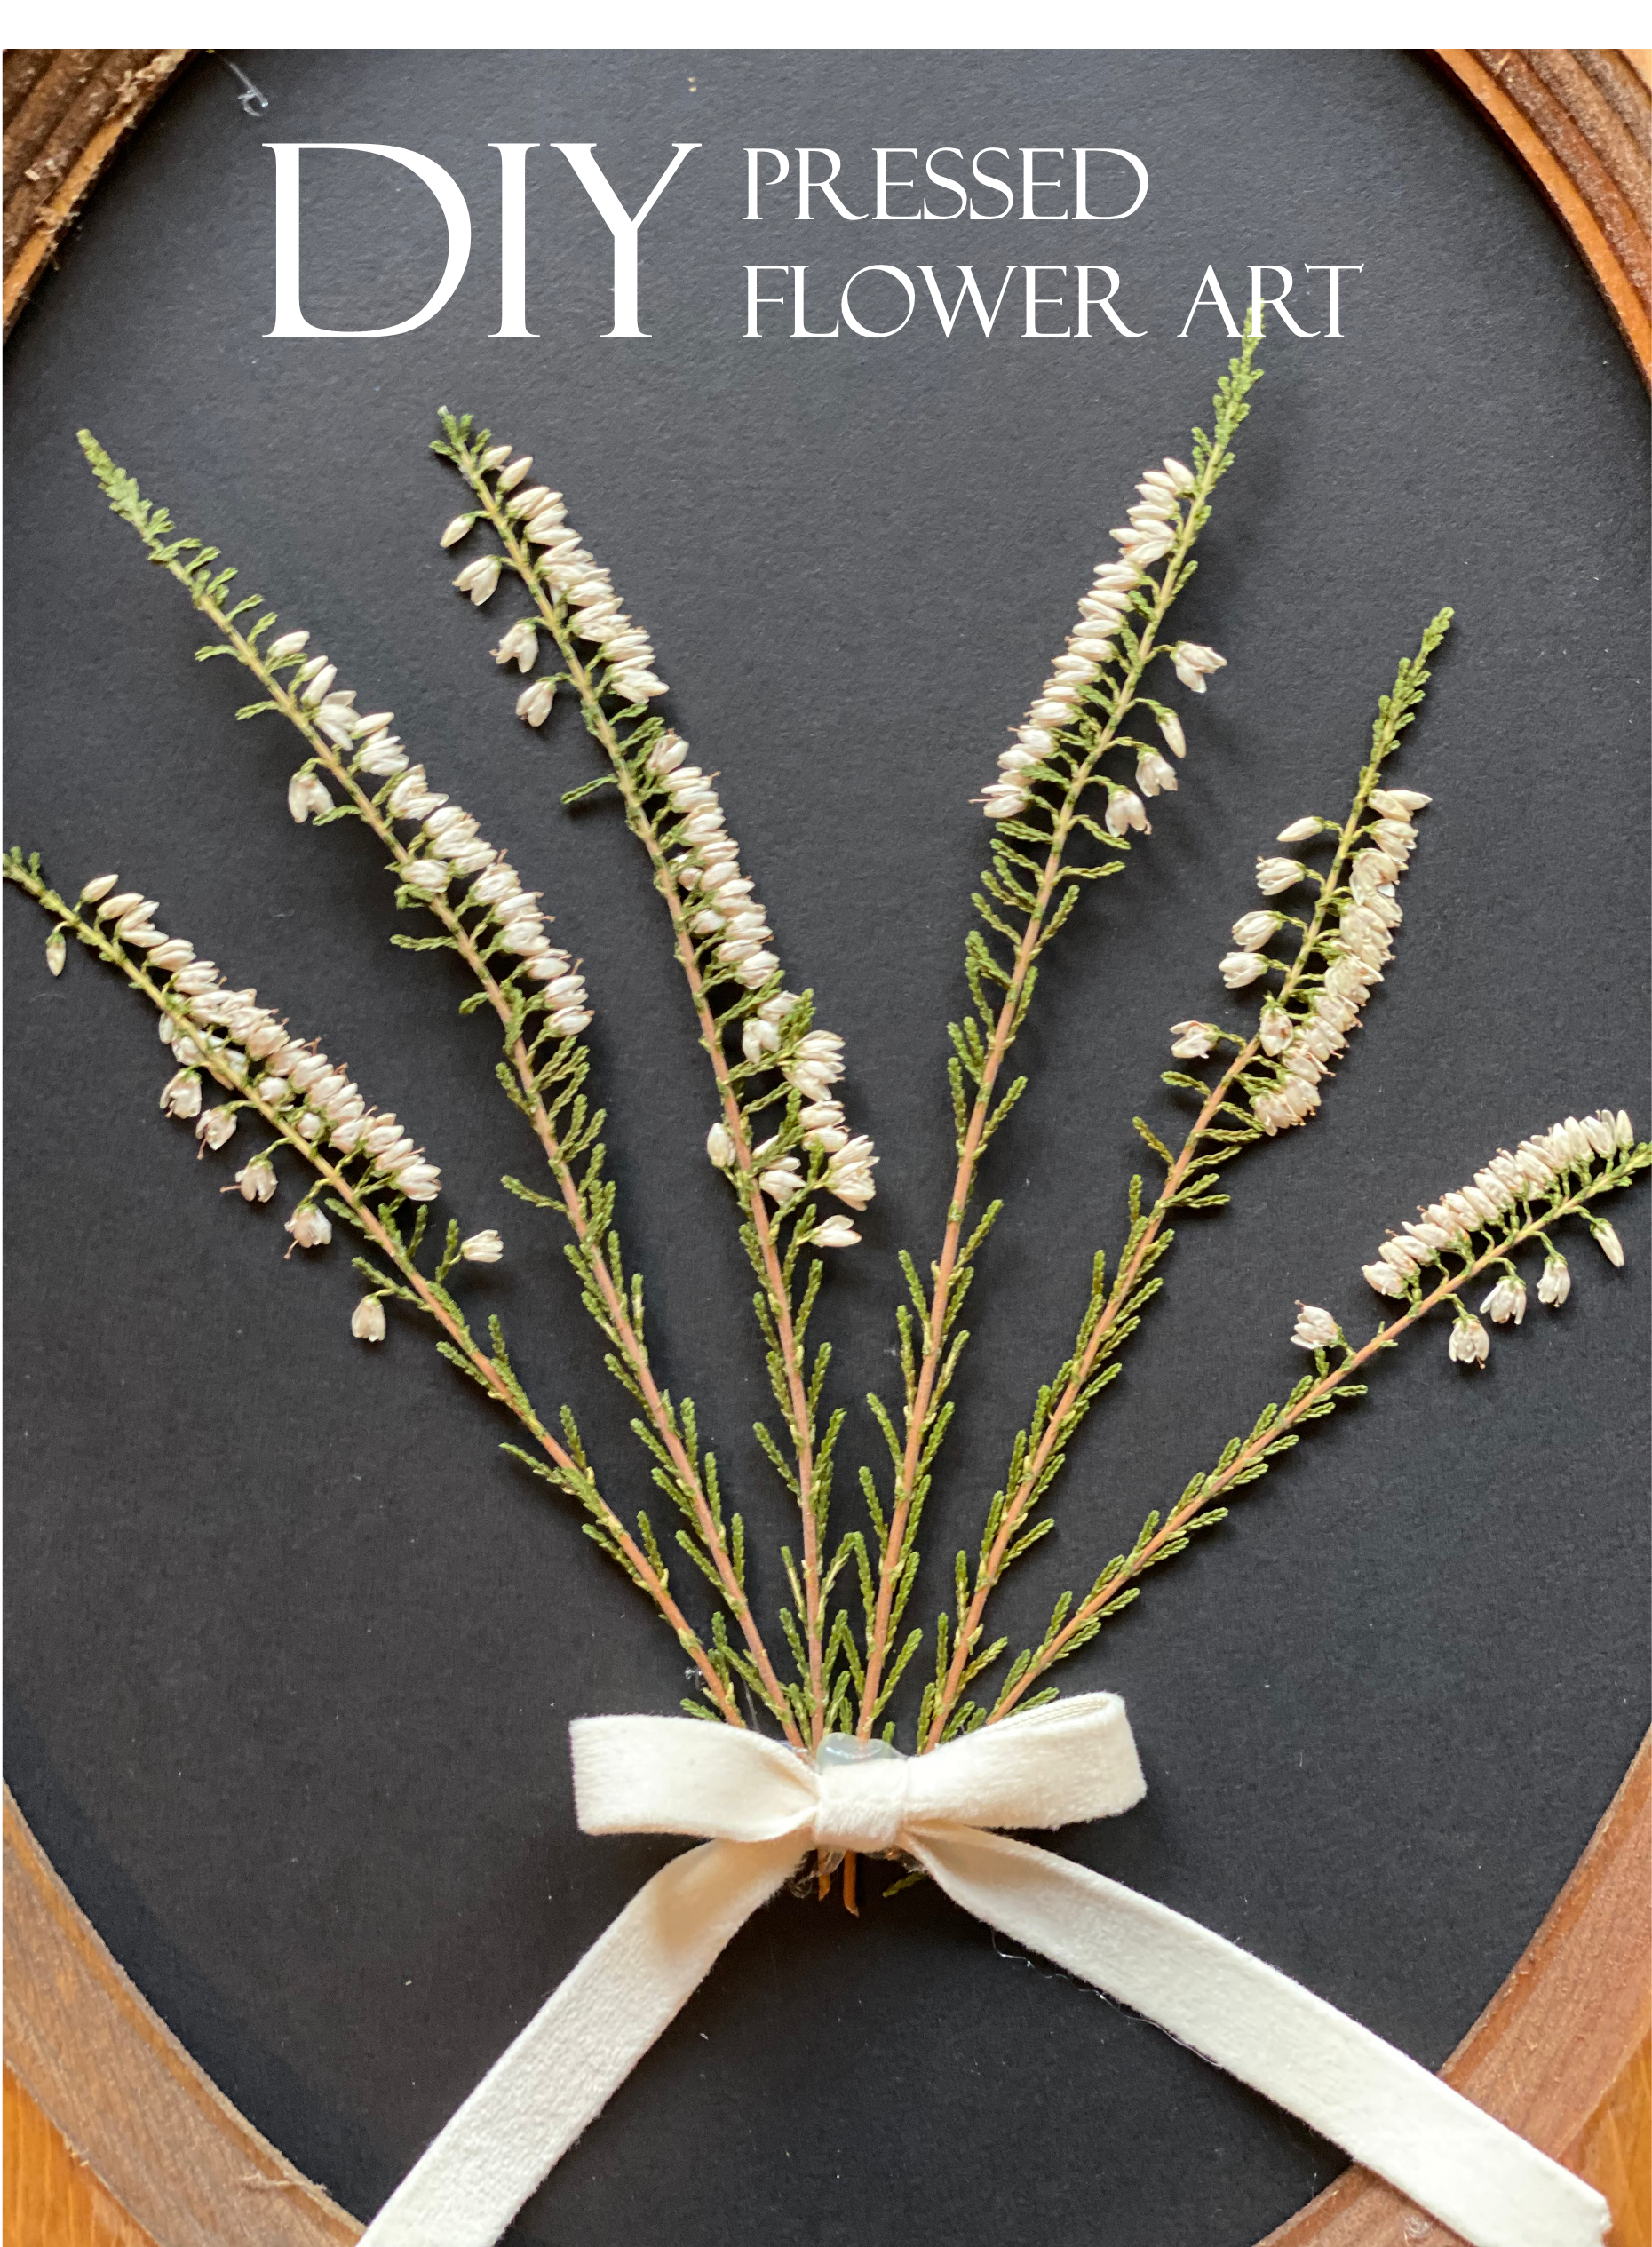
2. I then played around with arrangement of the flowers until I found a pleasing look. Typically, you would arrange in odds, but this art piece was just begging for one more stem.
3. Once I was happy with the arrangement, I used hot glue to secure the ends of the flowers. The frames I bought did not have glass, so I had to do something to secure them. Hot glue, while treacherous, does the job well.
3. The ribbon comes next, and yes, it is 100% to hide the hot glue. Nothing but honesty on this blog. I also thought about creating a little tag or using some lace to hide the glue, but the velvet ribbon won this time!
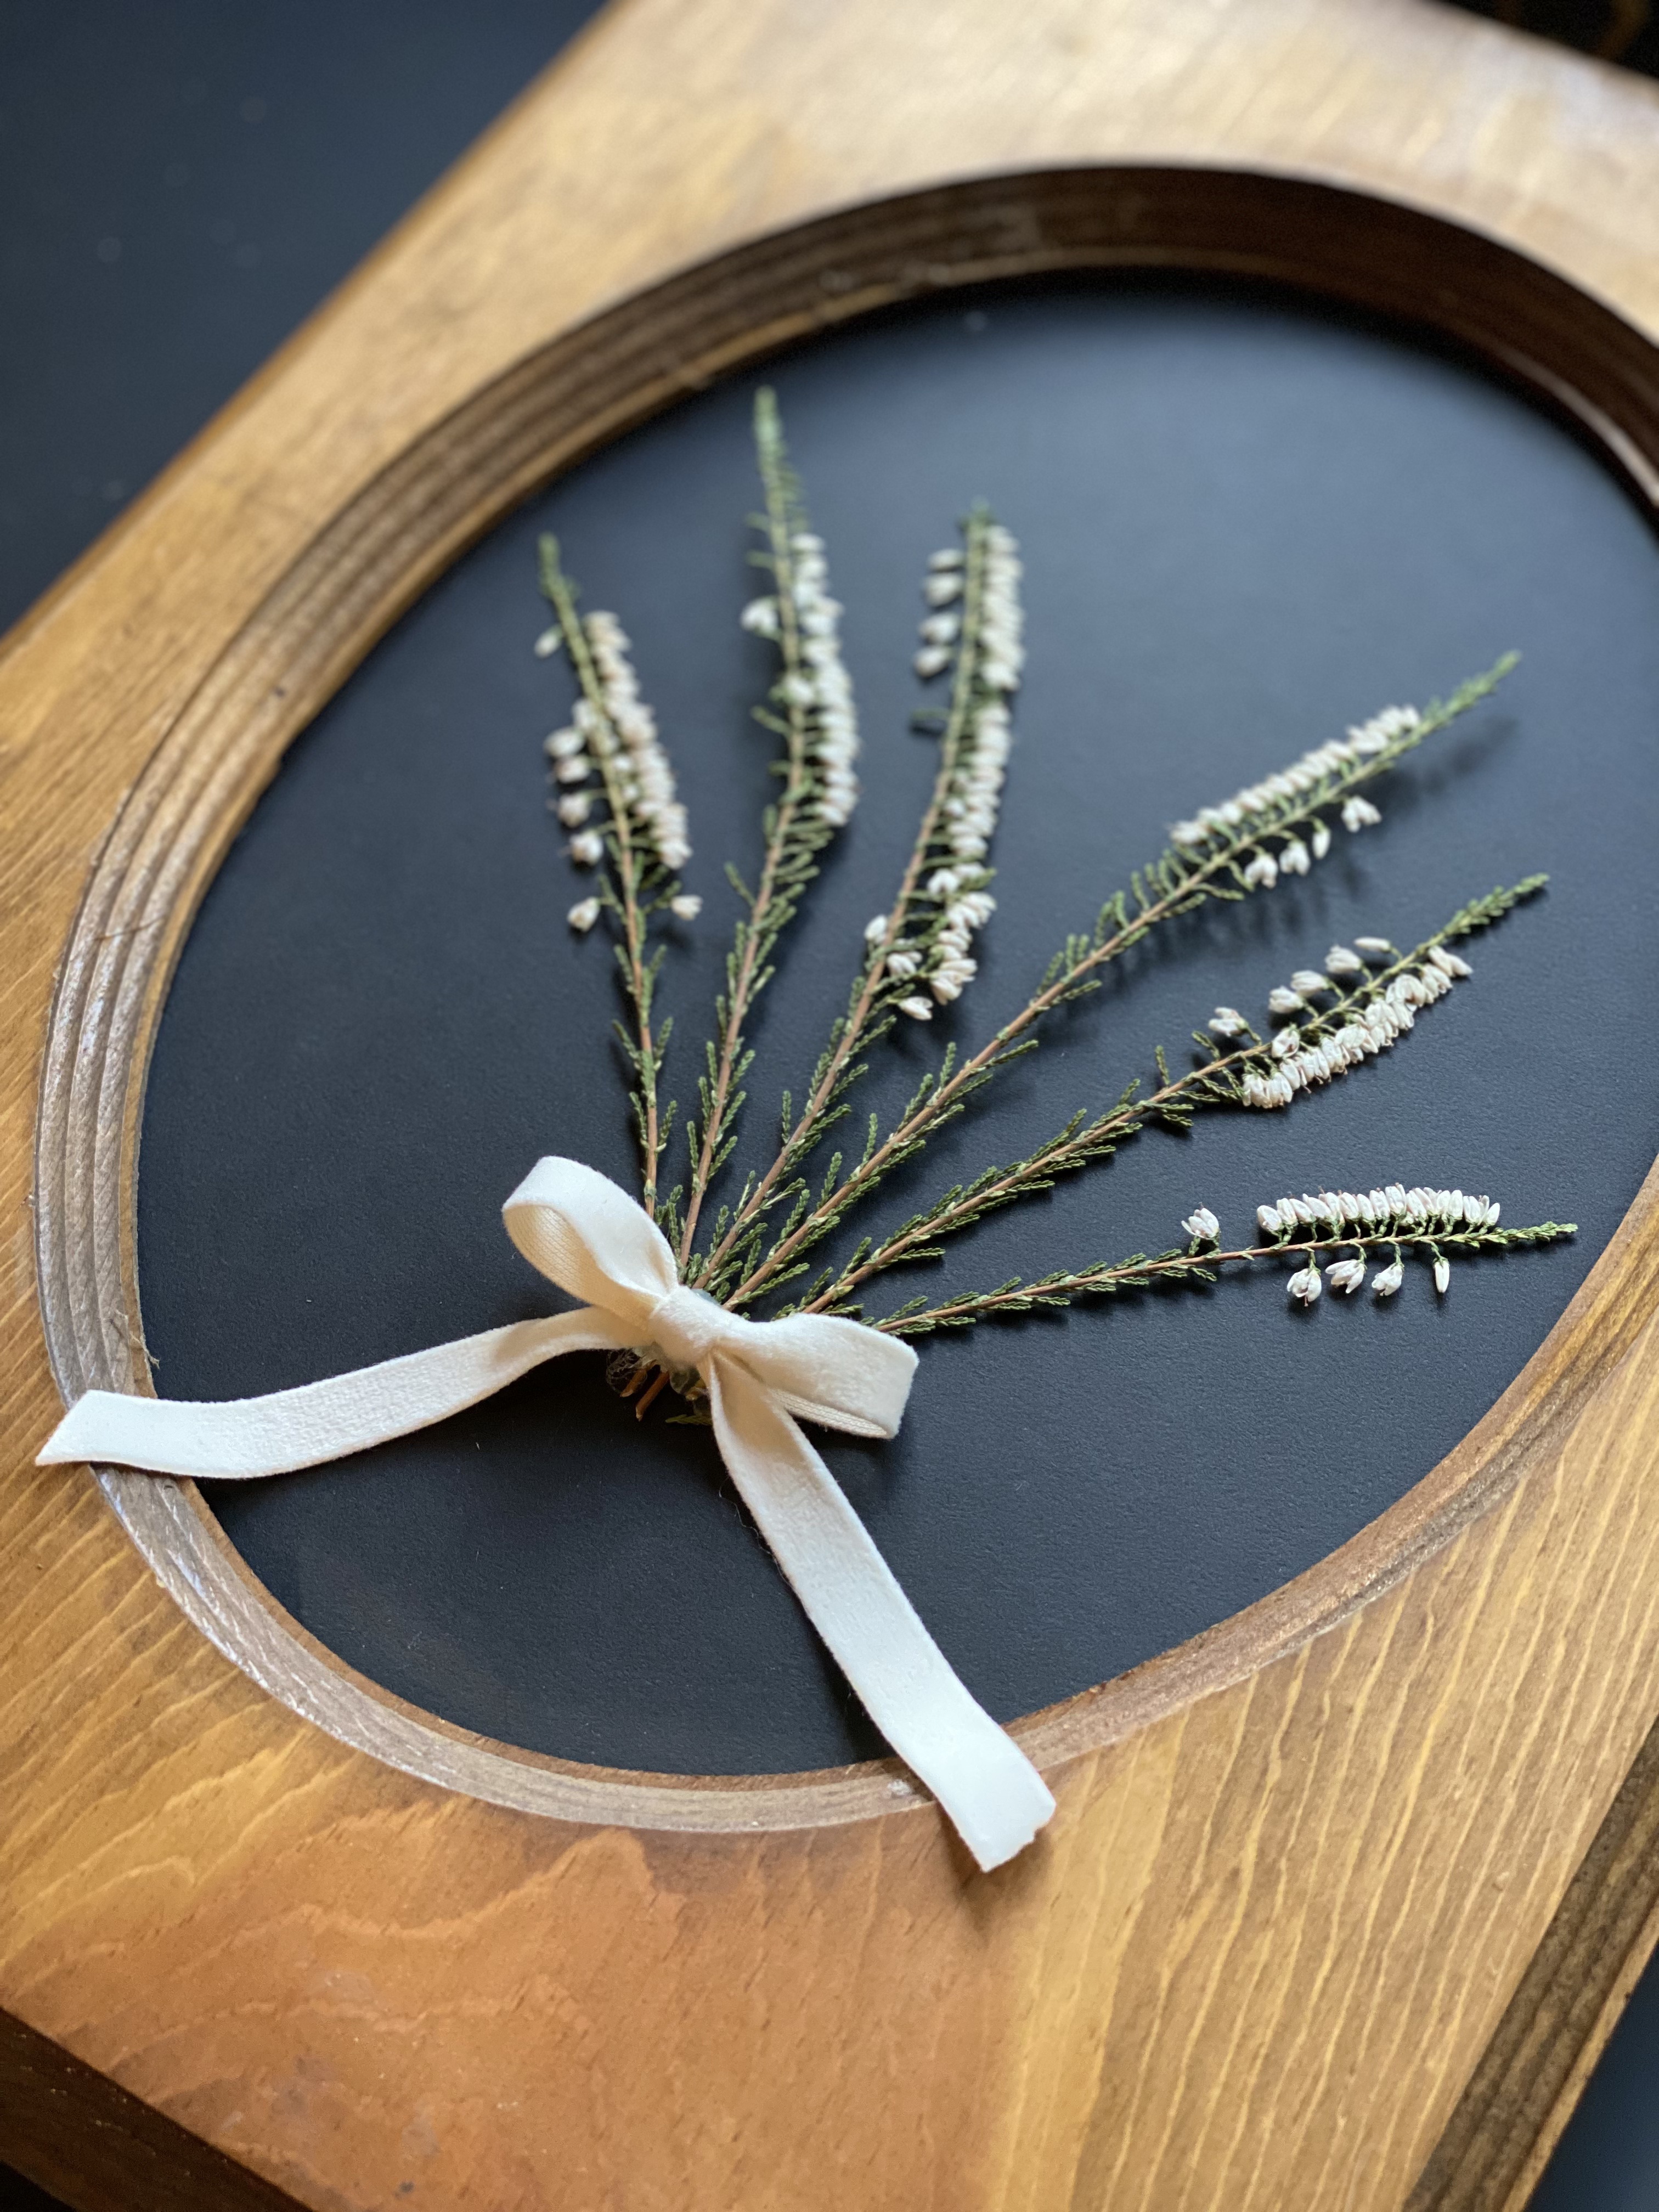
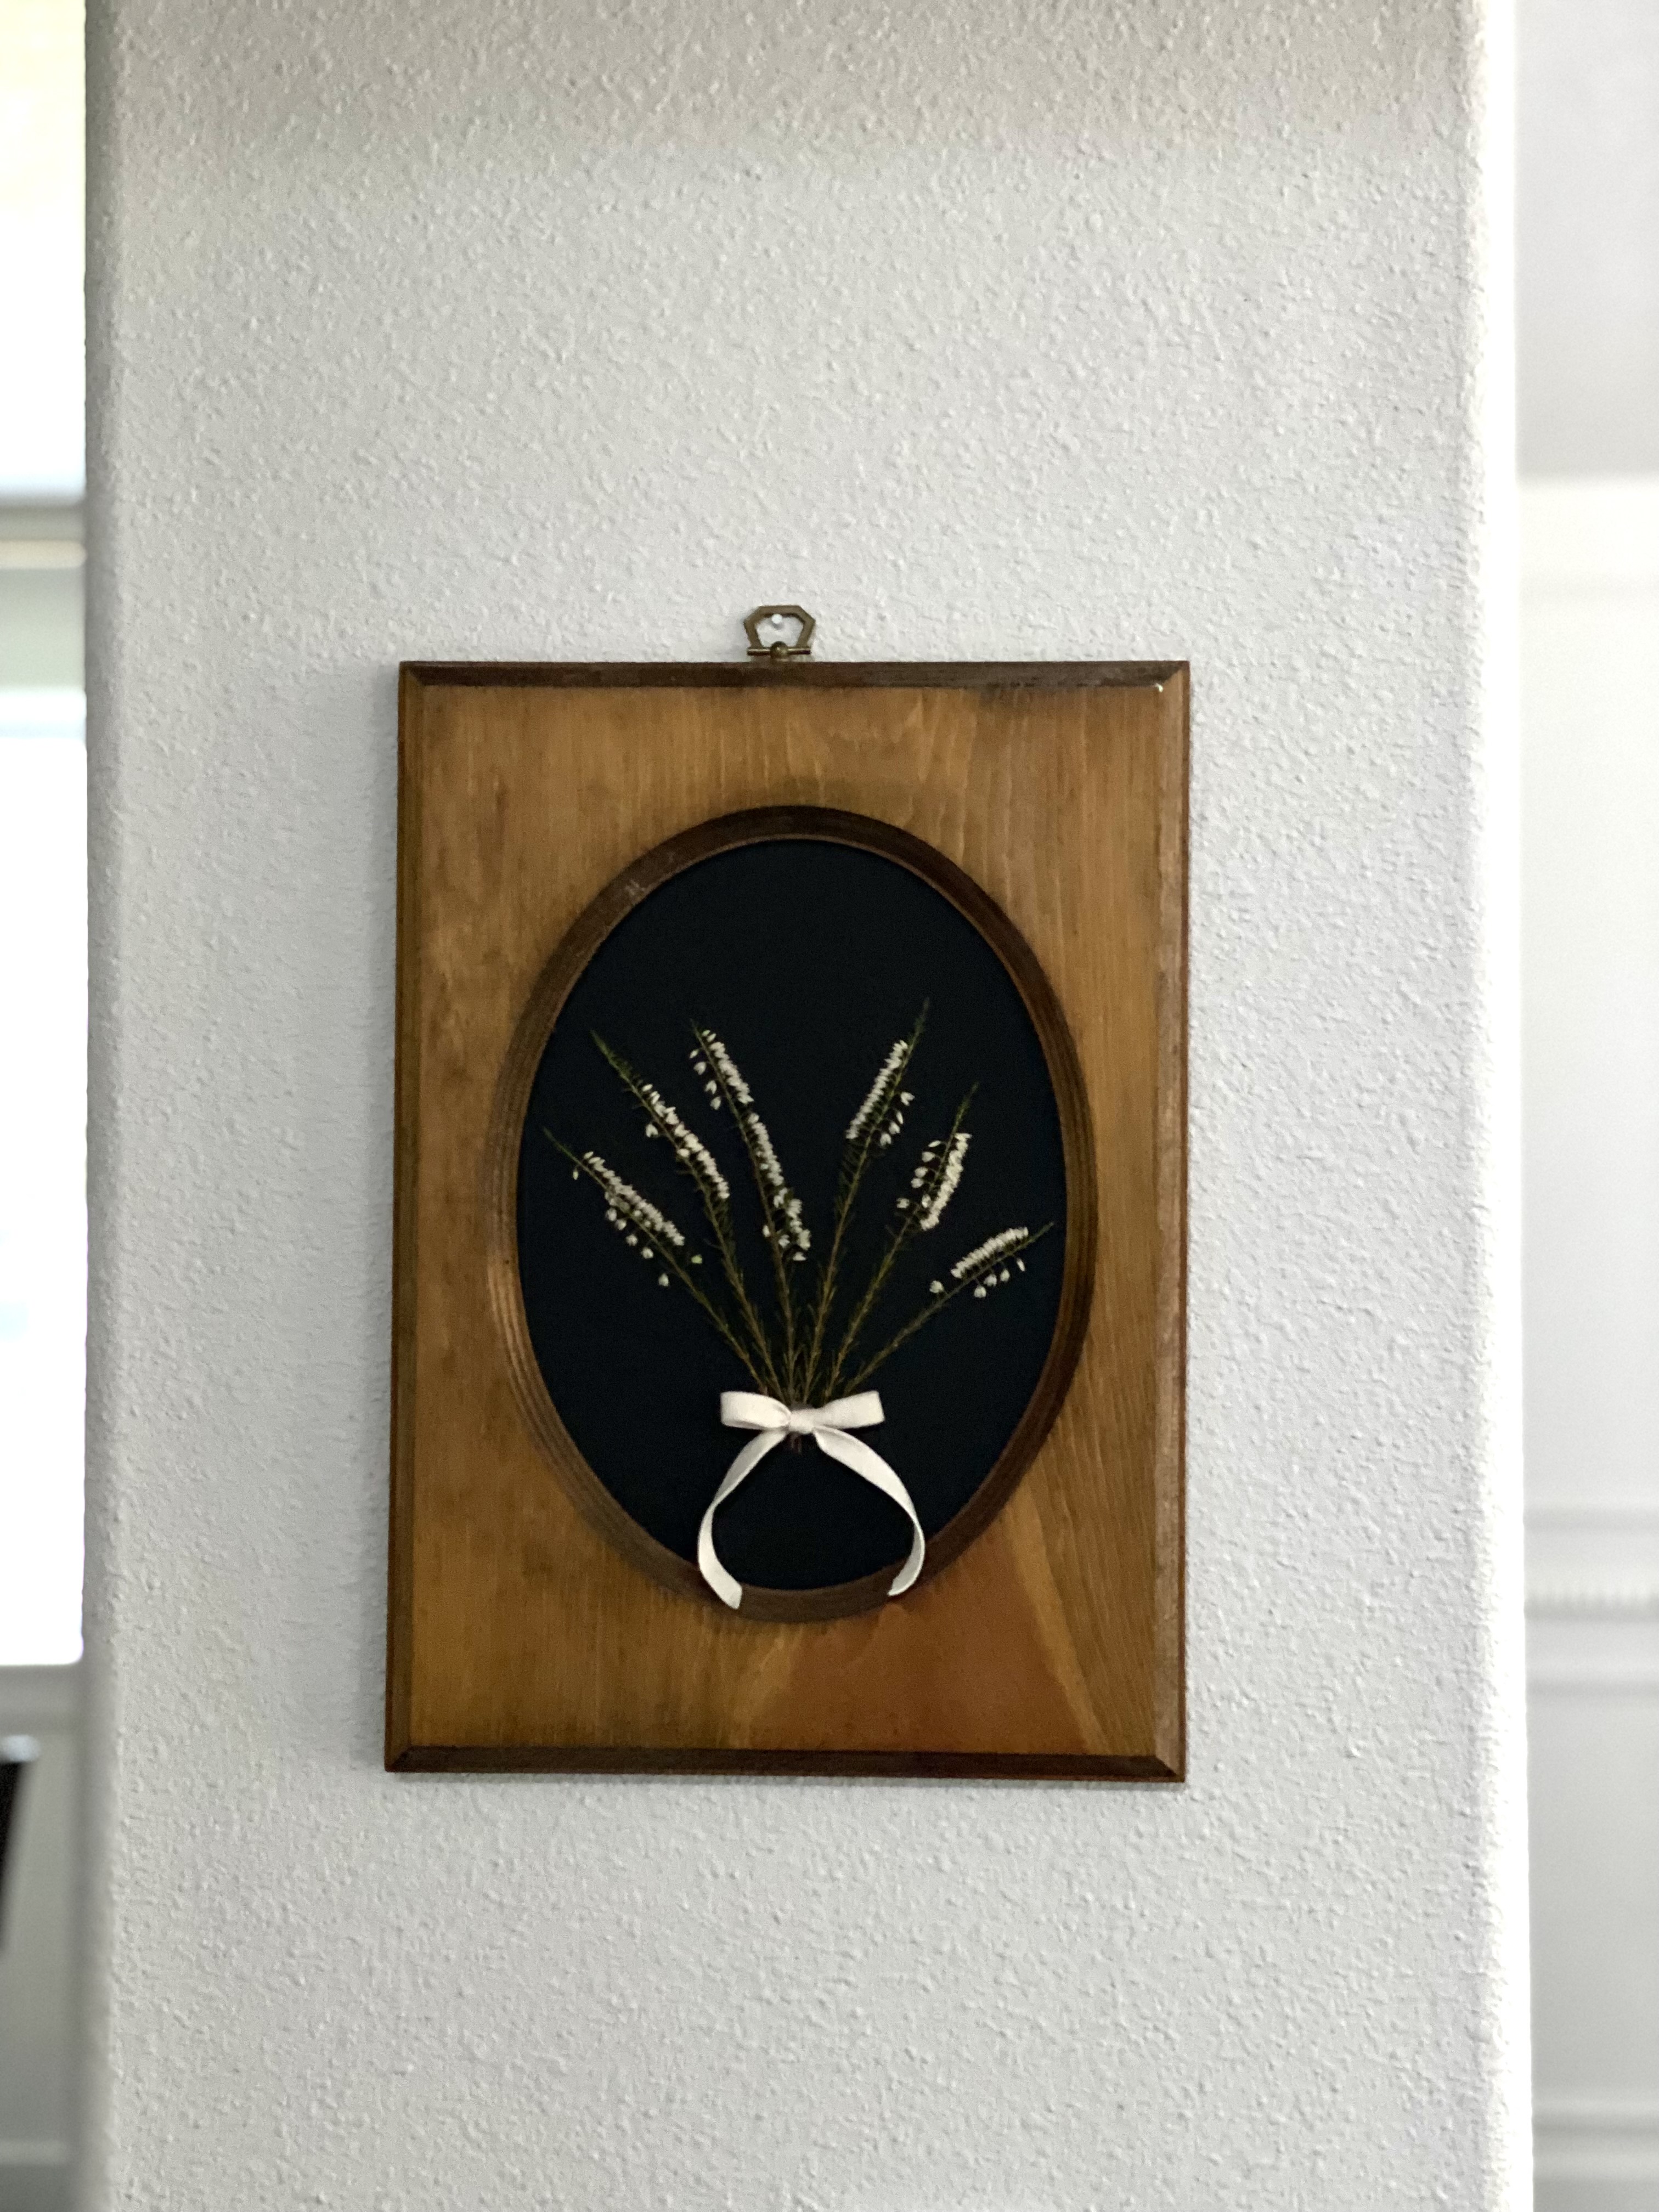
4. I assembled the paper and frame, and voila, done! I even found a spot to hang it that already had a nail, win/win/win.
This project took all of 4 steps (5 if you add pressing the flowers), and maybe 15 minutes!
XO,
h

Love it! So pretty!
LikeLiked by 1 person